This post has a lot of pics and I took them late last night, so bear with me!
Since I had neither masks nor paint dabbers, I had to improvise a bit ;) I have some basic acrylic paints that I have had for a while, and then I used plain old transparency sheets and cut them out with my Cricut. I had the blade depth set to 6, the pressure at max and the speed on 4.
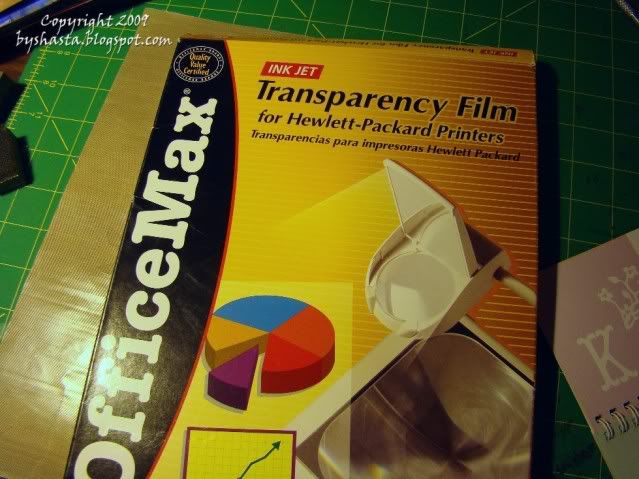
All 3 shapes were cut with the Storybook cart, and using the 'tall/border' function. This first one, the leaves, I cut with the 'Real Dial Size' button on, and the 'Fit To Length' button on at 9 inches.
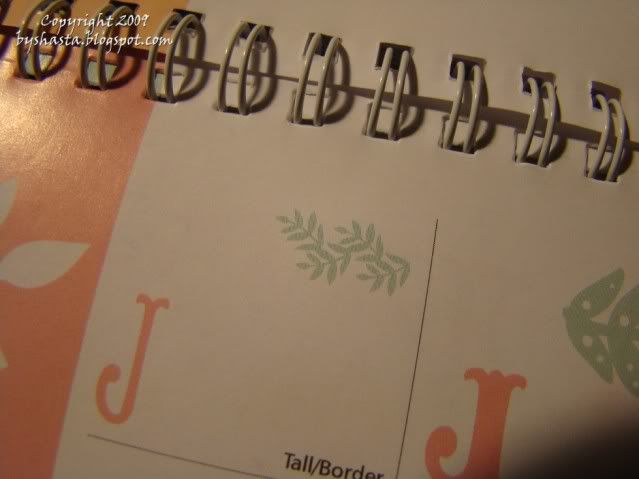
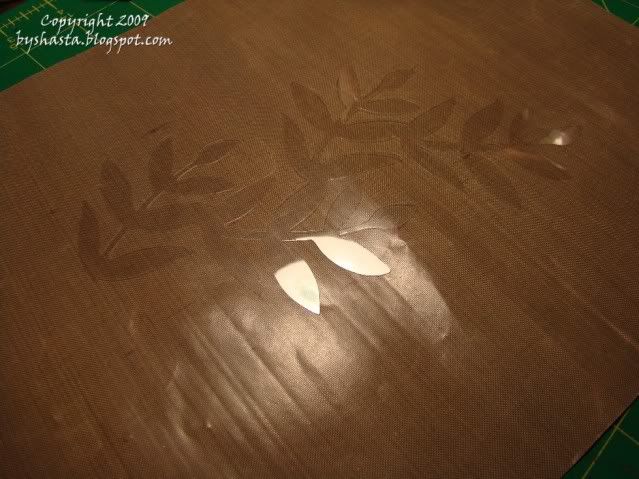
This one I used the same buttons and had it set to 7 inches
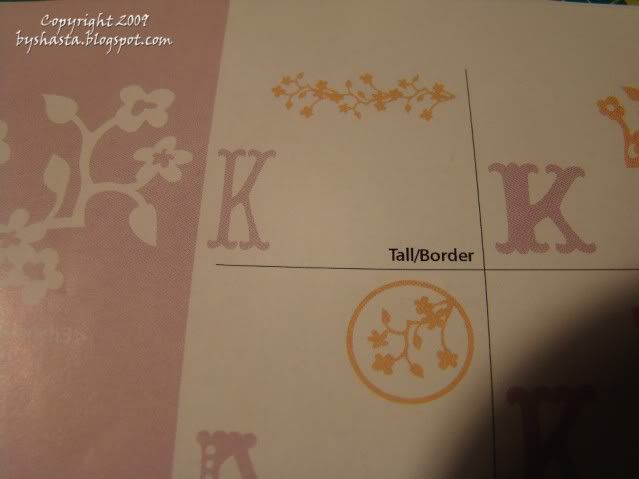
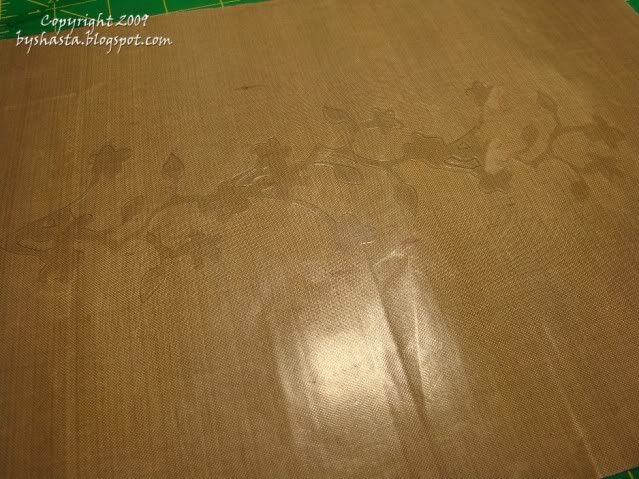
This one was set to 5 inches
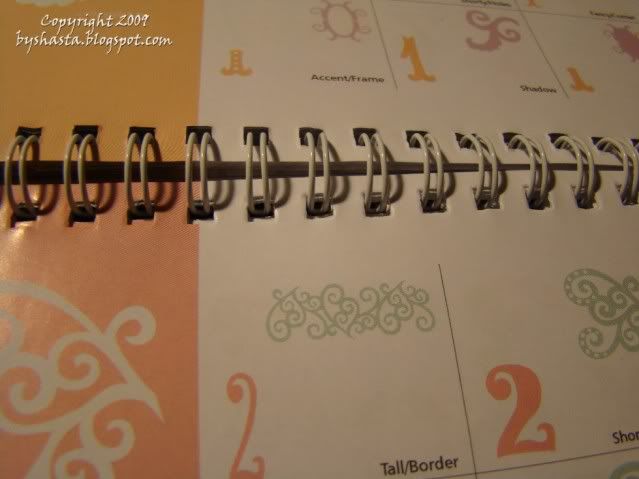
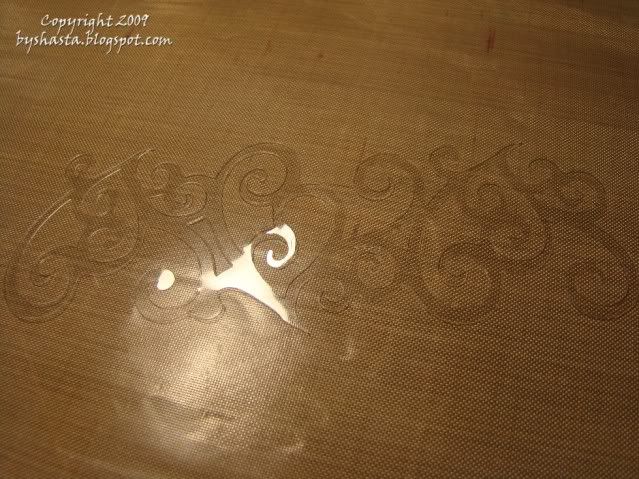
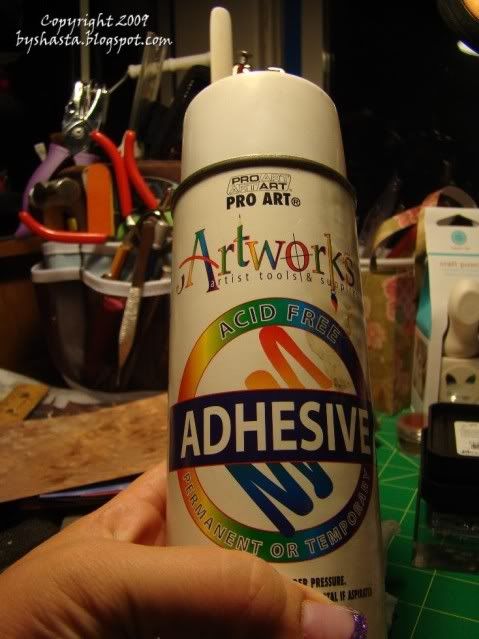
Then I took them outside on a piece of scrap paper and sprayed them with adhesive and let it dry for 5 minutes. That way I can remove them without tearing the paper and use them again!
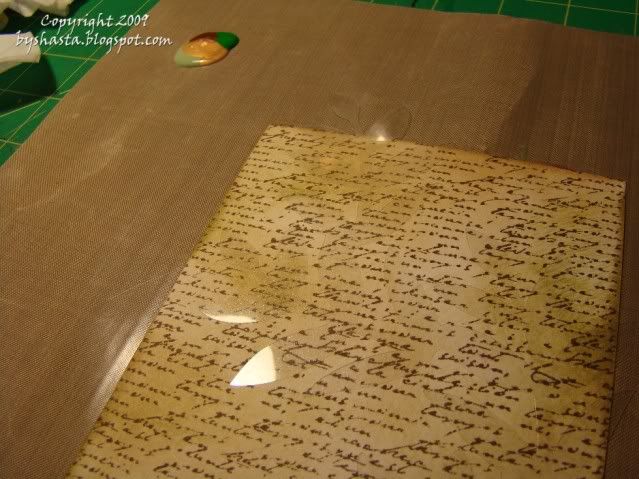
This card I stamped with Walnut Stain ink and a FancyPants script stamp, and sponged with Peeled Paint ink, all by Tim Holtz. Then I layered the mask and dabbed away!
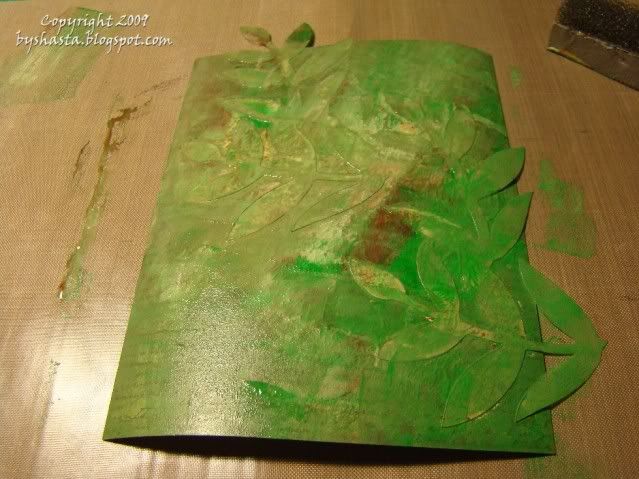
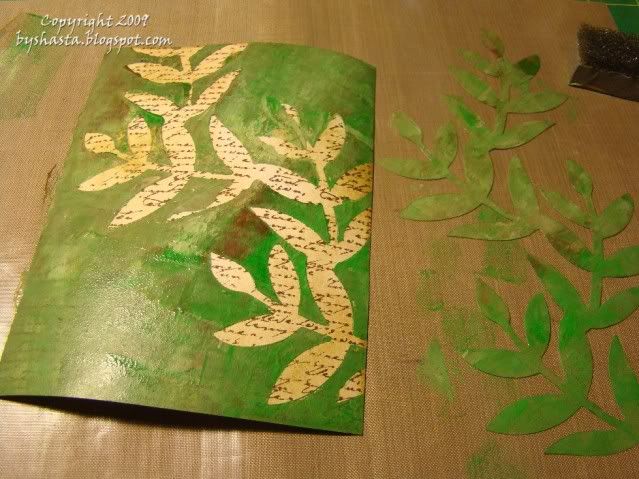
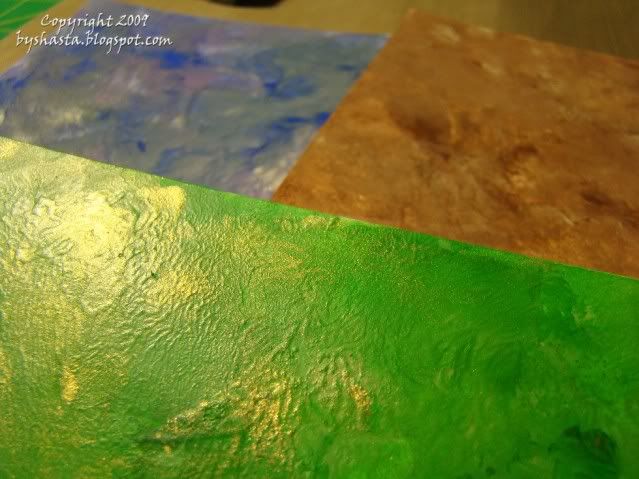
I used a mixture of 2 shades of green, 1 brown and 1 gold paints.
This one was stamped with the same stamp and ink, but sponged with Spiced Marmalade ink.
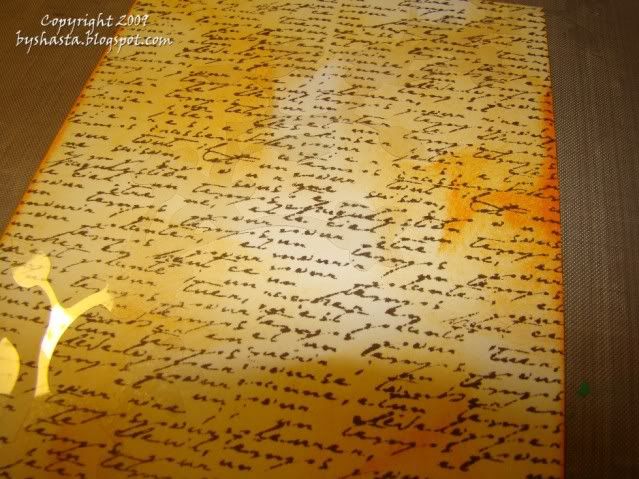
I used orange, gold and beige paints
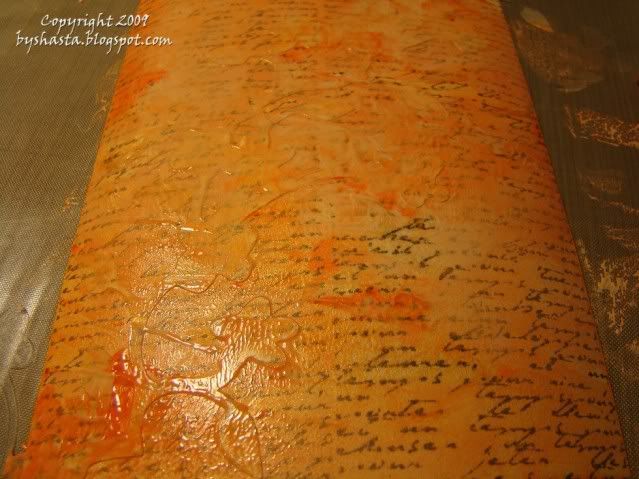
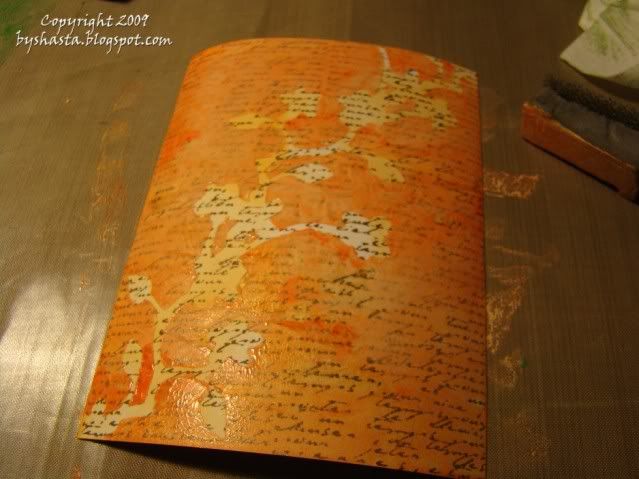
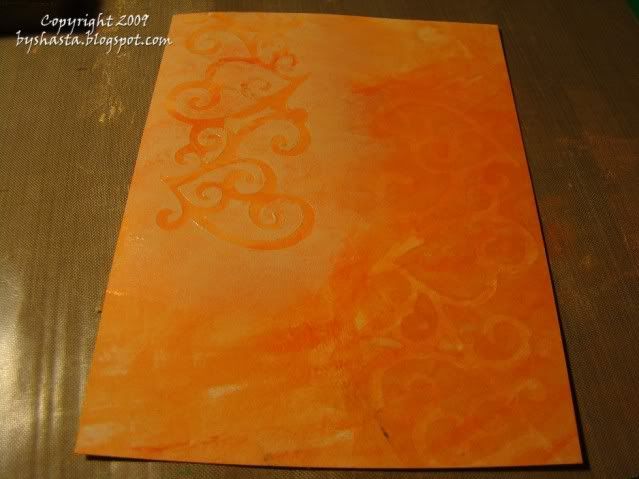
I used the same paint colors for this one, but started differently. I put the mask down on plain paper and sponged over it.
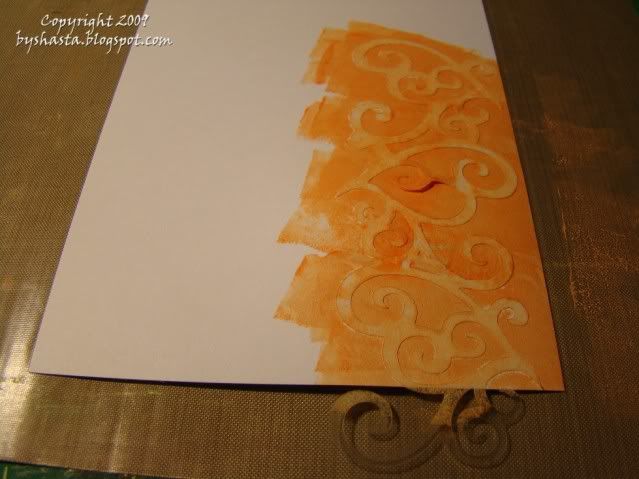
Then I removed the mask, sponged over the whole thing, and then replaced the mask in a different spot.
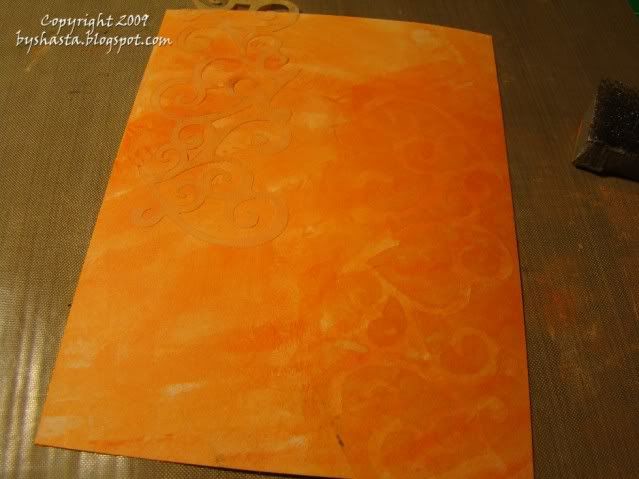
Then I sponged some of the lighter shade over the mask again.
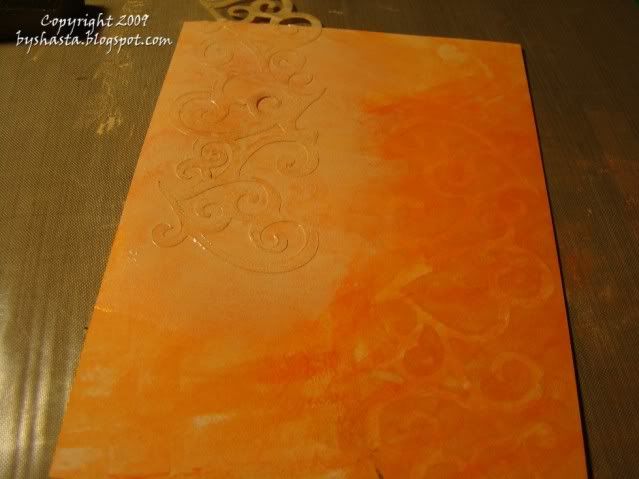
The last sep was I went over the paint with some Perfect Pearls powder in gold.
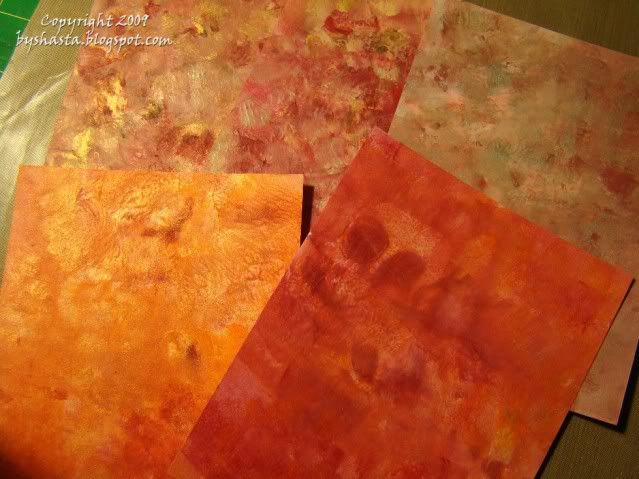
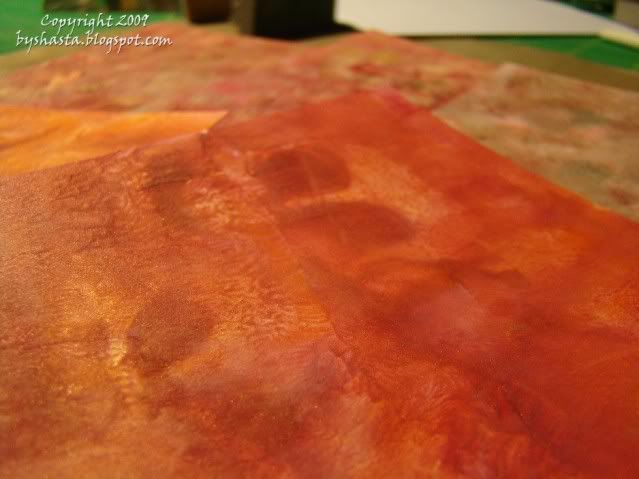
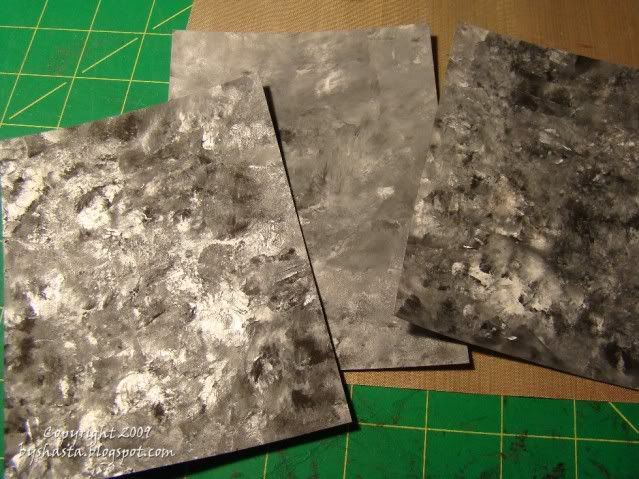
These backgrounds I just used a few colors mixed together and sponged the entire sheet without masks to make a colorful background.


Never even crossed my mind to make my own masks!! thanks for sharing that idea Shasta!!
ReplyDeleteVery cool Shasta... tell me more about that adhesive spray.
ReplyDeleteThat is gorgeous!!!!
ReplyDelete