Showing posts with label boxed sets. Show all posts

Saturday, September 4, 2010

Boxed card set

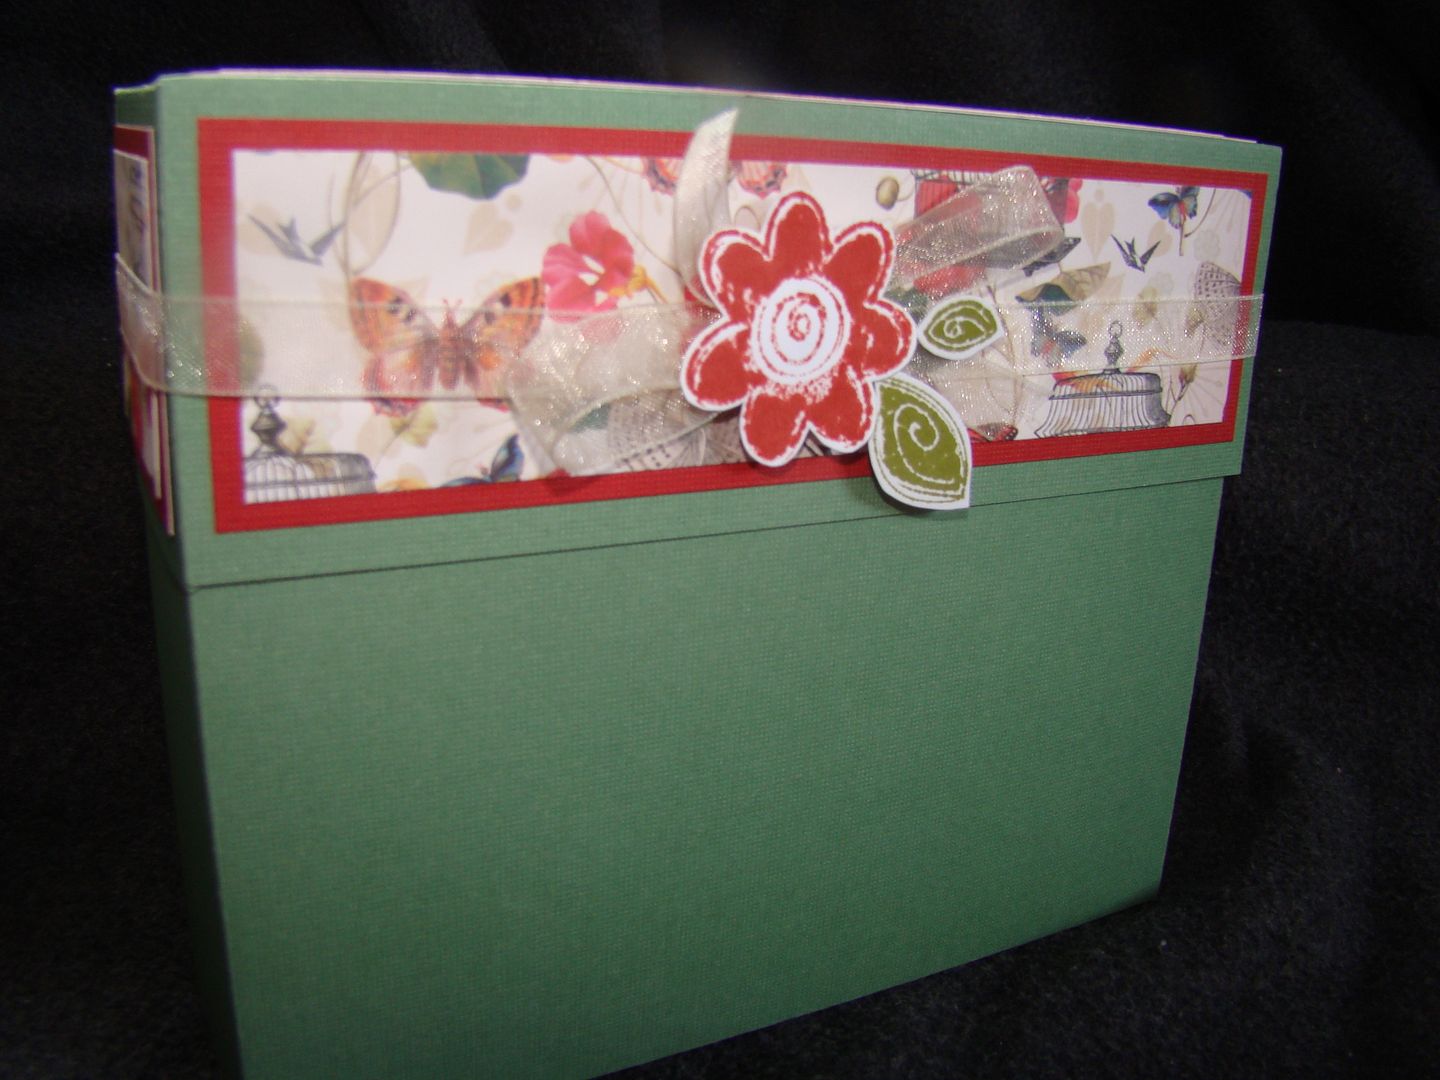
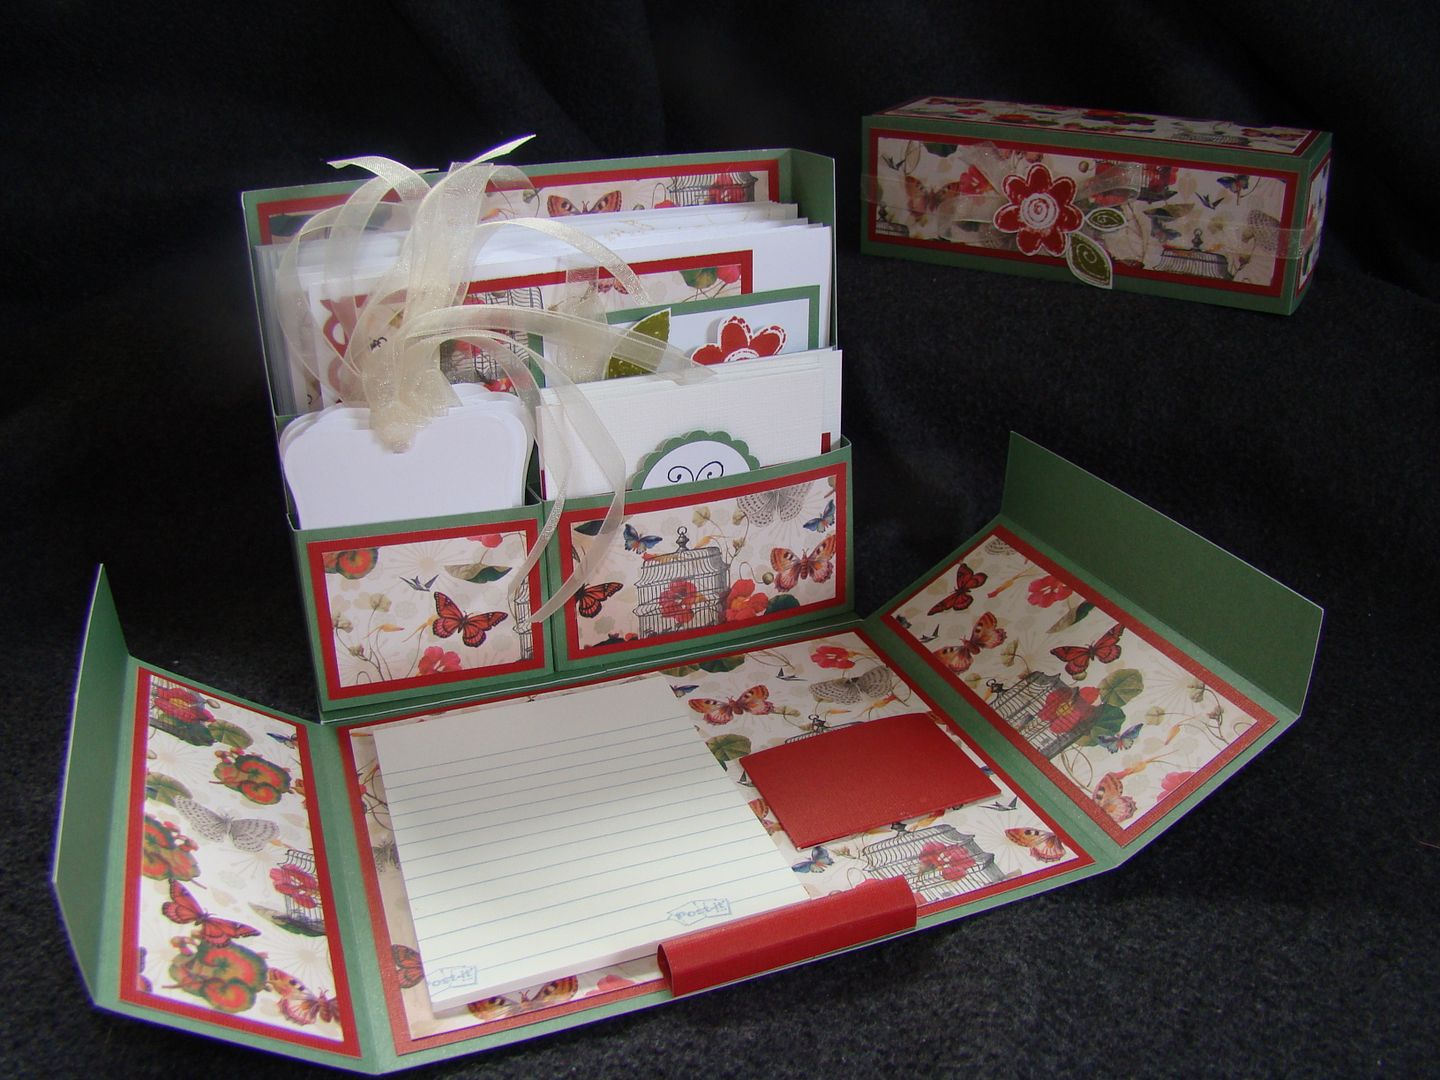
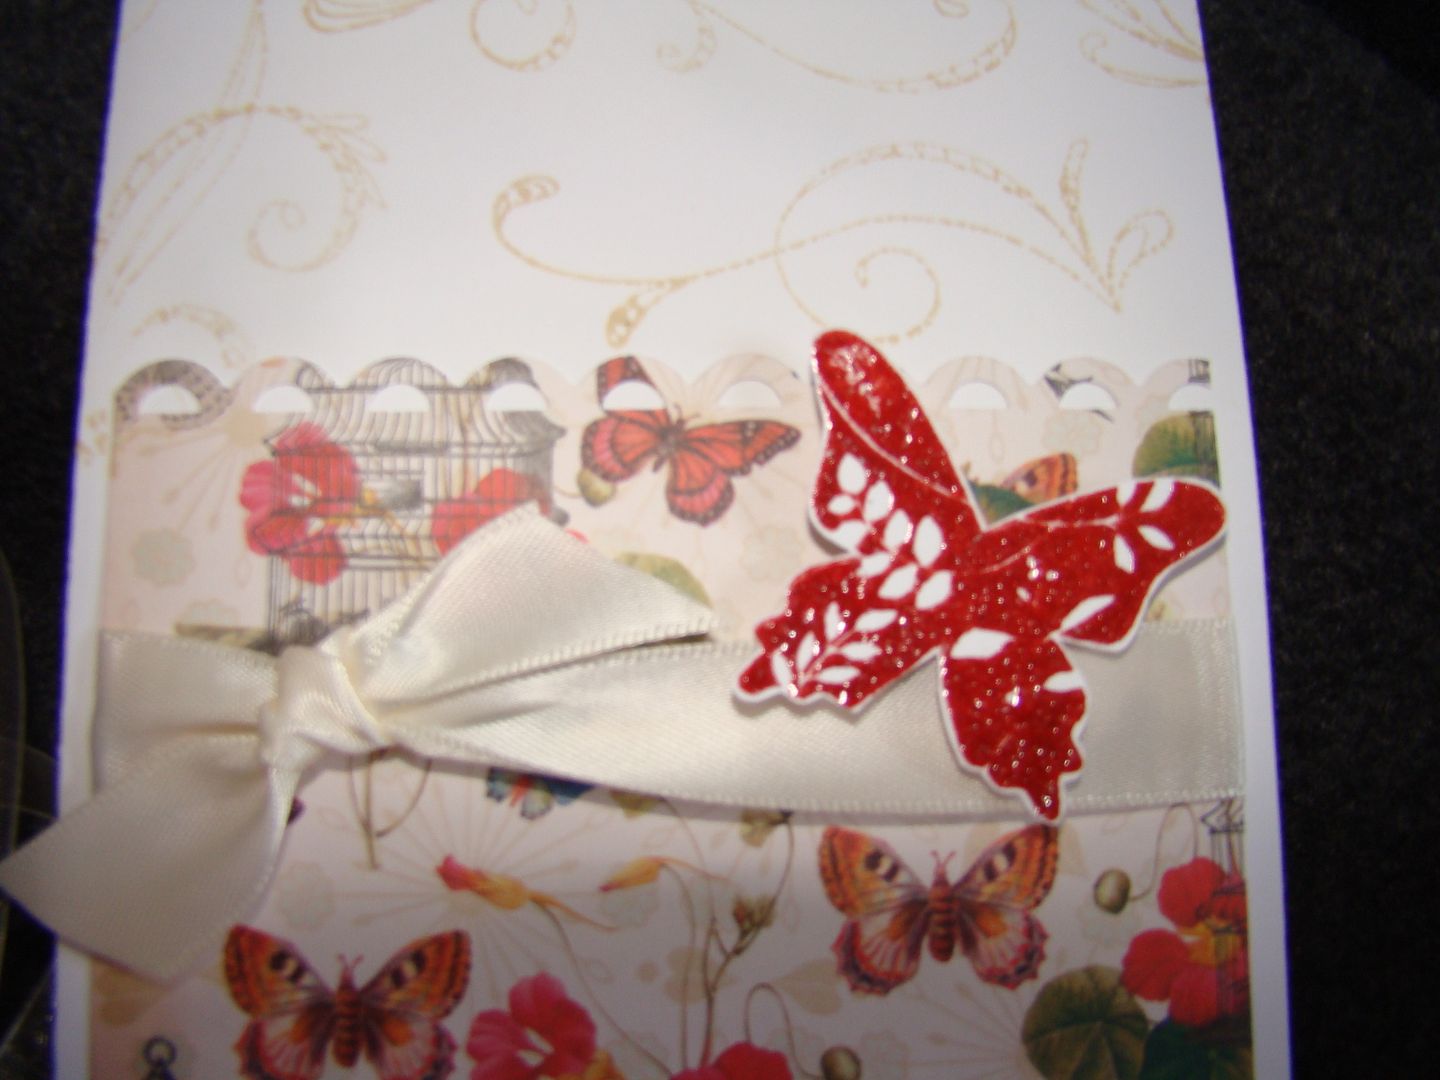
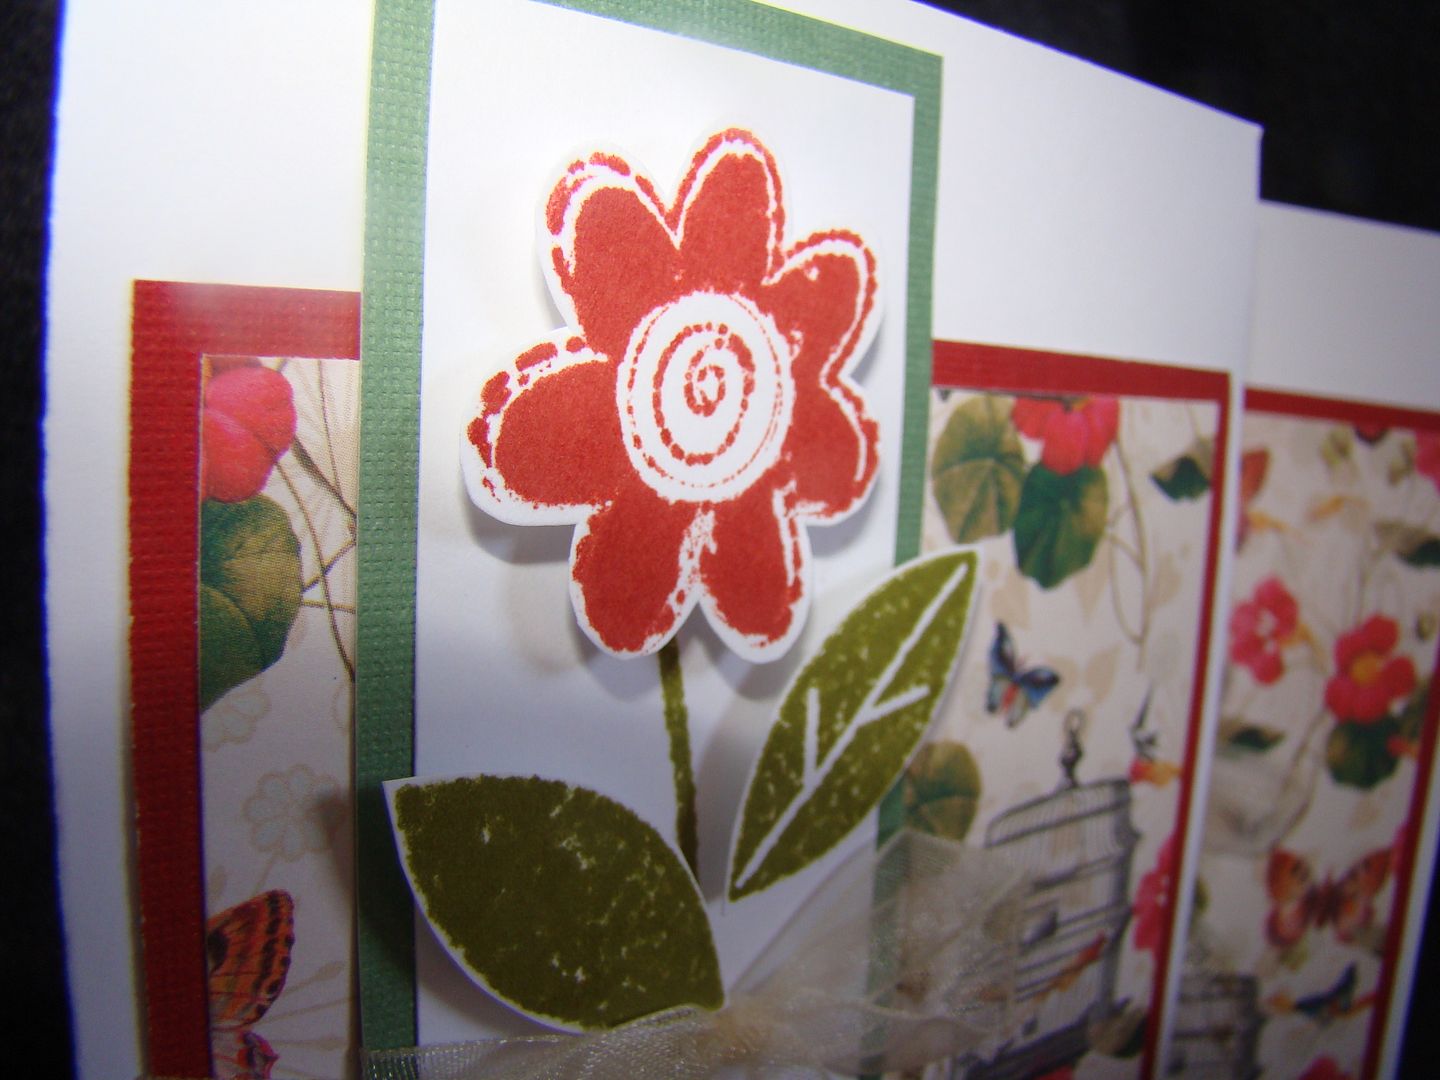
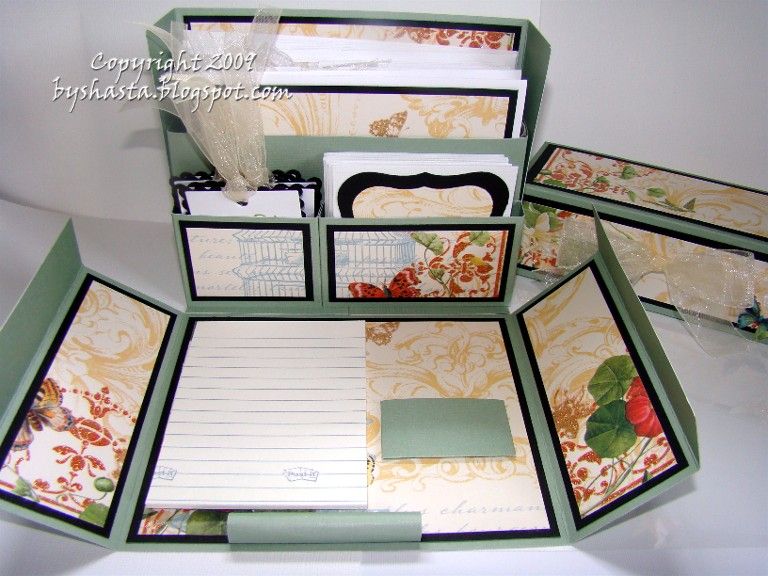
I found another cute tutorial the last few days!  Crafts by Beth had a boxed set that I used for inspiration, and the box tut can be found HERE. 

I added the clear cover by scoring and folding a piece of transparency to fit, slightly larger than the dimensions of the box.  It fits like a lid, just covering the top and sides.

Photobucket


Photobucket


Photobucket


Photobucket

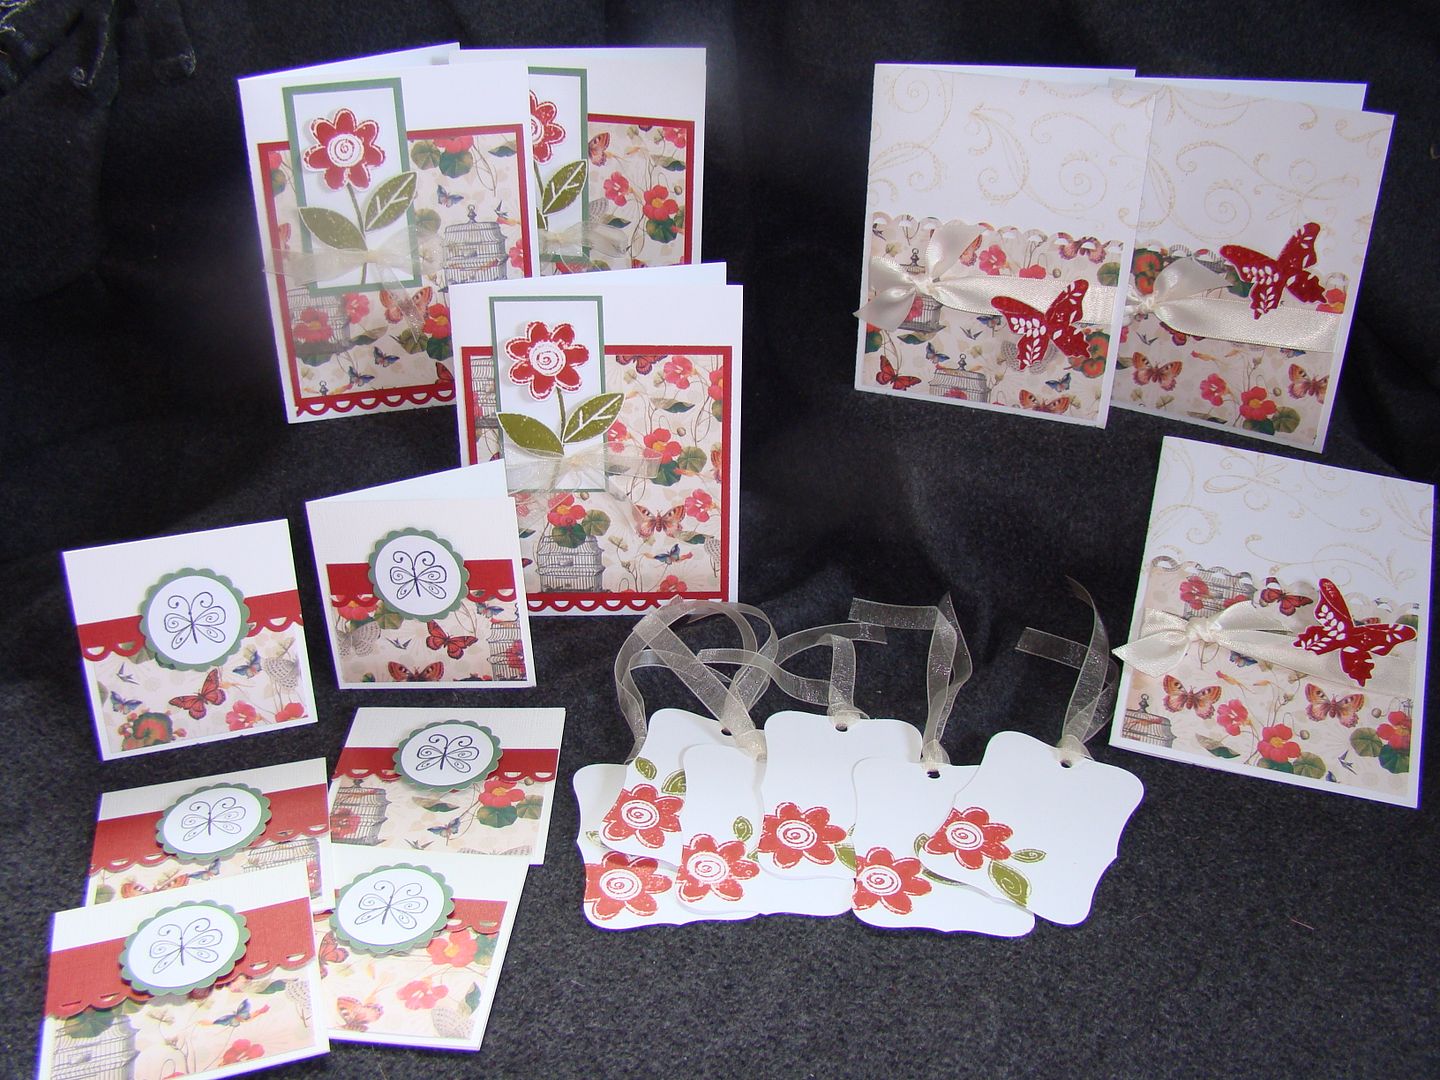
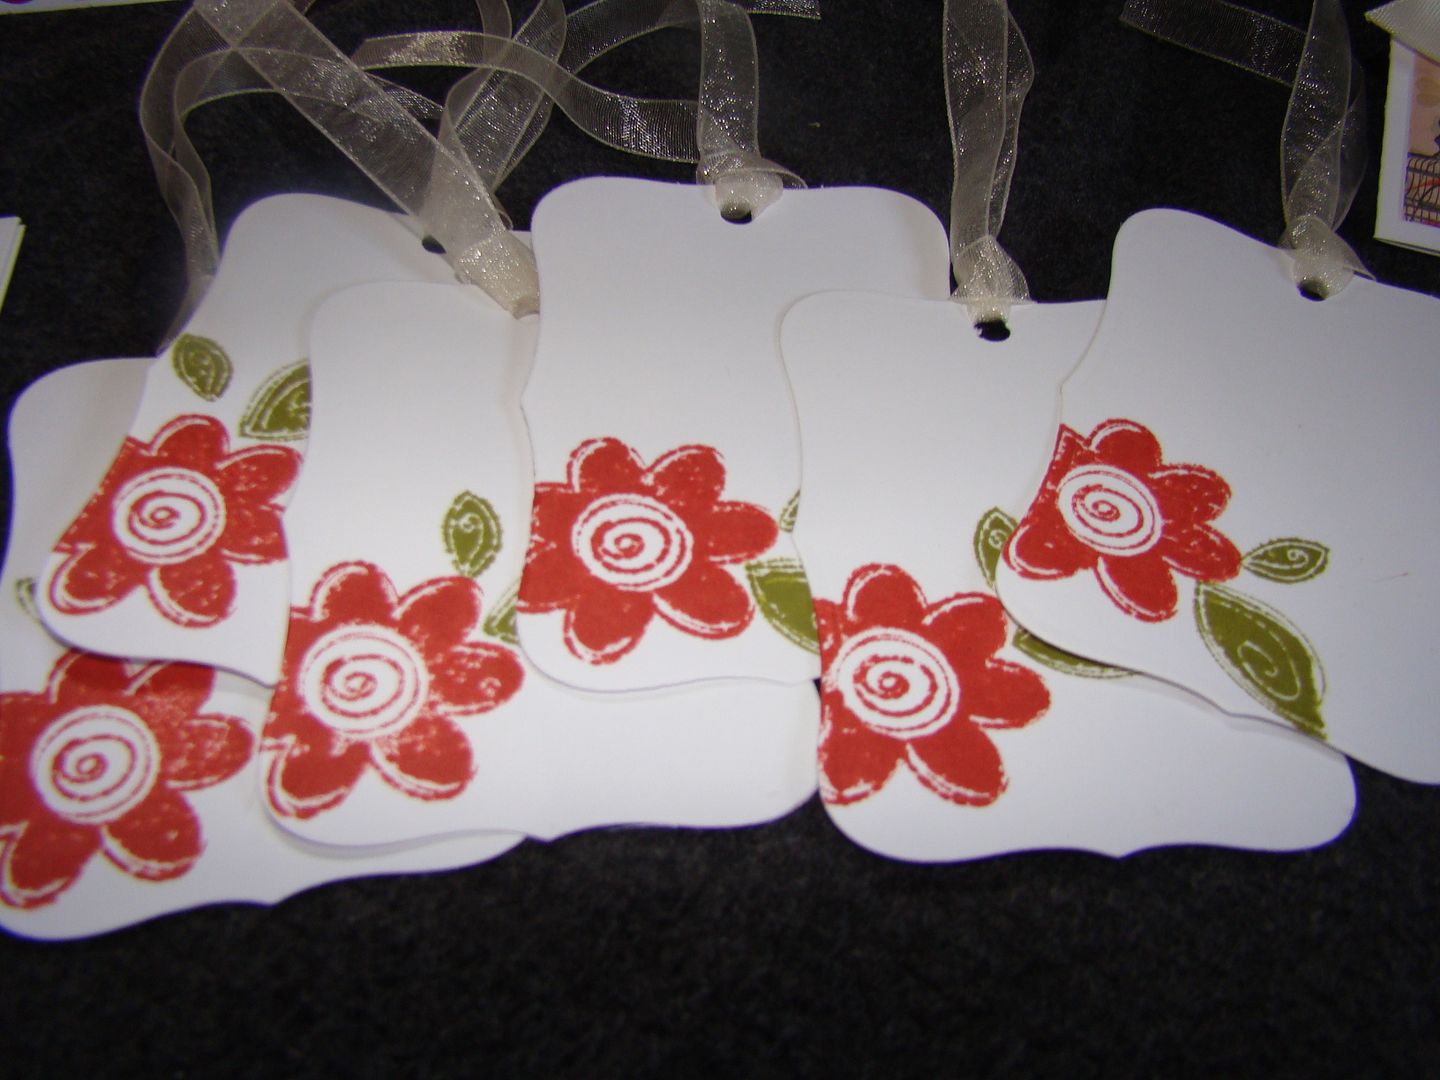
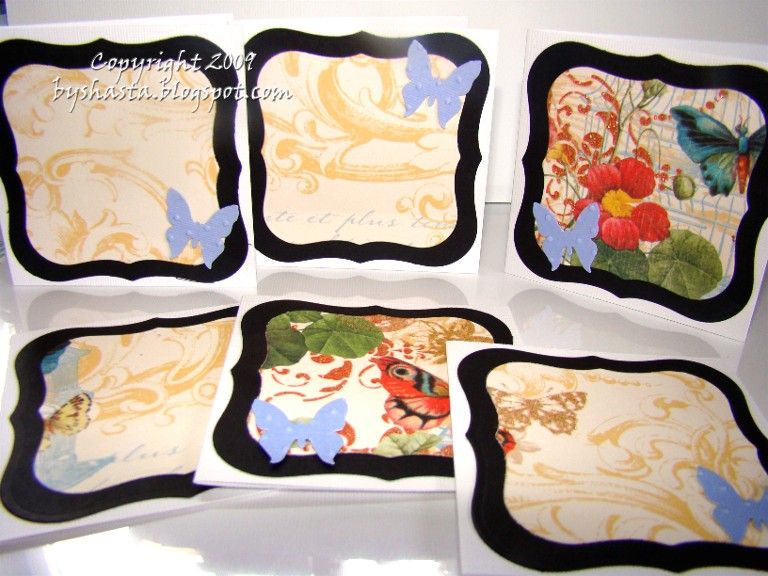
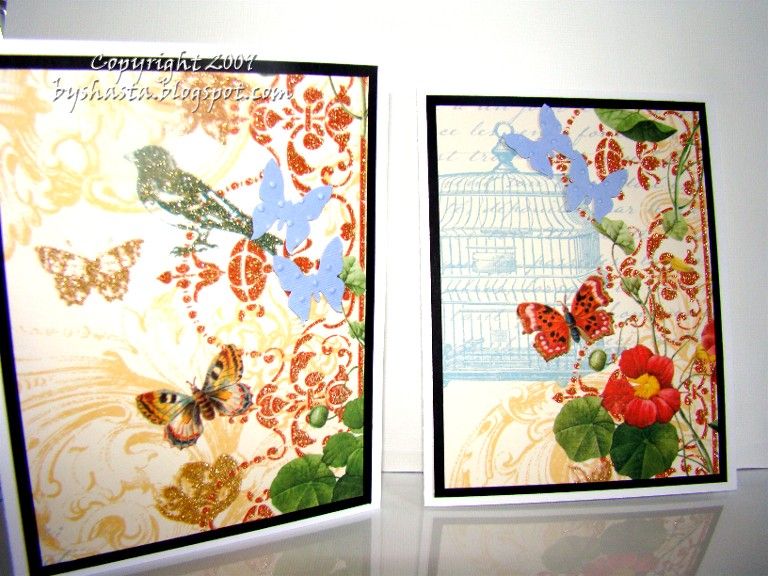
I have no idea what brand of paper this is, I just had it in a box with a bunch of other miscellaneous papers.  I used a Close to my Heart set of stamps for the white flower and stem on the front, which were heat embossed as well.
I left these cards blank of sentiments, so they can be used for anything.


Photobucket


Supplies used:

paper, cardstock, embossing powder: misc
stamps: CTMH Treasures
ink: Papertrey Ink Fresh Snow
die: Papertrey Ink butterfly
other: flower centers for antennae and rhinestones from Michaels

Friday, June 25, 2010

Cards and a box...

I have been reading this blog called "Wizard's Hangout" for a while, and was inspired by all the boxes she makes!  I winged it on the dimensions, so no measurements for you, sorry.  I used an 8 1/2" by 11" sheet of white cardstock for the base and part of another for the lid.  I basically figured my envies were going to be the standard 5 1/2" by 4 1/4" and I wanted it to be 1" deep, so made the template to fit.  The lid was made with the same measurements, only adding an 1/8" to make it slip over the top of the base.

I also am just so in love with this stamp set from PTI, "Turning a New Leaf" and keep wanting to use it over and over again.

Also these little flowers are so cute and easy to make, and I made a bunch.  I found a free printable poem online, and changed the font to something swirly, called Vivaldi.  I put it in Works, and kept copy and pasting until it filled the page, and also changed the margins so it printed as close to the edges as I could make it.  The last thing was to justify the edges so it was even all the way down both the right and left margins.  I was able to cut 15 scallops on each piece of paper using a 2" scallop punch, and each flower used 4 layers.  The felt is just free-hand cut into leaf shapes.  Then I stapled the flower layers and leaves together with Tim Holtz's Tiny Attacher, love that thing!

Photobucket

Photobucket

I used a new (to me anyways!) Martha Stewart border punch, and a sentiment set from Hero Arts for the greetings.

Photobucket

Photobucket

Photobucket

Photobucket


Recipe:

twine:  Papertrey Ink
stamps: Papertrey Ink, Turning a New Leaf
ink:  ColorBox Chalk ink in French Blue, Memento in Tuxedo Black
cardstock:  Neenah Solar White,
punch:  Martha Stewart, Double Loops
misc:  felt, black cardstock, buttons, black ribbon

Wednesday, June 16, 2010

Teacher's Gift

I made this little 'purse' for my daughter's Kindergarten teacher.  I almost kept it, it turned out so nice!  I have been admiring THESE cards by Jennifer McGuire forever, and I ordered the stamp set for it just to make them.  I found the purse here, but modified it to fit my cards, which are 5x7.

Photobucket

Photobucket

Photobucket

Photobucket

I made the box out of a 12x12 piece of cream cardstock, and then stamped the leaves all over it.  I used the same pattern as the link above, just changed the measurements to fit my cards.  The score lines are at 2" and 10" on one side, and at 5" and 7" on the other side.  The 3 green pieces (two end flaps and enclosure flap) are all 8" x 2", and the 2 ribbon pieces are approximately 14" long.  I used a 2 inch circle punch and a slightly larger scallop punch for the medallion, and another PTI set for the loopy border.

Now on to the cards!  Some of the handmade flowers I already had, some I made on Monday afternoon.  I had fun hunting for just the right crocheted flower tutorials, and ended up finding a few that I liked.

These pink felt flowers are from a PTI die set, Beautiful Blooms #2, and then I sewed the pearl beads on.  The purple crocheted one is from here.  I loved this video tutorial because it went step by step, and I was able to pause it and do a few stitches, and then watch some more.   Very good tutorials, and she has LOTS of them.  If you are familiar with crocheting and know what the stitches are, then you can follow along very easily.  If not, then she has lots of videos showing stitches too!  The fabric flower is cut with the same PTI die set (3 layers of the largest flower) from some fabric scraps I got at Joann's ages ago.

Photobucket

Photobucket

This crocheted flower is from here, the 4th pic down (Coreopsis Flower), and the felt pink one is another PTI die, Beautiful Blooms #3.  The orange one is the first one of these I made with some scraps, and glued some pearls into the center.
Photobucket

These two crocheted flowers were from the same tutorial as above, but I added a 6th petal to the white/pink one.  The other one is also one I had leftover from another project.

Photobucket

This orange one is from this tutorial, and the pink one was from the one above.  The felt one is another PTI die, Beautiful Blooms #1.

Photobucket

Photobucket

The leaves were all stamped with Memento Ink, Bamboo Leaves.  The sentiments were from 3 different sets, these, these, and these.

Friday, January 22, 2010

More boxes...

I am just loving the new Mariposa stack, the papers are so pretty :)   I have to say though, 'sentiment-free' cards are really hard for me!!  The tut for this box is here...

This flower stamp is a $1 one from M's and the leaves are from an Autumn Leaves set called Build a Flower.


I used my Nesties for these!


This butterfly is a Stampin Up! stamp, thanks Renee!


This paper is from American Carfts, and I am SERIOUSLY addicted to this tiny little twine from May Arts!


Thursday, January 14, 2010

Notecard box..

I made another one, this one is so pretty, but no sentiments so it can be used for anything.  I used the new DCWV Mariposa papers, gorgeous!


These were made with my Nesties, label #1, love 'em!


These were Nesties too, the rectangles.


Tuesday, January 12, 2010

Valentine's box and some new goodies!

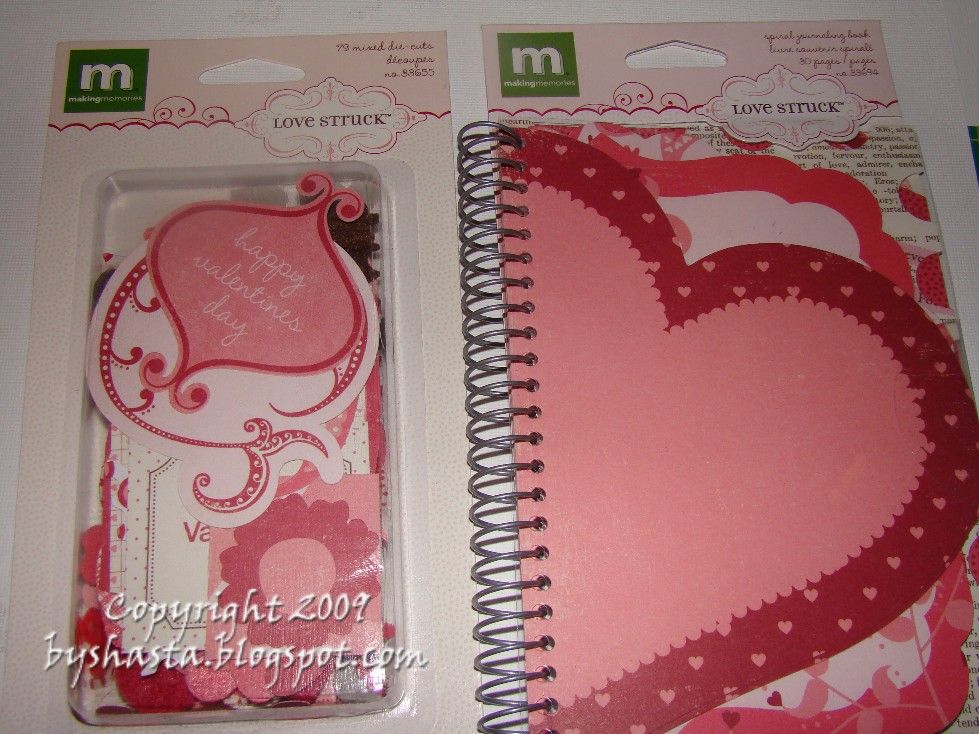
I had to get some new V-day goodies, so I went to PaperZone yesterday!  I wanted to work on some cards but realized I had NO pink or red ink pads??  How that happened I have no idea...

I probably should have broken this into a few smaller posts, but I didn't, so FYI this is going to be long one!

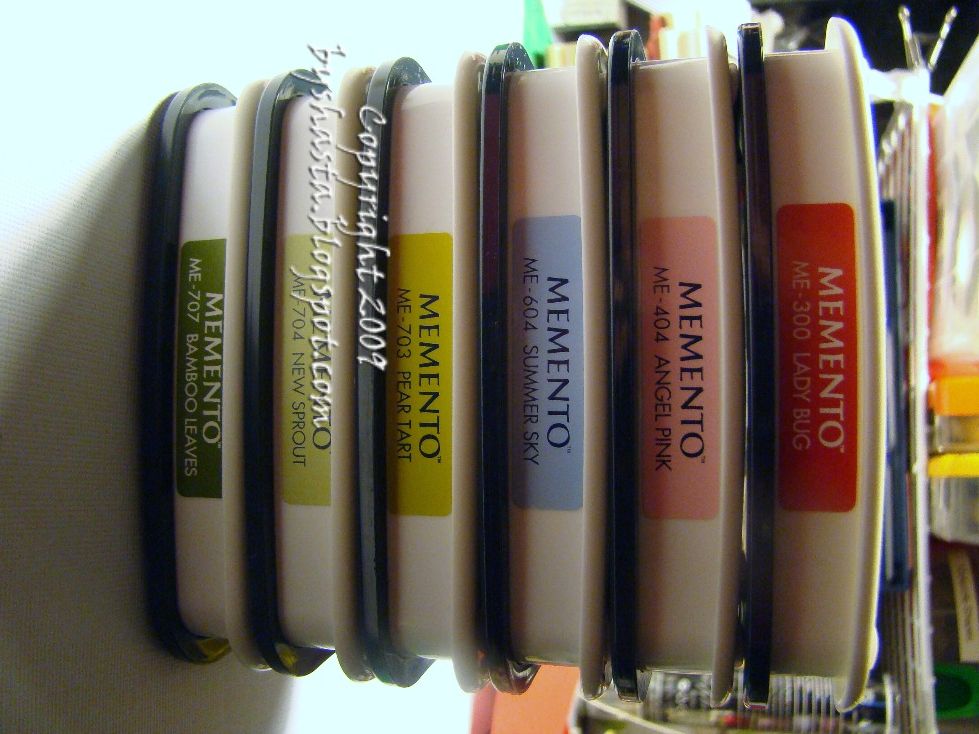
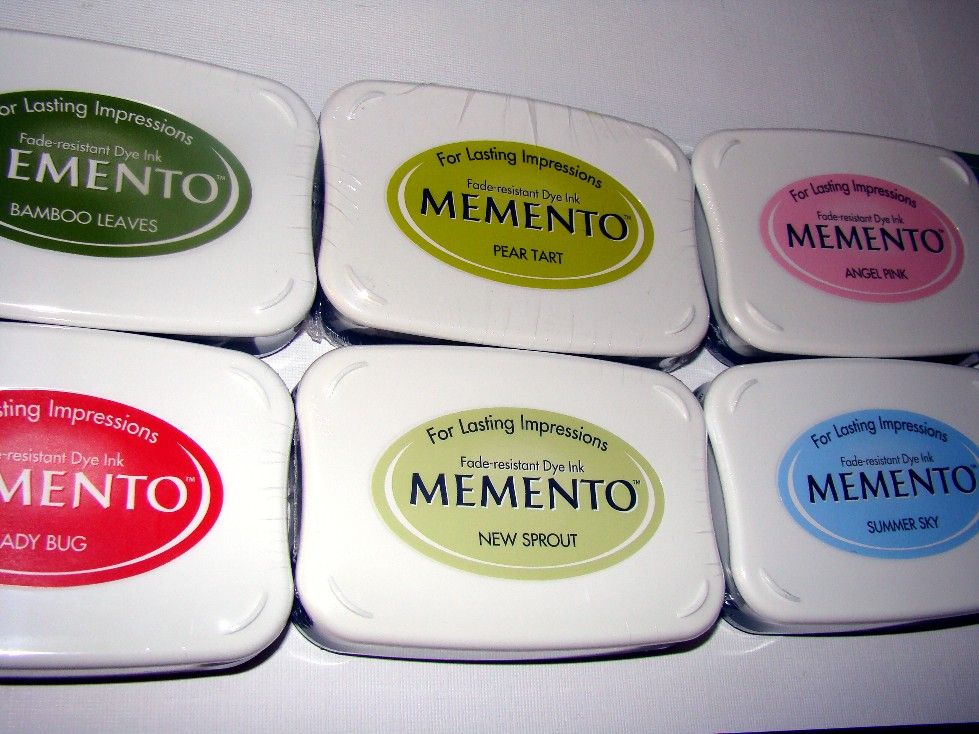
I found some ink pads...  I realized when I was shopping that I have lots of bold, rich colors, but not a lot of softer ones.  And I am sucker for anything GREEN, which I never seem to have just the right shade of, so picked up some of those too ;)  These were really priced well too, only $4.99 each!


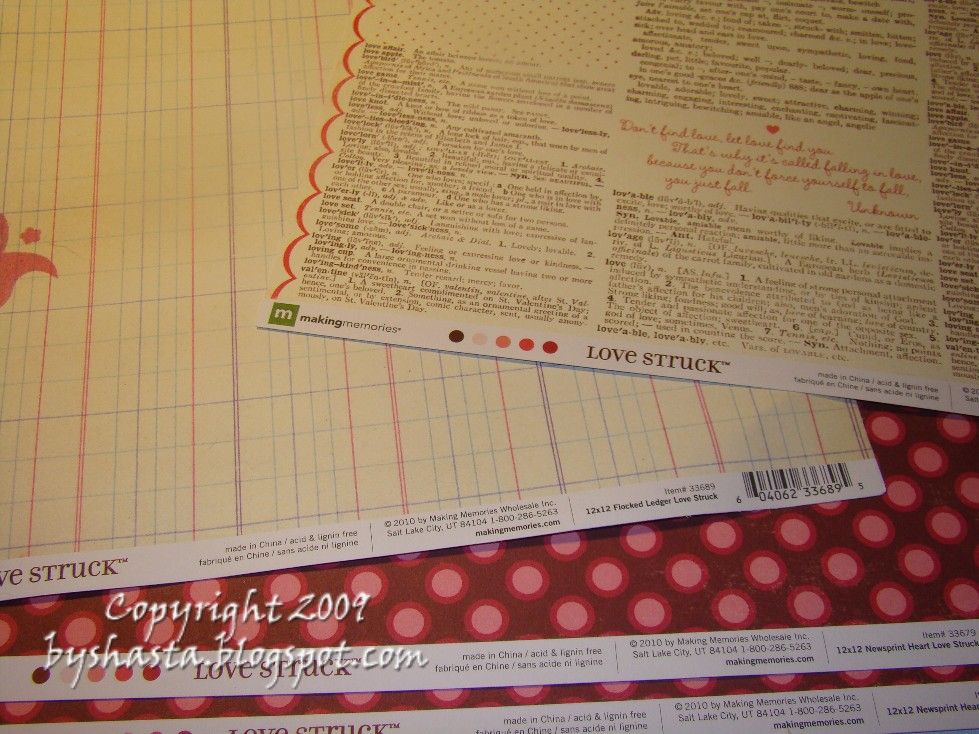
And some other stuff...


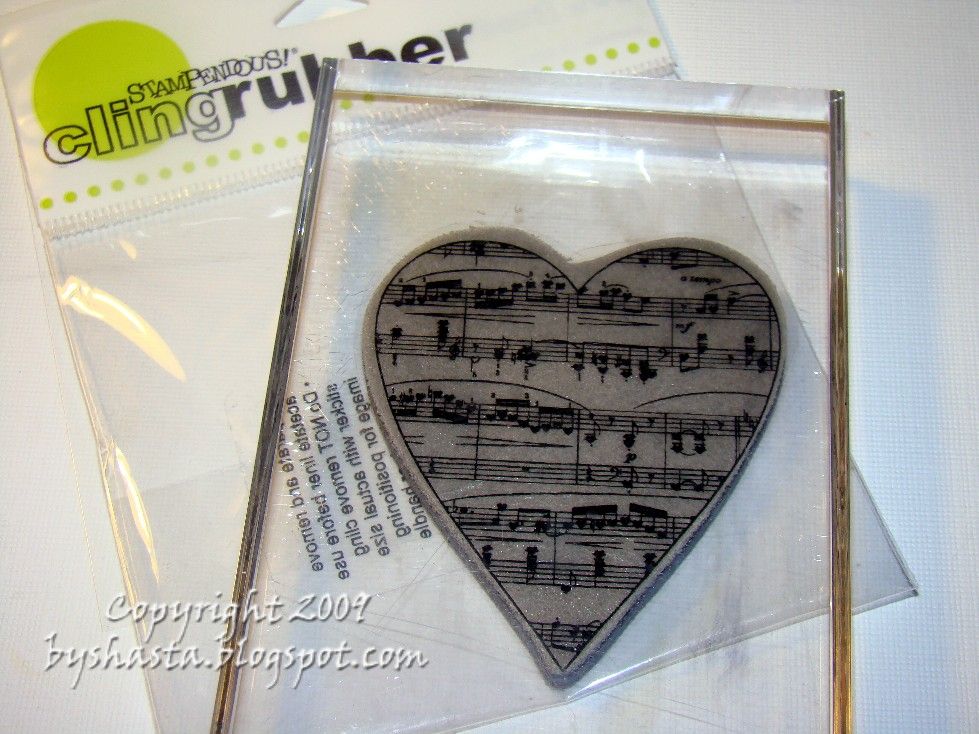
LOVE this new stamp!!  I used it a bunch last night.


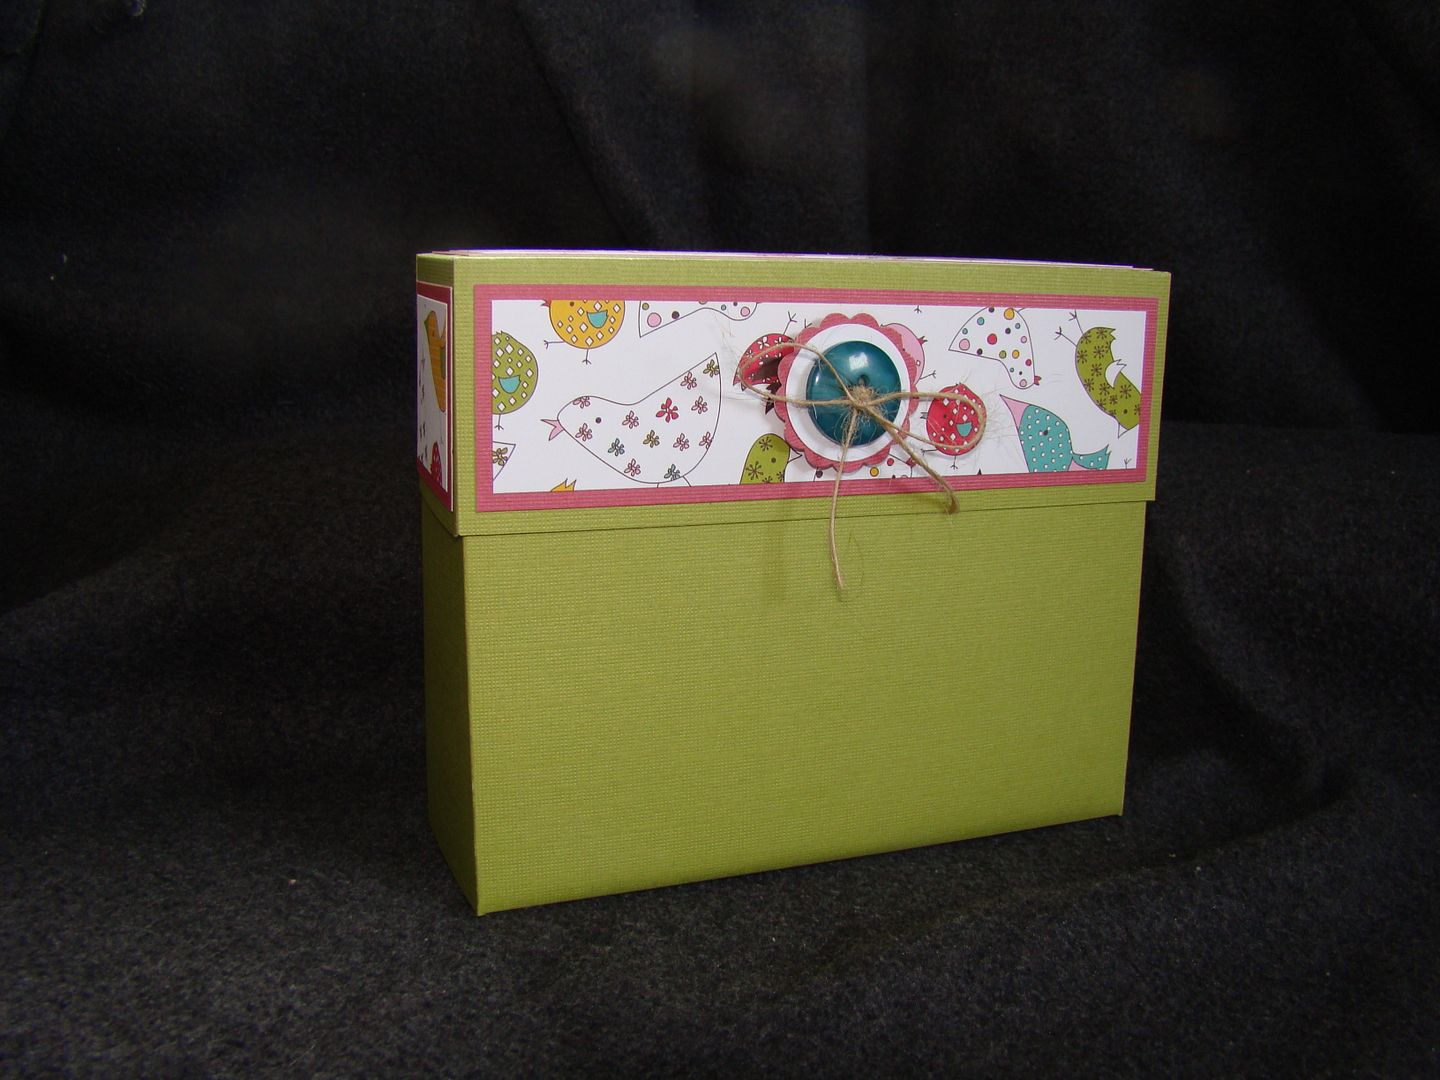
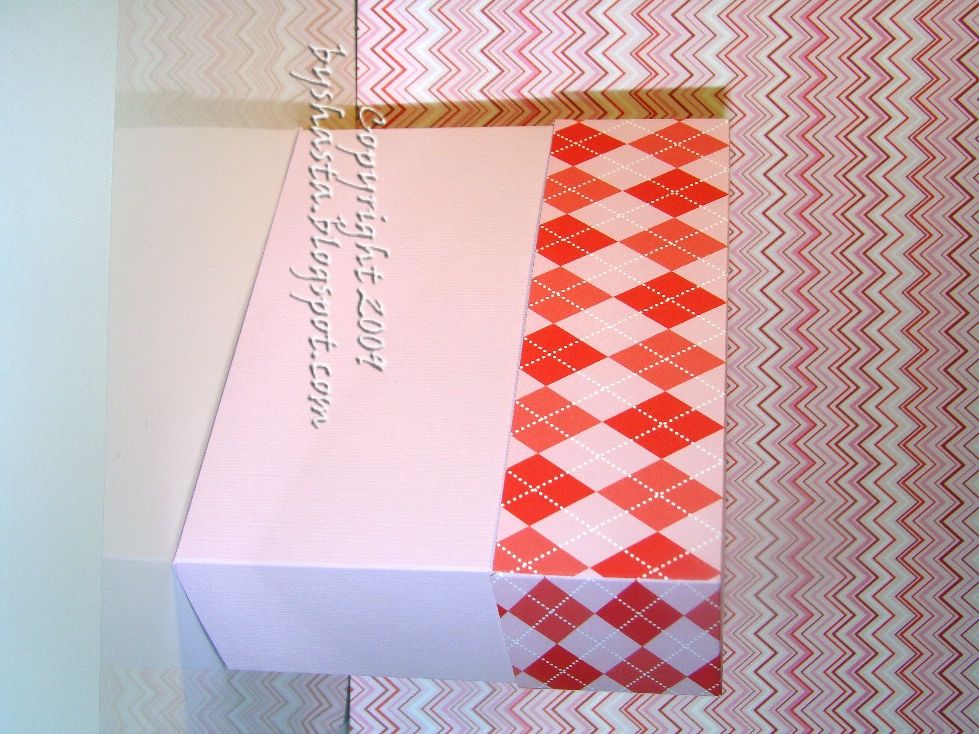
I found this box from HERE ages ago, and decided to make a Valentine's themed one.  Here is the box all closed up.  I am going to add a ribbon and some kind of goodie to the front, but haven't decided what yet.   The lighting wasn't the best today so the colors look funny, and my camera battery was dying, ugh...


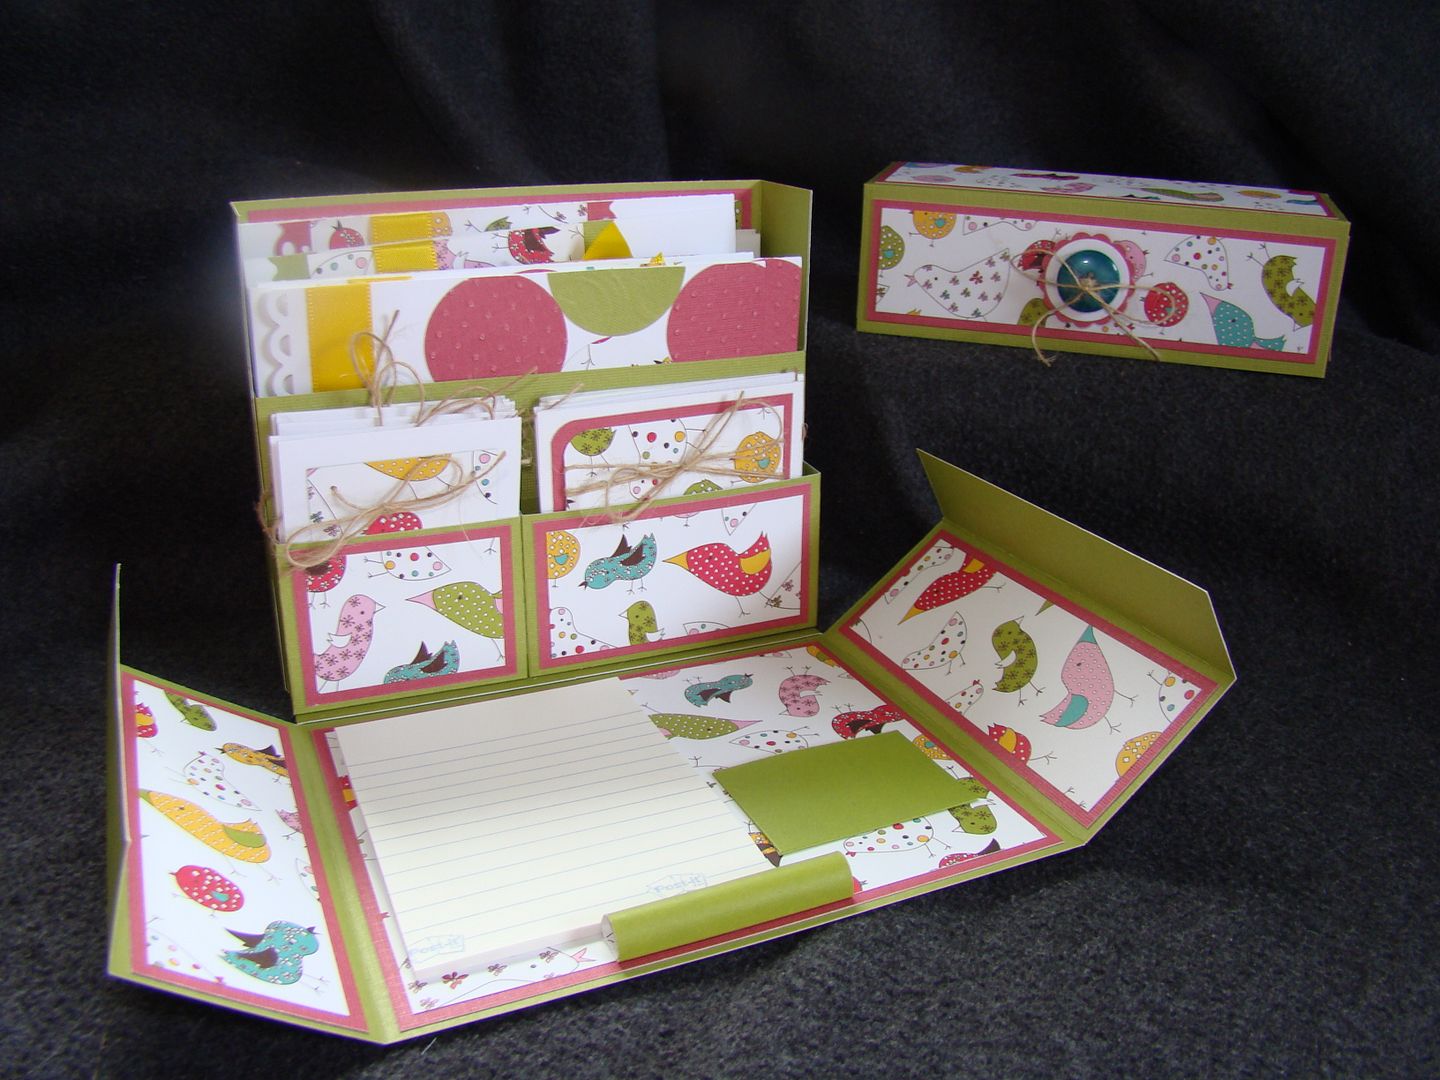
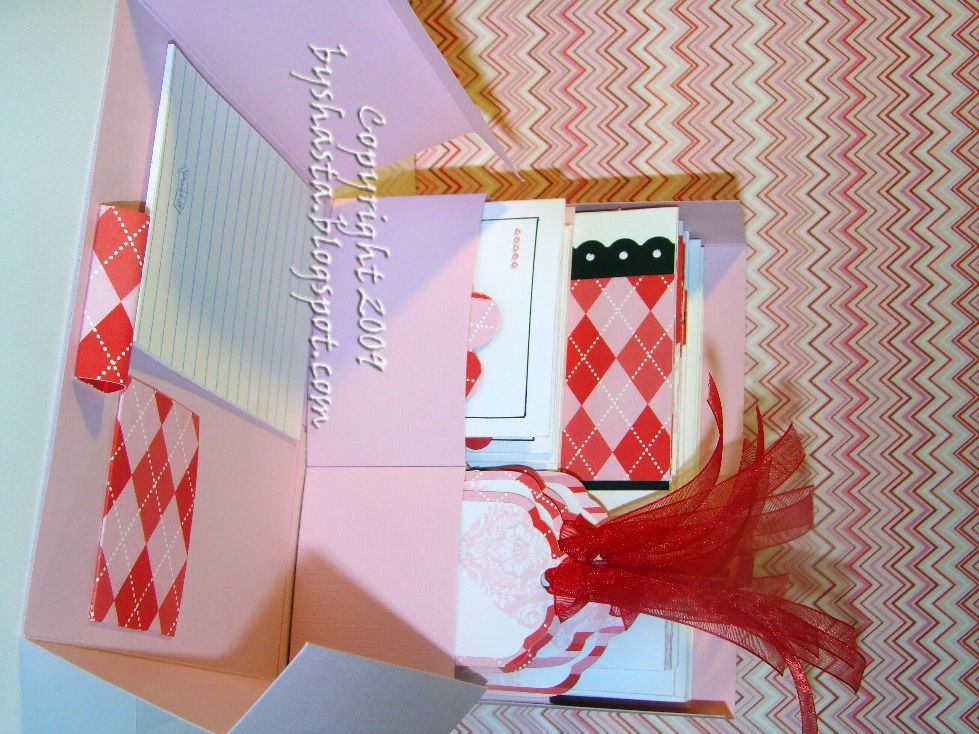
When you lift off the lid, the front comes down and reveals what's inside ;)  I changed it slightly, to a stack of sticky notes instead of an address book.  The loop in the front is for a pen, and the pocket on the left is for stamps.


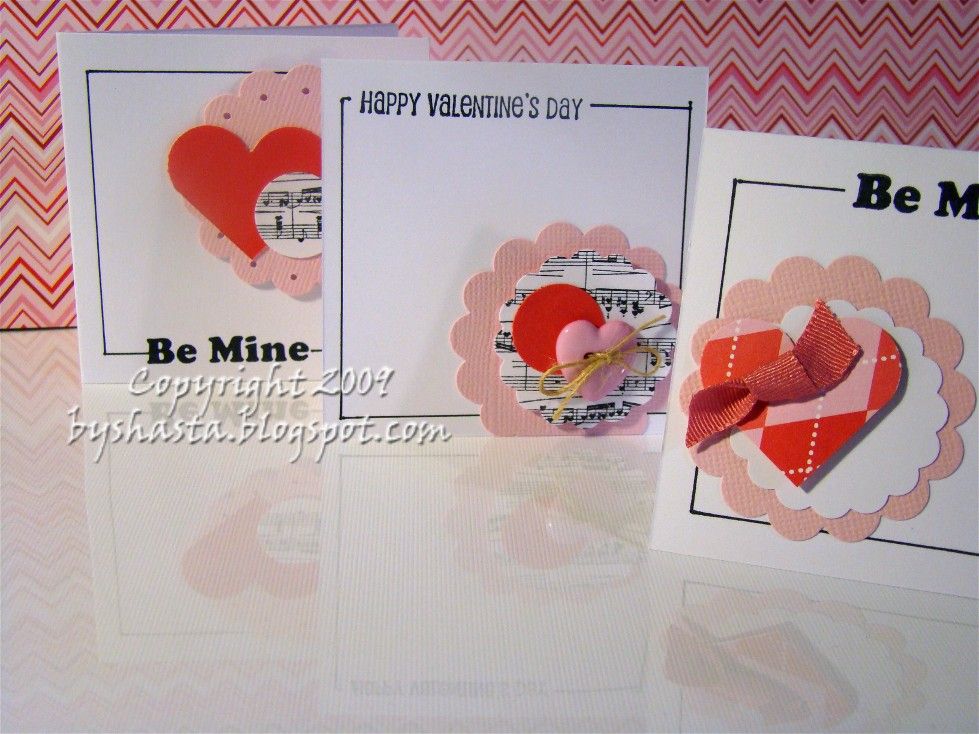
Here are the 3x3 notecards.  I used M's $1 clear stamps for the sentiments and buttons from M's also.  I realized I had no heart punches (GASP!!), so more on that in a sec!

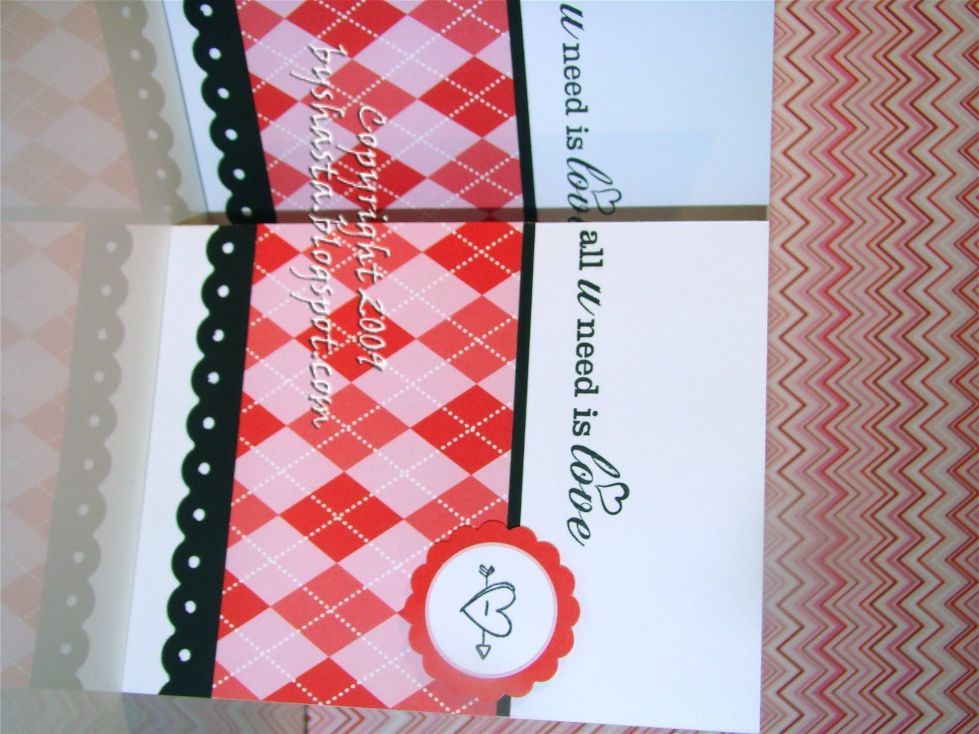
These 3x3 note cards were inspired from HERE
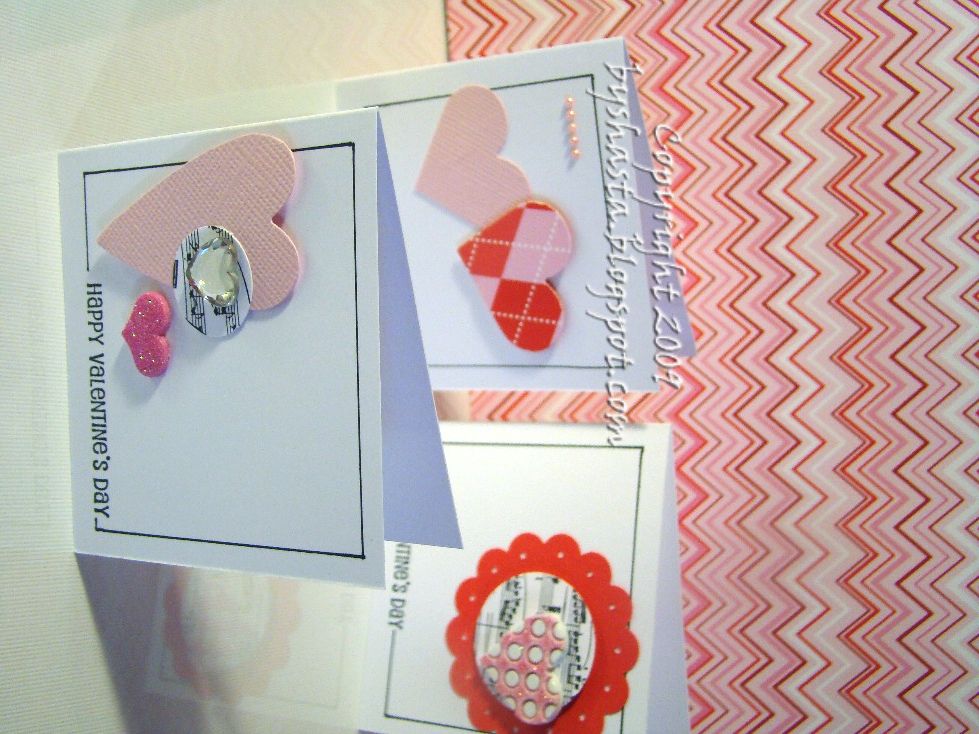


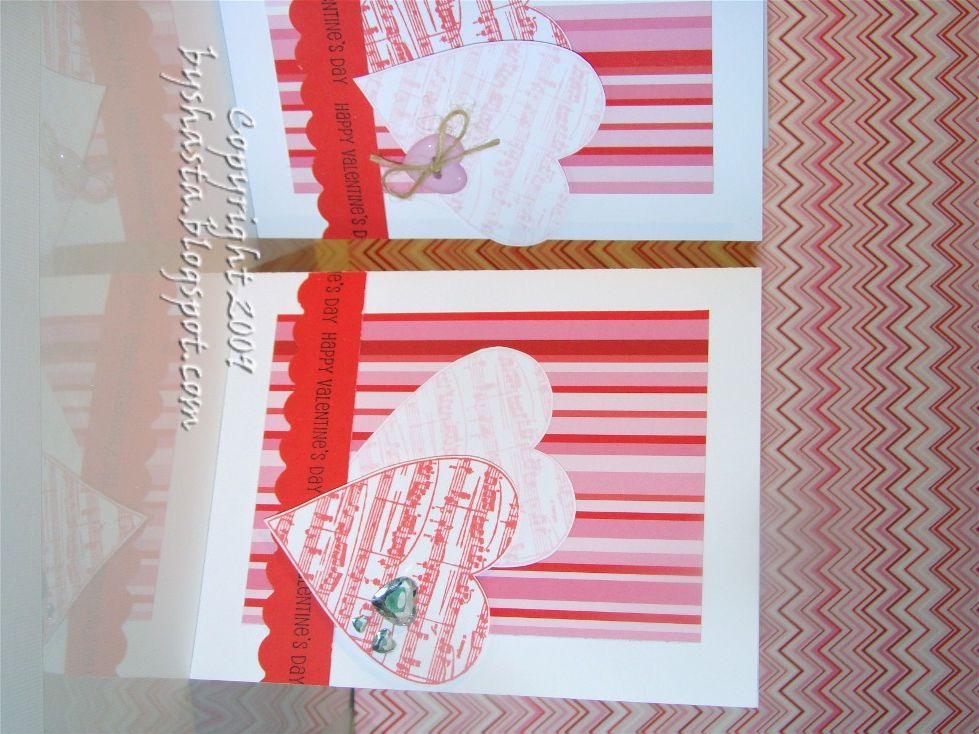
these cards inspired from HERE, love her stuff..
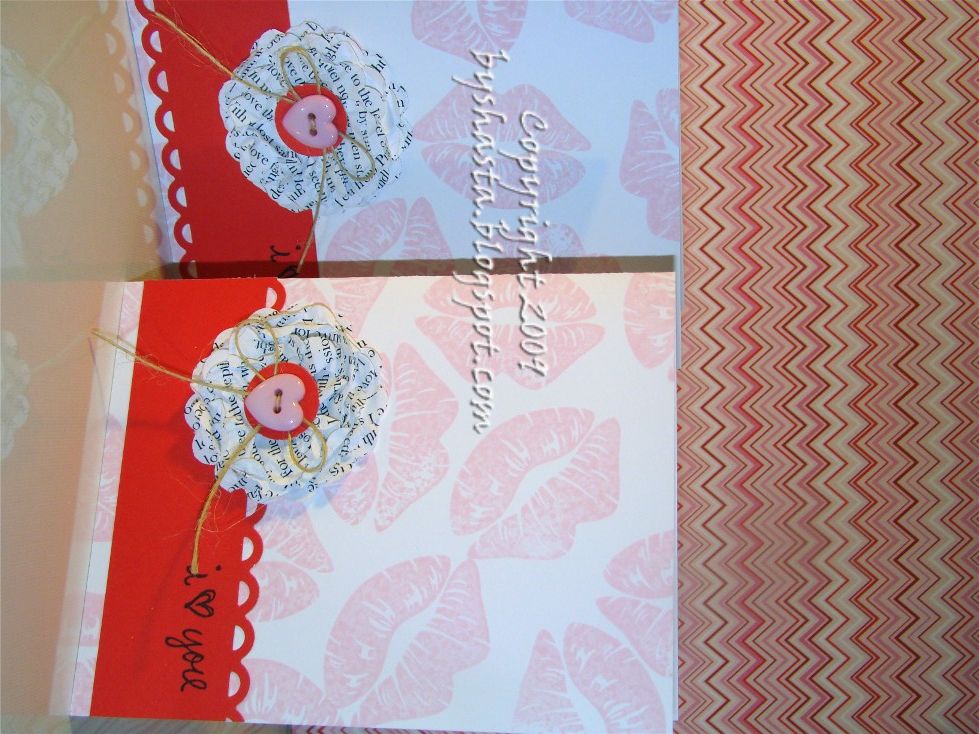


This smoochie stamp was from M's $1 wood mounted section, cute!

Flowers from HERE also...  They were fun and super easy!  I have yet to find some vintage book print, so I found a copy of the poem "How do I love thee" by Elizabeth Barrett Browning.  I printed it out in a classic font, then punched it out.


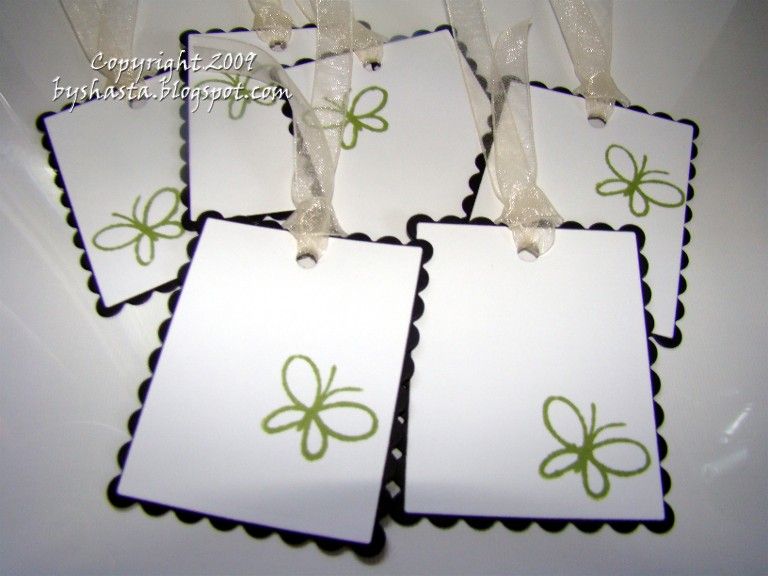
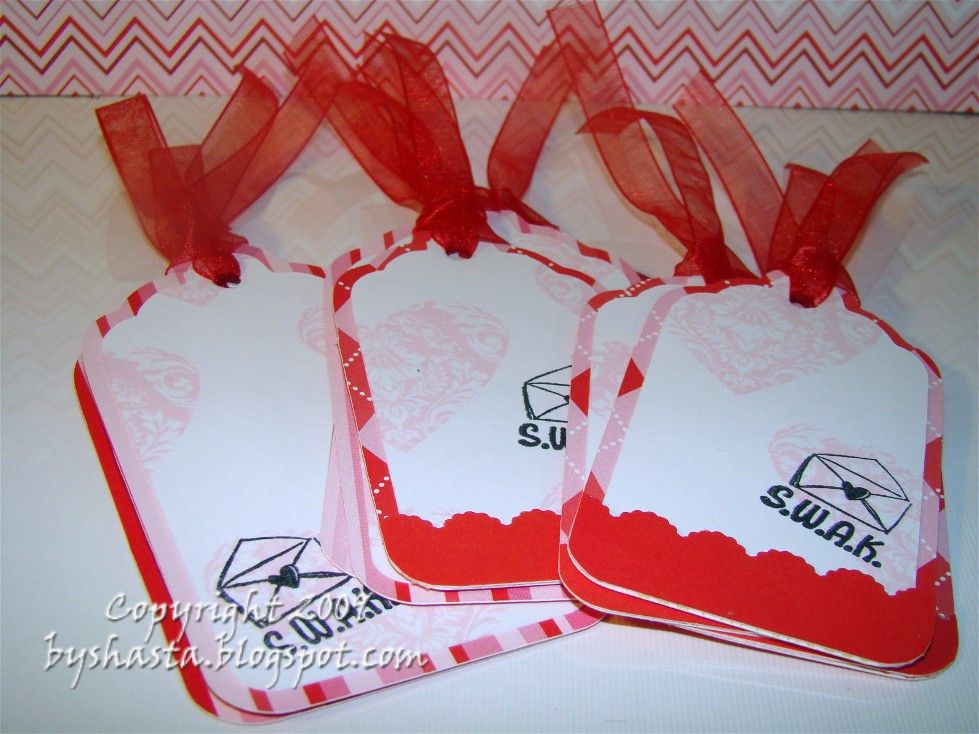
And lastly, the tags.  I cut these on my Cricut using the George cart.  I used the tag shape cut at 3 3/4" and 3 1/4" for the smaller ones.  The shadow layer, then the regular layer in white.  The heart stamp is another wood mounted $1 from M's, and the SWAK one is a clear $1 one, love them ;)


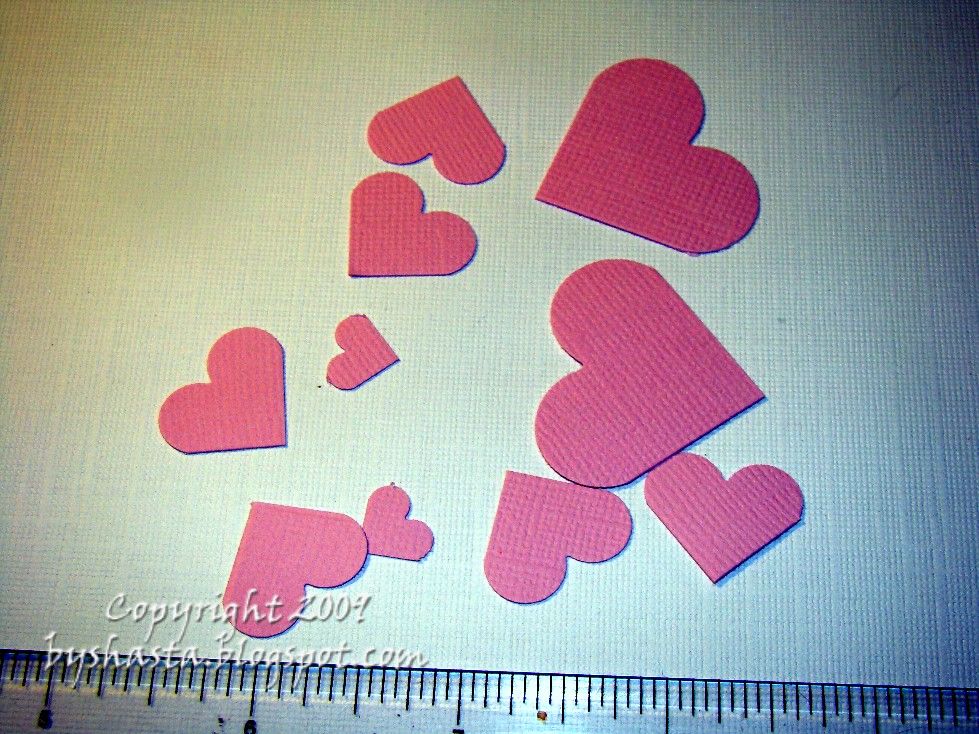
Phew, ok...  Now for some other misc stuff!   Remember how I said I had no heart punches?  Well I have these....  And I recall you can punch them out and cut them apart, blah, blah, blah.  Well, I did something slightly different and got some hearts!
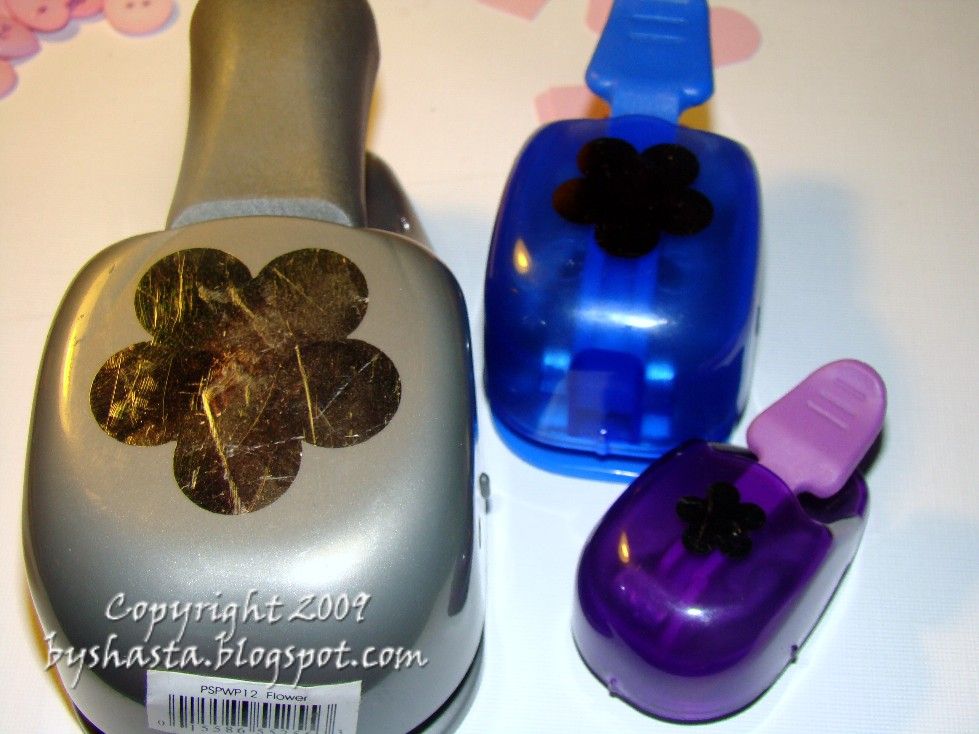


I used my scraps from the box like this..
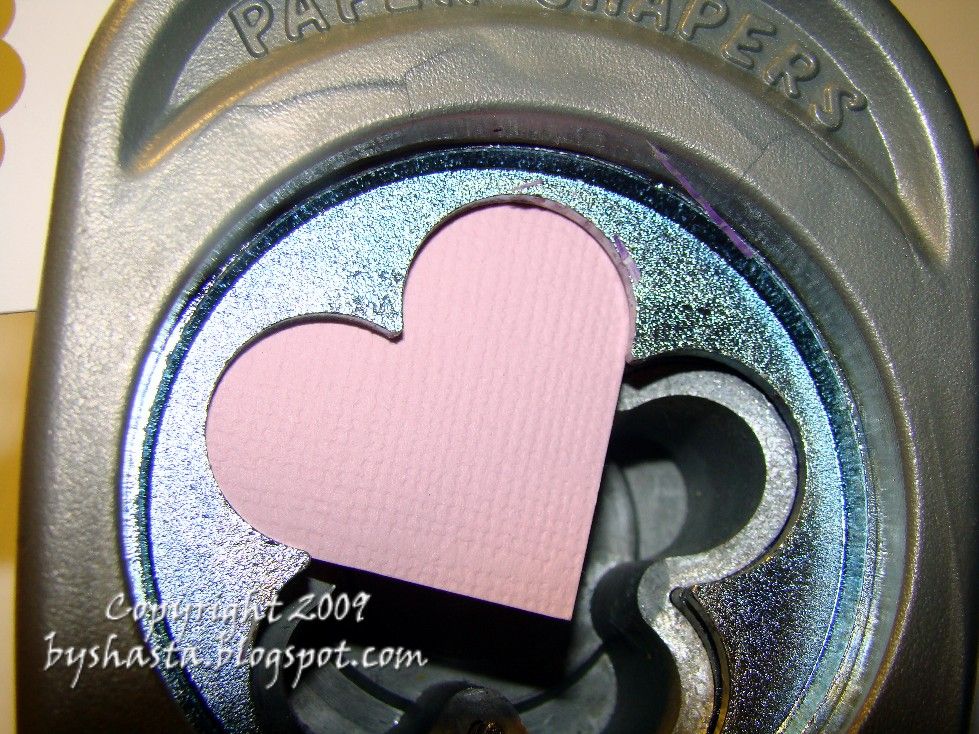


To get these little guys!


AND THEN, in the middle of all this creating, I had another idea that couldn't wait, lol!  Actually, I have been wanting to do this for ages and just couldn't put it off...  Especially since I had just bought MORE ink pads.  

I have all my ink pads organized by brand..  All my Tim Holtz in one drawer, Staz-On in another, etc...  So if I am looking for the perfect shade of green, I have a few drawers to dig through.  PLUS, I am impatient and hate to stamp on a scrap to see if I have the right color.   ...And I can't tell you how many times that has come back to haunt me!

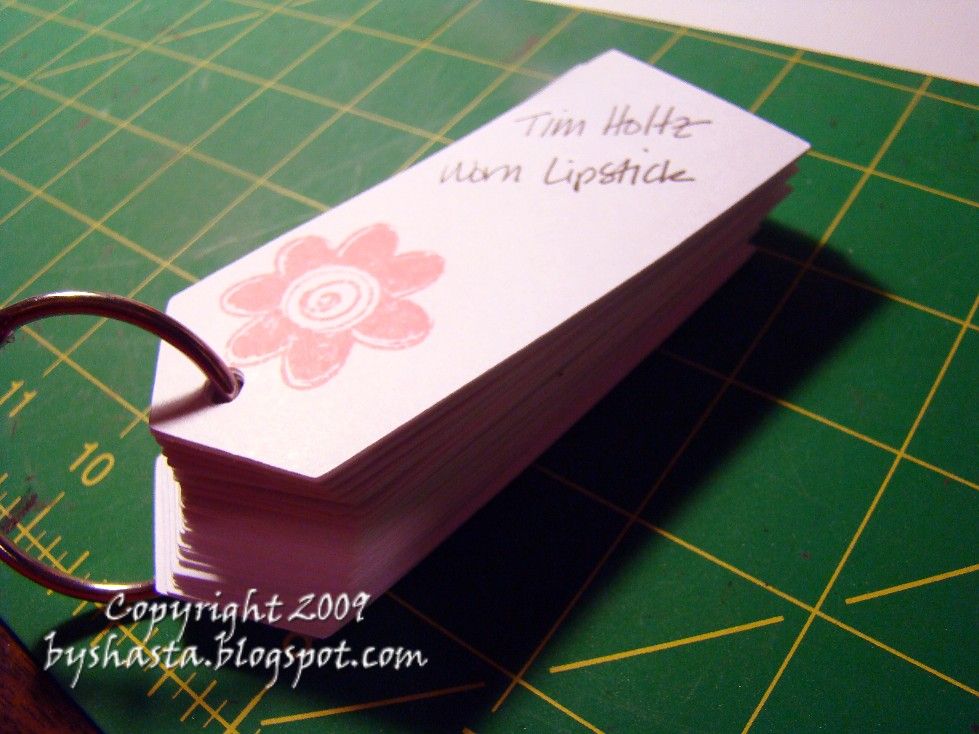
Which brings to me to the project I did last night while watching CSI Miami with the hubs.  I cut out a ton of tags, also from the George cart.  I picked a fairly small stamp that had a mostly solid image to I could see the color well.  I stamped each color, and then wrote what brand and the name of the color on each one.  Once I had all the supplies in front of me, it didn't take all that long.
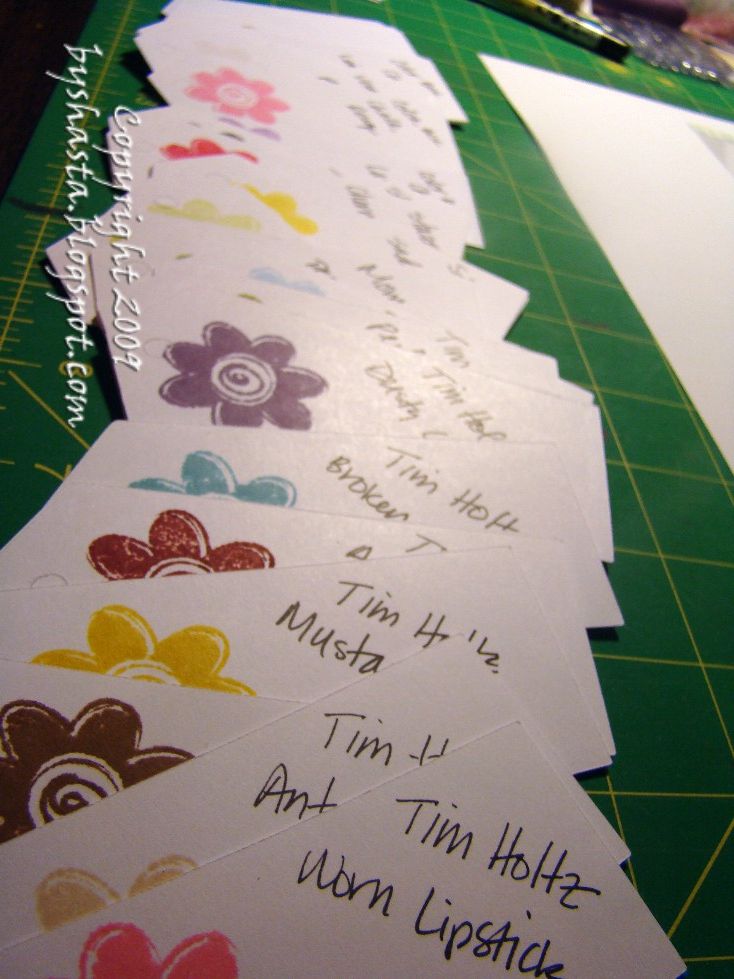


Then I put them on a loose-leaf ring, and voila!   Now I can easily go through this and then know which color and in which drawer, phew!   On a side note, I think I am developing an ink obsession!  When I had these all stacked up, I realized how many ink pads I have accumulated ;)


On another side note....  When I was putting these ink pads away I noticed a feature that I really like!  They are labeled on the side also, and this is how I store them and this makes searching them super handy.  I  have used my label maker to mark my other ink pads just this way.  And I REALLY like this brand (which I have never used before yesterday), and think I  may have to get more..!  ;)