Showing posts with label tutorials. Show all posts

Monday, July 27, 2020

Flower covered monogram for my daughter's room

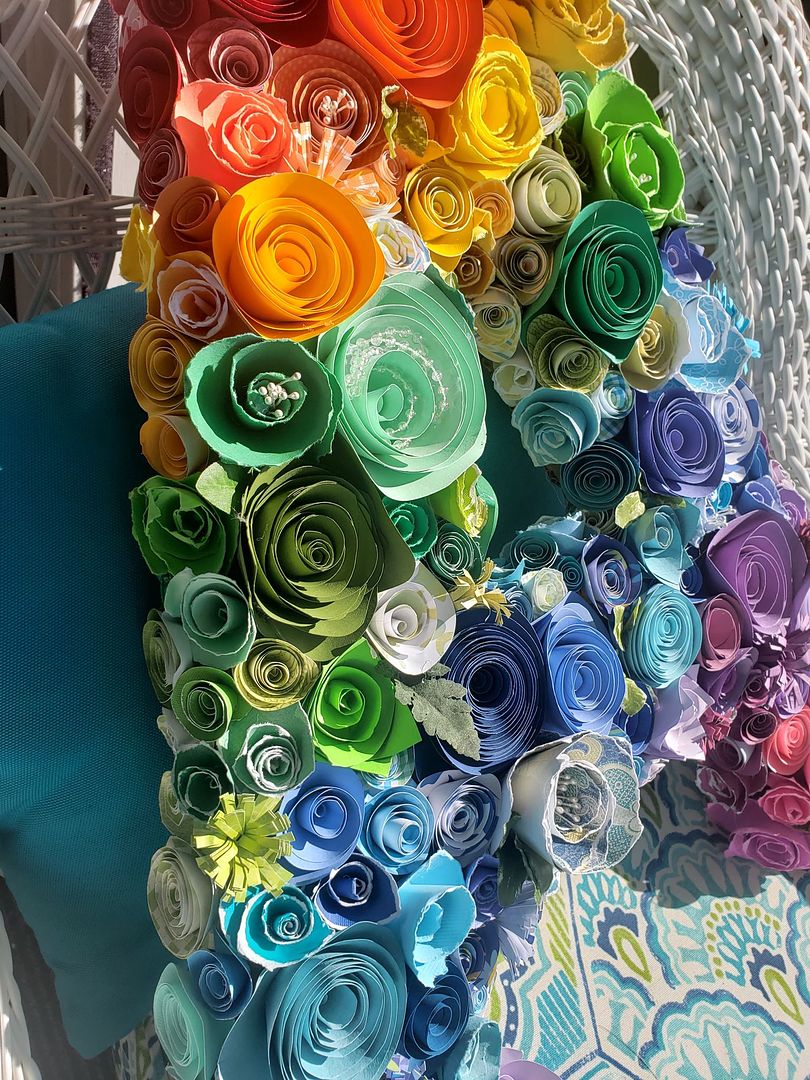
 Recently we did a makeover of my daughter's bedroom during our 89 days of quarantine for COVID19, and the theme was clouds. Since there are clouds on the wall, I decided to liven it up with a pop of color, and what better than a rainbow??  I didn't want to go buy or order anything, so I used what I had.  I haven't been crafty in a while!

(edited)_116435070_348005312868851_7053473115506698912_n

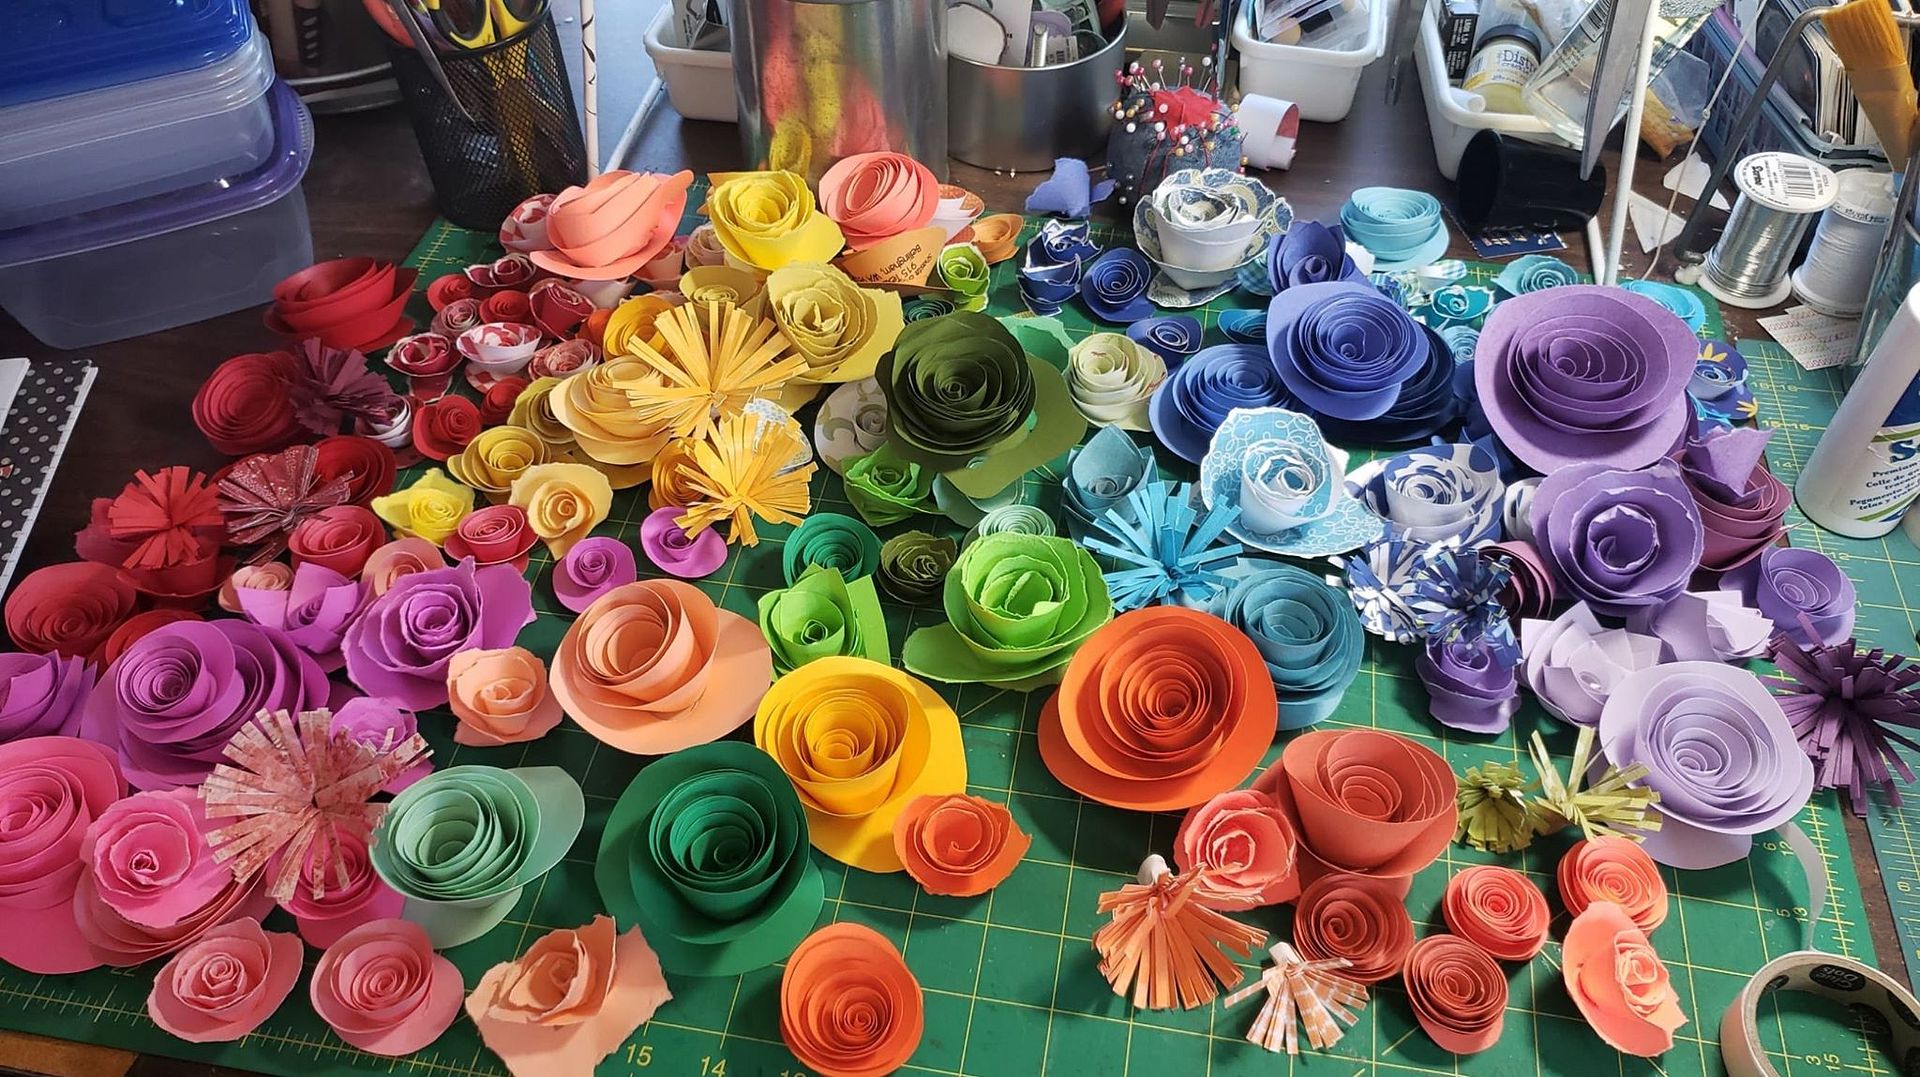
I started by making a ton of paper flowers with all kinds of scraps. The pieces were square or slightly rectangle shape for each flower, and in varying sizes. Some were about 2" and some were as big as 8" or so.  I cut some into circles with scissors, and some I tore with my hands, and then each was cut or torn into a spiral.  Some were a circle spiral, and a few I did in a square spiral.  Some wide rings, some skinny ones, wavy ones, straight ones..  It was fun experimenting! The size of the finished flower was determined by a couple of things: the size of the beginning piece of paper, how wide each ring of the spiral when cut or torn, and how tight or loose they were when glued down.  I used a quilling tool and started on the outside tail of the spiral, and wound my way to the middle, which was then glued down.  For a more detailed description of how to make these, please go here.  I also used a few pieces of long and skinny scraps to make the frilly flowers, which the fringe was cut with Martha Stewart scissors made for fringe. These were just rolled up lengthwise, and then glued and fluffed out.  

116151468_3248945551858191_8374167509596821149_n 
 
I started out by making this bunch, and thought I would have plenty..  Not!  I ended up making another batch, and then another batch, and then even more. After I started gluing them down and was almost done, I needed a few more of certain colors to fill out around the edges.  All said and done, I think I ended up with about 275 or so flowers!

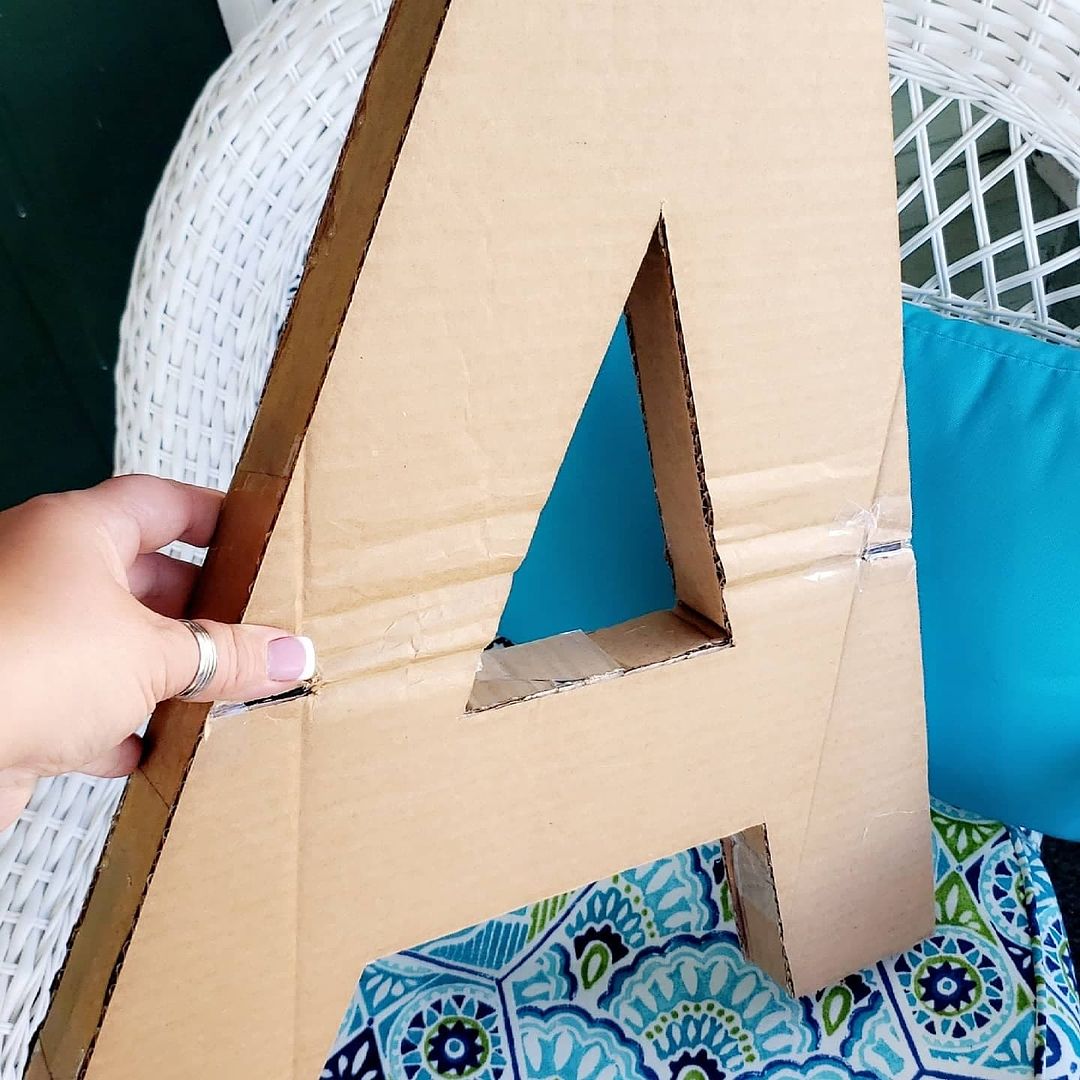
The monogram was cut out from a cardboard box in our recycling bin.  I would guess that it is about 28" or so.  I used a craft knife to cut it out, after measuring and marking it with a pencil.  I cut strips of the cardboard and taped them together to make a long strip for the sides, and put everything together with hot glue.  I also added a few scraps inside the hollow space to reinforce it.  I knew I would be handling it a lot and pushing on it when putting on the flowers, and didn't want the hollow spaces to collapse. 

114585638_735546010589794_2644733668457891686_n

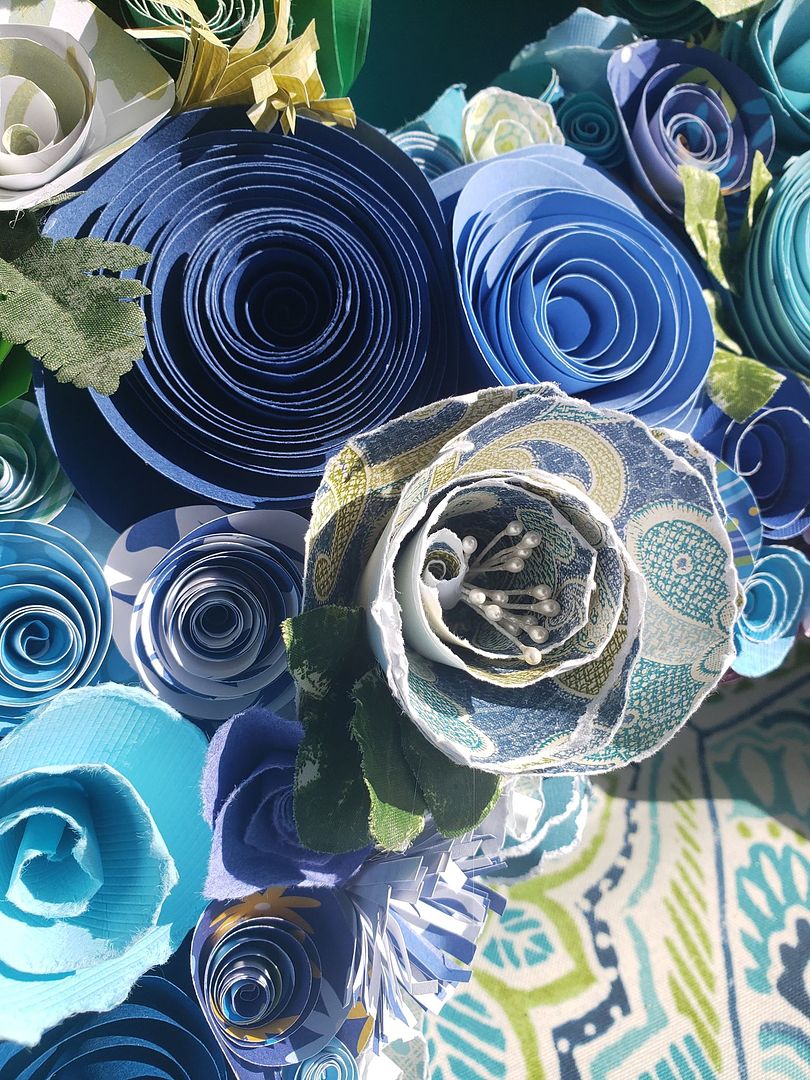
My daughter's favorite color is blue, so I made more of that color than all of the rest.  I also started in the middle with that color, and worked my way out to the top and bottom.

116427691_763996571023364_147502955120982697_n

When I was done with the flowers, I decided to add some miscellaneous other bits to it. In my stash I found pearls, little pieces to look like the stamens, and a few artificial leaves,

116338678_2678006105749280_2544865451518999421_n

And here it is hung on my daughter's wall 🌈

(edited)_116017732_3253007171432334_7189357283096005442_n

Wednesday, February 1, 2017

My first digital download for sale!

I decided to create a PDF of instructions for my mini albums!  It took a lot more effort than I thought, but I got it done after 2 weeks.  It is for sale in my Etsy shop!

Here are a few samples of the completed instructions.


Monday, November 19, 2012

Fall retreat cards

I spent the weekend at a scrapbooking retreat in lovely Fort Flagler State Park the first weekend in November, and made cards for a few days.  I have had the pleasure of going there for the last 6 or 7 years with 30-40 ladies twice a year, and just love it.  Usually I make pages, but decided to do these instead because my stash of cards is dangerously low!  Plus I wanted to get out *all* of my inks and stamps and just play.  Just about all of these are lifts from Pinterest or other ones I have seen on the Hero Arts blog or Jennifer McGuire's website (love her!).  She is probably single handedly responsible for my love of Distress Inks.  She had an incredible video tutorial collection a year or two ago that has some amazing techniques on how to use them.  There are 27 videos but trust me, it will not be a waste of your time!!

This first set uses a flower stamp and a text background stamp, both from Hero Arts.  I stamped the text first after blotting the image a bit so it wasn't solid, then stamped the flower.  I sprayed the stamp with water first to make it watercolor-ish, and all of the inks on these ones are from Tim Holtz.  I used my ink blending tool to color the card base with the same color that I stamped the flower in, and around the edges of the white cardstock, then mounted it.  Add a sentiment with a punch from various stamp sets, some half pearls, and voila!
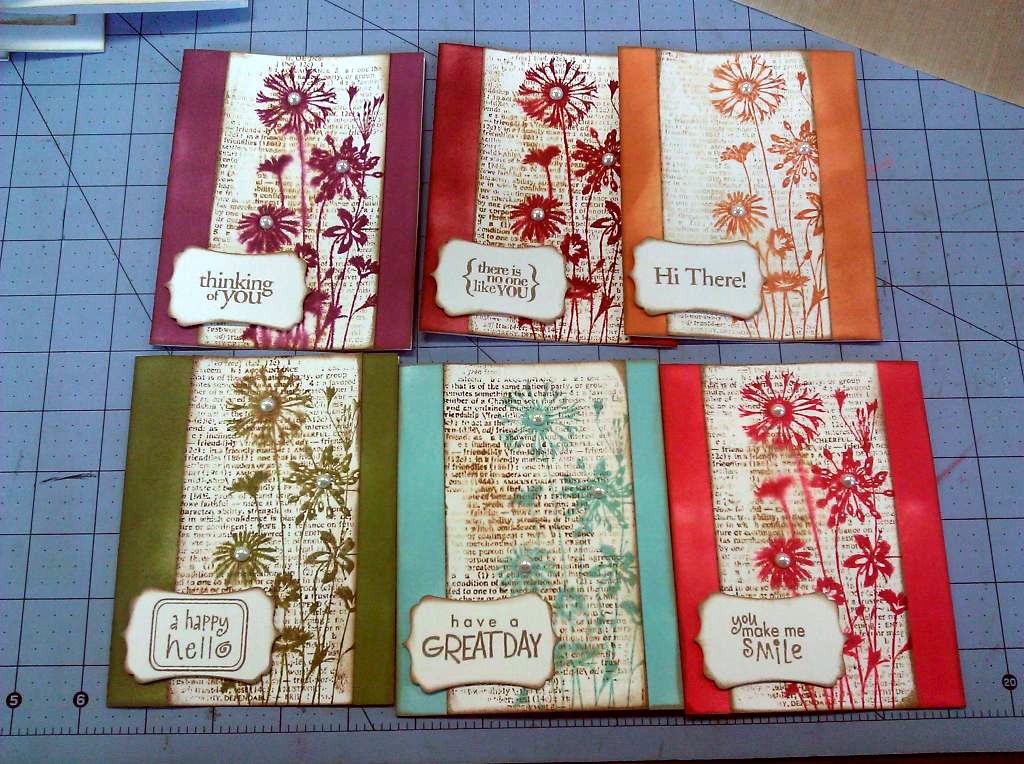
IMG_20121109_090510


These ones are super simple, a single layer, and I love how they turned out.  Inspired by this.  I stamped the flowers in various Memento colors using a Gina K set, and various sentiments.  Done!
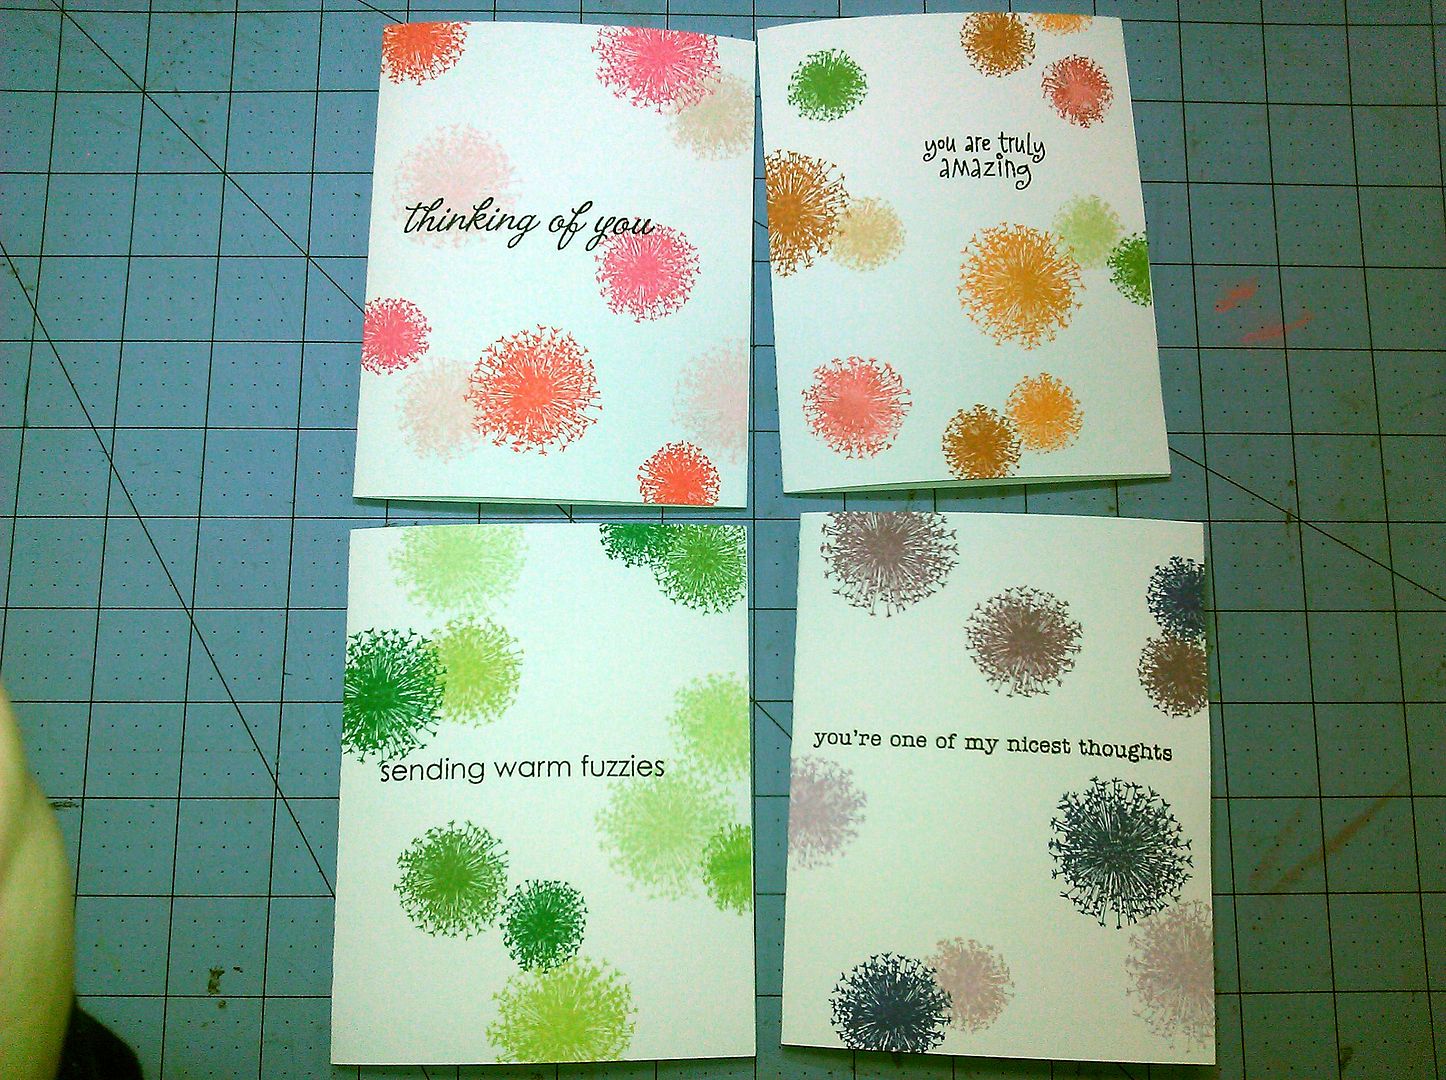
IMG_20121110_171627


Here is another single layer card, easy peasy.  Inspired from here.  This is another butterfly stamp I use a lot, and Memento inks.  Then I fussy cut around the open edge with scissors.
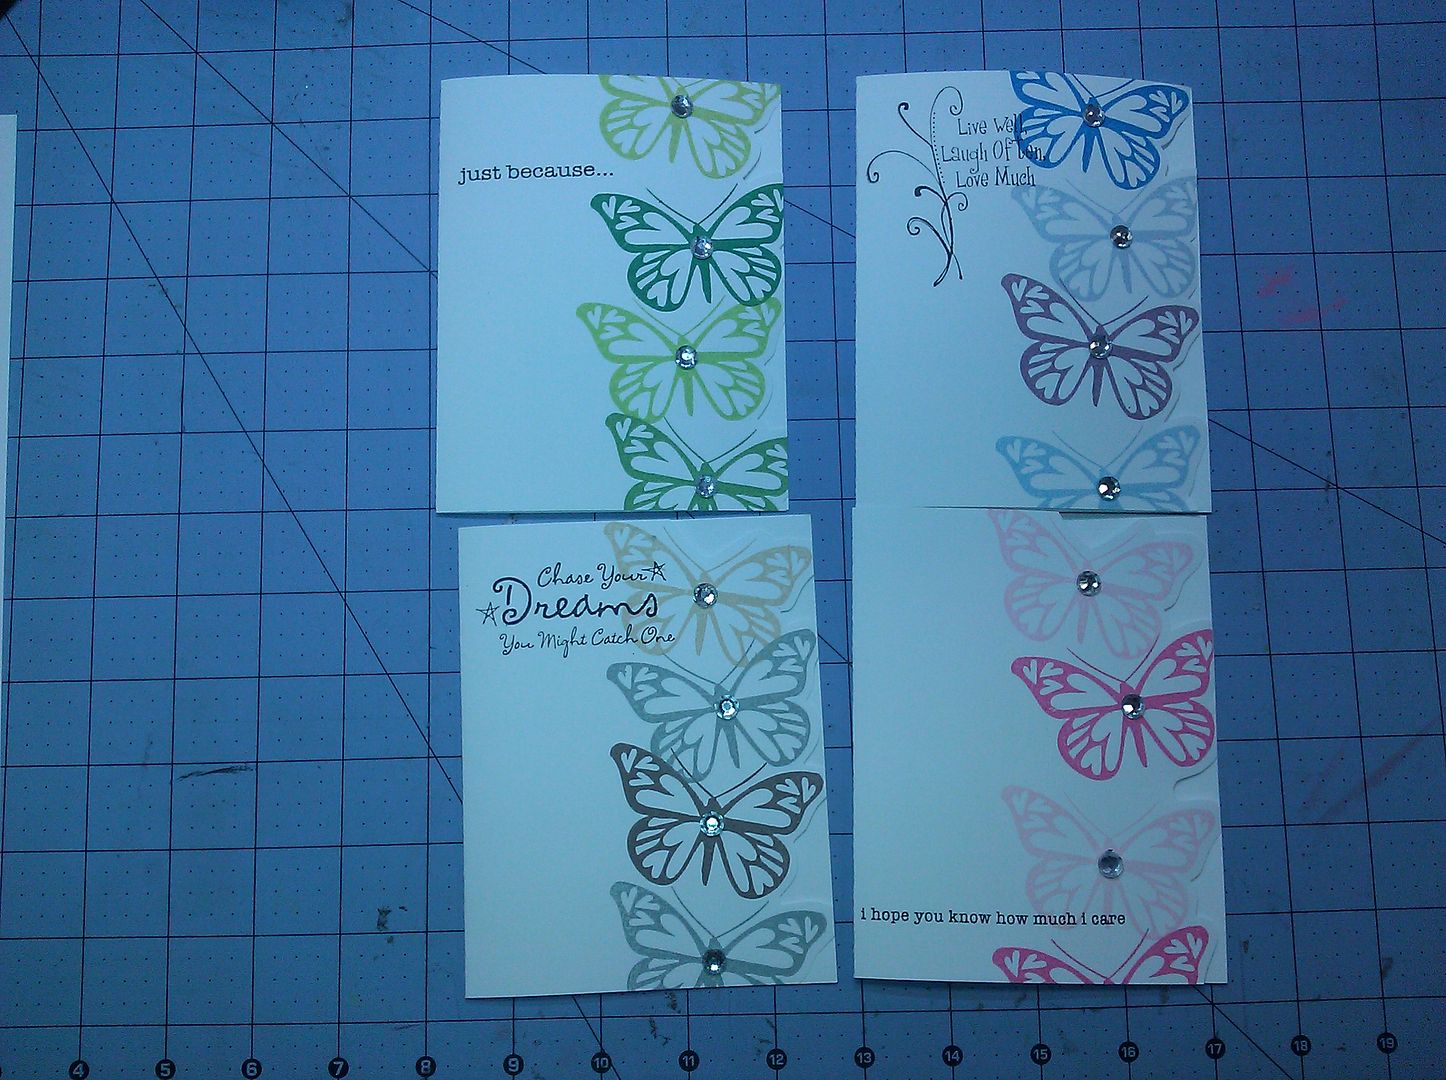
IMG_20121110_191801, Uploaded from the Photobucket Android App


This one turned out just like I wanted, and was so pleased.  Inspired by this.  I masked off the white cardstock with two pieces of black paper, stamped the text and rubbed 2-3 colors of Tim Holtz Distress Inks over that with the blending tool.  Once the black paper masks were removed, it left that nice crisp design down the card.  I believe the leaf is a Close to My Heart one, I borrowed it from my friend so am not positive.  I used brown cardstock to mount it, and added more pearls.
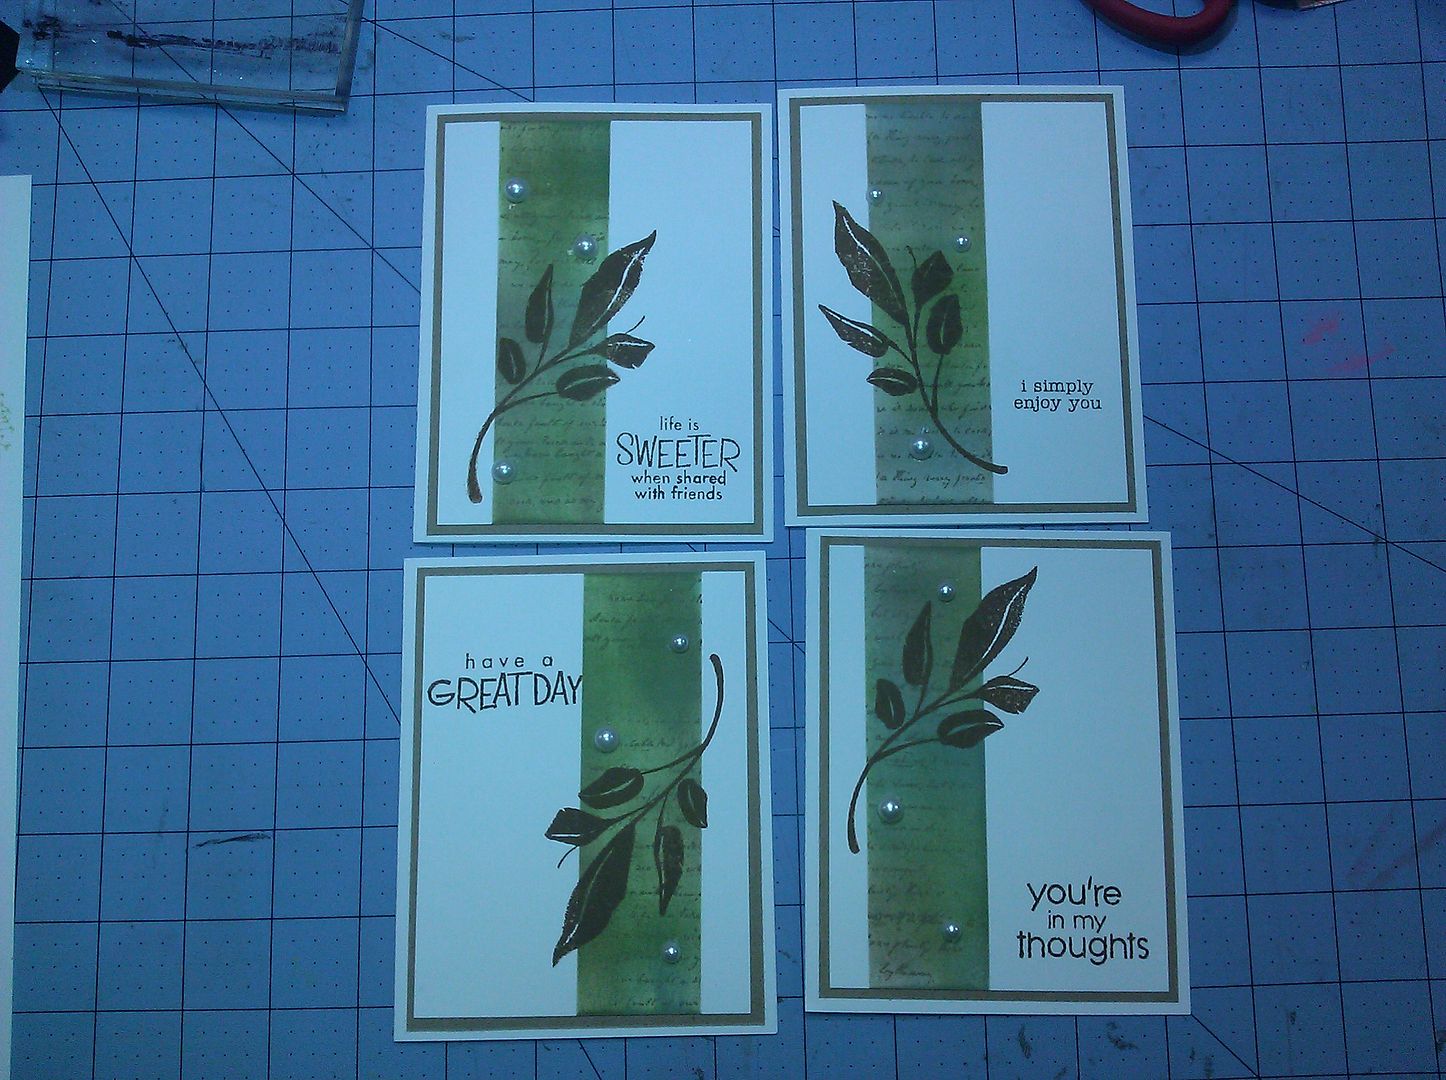
IMG_20121110_181541


I kept seeing these triple stamped cards, and wanted to try it.  Inspired by this.  You can find a tutorial here.  I colored the images with Copic markers and mounted it on black cardstock.  Make sure you use the right ink for your images when coloring with these markers, or it will smear.  Memento Tuxedo Black is what I used.
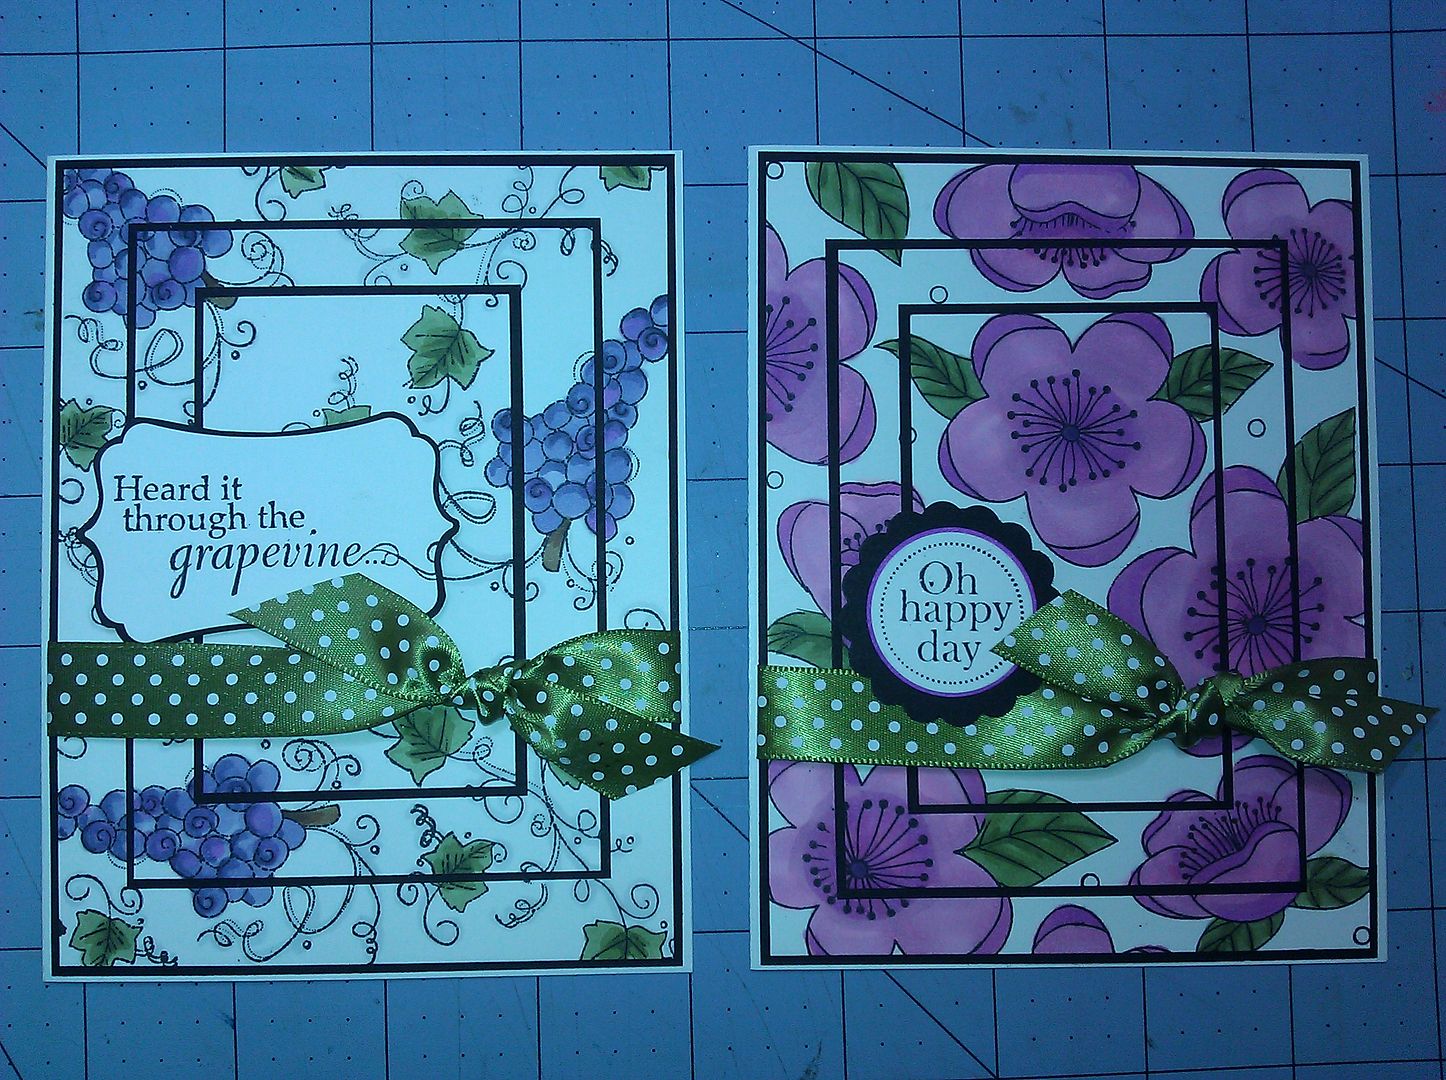
IMG_20121110_144419

I thought this donut stamp was just too freakin' cute.  These were a combination of 3 or 4 coffee/tea stamp sets I have.  I dry embossed the red background with my Cuttlebug, cut the scallop and circles with my Cricut, and then colored and fussy-cut the images. 
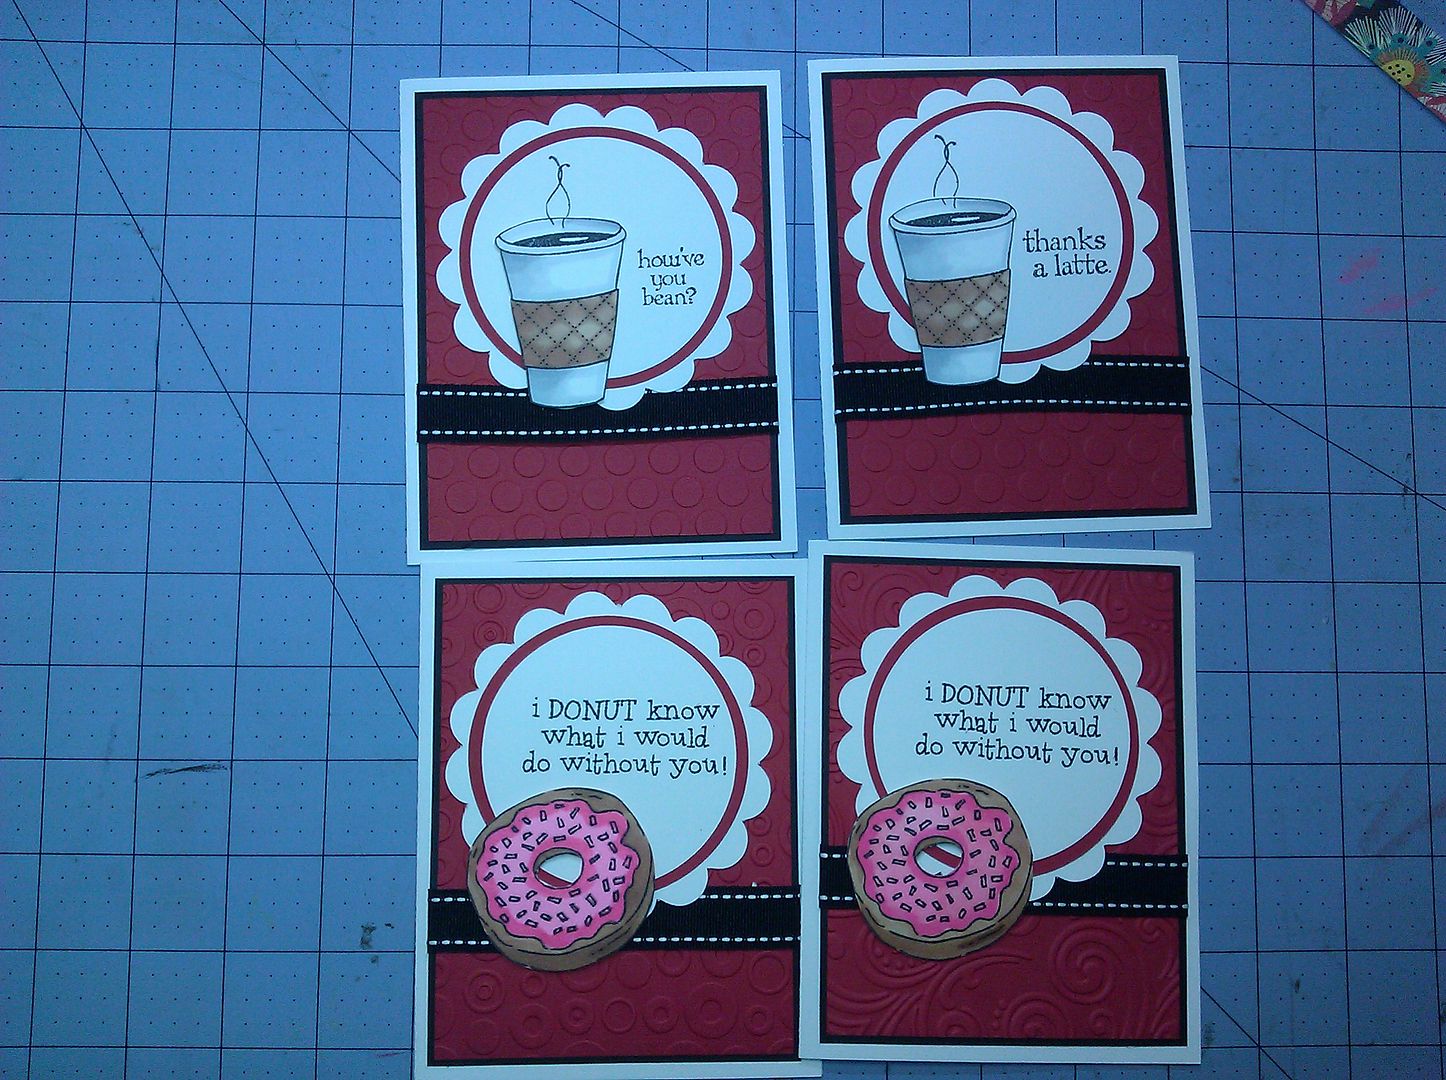
IMG_20121109_235017


This butterfly stamp is one of my favorites, and I use it a LOT.  The background was done with a swirly stamp in grey ink, then the butterfly.  I inked the butterfly with the main color of Distress Ink and then just brushed the edges with another color and sprayed with water before stamping.  This is on watercolor paper.
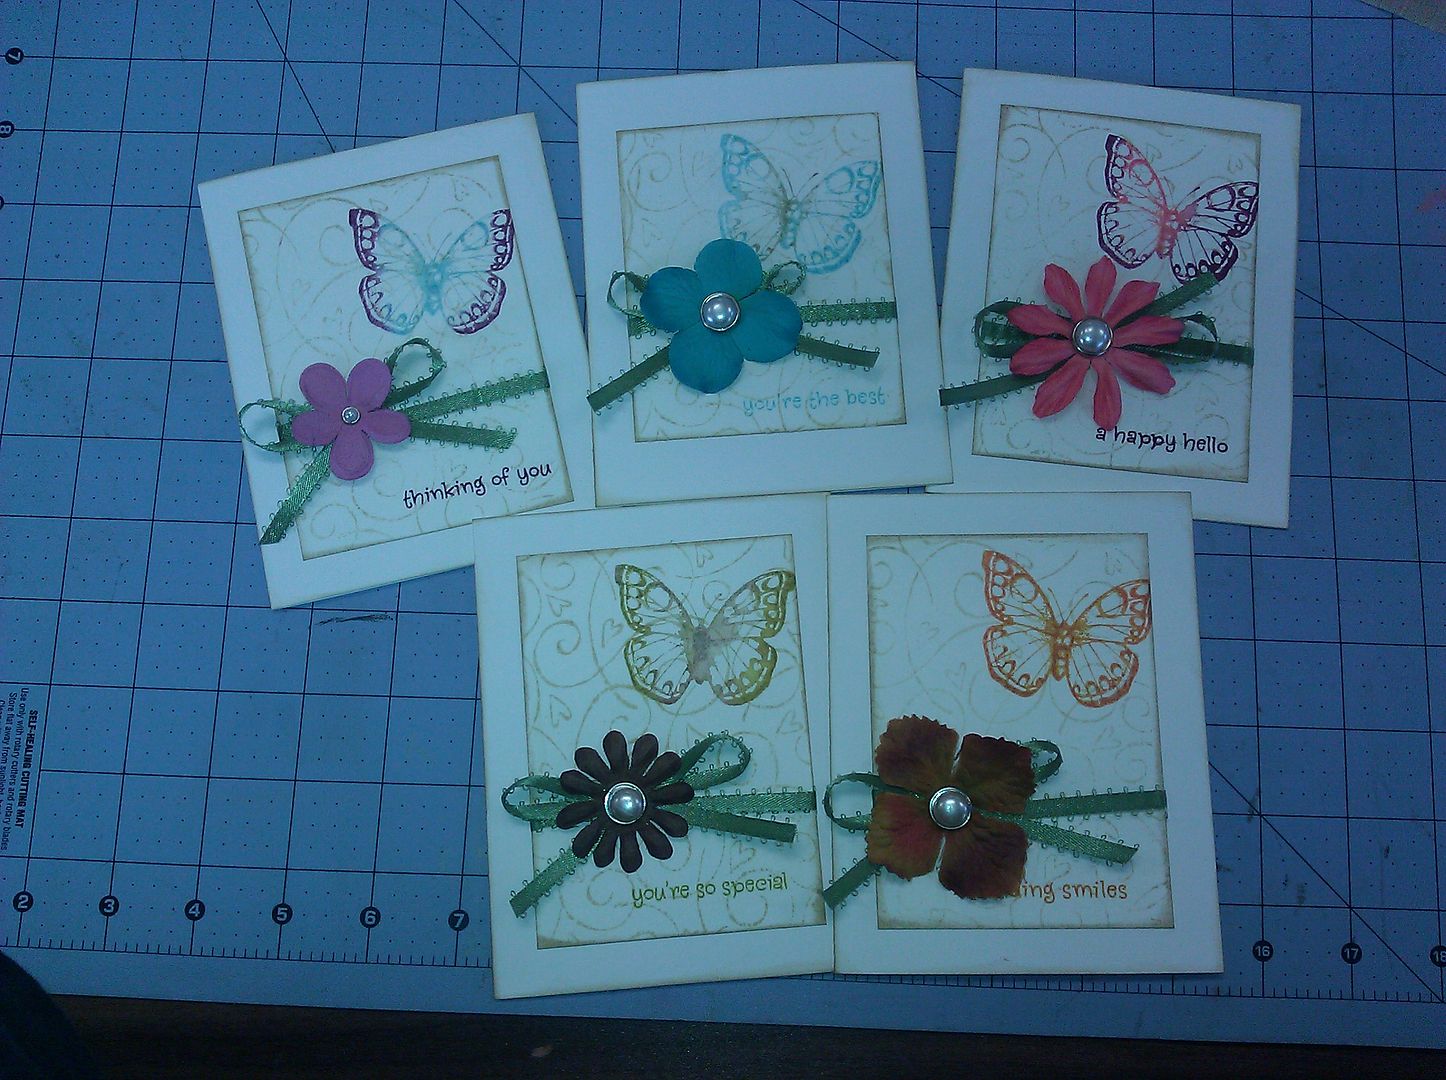
IMG_20121109_090619


This one is pretty simple too, and looks so nice.  I punched the base with a border punch from Fiskars, then inked with Distress Inks.  Then the same color was used on the flower, with green on the stem.  I also sprayed the stamp with water first.
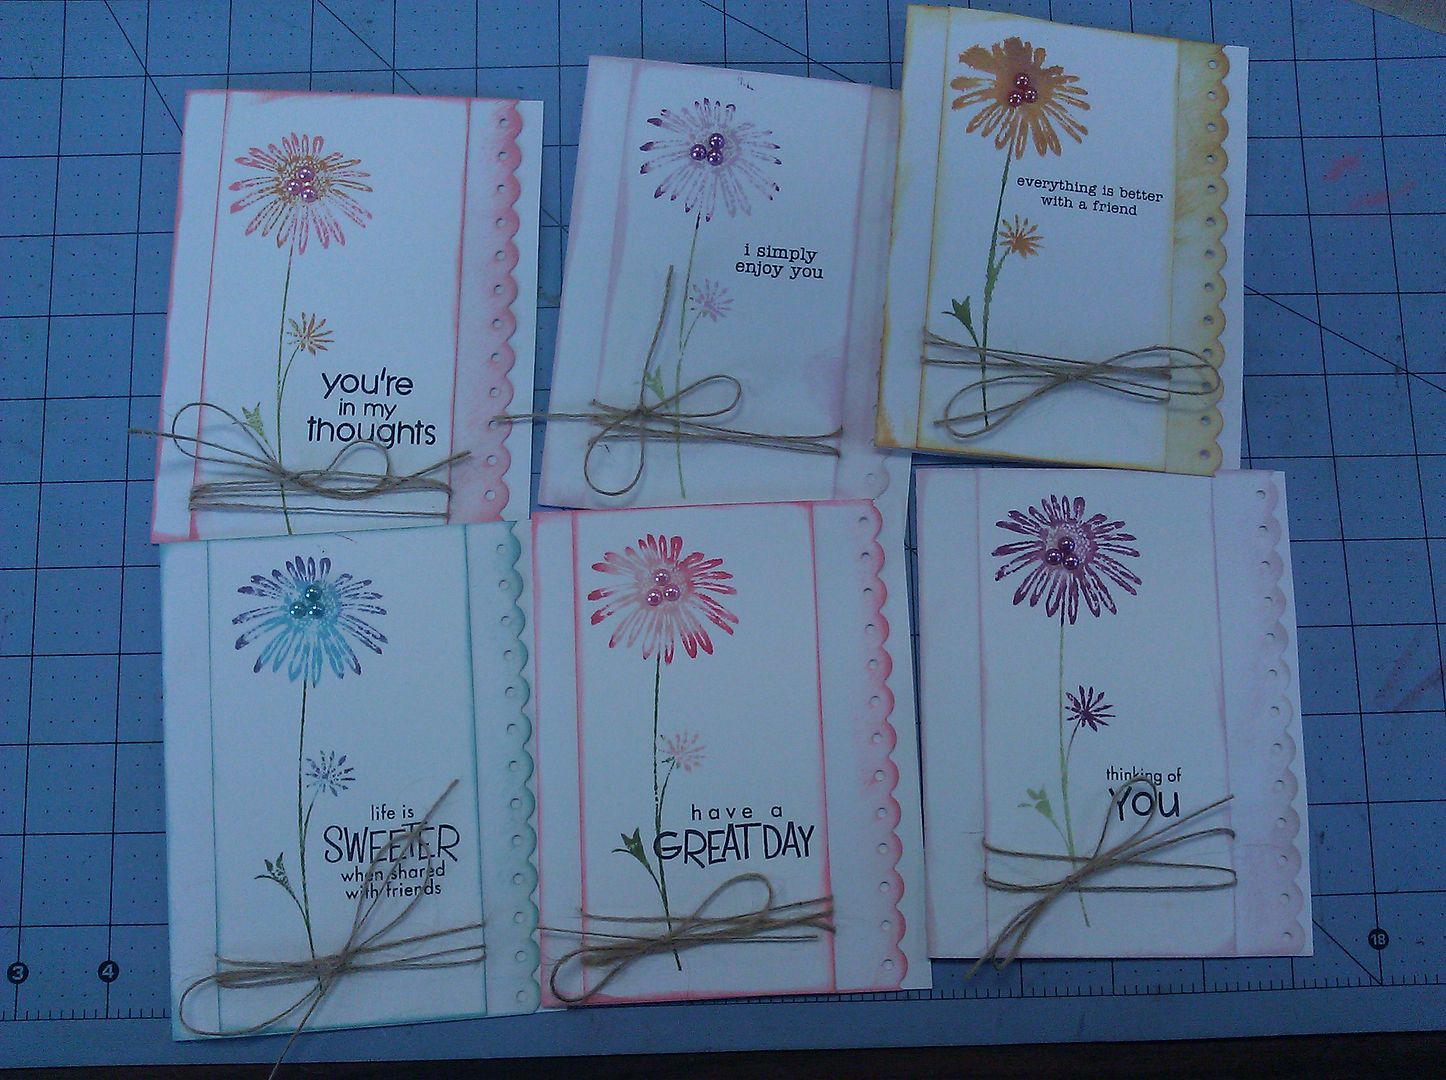
IMG_20121109_090542


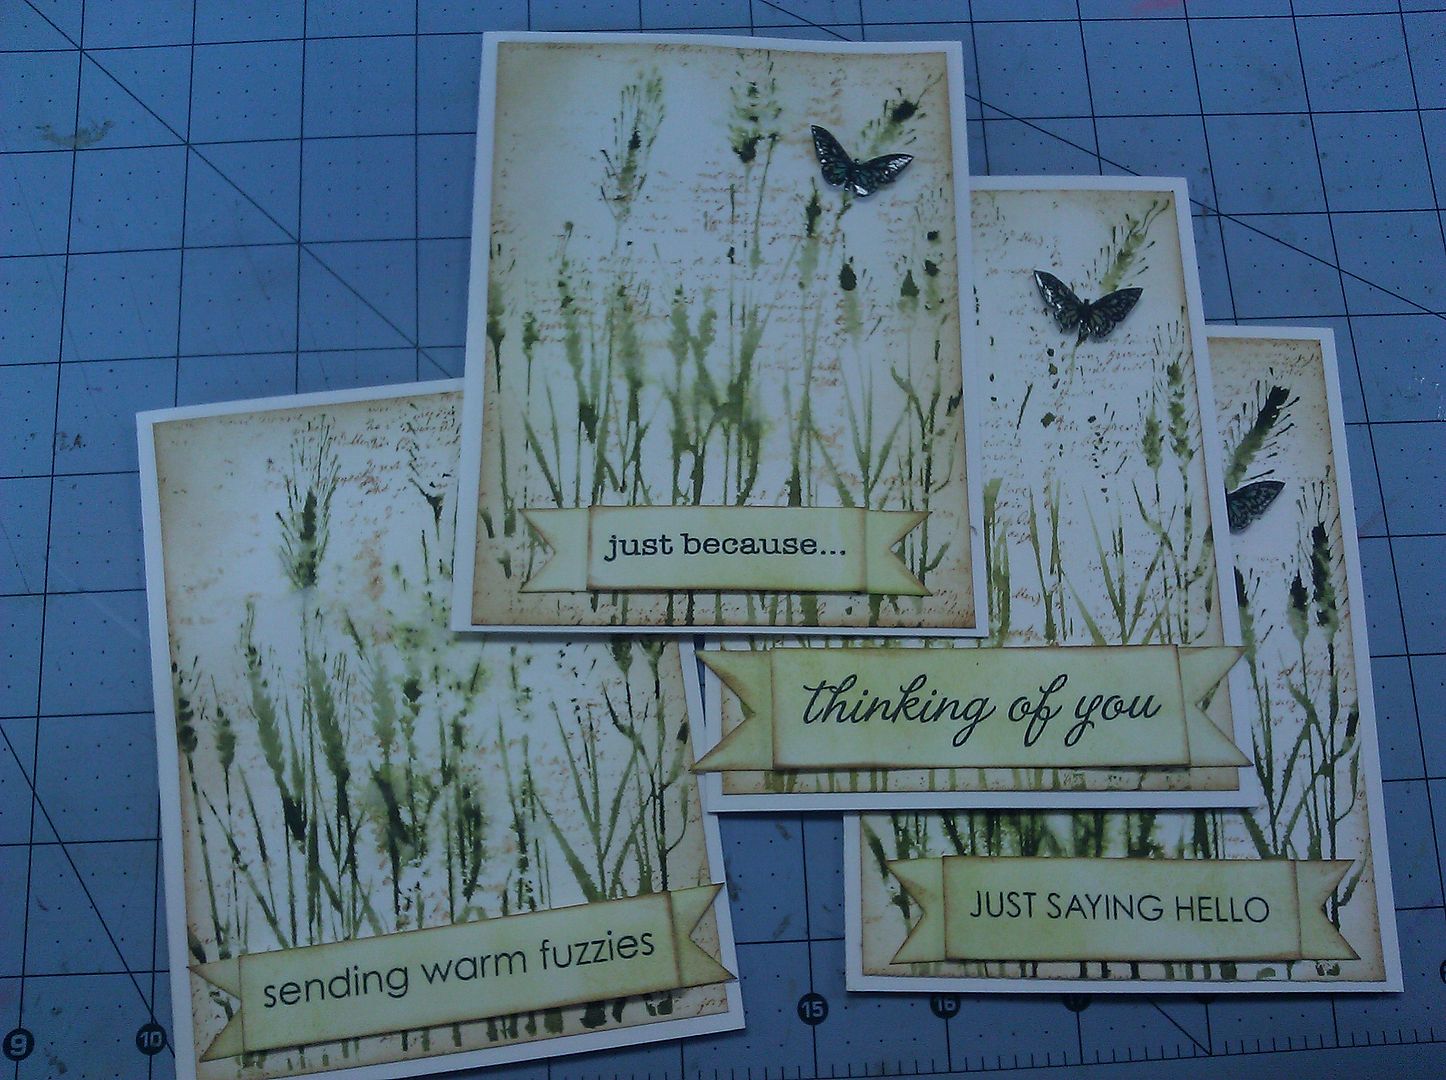
I purchased this large background stamp on the way to my retreat, and was so excited to use it.  It is such a funny thing, but I see it on a lot of cards and I am more of a flower stamp girl, but really wanted this one, and after seeing it used several times I could see how versatile it was!  I stamped the text first after blotting it, then the background with Distress Ink and water.  I softened the edges and colored the greeting strip with the ink blending tool and more Distress Ink.  The butterfly was stamped, cut, colored with Copics, then covered with Crystal Effects.
IMG_20121109_090425


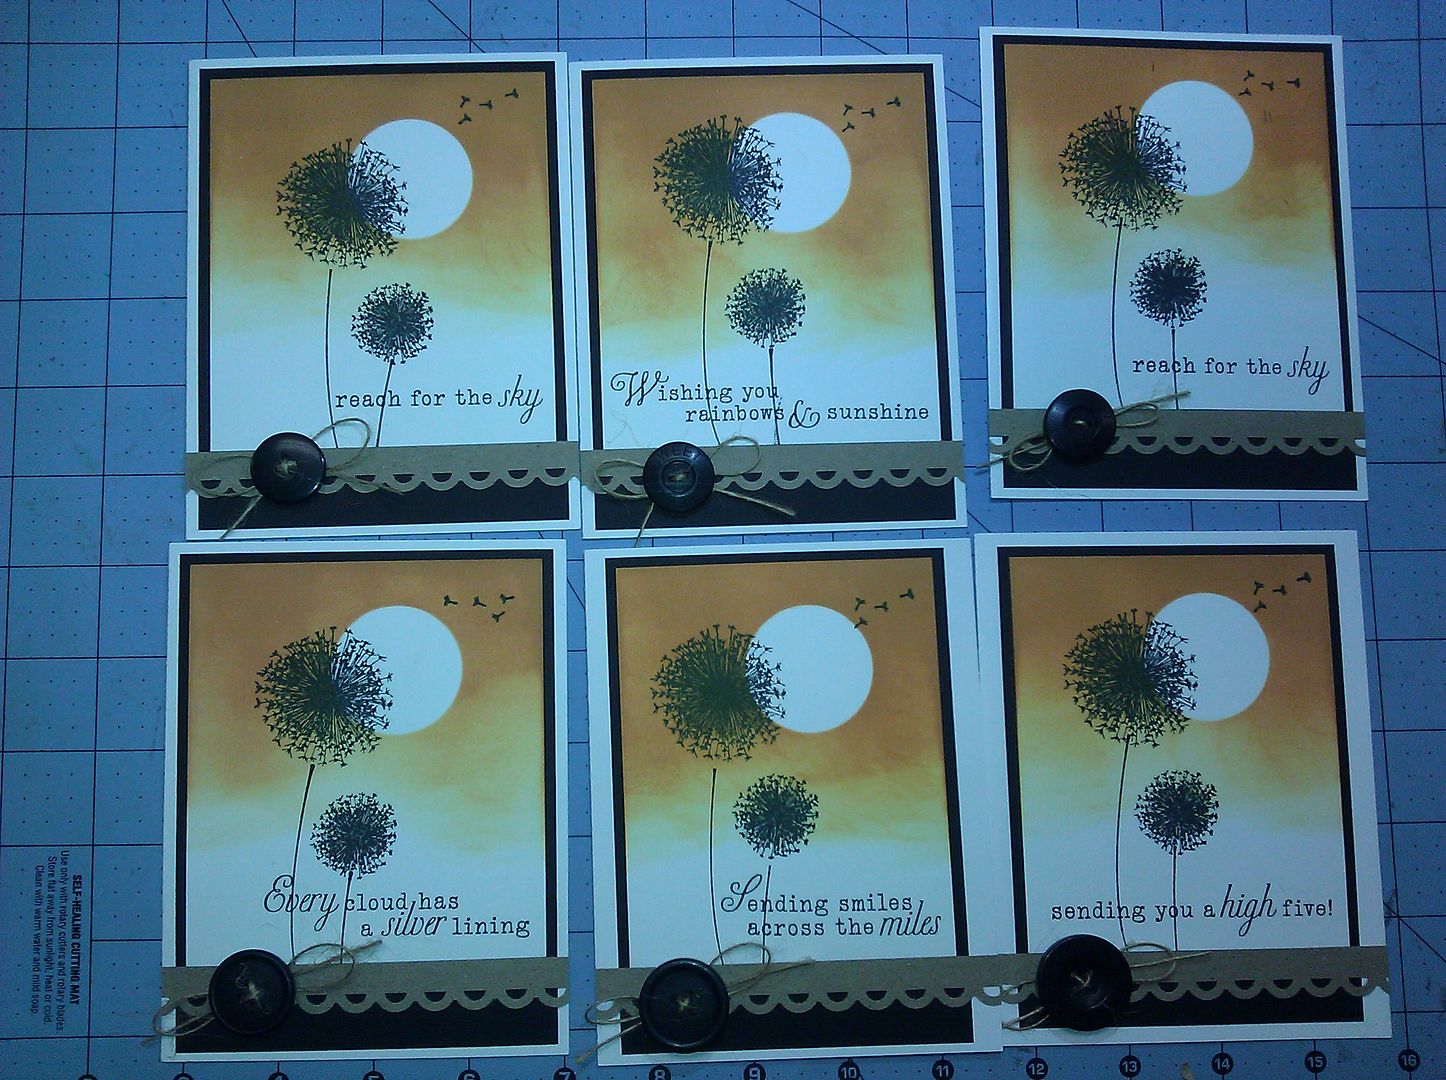
This one turned out so puuuurty..  Inspired by this.  I punched a circle out of white cardstock, 1 3/8" I believe, and then used it as a reverse mask.  I inked over it with Wild Honey, one of my favorite Distress Inks, then removed it.  The dandelion is from the same Gina K set as the cards a few pictures up, and sentiments from PTI.
IMG_20121110_011647


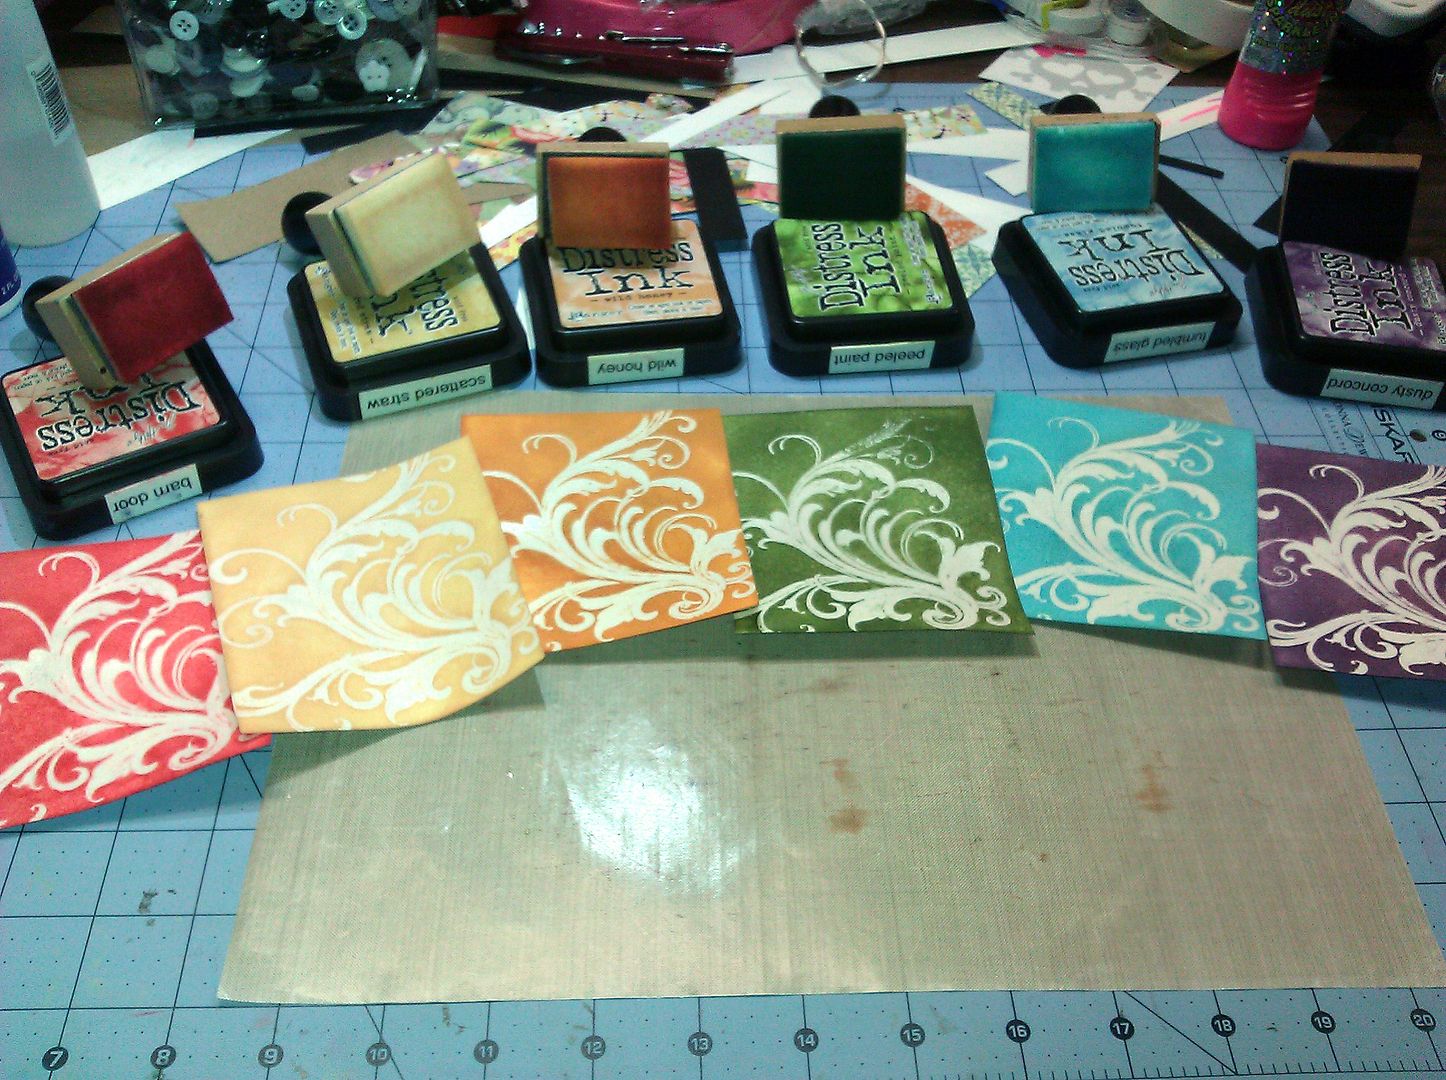
Ahhh, this picture just makes me happy.  I remember my first time using a Tim Holtz Distress Ink pad, and I was sooooo disappointed.  Now I just LOVE them.  I tried to use it the traditional way, and was super unsatisfied at how the images turned out.  I wanted them crisp and clean, and that is just not what these inks are about.  After watching tons of videos  and techniques, I use them all the time, for so many things!  Inspired by this.
IMG_20121110_212032


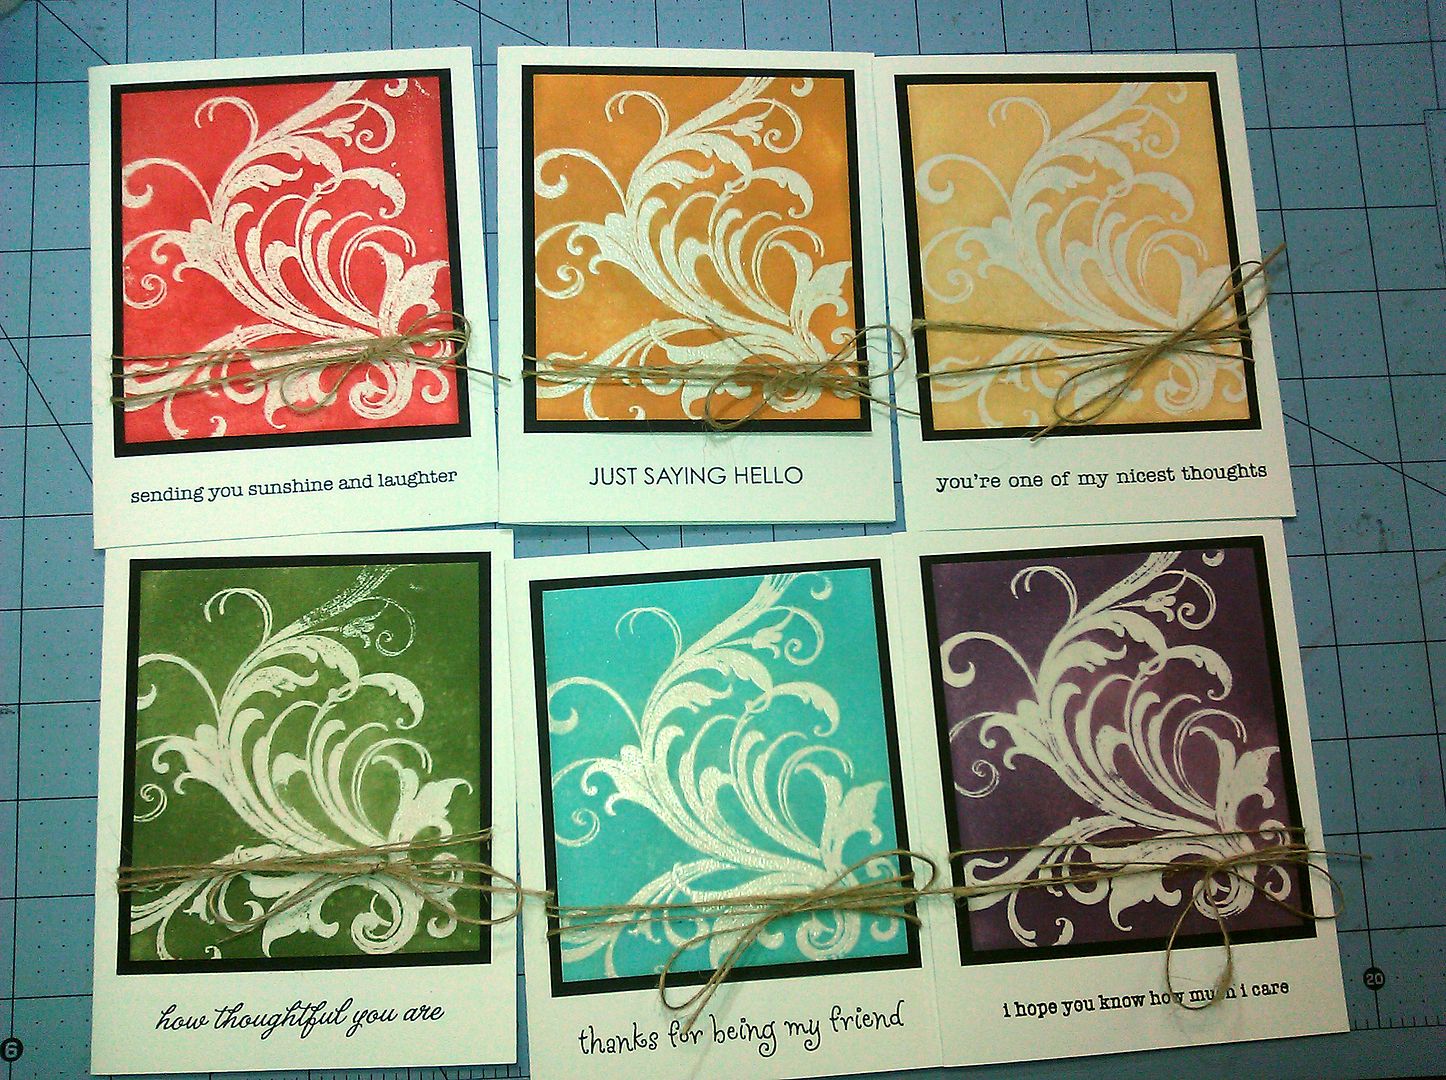
I used this large background stamp and heat embossed it with clear powder. I inked over the image with the blending tool, and then wiped it off to remove any from the embossed area. It was mounted on black cardstock, add some twine and a sentiment.
IMG_20121110_220542


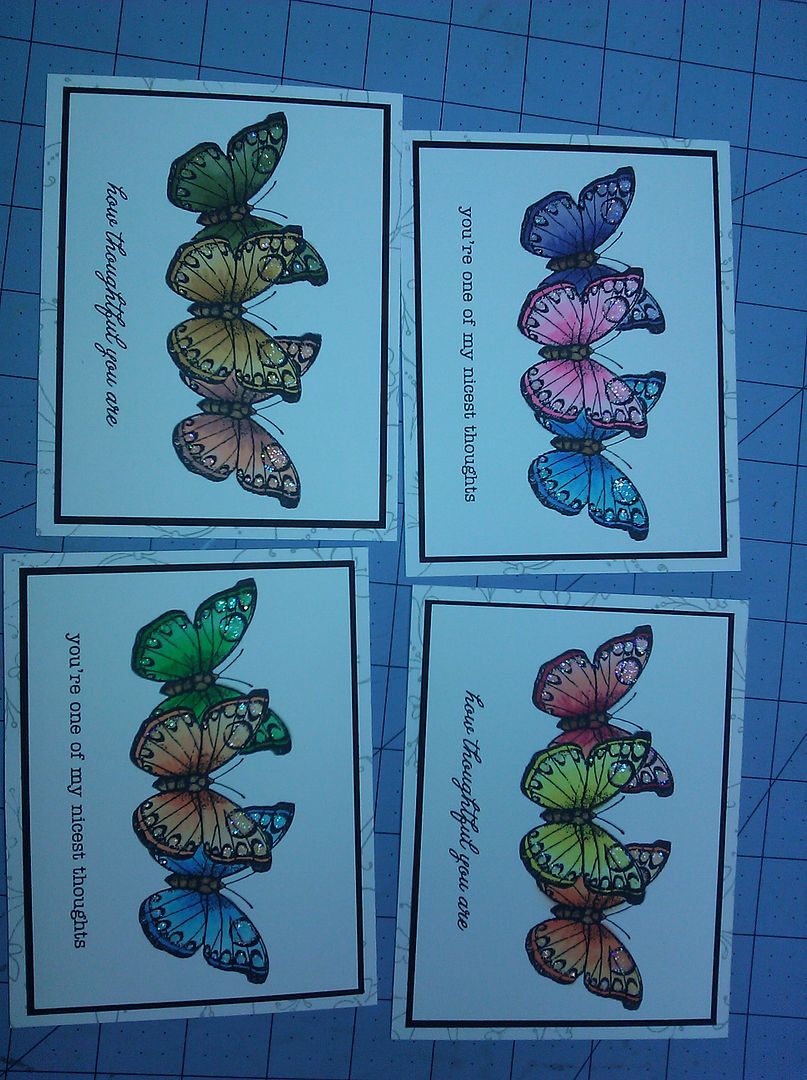
Here's that gorgeous butterfly stamp again!  I stamped the image on a Post-It note and cut it out very carefully around the edges to create a mask.  The center one was stamped first, and then I positioned the mask over the image exactly, and stamped the butterflies to each side.  Once the mask is removed, the images are all nicely stamped with no overlap.  Color with Copics, add the sentiment, background stamp and some Rock Candy Stickles, done!
IMG_20121109_105819


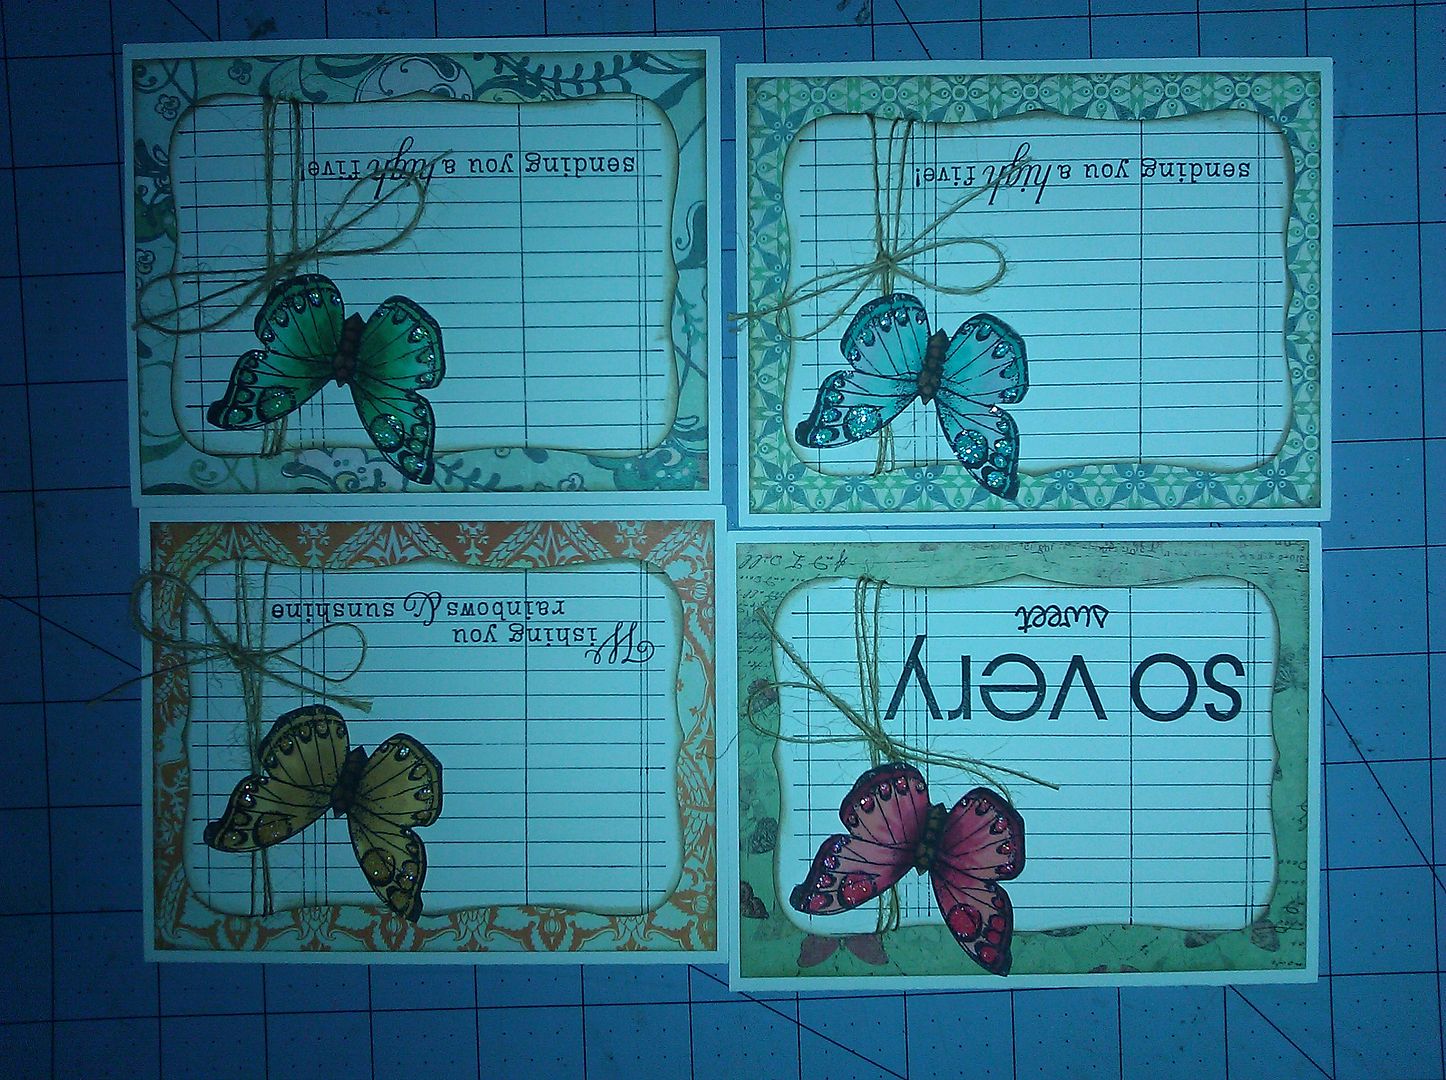
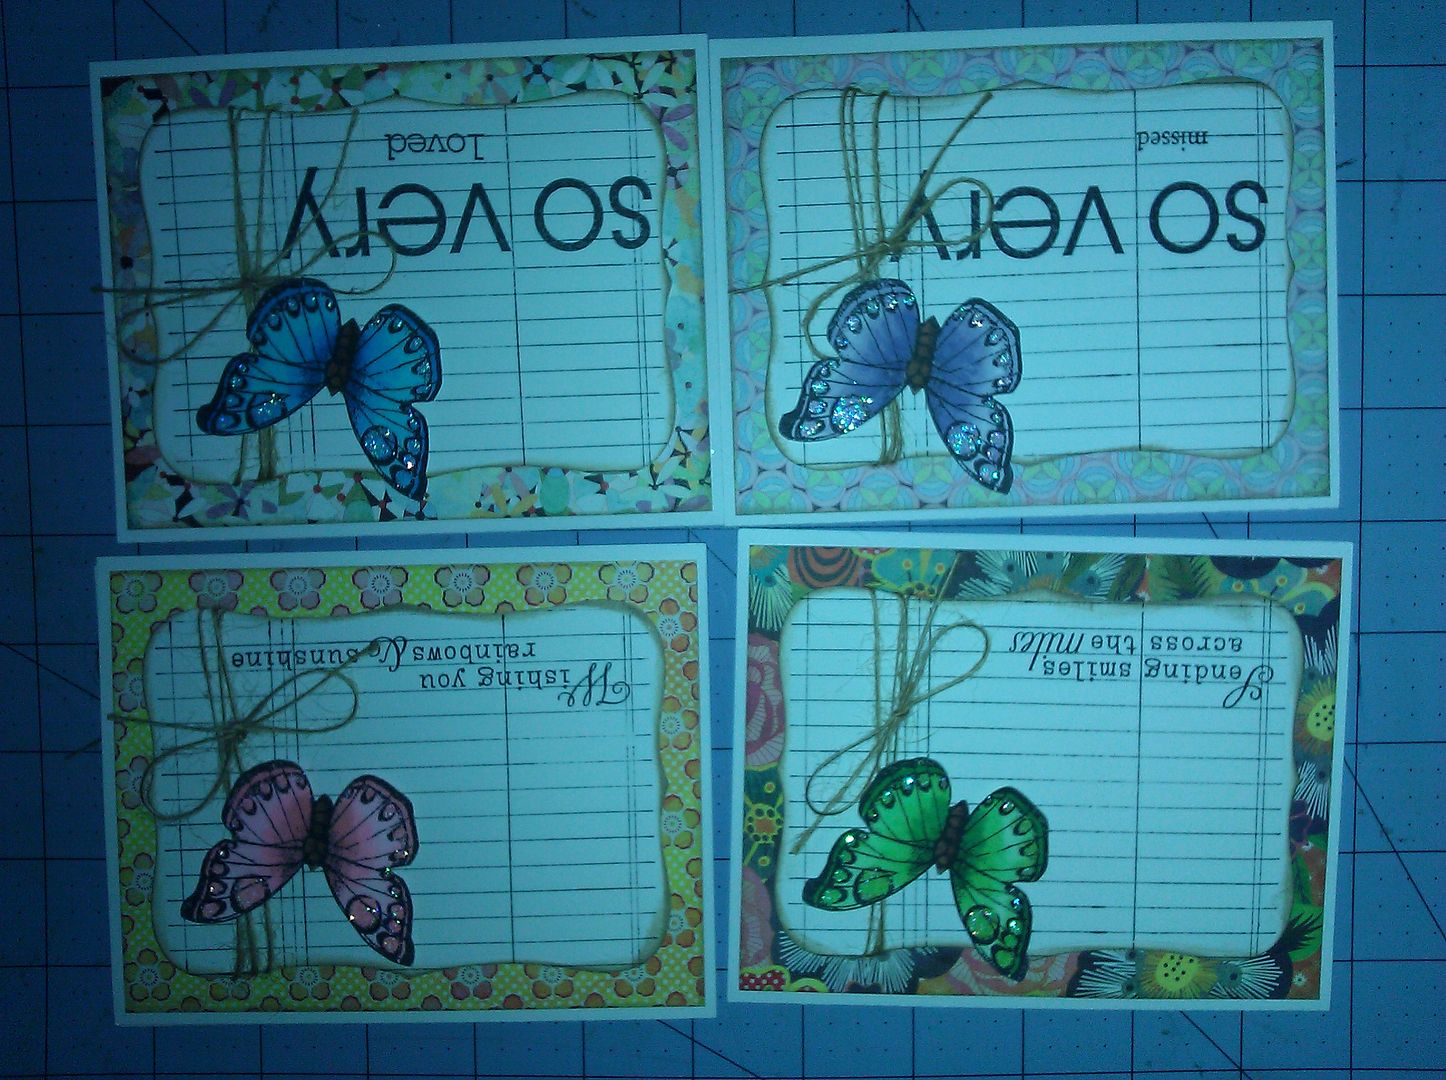
I get so much mileage out of this stamp!  I stamped, colored and cut them all out to use on these next few cards.  The background papers are from a 6x6 pad, but I dont remember what one, I think it was Basic Grey.  The white background is cut with a Nestabilities die in the Cuttlebug and stamped with a ledger stamp and the edges inked. 
IMG_20121119_122211, Uploaded from the Photobucket Android App IMG_20121119_122235, Uploaded from the Photobucket Android App

Thanks for taking the time to look!

Stay calm and craft on...

Thursday, April 19, 2012

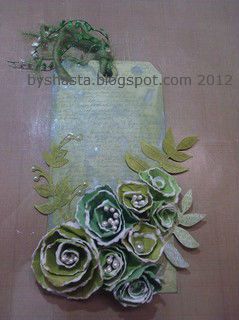
Hand rolled cardstock flower tutorial and some pretty tags

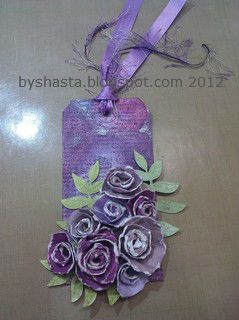
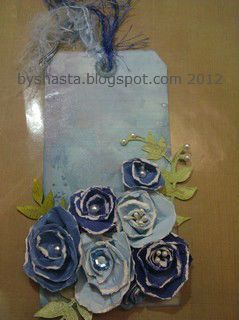
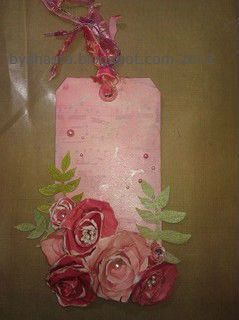
I was at a fun scrapbooking retreat a few weeks ago, and decided to take a break from making pages, and try something new.  Do you ever have one of those ideas in your head, and sometimes they turn out and sometimes they don't?  Fortunately, this one turned out just like the idea in my head, and I was so pleased!  I used a combination of ideas from Jennifer McGuire and Tim Holtz to make these tags and flowers, and love them.

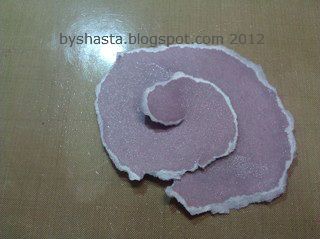
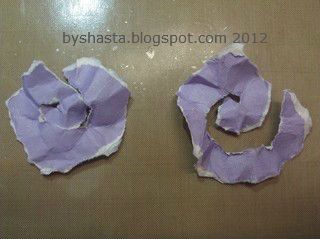
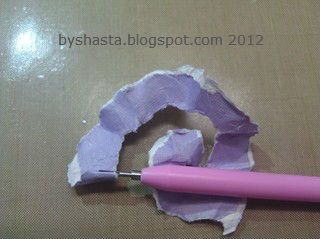
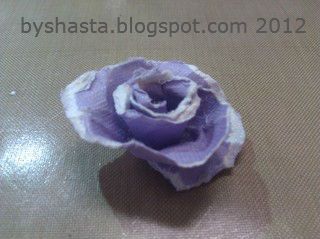
First, I started with some DCWV white core cardstock, although I am not sure what the color purple is called.  I tore some random sized spiral shapes from the cardstock, one for each flower.  Some had thinner or thicker spirals, and some had more laps around the circle, if that makes sense.  That way all the flowers I made were varying in width, thickness and density. 

I spritzed each spiral with a mixture of Perfect Pearls powder and water like this, on a craft sheet.  They now make the spray already combined, but I just do it the old fashioned way by mixing the powder and water in a spray mister I already had.

Untitled


And then I crumpled them up while they were wet, and then flattened them out to dry.  I used my heat tool, but you can also just let them air dry.

Untitled


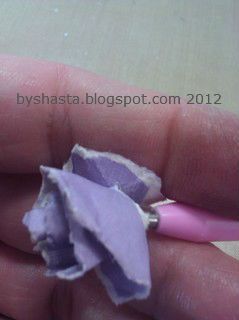
Once they were dry, I used a Quilling tool to roll the flowers up.  I always thought you were supposed to start rolling on the inside, but after watching a few how-to videos, I started on the outside like they did.

Untitled


Once the layers are all rolled up, not too tightly, it looks like this.  This is the time to do any adjusting, to get it looking how you want.  I gave it a slight backwards twist just to loosen the center a bit, but don't over think it.  They are all going to look differently, and that's ok.

Untitled


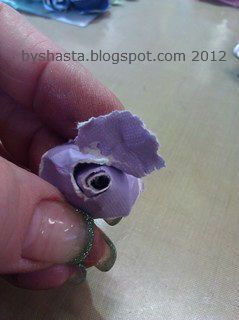
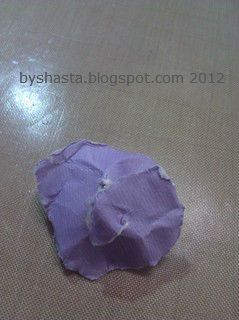
Once it is arranged how you like, slide it off of the tool, and flip it over while keepig a good grip so it won't unravel.  Now you can see why it is a good idea to start on the outside, because when you get to the end, you are left with a little flap that was the center of the spiral.  Place a glue dot right on it, and then cover the base of your flower.

Untitled


Voila!  Now there is a nice neat base for your flower to sit on :)  It is still a little loose, so handle it carefully. 
Untitled


Once the flower is complete, I used Glossy Accents as another adhesive.  Place the nozzle down in the center and give a little squeeze, and maybe a few small squirts inside any of the other loose petals.  It doesn't take long to dry, and once they are all finished they will be nice and stable.

Untitled

For the purple flowers I didn't put anything in the centers.  They looked just fine how they were.  For other ones I put jewels, half pearls, or white flower stamens that I found at Michael's.

These tags started as plain white, but were super easy to decorate.  I started by dabbing colors of Tim Holtz Distress Inks on my craft sheet and adding a few spritzes of the pearlized water.  For each tag I used a few different shades of the same color for some variation.  I rubbed the tag around in the ink and then set it aside to dry, or use the heat tool again.  Once it was dry, I rubbed the edges with one of the same color of inks, using the foam ink blending tool.  Lastly, I inked up a large background stamp with another of the same shades, and lightly pressed it on the tag. 

For all of these tags, I cut some leaf shapes out of the Stretch Your Imagination Cricut cartridge in varying sizes, from white cardstock.  My favorite is Neenah, it is great for stamping, inking, and Copics, all of that.  Using the same technique, I inked and sprayed them and added a few pearls and ribbons.  All done :)

Untitled


Untitled


Untitled


Untitled

Friday, September 3, 2010

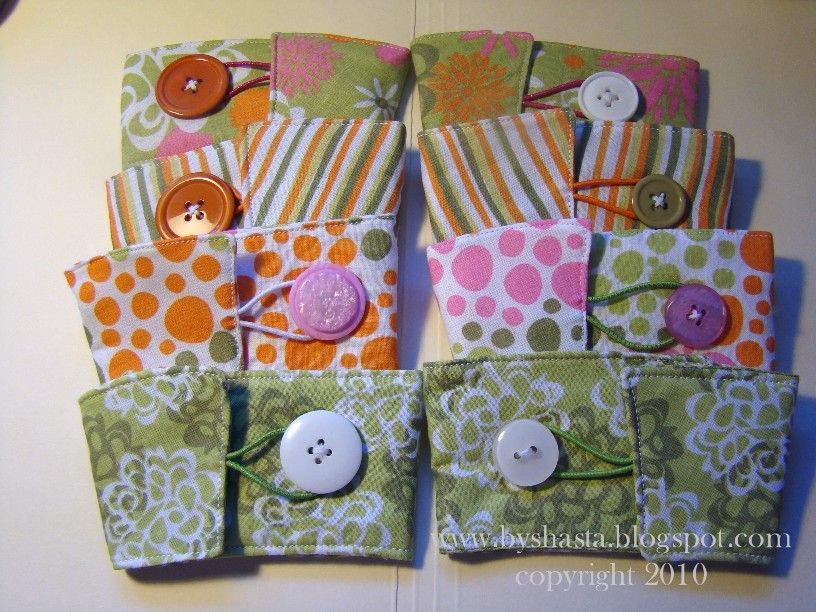
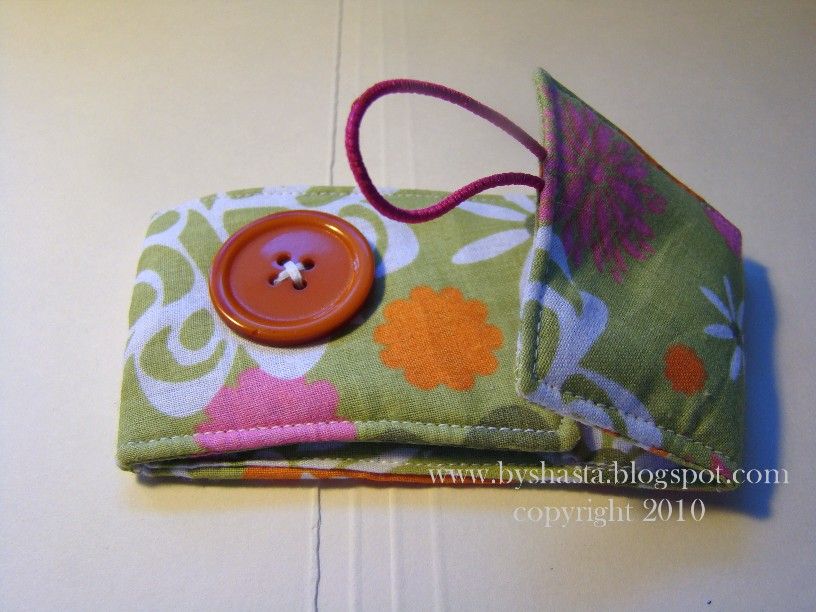
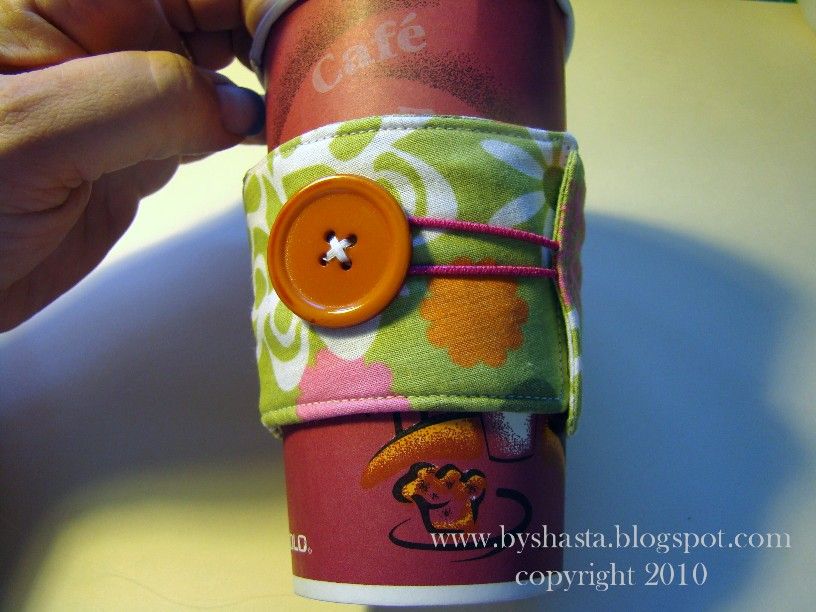
More coffee cozies

I just love this fabric!  I got it in a pack of fat quarters at Joann's a long time ago, and the colors are just so cheery :)  The tut can be found HERE

Photobucket


Photobucket

Photobucket

Wednesday, September 1, 2010

Recycled fruit snack box

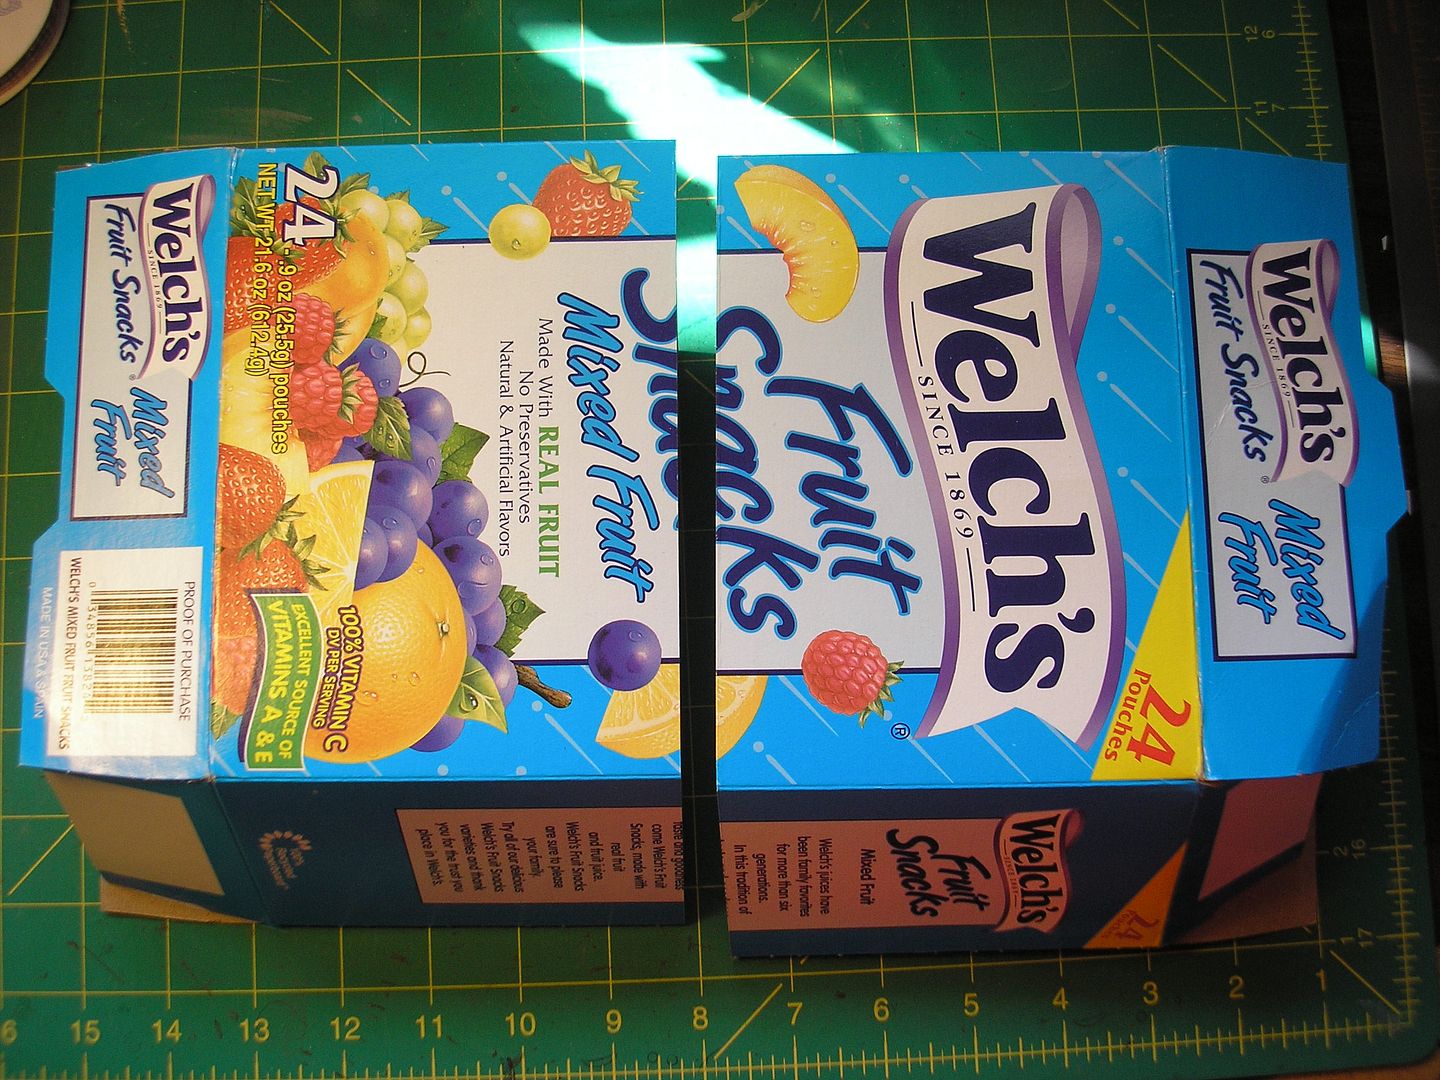
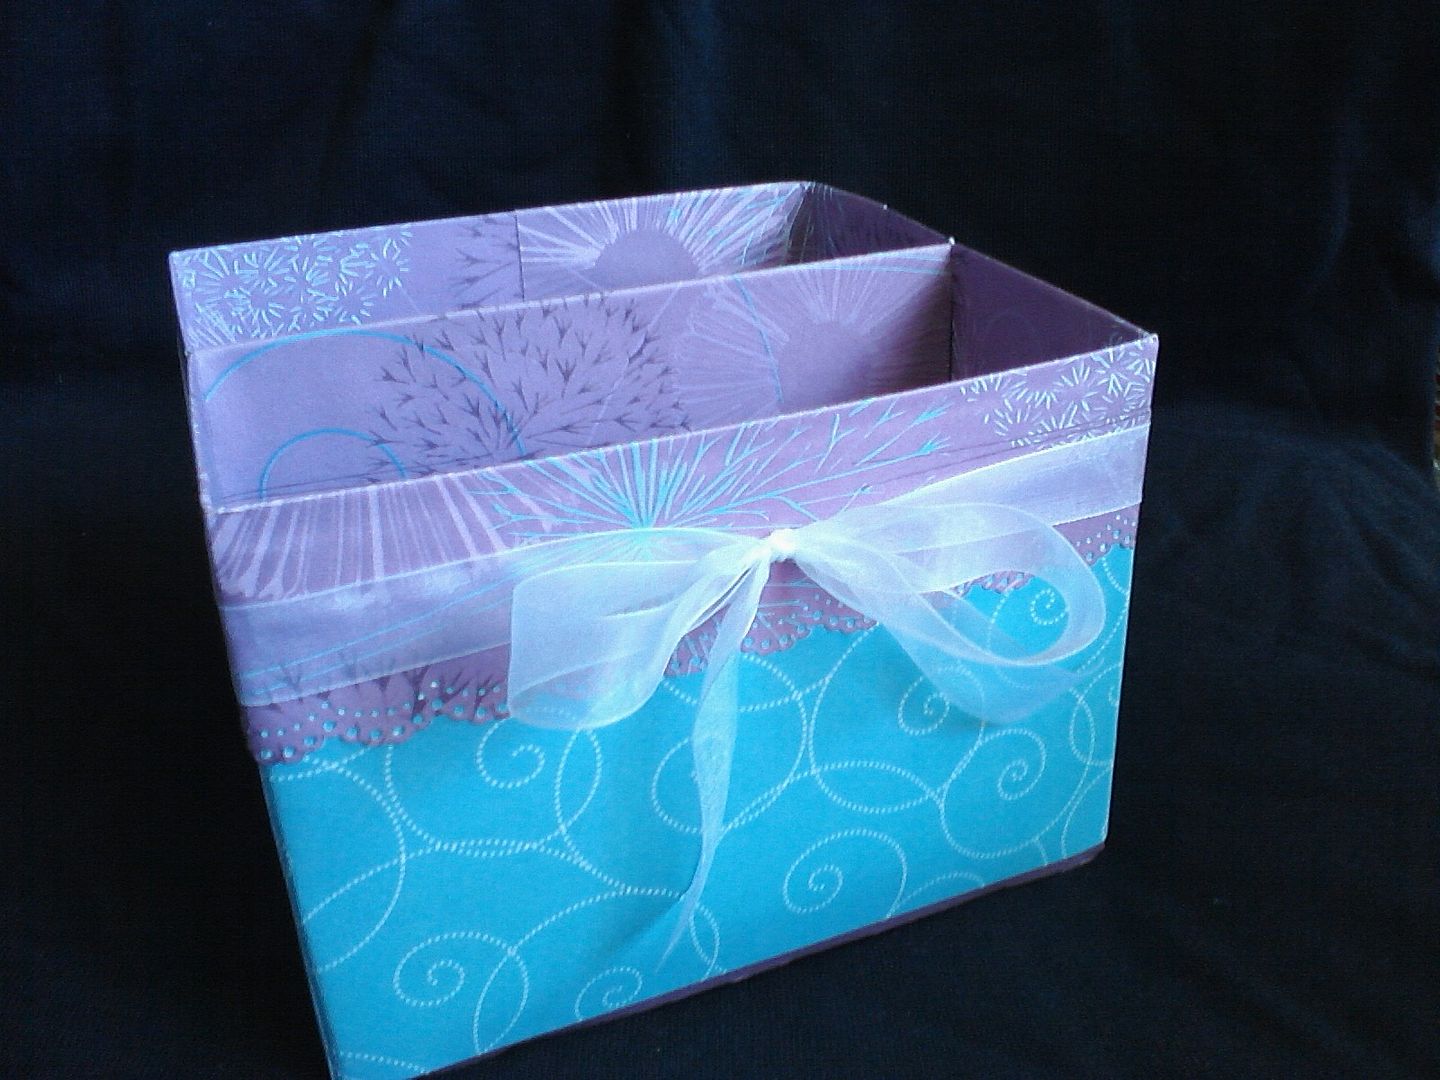
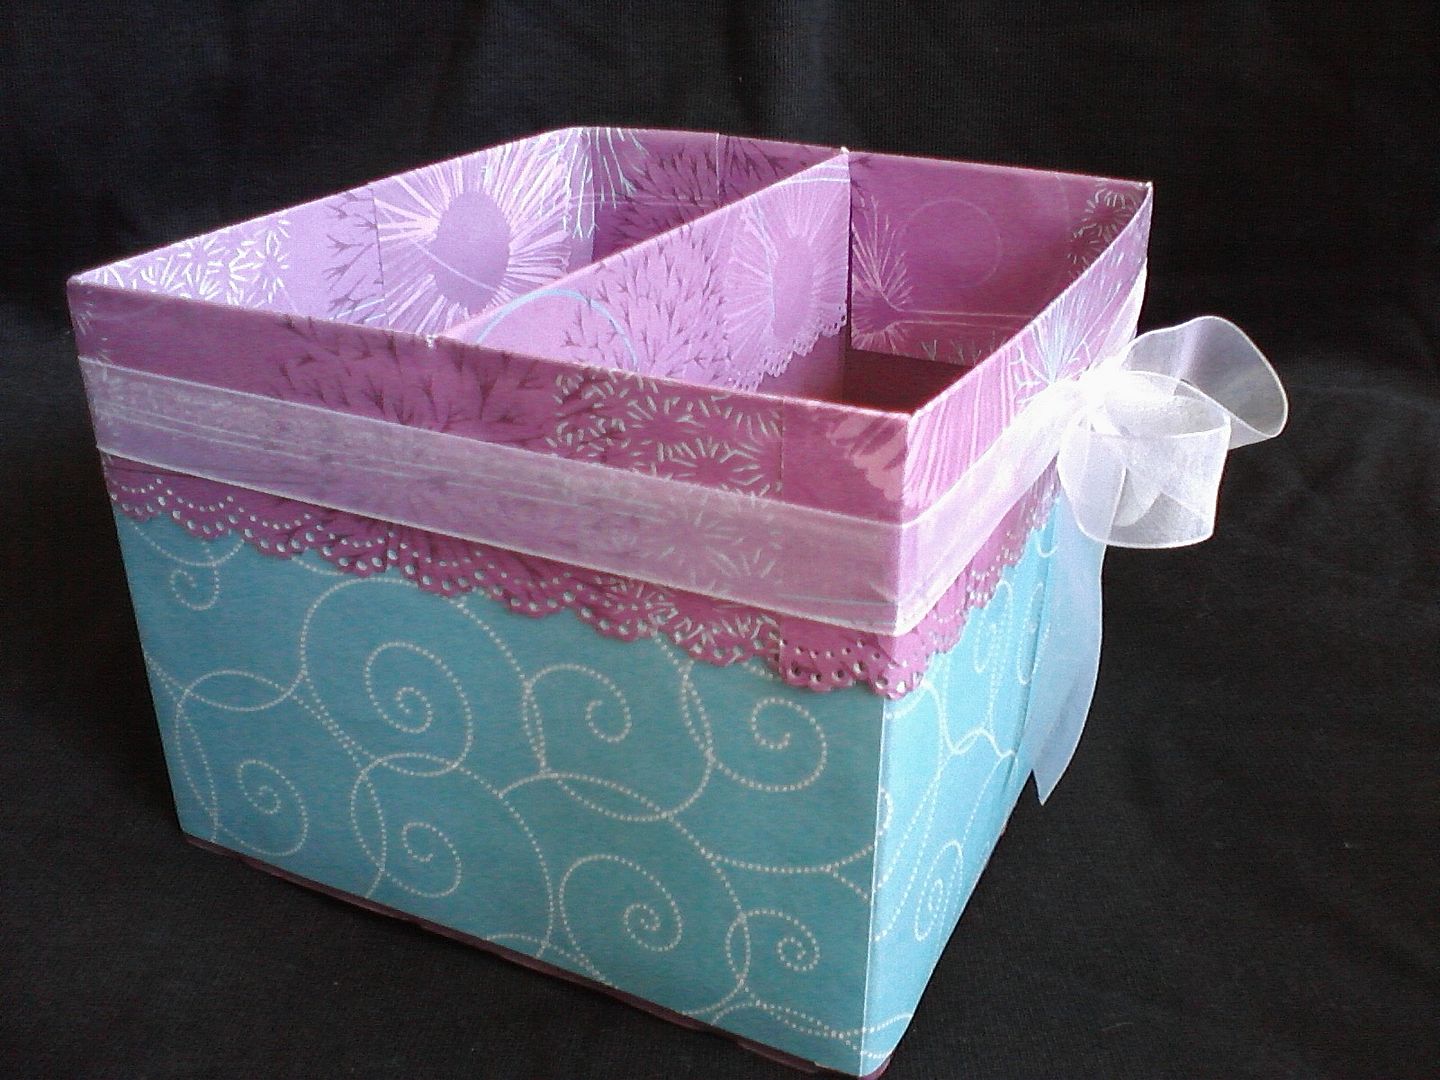
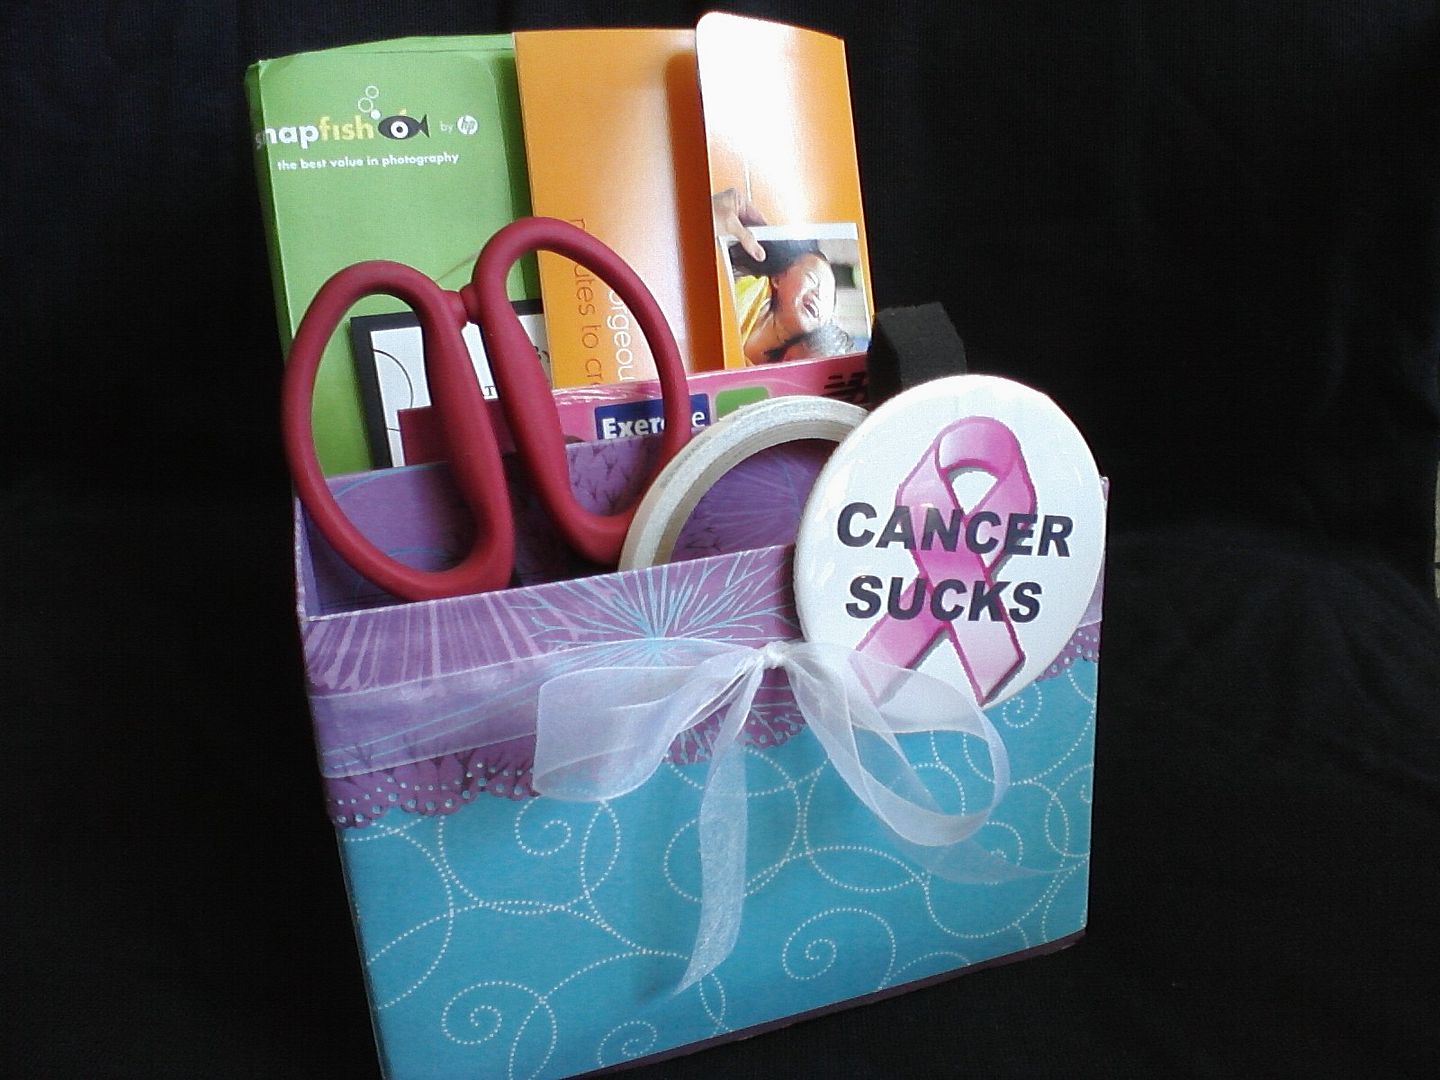
I saw this cool video project yesterday and had to make one!  It's from StampTV and is a decorated box made from Kleenex boxes, cereal boxes, etc,.  I decided to make mine a 2 compartment box, which I made from a large fruit snack box that was cut in half.  I modified the dimensions to fit my box, and instead of putting individual panels of the patterned paper on each side, I wrapped strips of it around the box instead..

Here is the video, which is in three parts, 1, 2, and 3.


Photobucket


Photobucket

Photobucket


...And here it is filled with some miscellaneous stuff I had sitting on my desk!

Photobucket

Tuesday, August 24, 2010

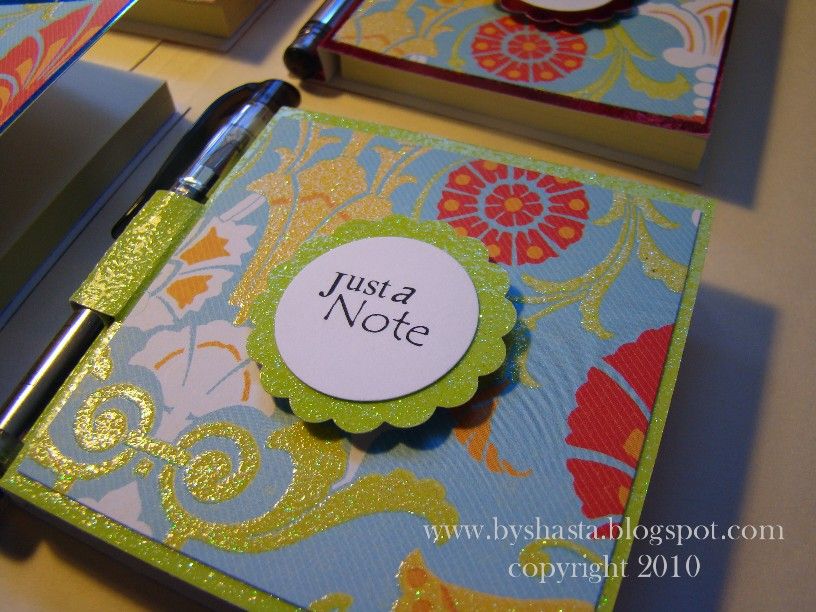
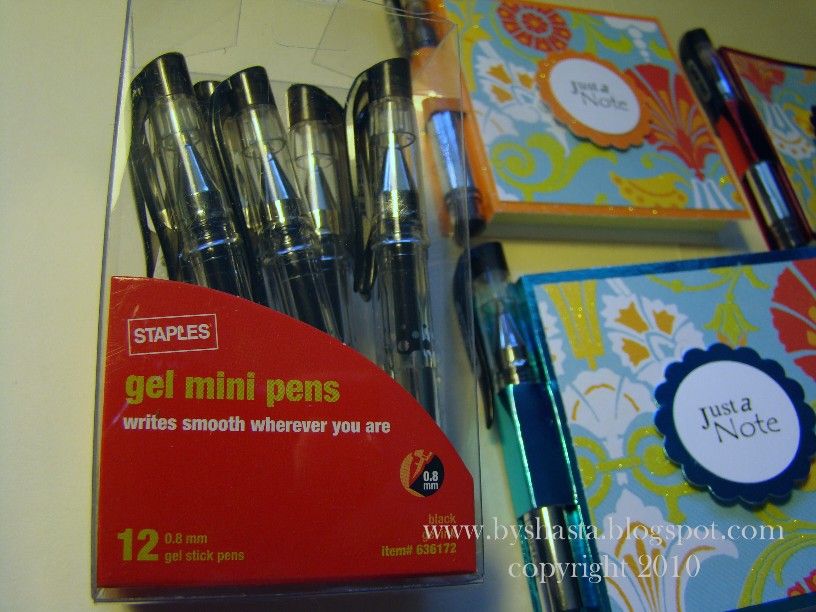
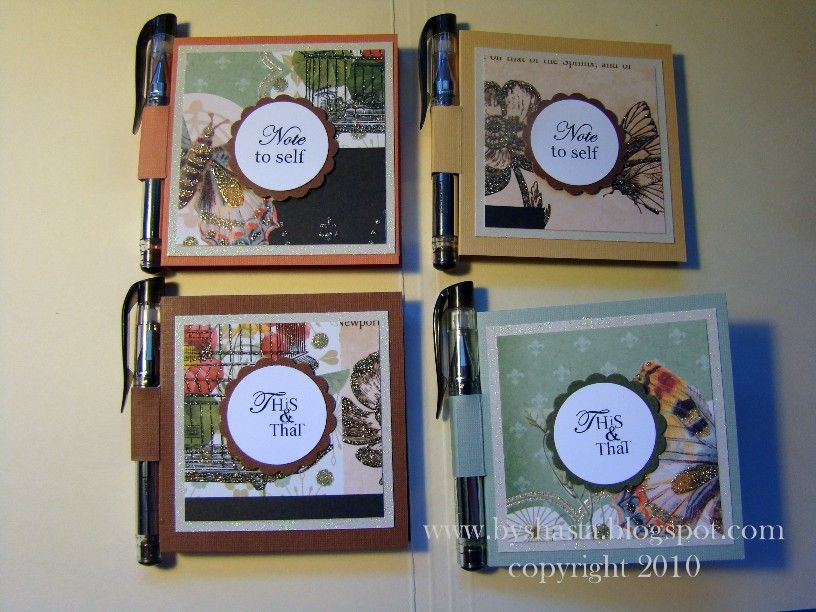
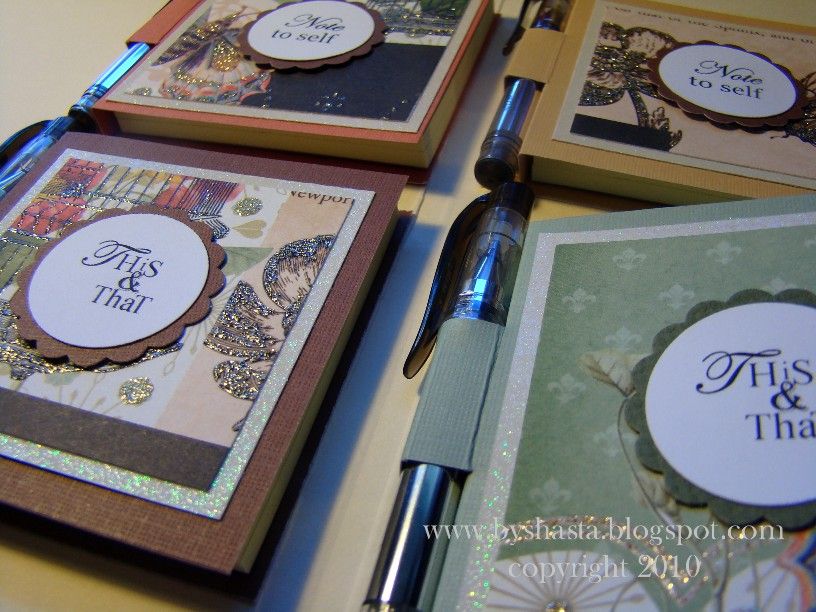
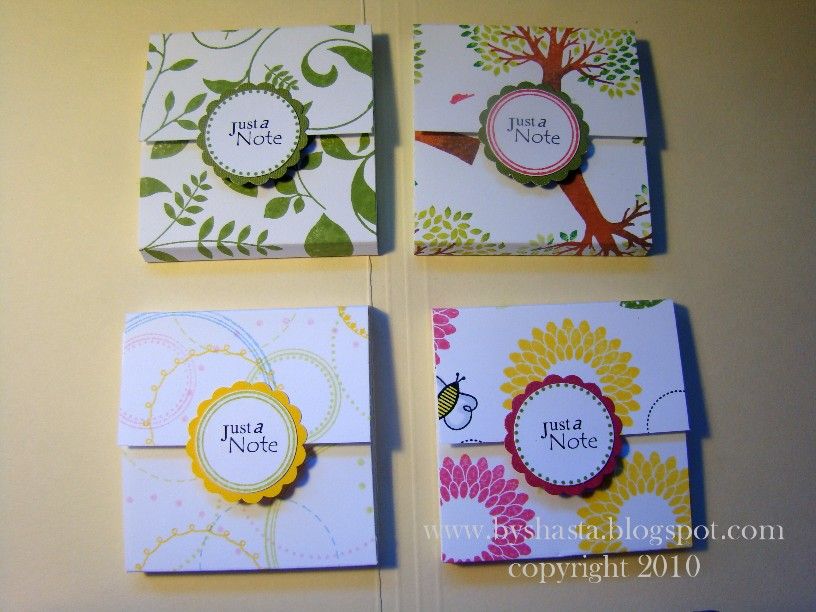
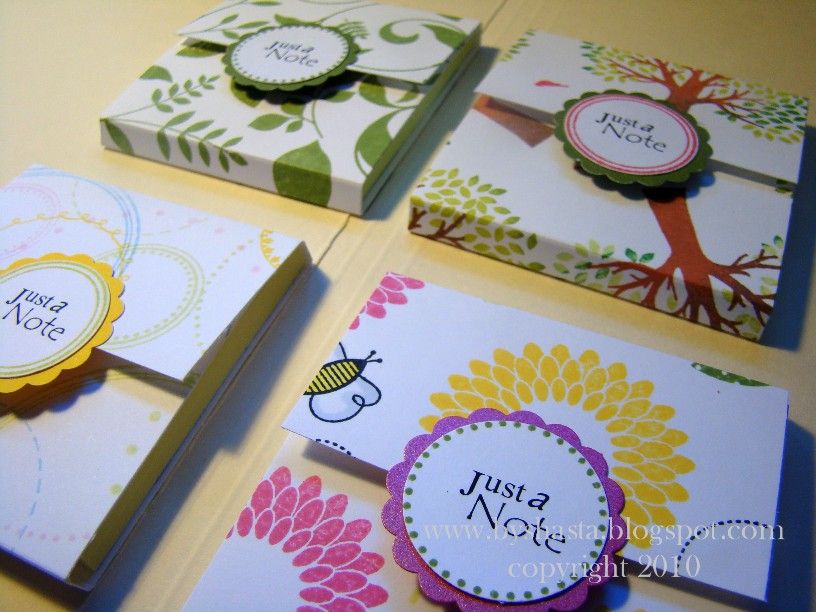
Post-It Notes

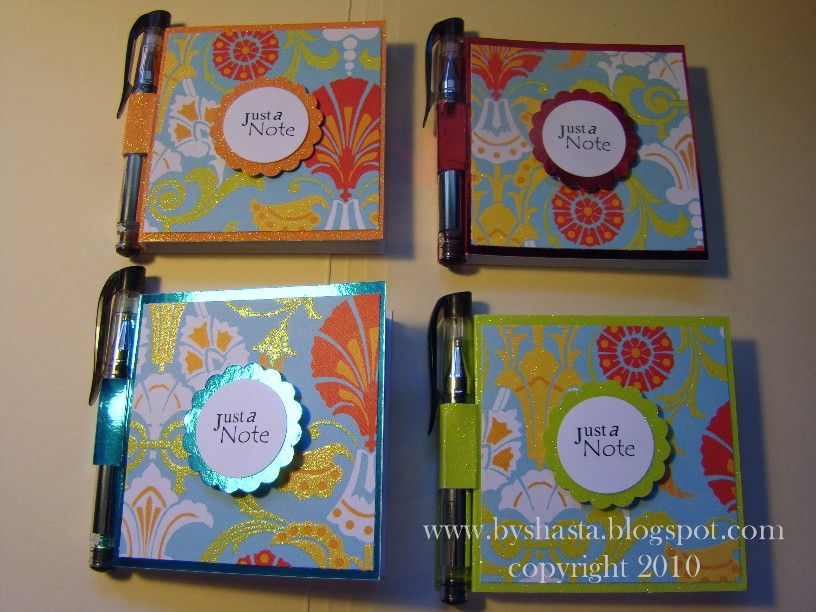
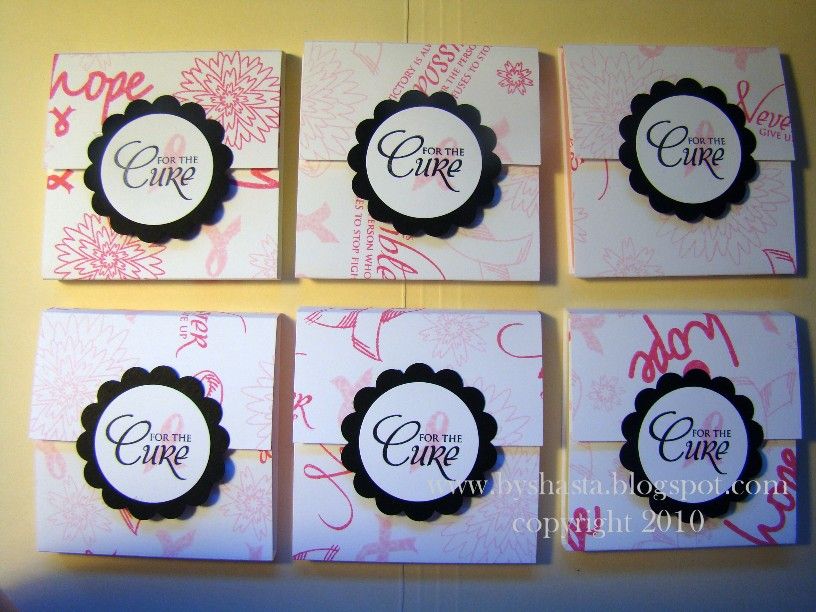
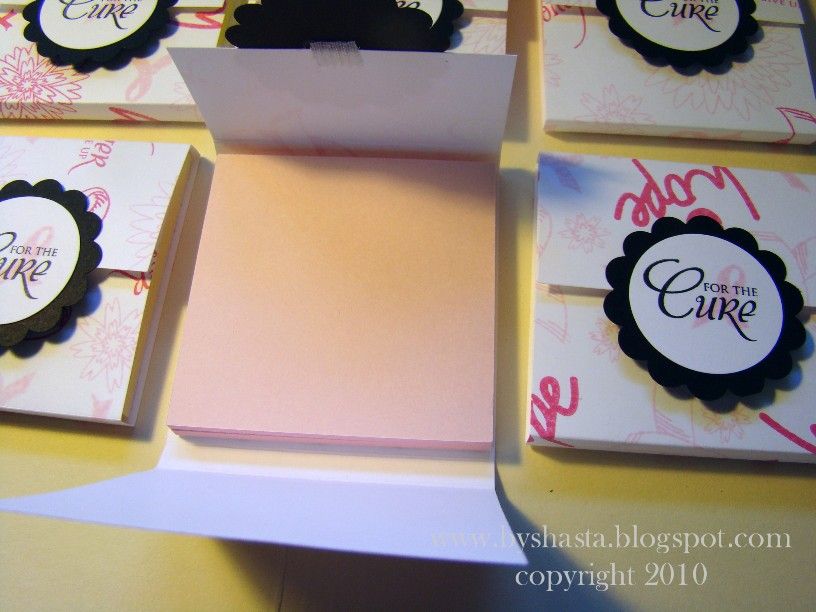
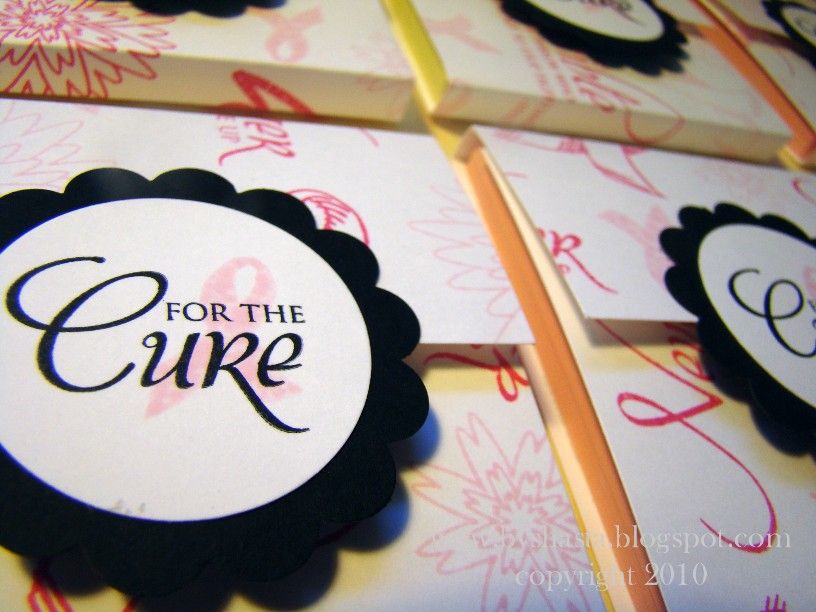
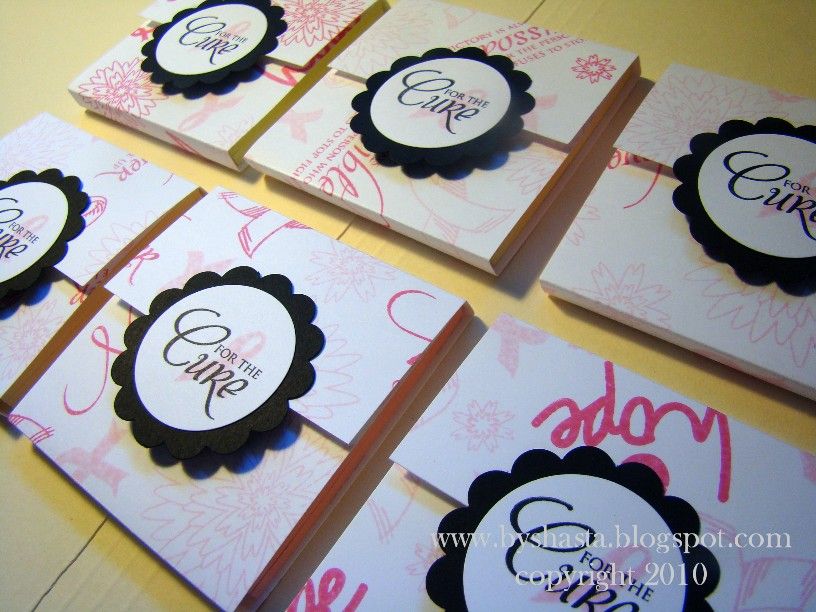
These little cuies are fun to make, and take no time at all ;)

This Post-It Note tutorial can be found here, and the pens are from Staples.

Photobucket

Photobucket

Photobucket

Photobucket

Photobucket


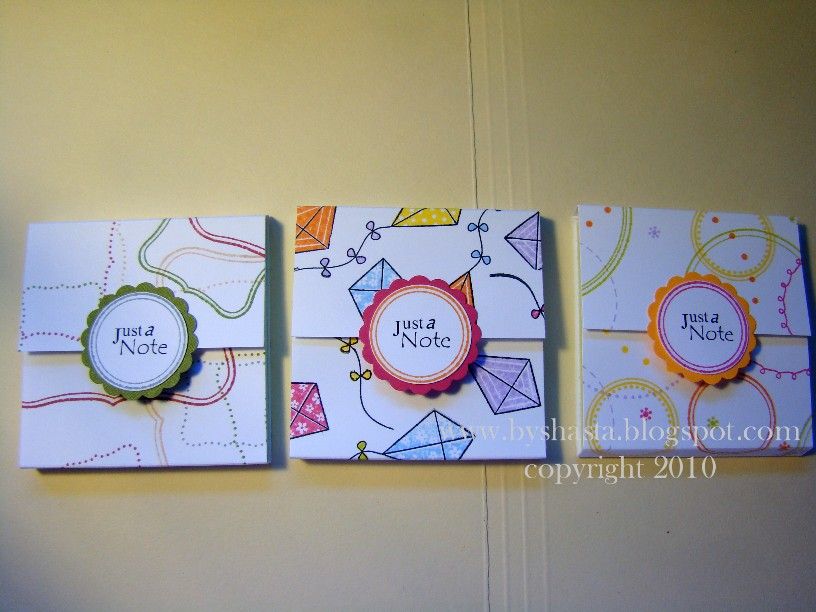
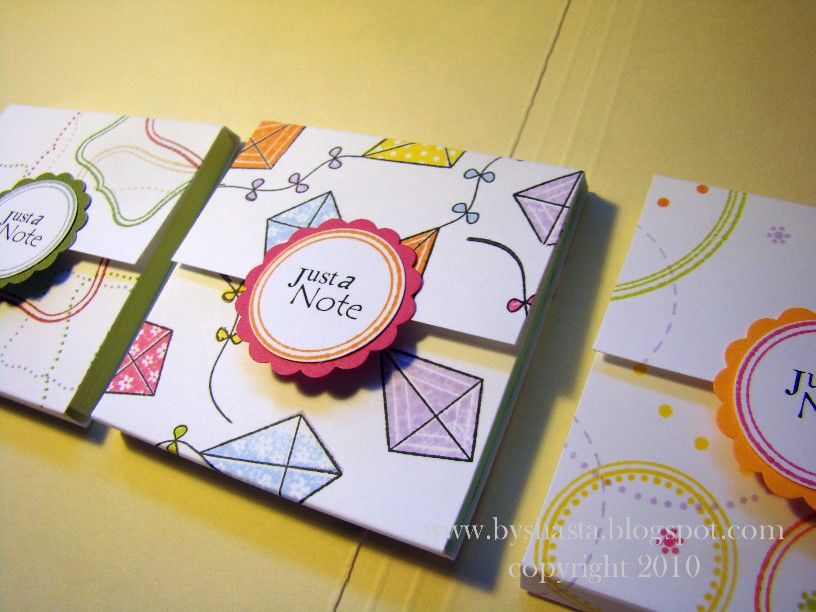
For these next ones, I used Neenah cardsock in Solar White, and stamped them with Memento inks.  Most of the stamps are PTI, Through the Trees, Up, Up and Away, Turning a New Leaf, All about You, Vintage Labels, Borders & Corners - Circles.  I randomly stamped the images all over the paper to make the pattern, then cut up the paper.

This tutorial can be found here.

Photobucket

Photobucket

Photobucket


Photobucket


These ones were done the same way, using the Believe stamp set from Verve and this stamp set from Stampendous.

Photobucket

Photobucket

Photobucket

Photobucket