
About Me

Thursday, July 30, 2009
Design Team call...
At La-La-Land Crafts! Such a great blog to read, and can't wait to see her stamp reveal!
It's PINK!!
How cool! I saw this on the Imagine That blog, a pink Cricut Expression and a specialty cart, called "Pink Journey!" Most of you know that Breast Cancer Awareness is a very imortant cause to me, so anything to help is fantastic! Plus it is just too cute :)
BTW, I only have a little over 6 weeks until my 3day 60 mile journey and I still need $700!!
BTW, I only have a little over 6 weeks until my 3day 60 mile journey and I still need $700!!
**SERIOUS Enabler Alert** Joann Founders' Super Weekend!!
I got a new flyer yesterday in the mail with some SWEET deals!!
The sale is August 7-9, and with each $66 purchase (before tax) you will receive a Super Saver Card for $10 off your next purchase made August 10-29.
Also on sale:
the original Cricut is $99
solution carts are $29.96
reg carts are $39.99
open stock papers and cardstock are 5/$.95
Colorbok 12x12 albums for $5.99
Plus a bunch of new DCWV stacks for $9.99!! There is Doodling Around, Indian Summer (can't find an online pic of this one), Crafty, Generation Tech, Rustic, Mod Retro, Downtown Loft, Main Street, Be Mine and TONS more...
40% off the following:
Papercrafting supplies (so pretty much everything except for the Cricut products, Yudu machine and $1 items!)
Fiskars punches and trimmers
Sizzix machines and dies
Yudu screen printing accessories (not the machine)
Jolee's embellies
all albums
photo boxes
Happy Shopping!!
Wednesday, July 29, 2009
A new LO...
Can you believe it?? I did this one for the Daily Inspirations blog, and had to follow a recipe. I had to use the following...
1- 12x12 cardstock
1 - 9x6 pp1 -
11x2 pp
6 - buttons or brads
2 - types of ribbon/fiber/lace/ricrac
1 - tag
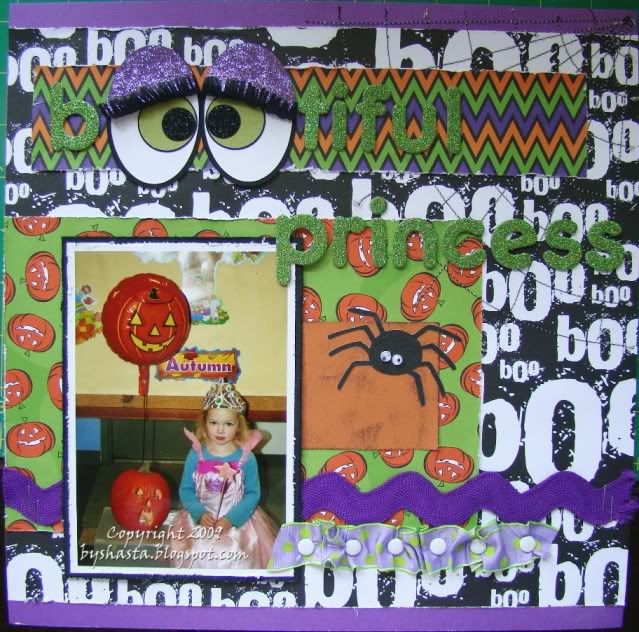
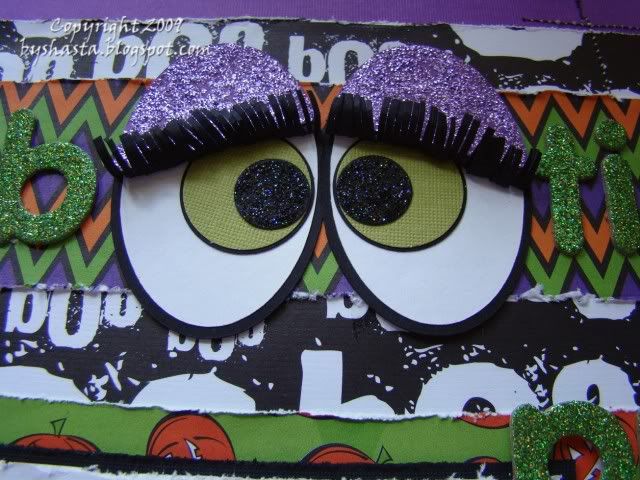
These eyes were inspired by the Muppets, we watched "Muppets in Space" the other day! Here's the run down on how to make them using the George cartridge and punches:
two ovals out of white cardstock, 2 3/4 inches for the eyeballs
two ovals, black cardstock, using the shadow function, to go behind the eyeballs
1 oval the same size for the purple eyelids, cut in half on a slant
2 black circles punched with a 1 1/8 inch punch, for the outer layer of the green iris
2 green circles punched with a 1 inch punch for the inner iris
2 black circles cut at 1/2 inch for the pupils
black scraps for the eyelashes, about 5 inches long and an inch wide. Cut strips about 3/4 of the way through the short side to make the lashes.
black and purple stickles
Layer the white ovals on top of the back ones. Adhere the lashes to the under side of the purple eyelids and put on the top half of the eyes. Layer the small black circles onto the green ones, and then onto to balc ones, and slide part way under the lashes and ahdere. Add the stickles and you're done! :)
1- 12x12 cardstock
1 - 9x6 pp1 -
11x2 pp
6 - buttons or brads
2 - types of ribbon/fiber/lace/ricrac
1 - tag

These eyes were inspired by the Muppets, we watched "Muppets in Space" the other day! Here's the run down on how to make them using the George cartridge and punches:
two ovals out of white cardstock, 2 3/4 inches for the eyeballs
two ovals, black cardstock, using the shadow function, to go behind the eyeballs
1 oval the same size for the purple eyelids, cut in half on a slant
2 black circles punched with a 1 1/8 inch punch, for the outer layer of the green iris
2 green circles punched with a 1 inch punch for the inner iris
2 black circles cut at 1/2 inch for the pupils
black scraps for the eyelashes, about 5 inches long and an inch wide. Cut strips about 3/4 of the way through the short side to make the lashes.
black and purple stickles
Layer the white ovals on top of the back ones. Adhere the lashes to the under side of the purple eyelids and put on the top half of the eyes. Layer the small black circles onto the green ones, and then onto to balc ones, and slide part way under the lashes and ahdere. Add the stickles and you're done! :)

Tuesday, July 28, 2009
Christmas in July!
So I KNOW I can't be the only one thinking ahead to the holidays and trying to get a jump-start on making some great gifts, right? Right??
Well, I am not, because there is a brand new blog just launched the other day called Christmas with the Cricut, and they have added a couple of projects already, so check it out!
Well, I am not, because there is a brand new blog just launched the other day called Christmas with the Cricut, and they have added a couple of projects already, so check it out!
Sunday, July 26, 2009
Using paints and masks...
So of course I had to try some more stuff from the Thinking Inking classes, this time it was the paint dabbers video, part 1, making backgrounds.
This post has a lot of pics and I took them late last night, so bear with me!
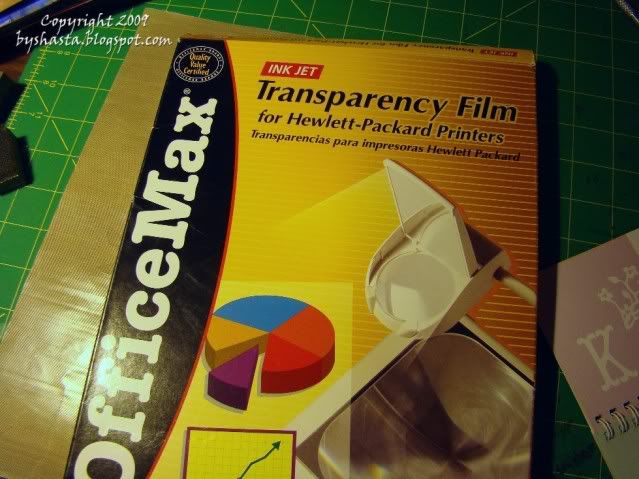
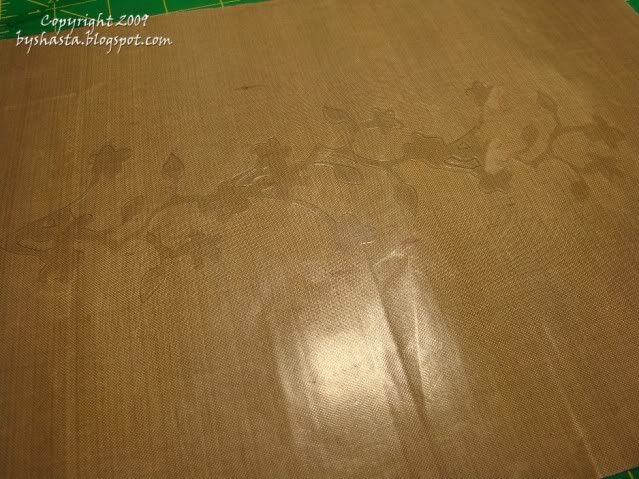
Since I had neither masks nor paint dabbers, I had to improvise a bit ;) I have some basic acrylic paints that I have had for a while, and then I used plain old transparency sheets and cut them out with my Cricut. I had the blade depth set to 6, the pressure at max and the speed on 4.
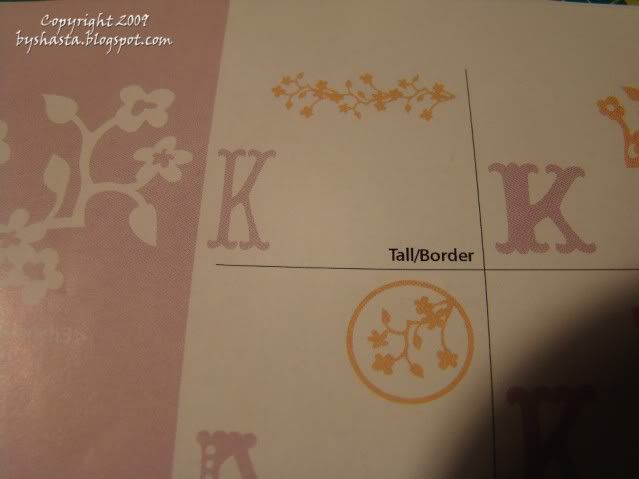
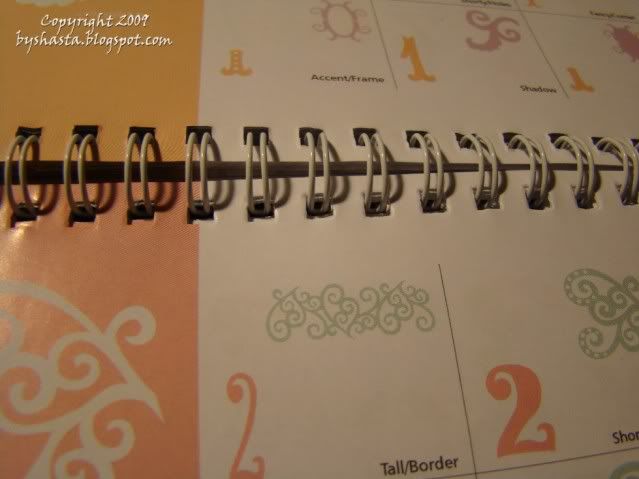
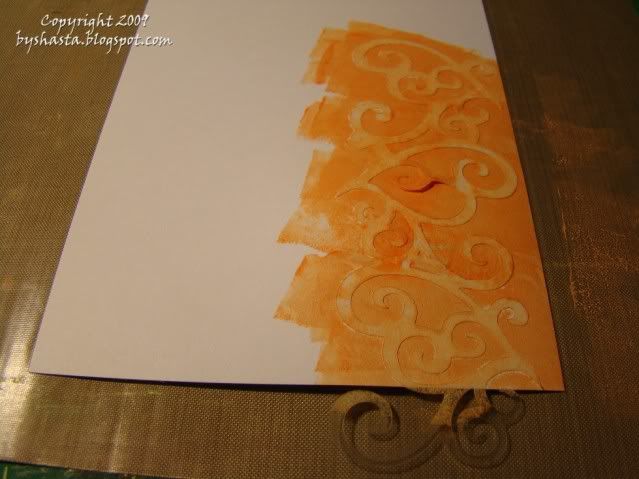
All 3 shapes were cut with the Storybook cart, and using the 'tall/border' function. This first one, the leaves, I cut with the 'Real Dial Size' button on, and the 'Fit To Length' button on at 9 inches.
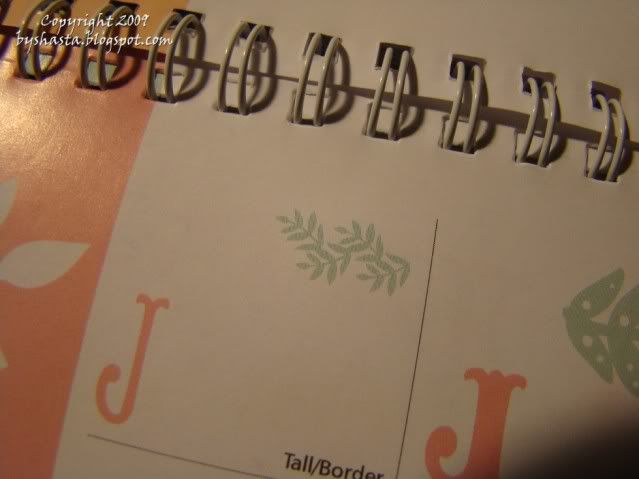
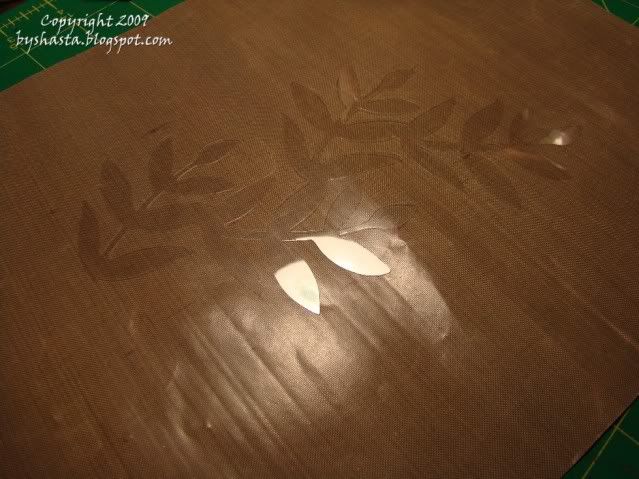
This one I used the same buttons and had it set to 7 inches
This one was set to 5 inches

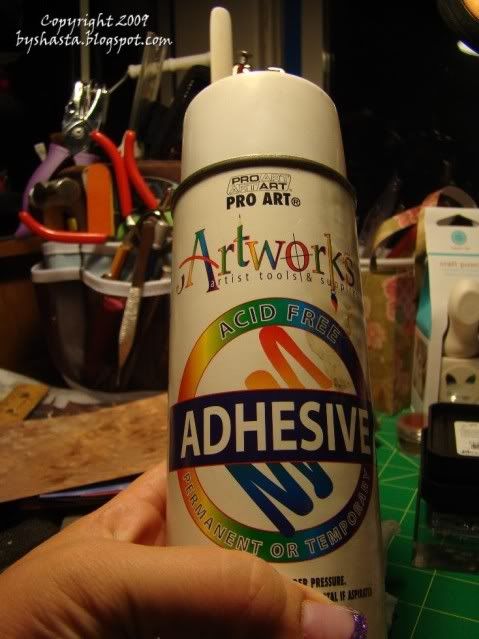
Then I took them outside on a piece of scrap paper and sprayed them with adhesive and let it dry for 5 minutes. That way I can remove them without tearing the paper and use them again!
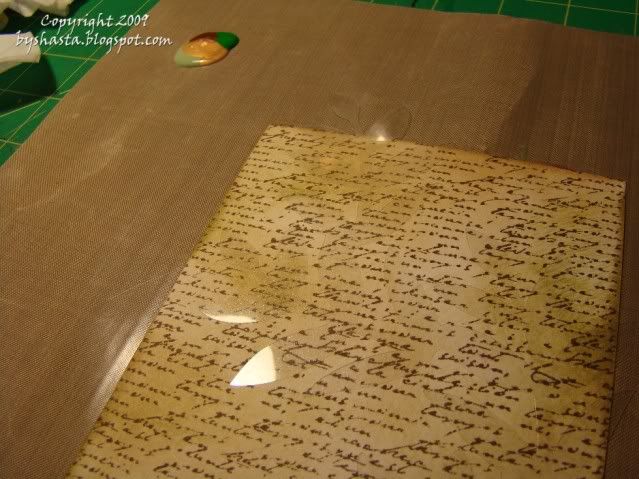
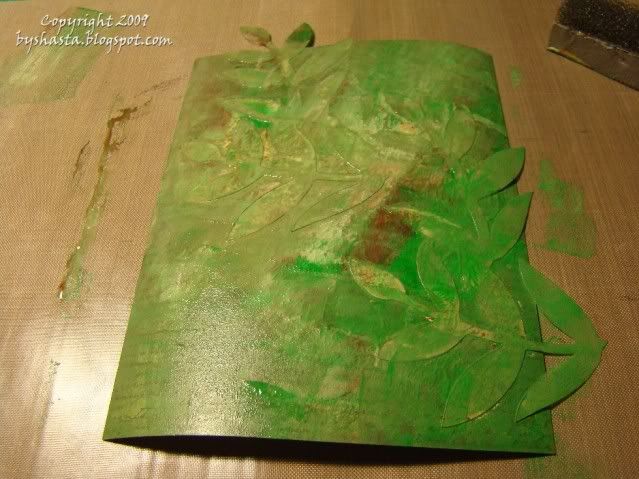
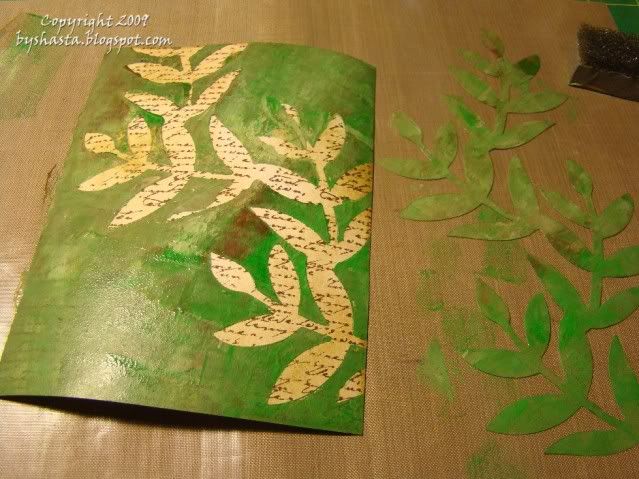
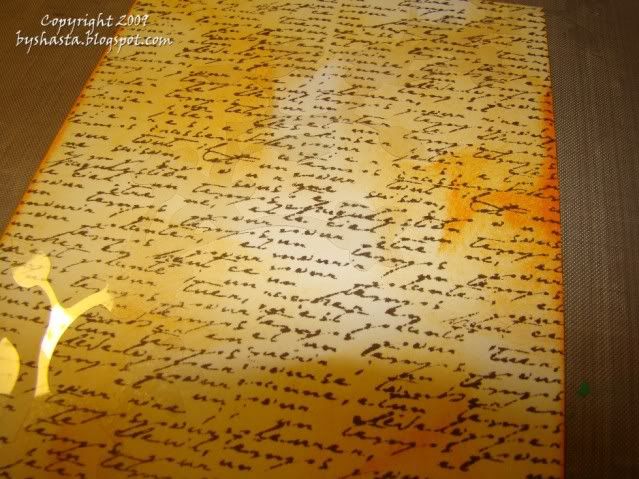
This card I stamped with Walnut Stain ink and a FancyPants script stamp, and sponged with Peeled Paint ink, all by Tim Holtz. Then I layered the mask and dabbed away!
I used a mixture of 2 shades of green, 1 brown and 1 gold paints.
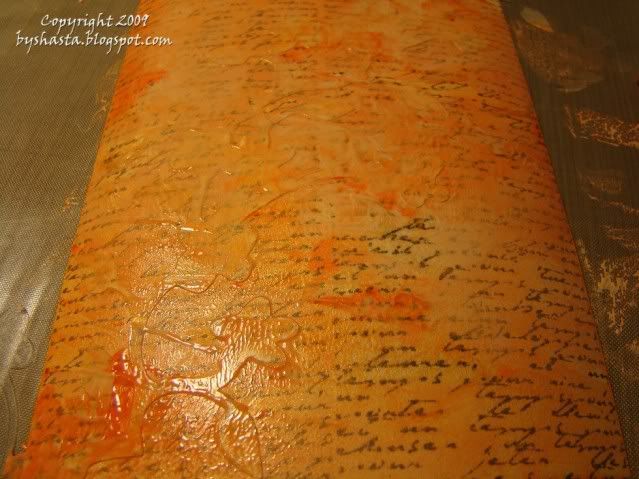
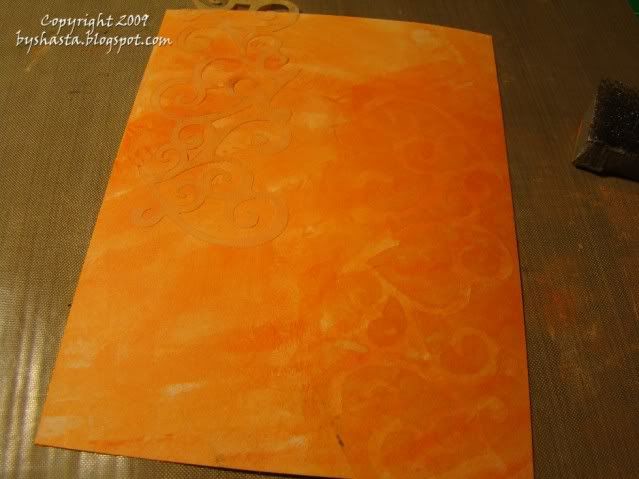
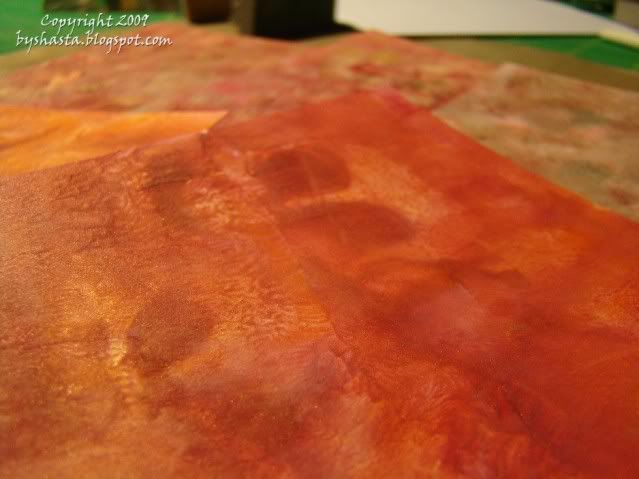
This one was stamped with the same stamp and ink, but sponged with Spiced Marmalade ink.
I used orange, gold and beige paints
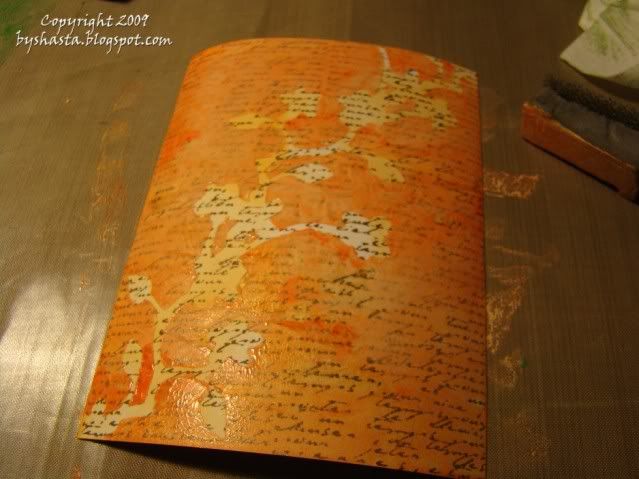
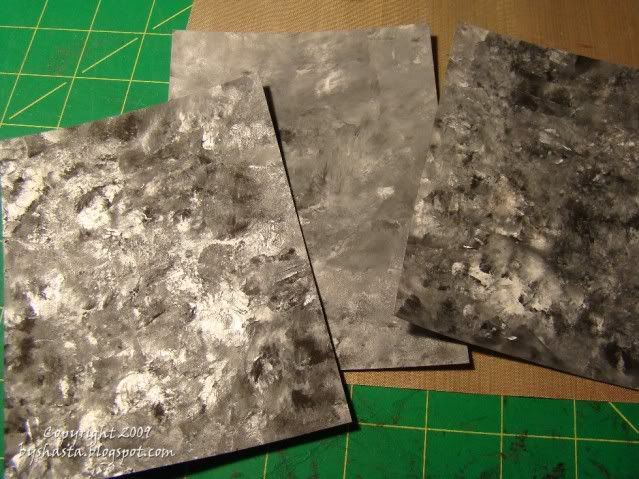
I used the same paint colors for this one, but started differently. I put the mask down on plain paper and sponged over it.
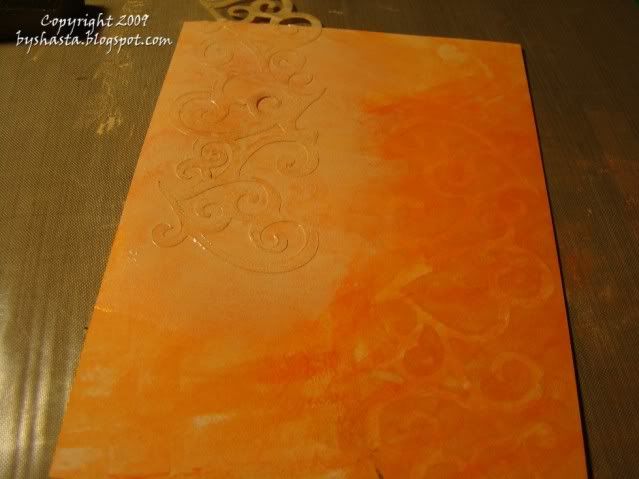
Then I removed the mask, sponged over the whole thing, and then replaced the mask in a different spot.
Then I sponged some of the lighter shade over the mask again.
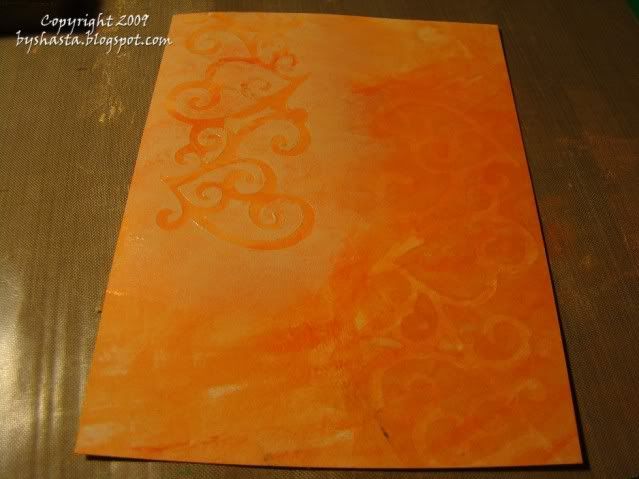
The last sep was I went over the paint with some Perfect Pearls powder in gold.
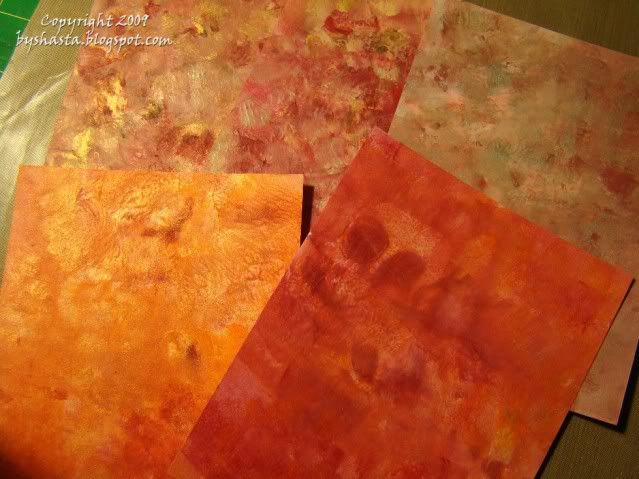
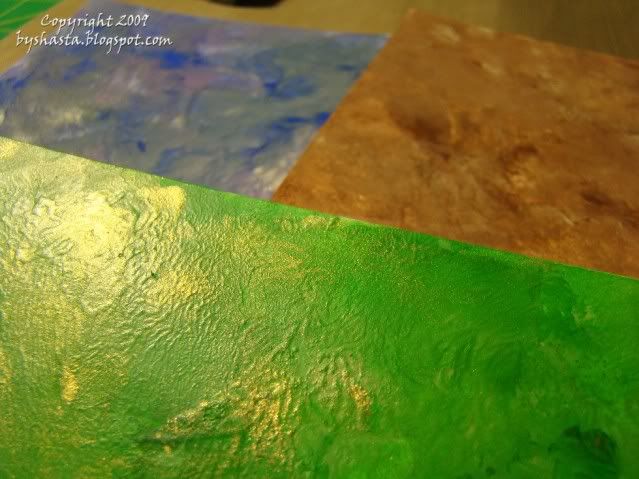
These backgrounds I just used a few colors mixed together and sponged the entire sheet without masks to make a colorful background.
This post has a lot of pics and I took them late last night, so bear with me!
Since I had neither masks nor paint dabbers, I had to improvise a bit ;) I have some basic acrylic paints that I have had for a while, and then I used plain old transparency sheets and cut them out with my Cricut. I had the blade depth set to 6, the pressure at max and the speed on 4.

All 3 shapes were cut with the Storybook cart, and using the 'tall/border' function. This first one, the leaves, I cut with the 'Real Dial Size' button on, and the 'Fit To Length' button on at 9 inches.


This one I used the same buttons and had it set to 7 inches


This one was set to 5 inches


Then I took them outside on a piece of scrap paper and sprayed them with adhesive and let it dry for 5 minutes. That way I can remove them without tearing the paper and use them again!

This card I stamped with Walnut Stain ink and a FancyPants script stamp, and sponged with Peeled Paint ink, all by Tim Holtz. Then I layered the mask and dabbed away!

I used a mixture of 2 shades of green, 1 brown and 1 gold paints.


This one was stamped with the same stamp and ink, but sponged with Spiced Marmalade ink.

I used orange, gold and beige paints


I used the same paint colors for this one, but started differently. I put the mask down on plain paper and sponged over it.

Then I removed the mask, sponged over the whole thing, and then replaced the mask in a different spot.

Then I sponged some of the lighter shade over the mask again.

The last sep was I went over the paint with some Perfect Pearls powder in gold.

These backgrounds I just used a few colors mixed together and sponged the entire sheet without masks to make a colorful background.


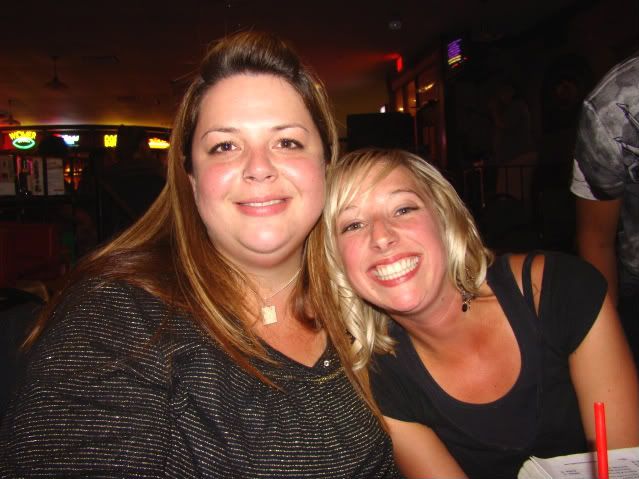
Bye Holly!!!
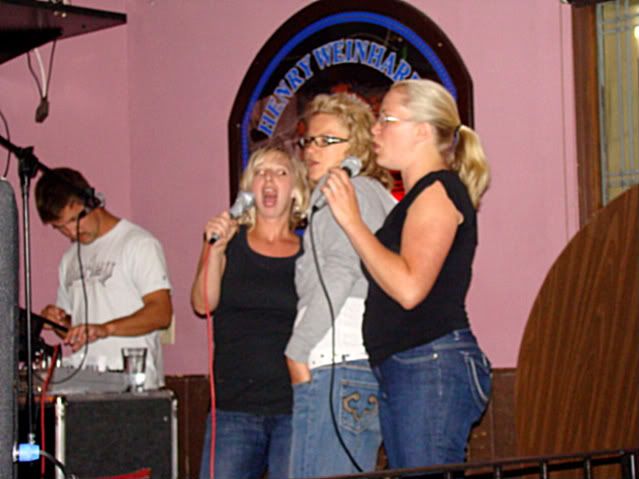
My co-worker Holly is moving on to bigger and better things, so we had to send her off right! We went to The Village on Wednesday night and did some karaoke!
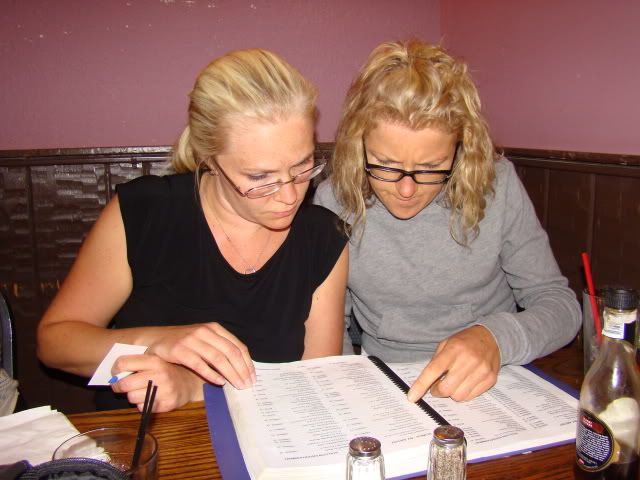
Sarah and her sister Martha picking out a song to do...
Holly, Sarah and Martha singing "Dancing Queen" by Abba!

Sarah and her sister Martha picking out a song to do...

Holly, Sarah and Martha singing "Dancing Queen" by Abba!

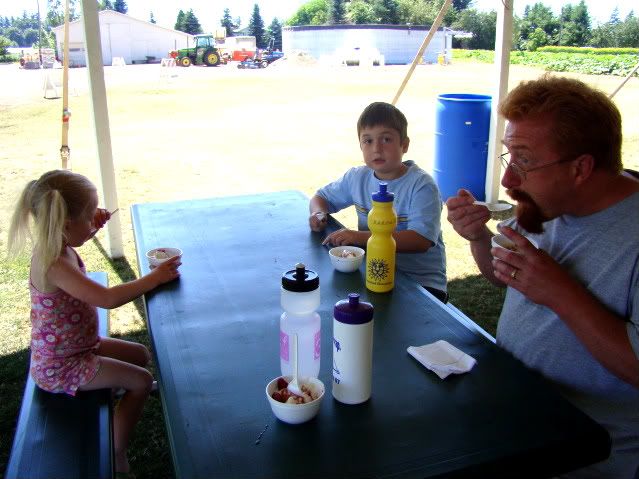
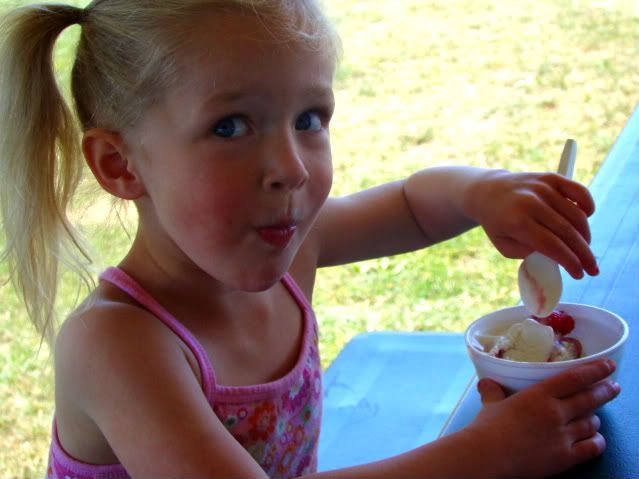
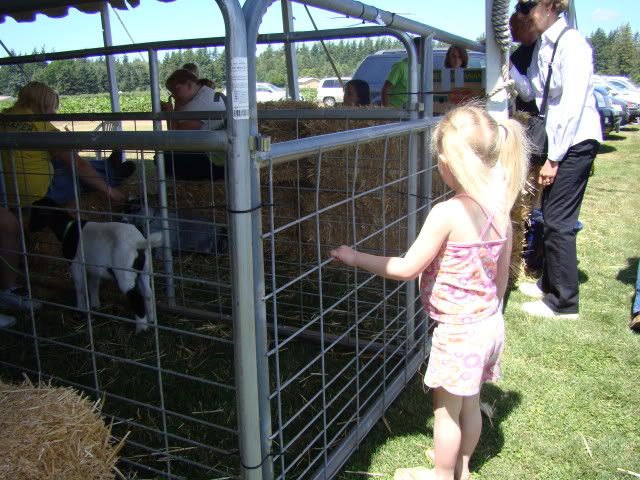
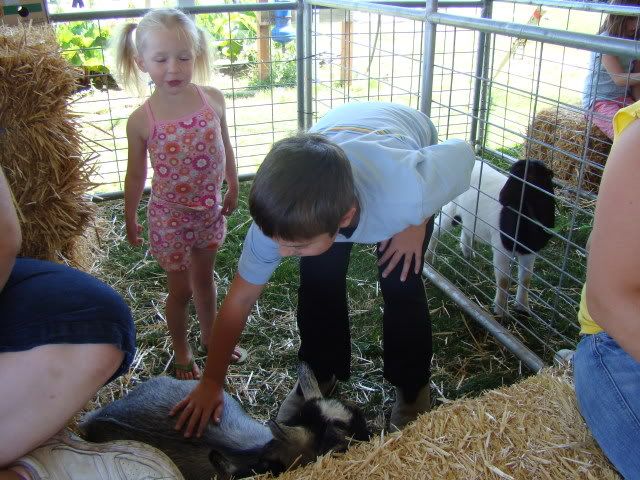
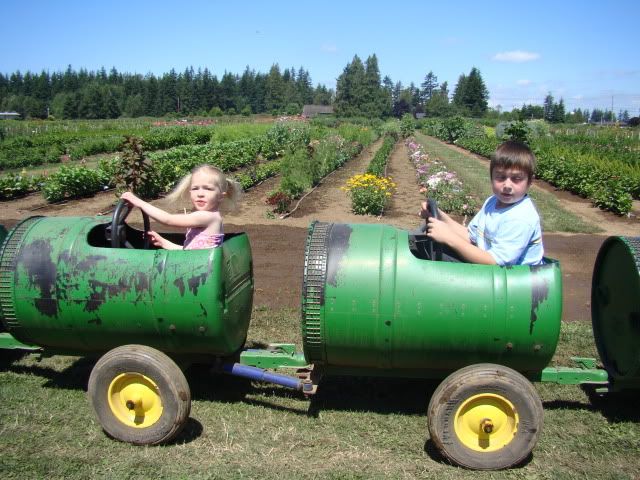
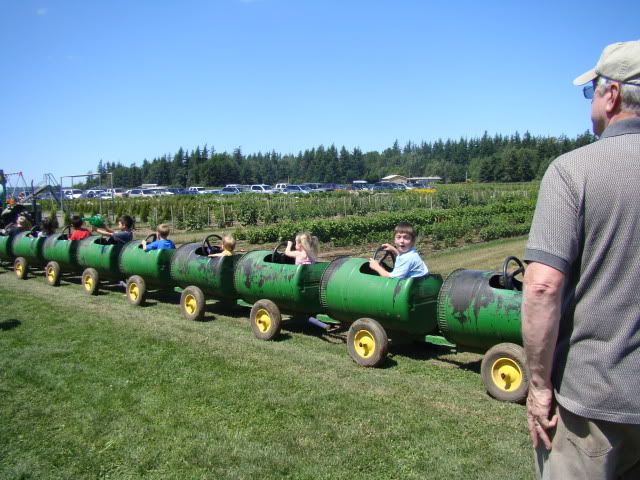
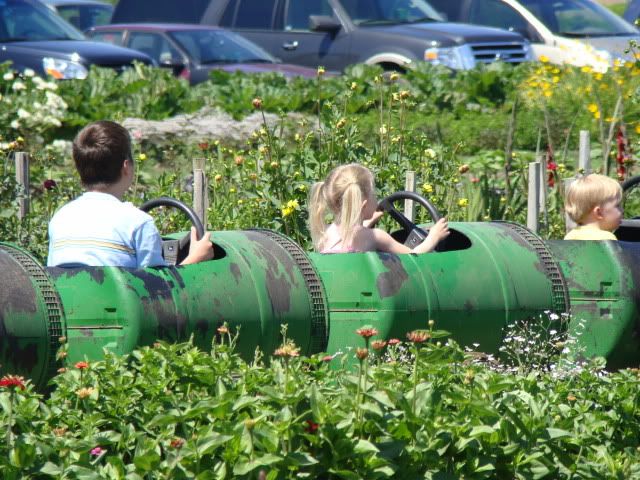
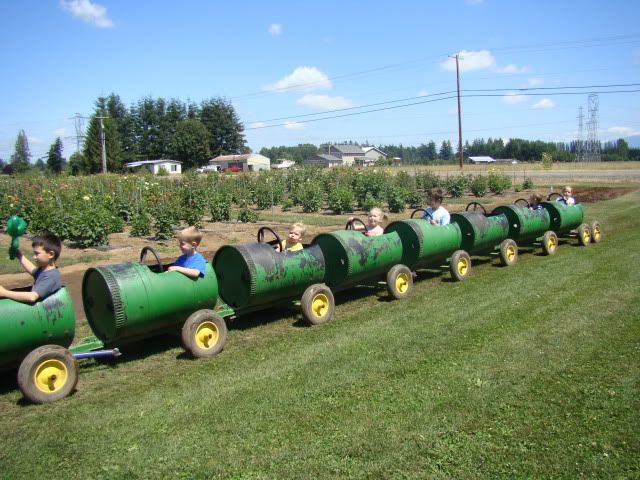
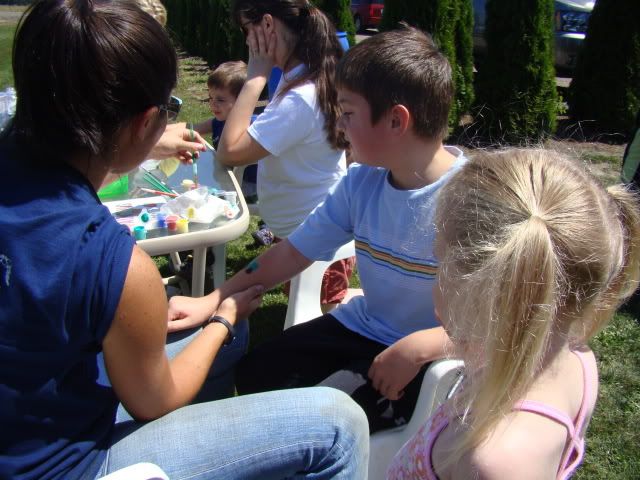
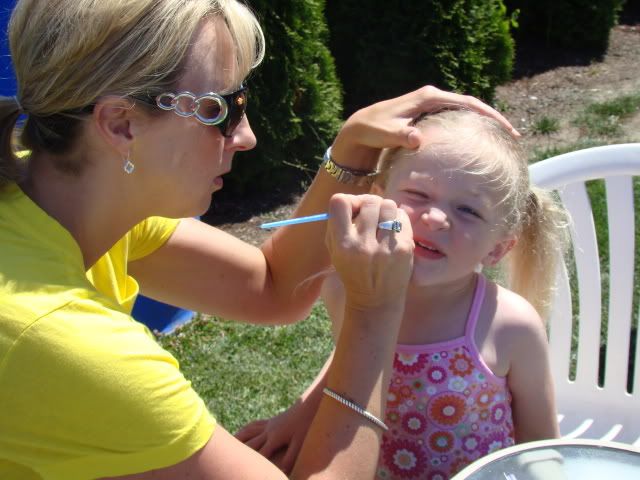
Raspberry Fest at Boxx Berry Farm
We missed the Strawberry Fest this year, but made it to this one. We loved the improvements over last year, they added a kid's play area and the covered picnic area, it was great! The kids got to ride the tractor ride FIVE times, and had their arms and faces painted AND got balloon animals. Not to mention the Meridian FFA animals and free raspberry sundaes!


Friday, July 24, 2009
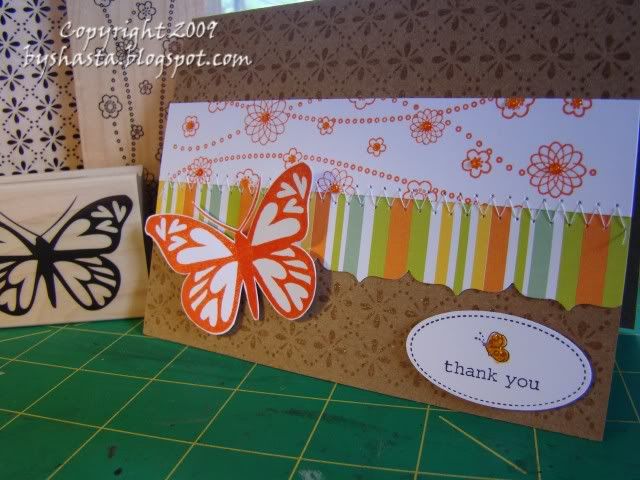
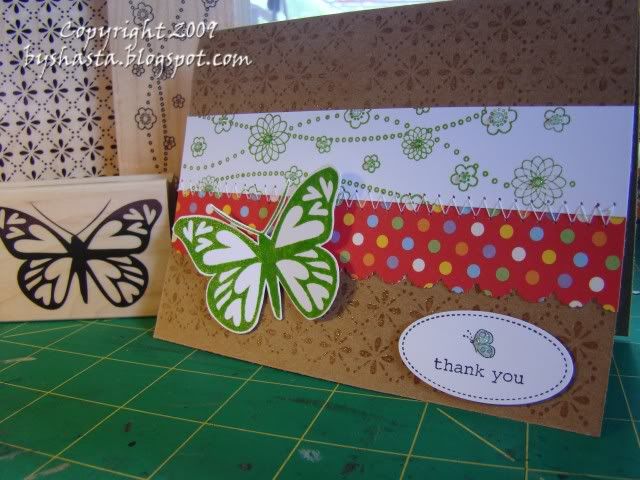
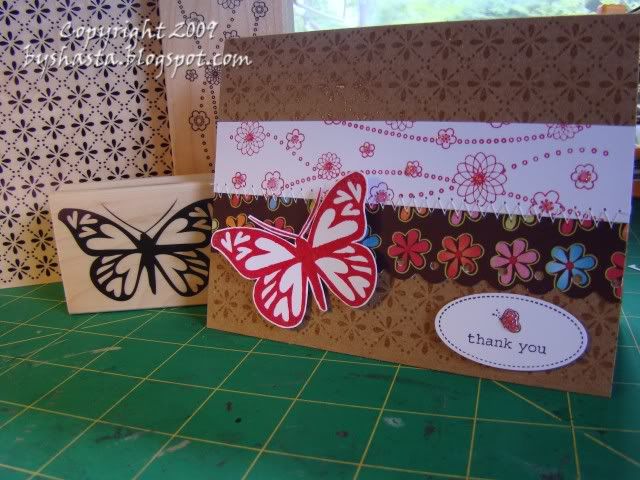
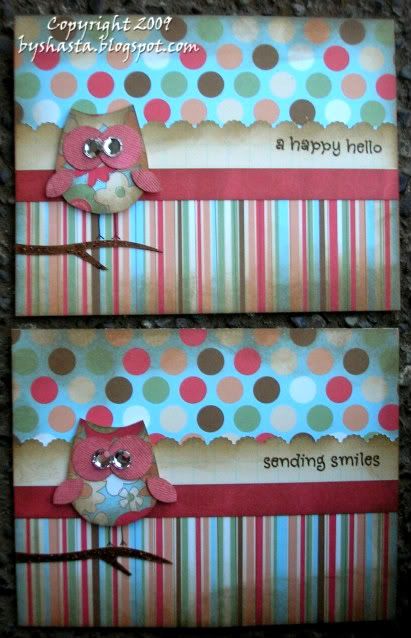
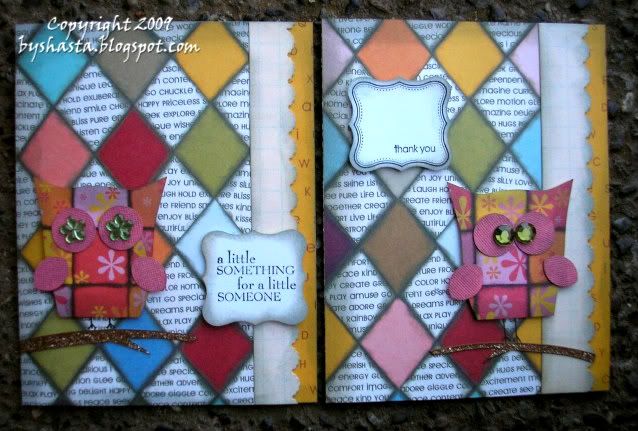
Cards from yesterday
I was loosely inspired by the Thinking Inking classes for these, since Jennifer McGuire used these same butterfly and background stamps on some of her cards.


Wednesday, July 22, 2009


You put your chocolate in my peanutbutter!
Haha! Do you remember those commercials??
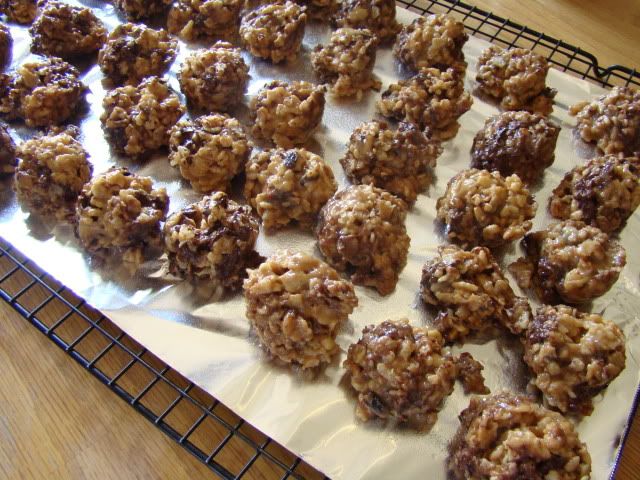
So this morning my daughter decided she wanted to make cookies, but I had no intention of turning the oven on... So off I went on a search for no-bake cookie recipes from my favorite recipe site, www.allrecipes.com. I found this one, and OMG they look delicious!!
After reading the recipe reviews, I made it with the following revisions...
INGREDIENTS
1 cup white sugar (I used half white, half brown)
1 cup white corn syrup (I used half light corn syrup and half honey)
1 teaspoon vanilla extract
2 cups peanut butter (I used crunchy)
4 1/2 cups crisp rice cereal
I also added 1/2 cup each of raisins and chocolate chips, mmmmmm!
DIRECTIONS
Add the sugars, syrup and honey to a large saucepan. Cooking over med-high, bring to a full rolling boil for one minute. Remove from heat and add the vanilla, peanut butter and stir until thoroughly combined. Add the crispy rice cereal, and raisins, and mix completely. Add the chips last so they only melt a little bit. Drop by teaspoons onto wax paper (I used a small ice cream type scoop). The cookies will be slightly soft when done.


Monday, July 20, 2009
Thinking Inking - Week 6!
These were from the video posted today, and I HAD to make these right away! If you haven't done so already, check out this class at 2peas, it is FAB :) Here is a complete list of the classes to date, you won't be sorry!


Sunday, July 19, 2009
Dinner last night...
...Was the BOMB! My husbad made these for dinner and they were so good, and I didn't have room for anythign else ;)
Bacon, Onion and Cheese Stuffed Burgers
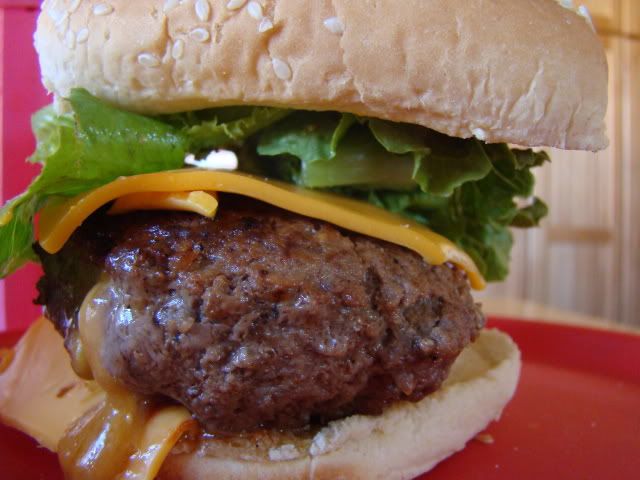
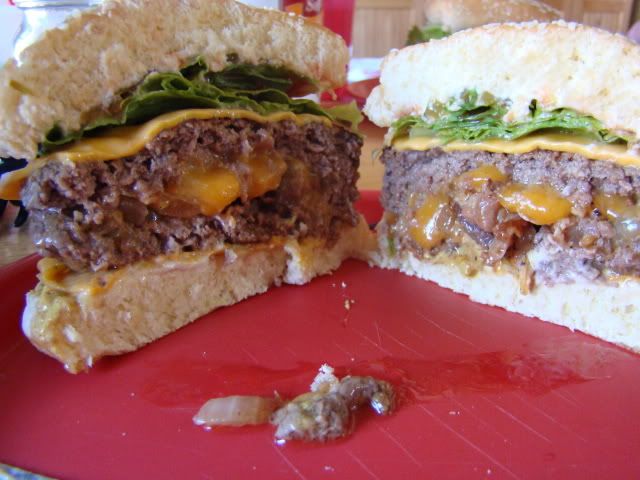
Bacon, Onion and Cheese Stuffed Burgers


Subscribe to:
Posts (Atom)


