I spent the weekend at a scrapbooking retreat in lovely
Fort Flagler State Park the first weekend in November, and made cards for a few days. I have had the pleasure of going there for the last 6 or 7 years with 30-40 ladies twice a year, and just love it. Usually I make pages, but decided to do these instead because my stash of cards is dangerously low! Plus I wanted to get out *all* of my inks and stamps and just play. Just about all of these are lifts from
Pinterest or other ones I have seen on the
Hero Arts blog or
Jennifer McGuire's website (love her!). She is probably single handedly responsible for my love of Distress Inks. She had an incredible
video tutorial collection a year or two ago that has some amazing techniques on how to use them. There are 27 videos but trust me, it will not be a waste of your time!!
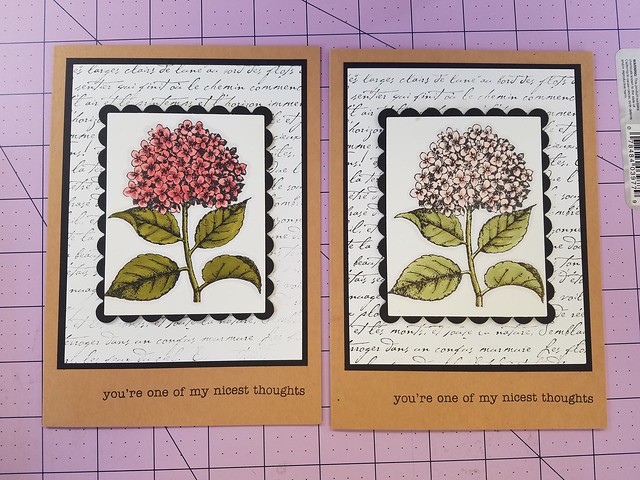
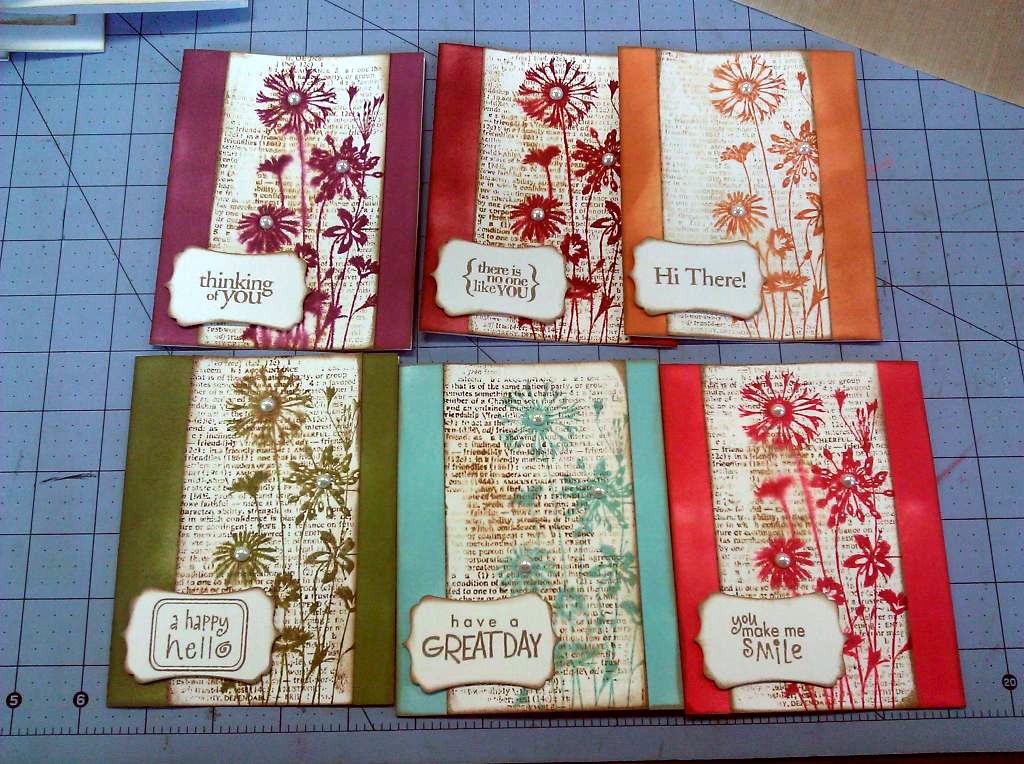
This first set uses a
flower stamp and a
text background stamp, both from Hero Arts. I stamped the text first after blotting the image a bit so it wasn't solid, then stamped the flower. I sprayed the stamp with water first to make it watercolor-ish, and all of the inks on these ones are from
Tim Holtz. I used my
ink blending tool to color the card base with the same color that I stamped the flower in, and around the edges of the white cardstock, then mounted it. Add a sentiment with a punch from various stamp sets, some half pearls, and voila!
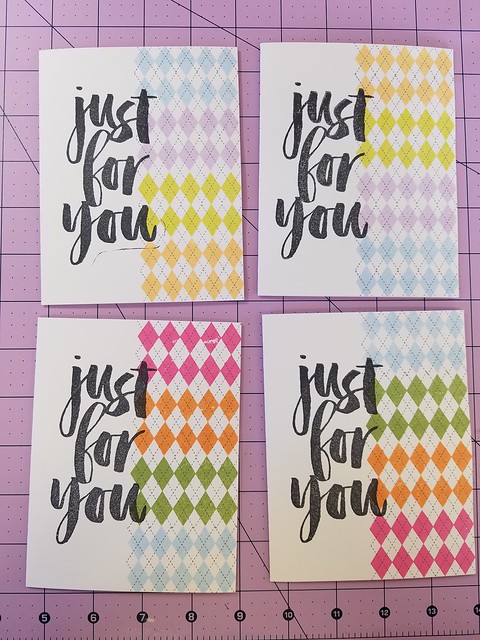
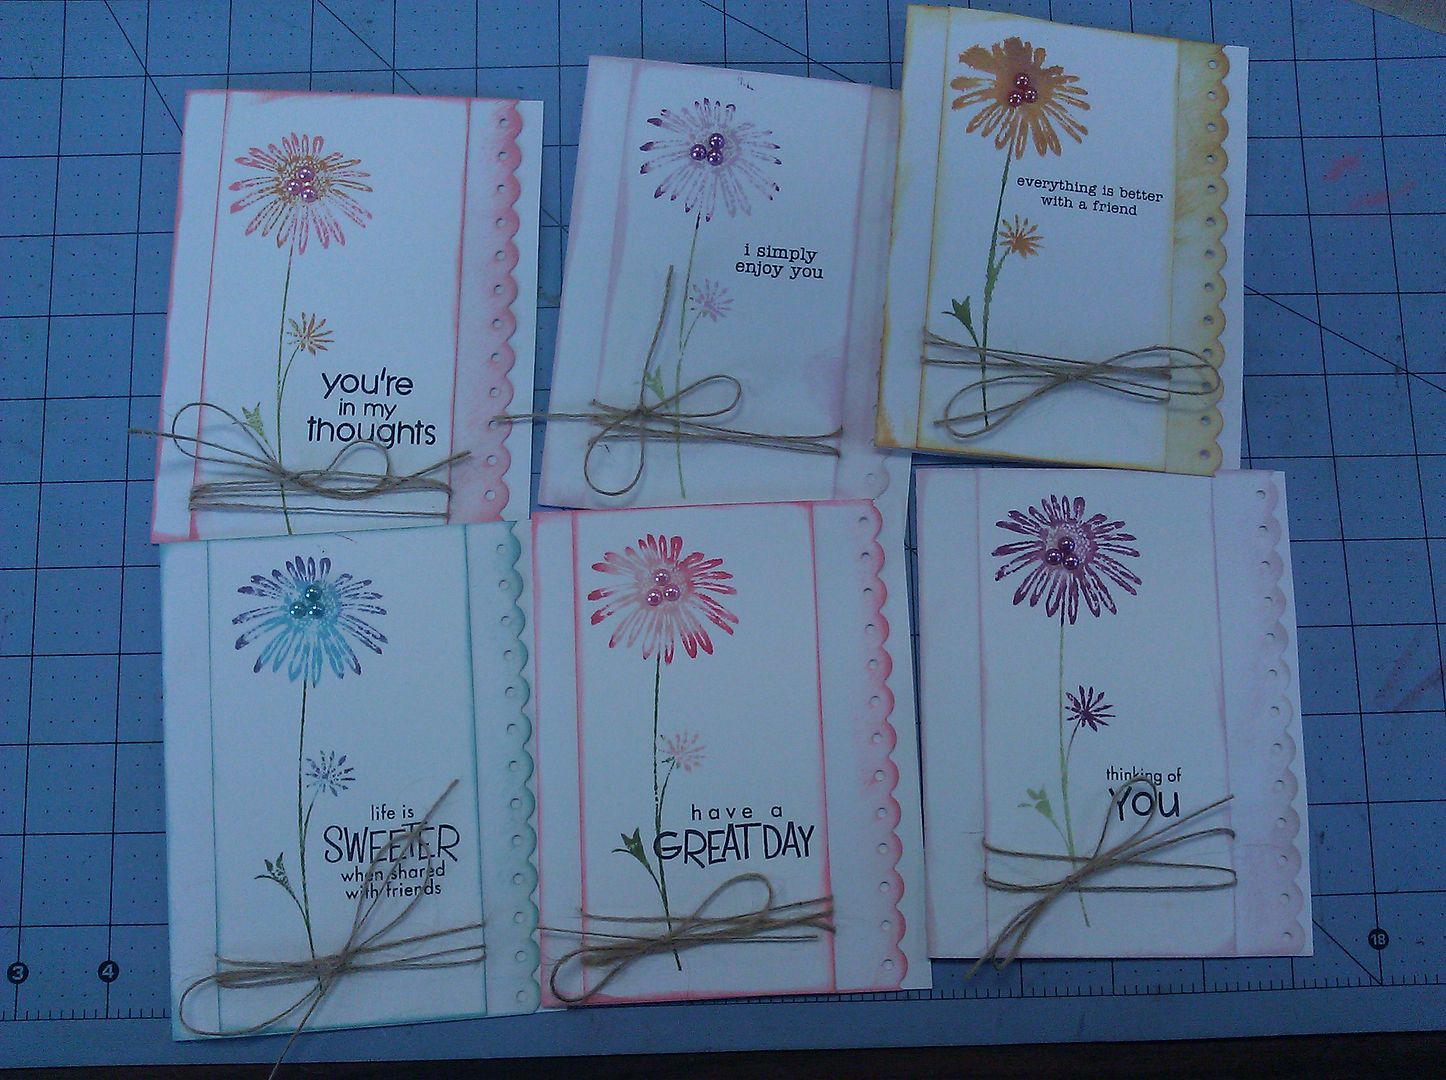
These ones are super simple, a single layer, and I love how they turned out. Inspired by
this. I stamped the flowers in various
Memento colors using a
Gina K set, and various sentiments. Done!
Here is another single layer card, easy peasy. Inspired from
here. This is another
butterfly stamp I use a lot, and Memento inks. Then I fussy cut around the open edge with scissors.
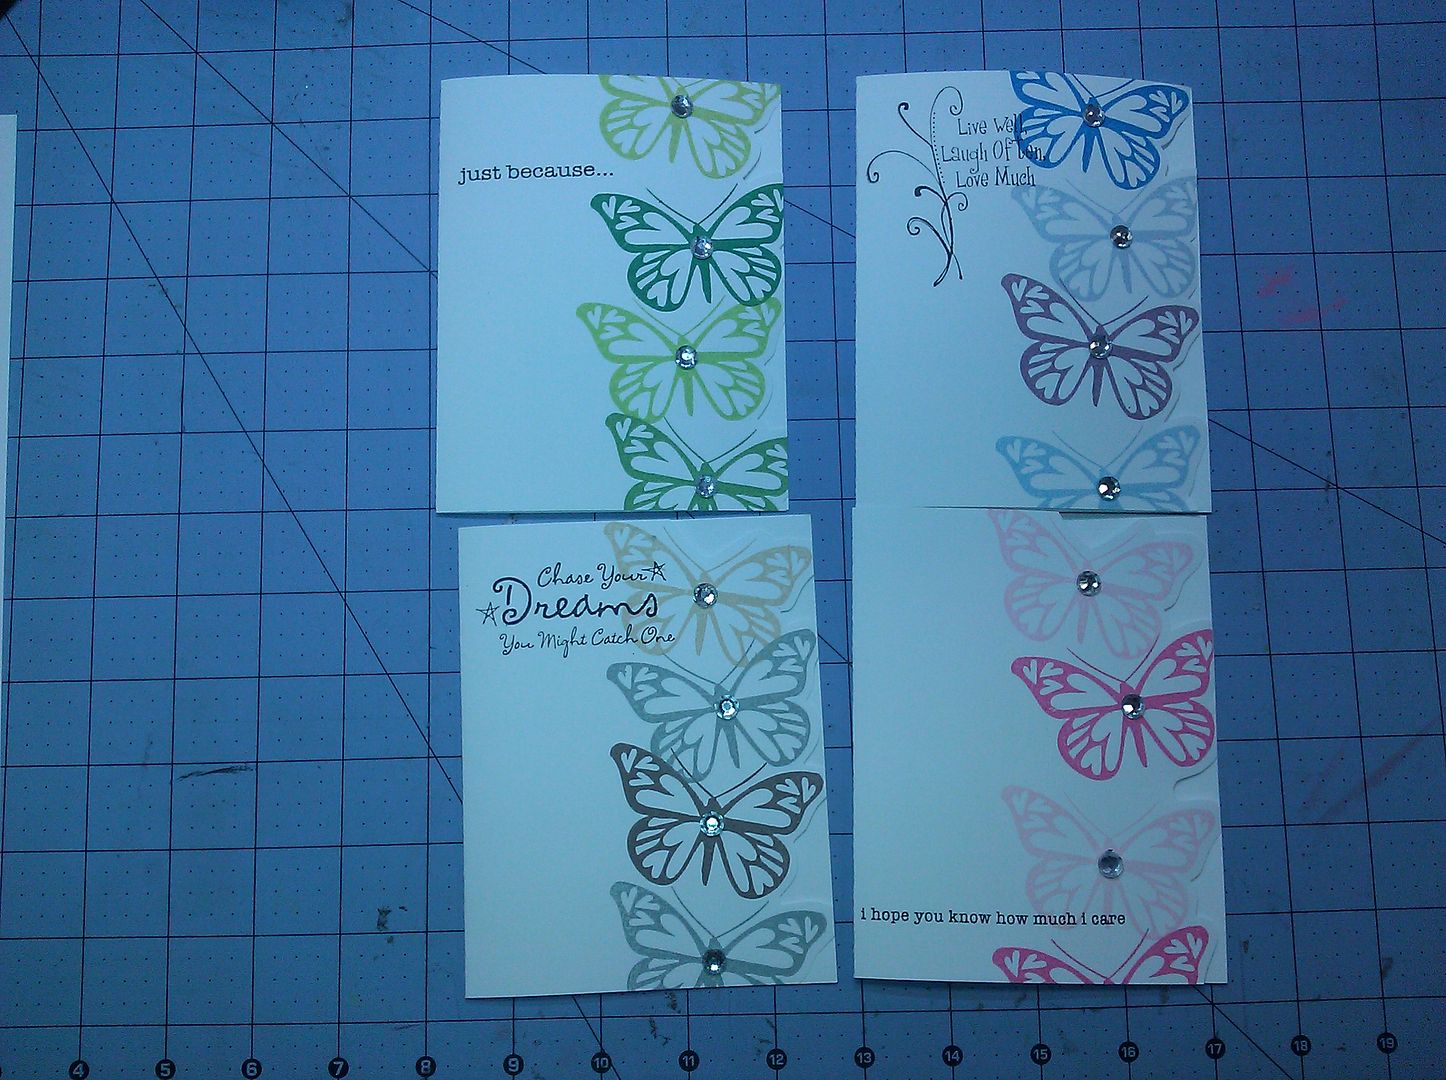
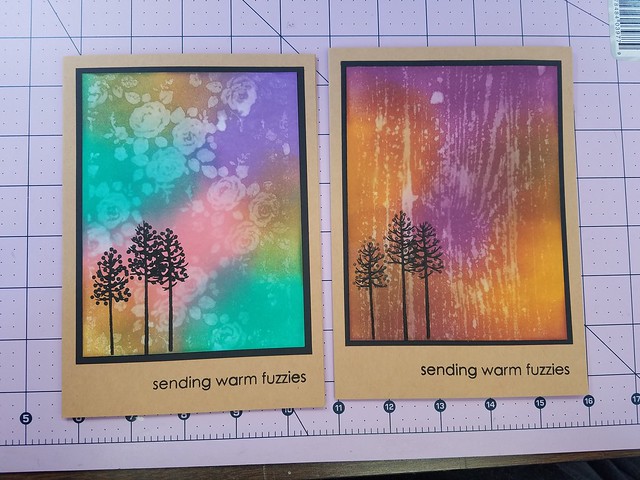
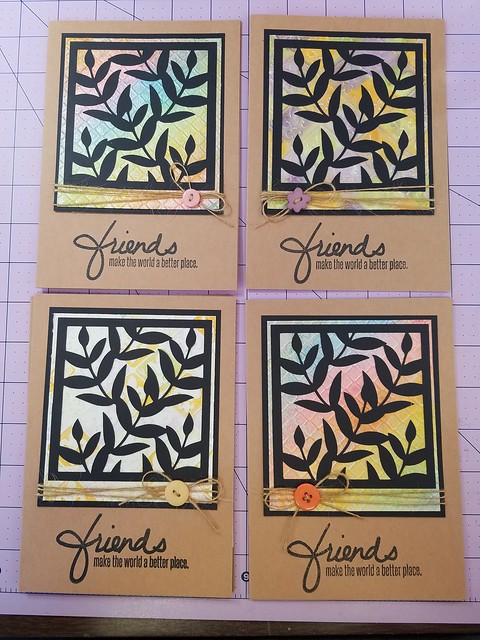
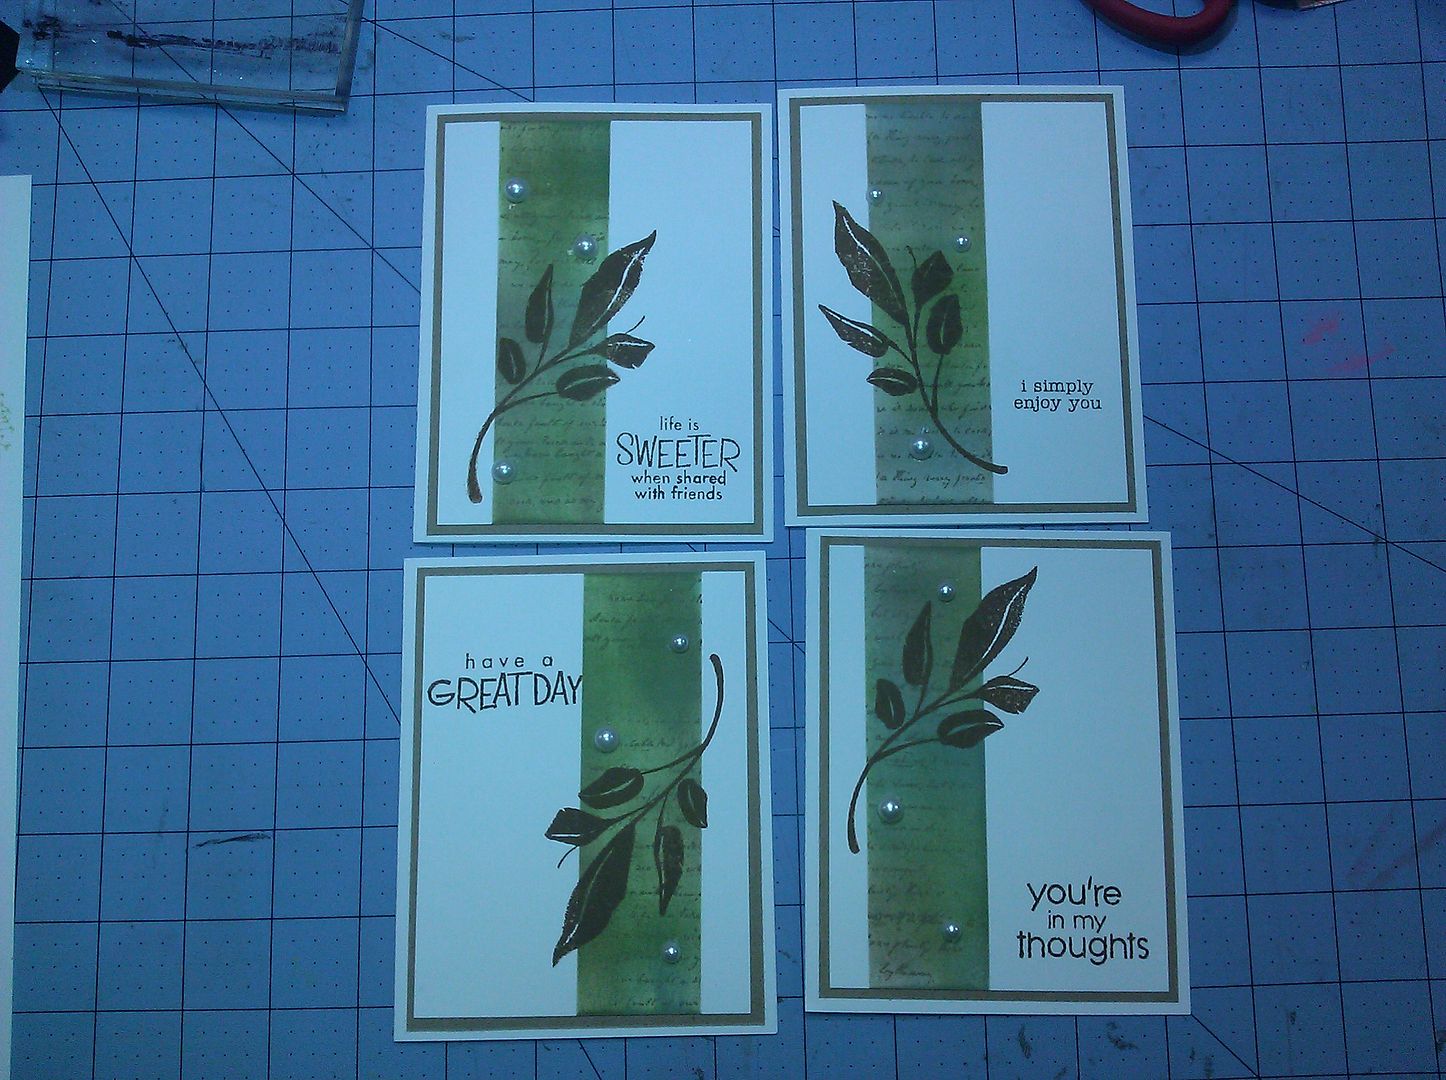
This one turned out just like I wanted, and was so pleased. Inspired by
this. I masked off the white cardstock with two pieces of black paper, stamped the text and rubbed 2-3 colors of
Tim Holtz Distress Inks over that with the blending tool. Once the black paper masks were removed, it left that nice crisp design down the card. I believe the leaf is a
Close to My Heart one, I borrowed it from my friend so am not positive. I used brown cardstock to mount it, and added more pearls.
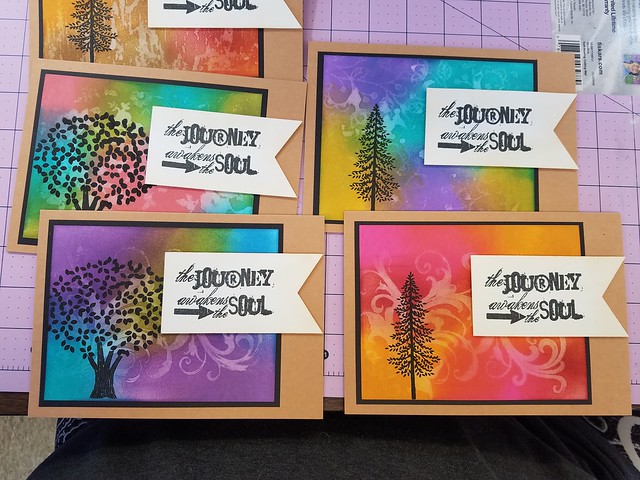
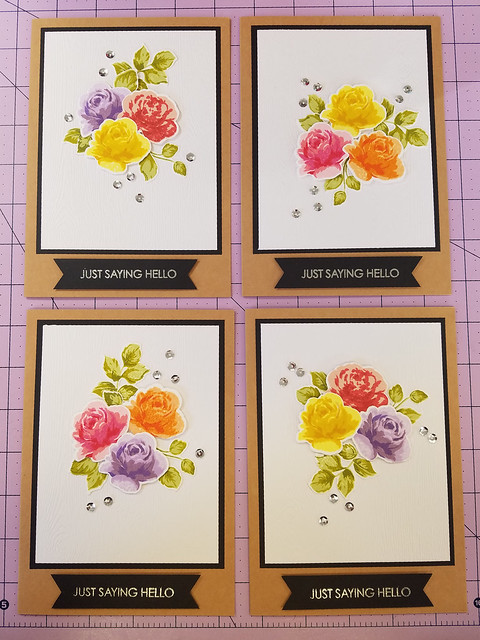
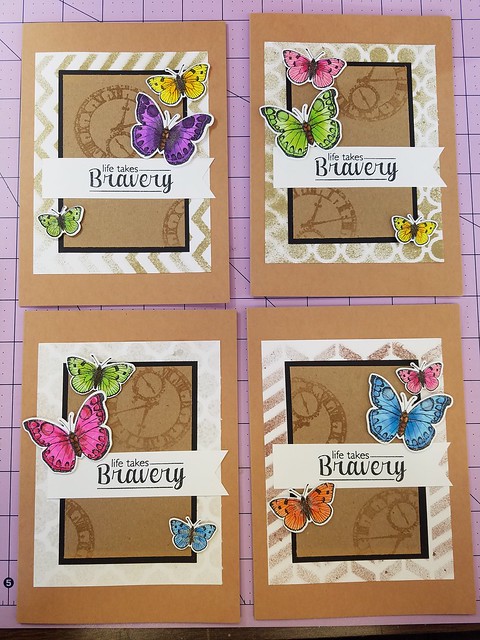
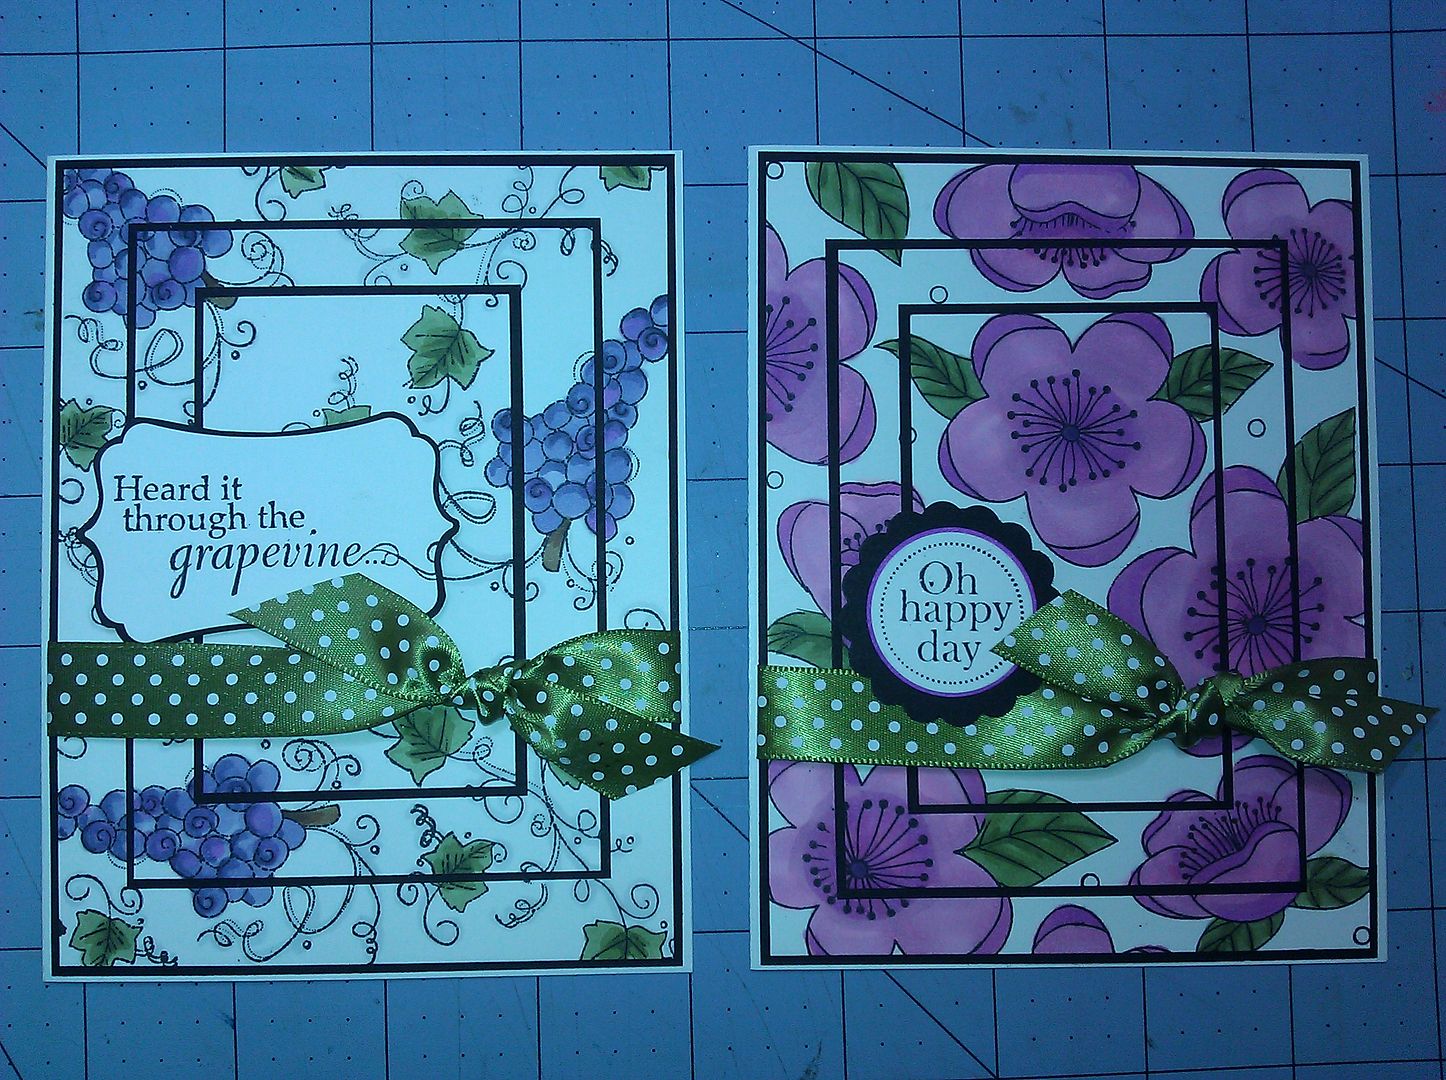
I kept seeing these triple stamped cards, and wanted to try it. Inspired by
this. You can find a tutorial
here. I colored the images with
Copic markers and mounted it on black cardstock. Make sure you use the right ink for your images when coloring with these markers, or it will smear.
Memento Tuxedo Black is what I used.
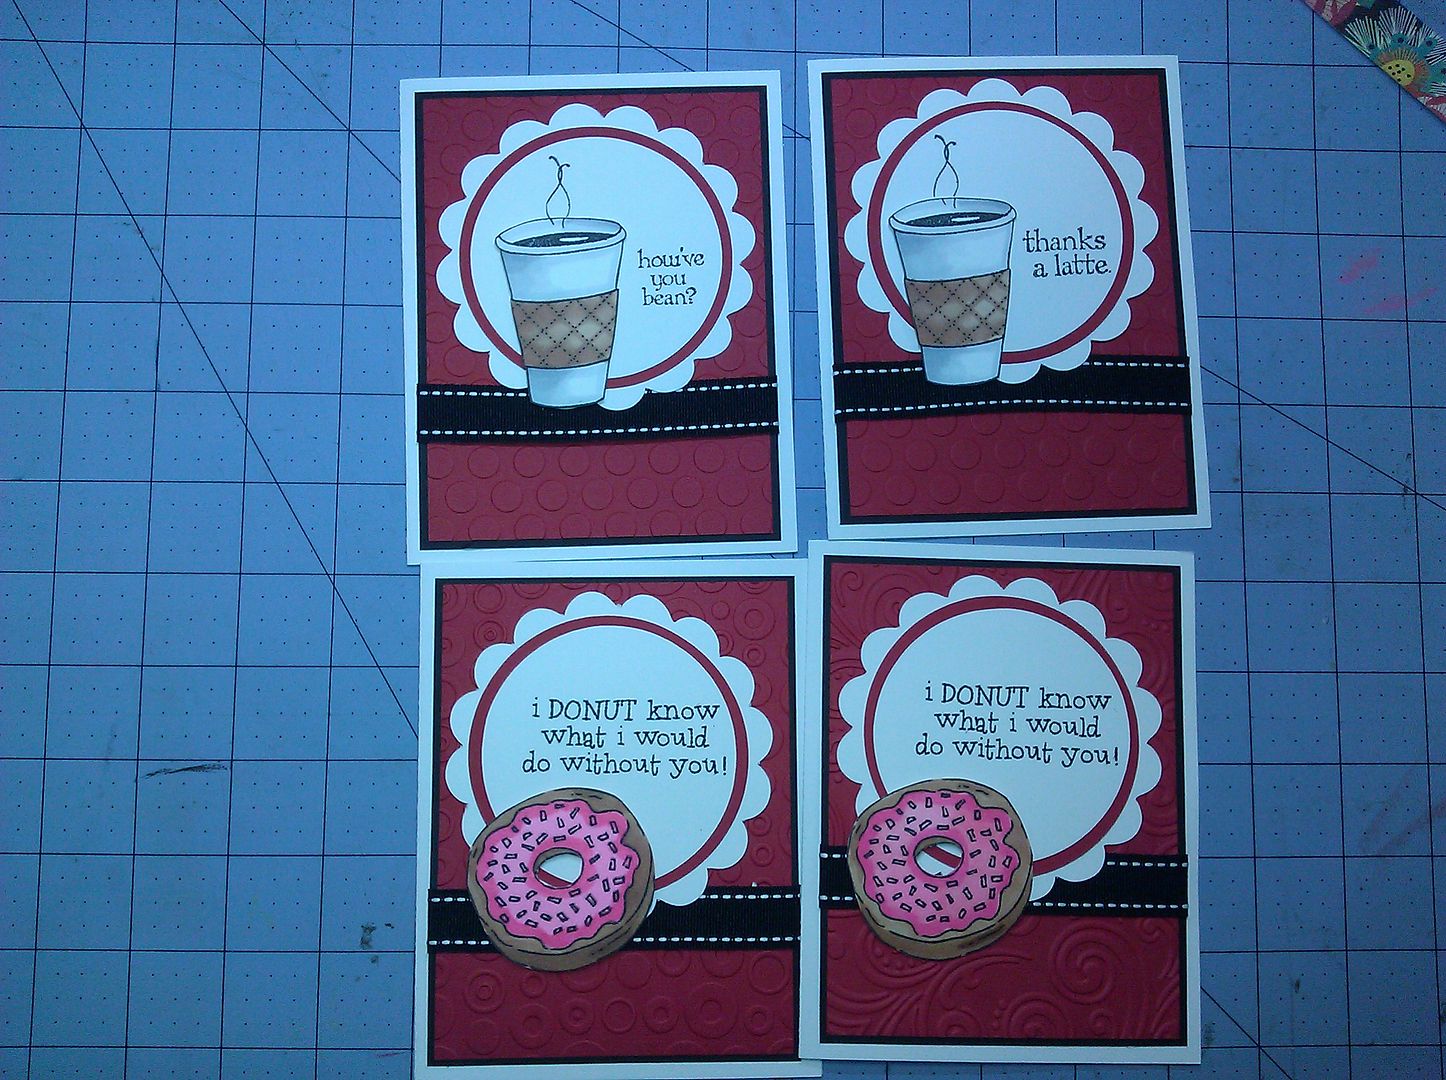
I thought this donut stamp was just too freakin' cute. These were a combination of 3 or 4 coffee/tea stamp sets I have. I dry embossed the red background with my
Cuttlebug, cut the scallop and circles with my
Cricut, and then colored and fussy-cut the images.
This
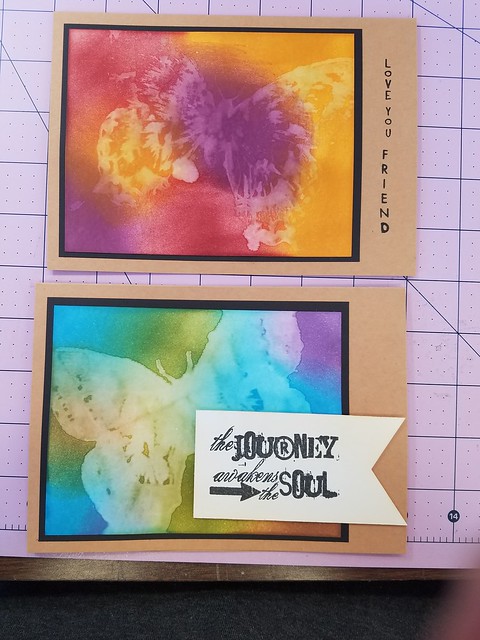
butterfly stamp is one of my favorites, and I use it a LOT. The background was done with a swirly stamp in grey ink, then the butterfly. I inked the butterfly with the main color of Distress Ink and then just brushed the edges with another color and sprayed with water before stamping. This is on watercolor paper.
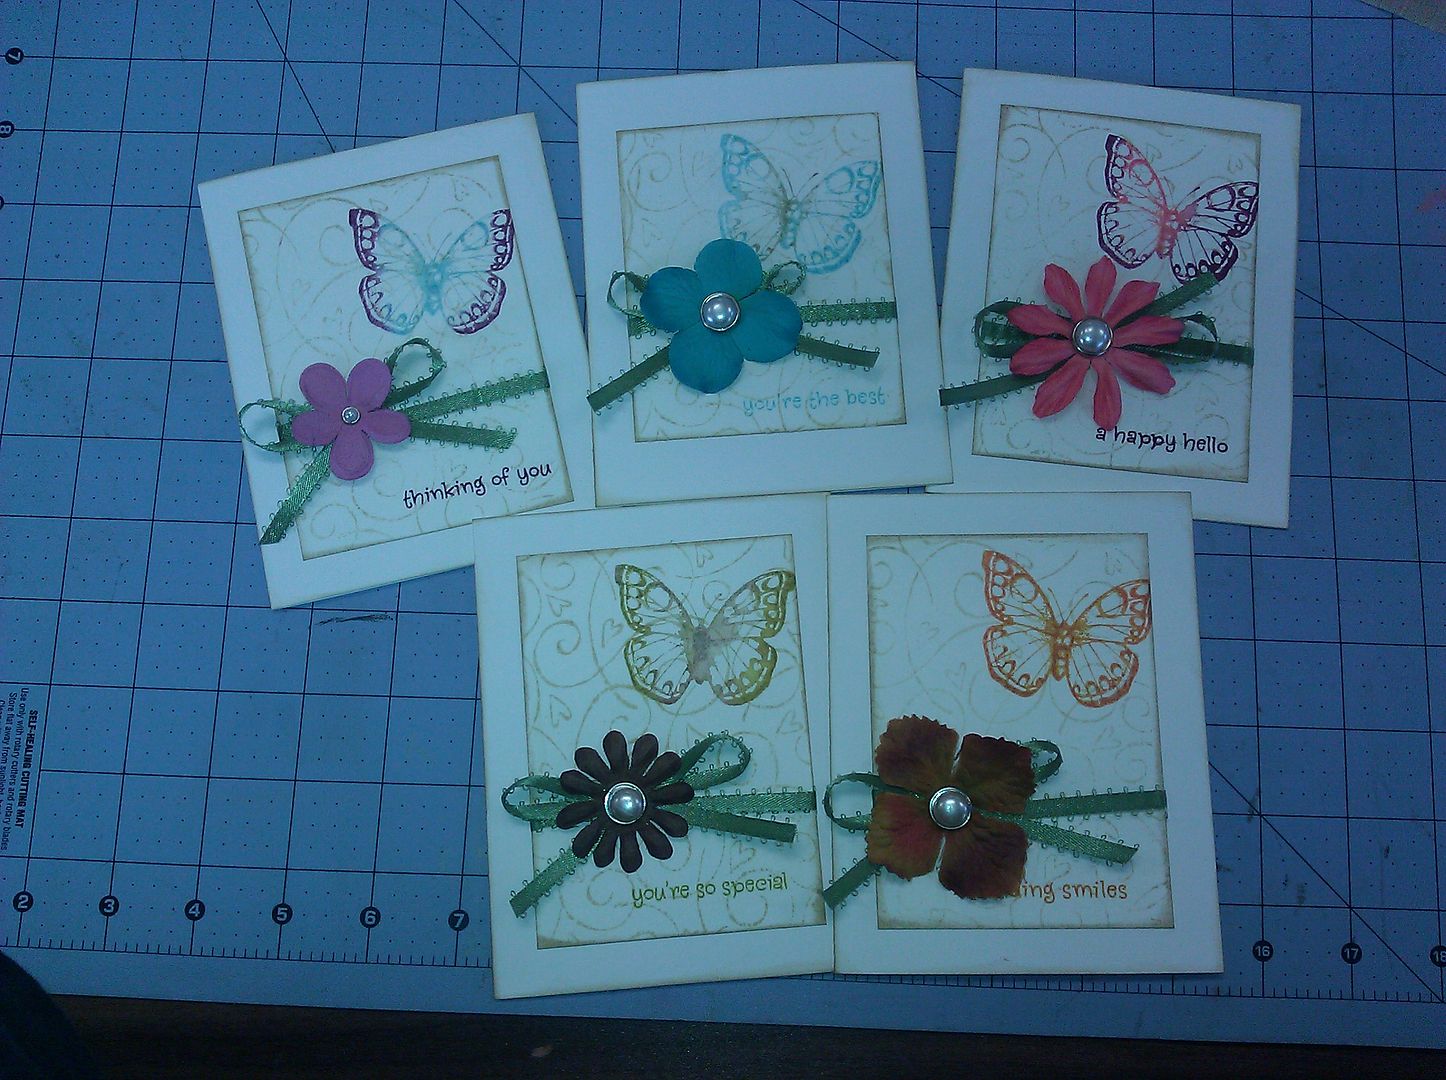
This one is pretty simple too, and looks so nice. I punched the base with a border punch from
Fiskars, then inked with Distress Inks. Then the same color was used on the
flower, with green on the stem. I also sprayed the stamp with water first.
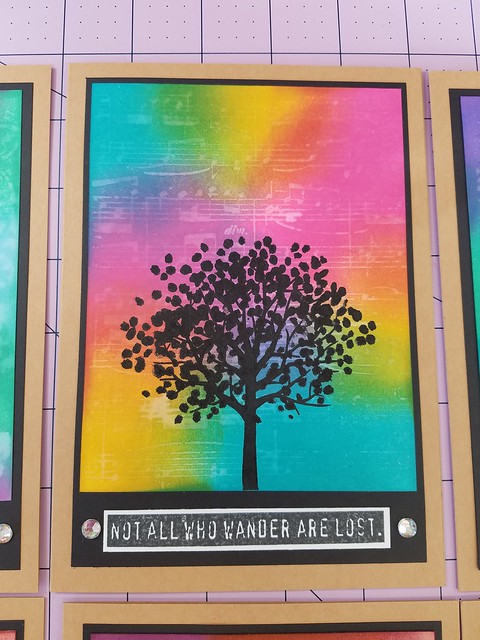
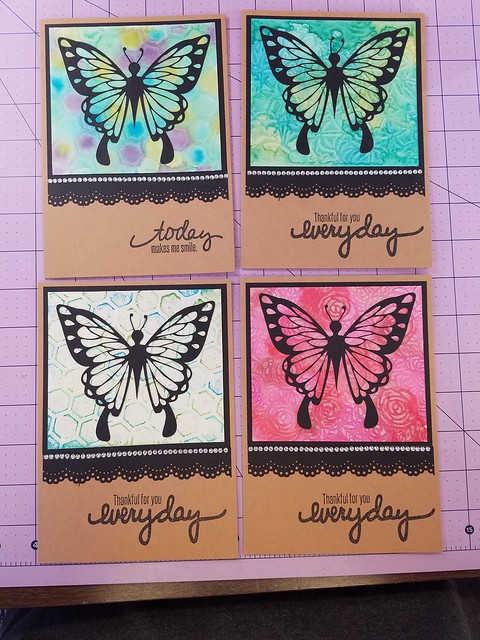
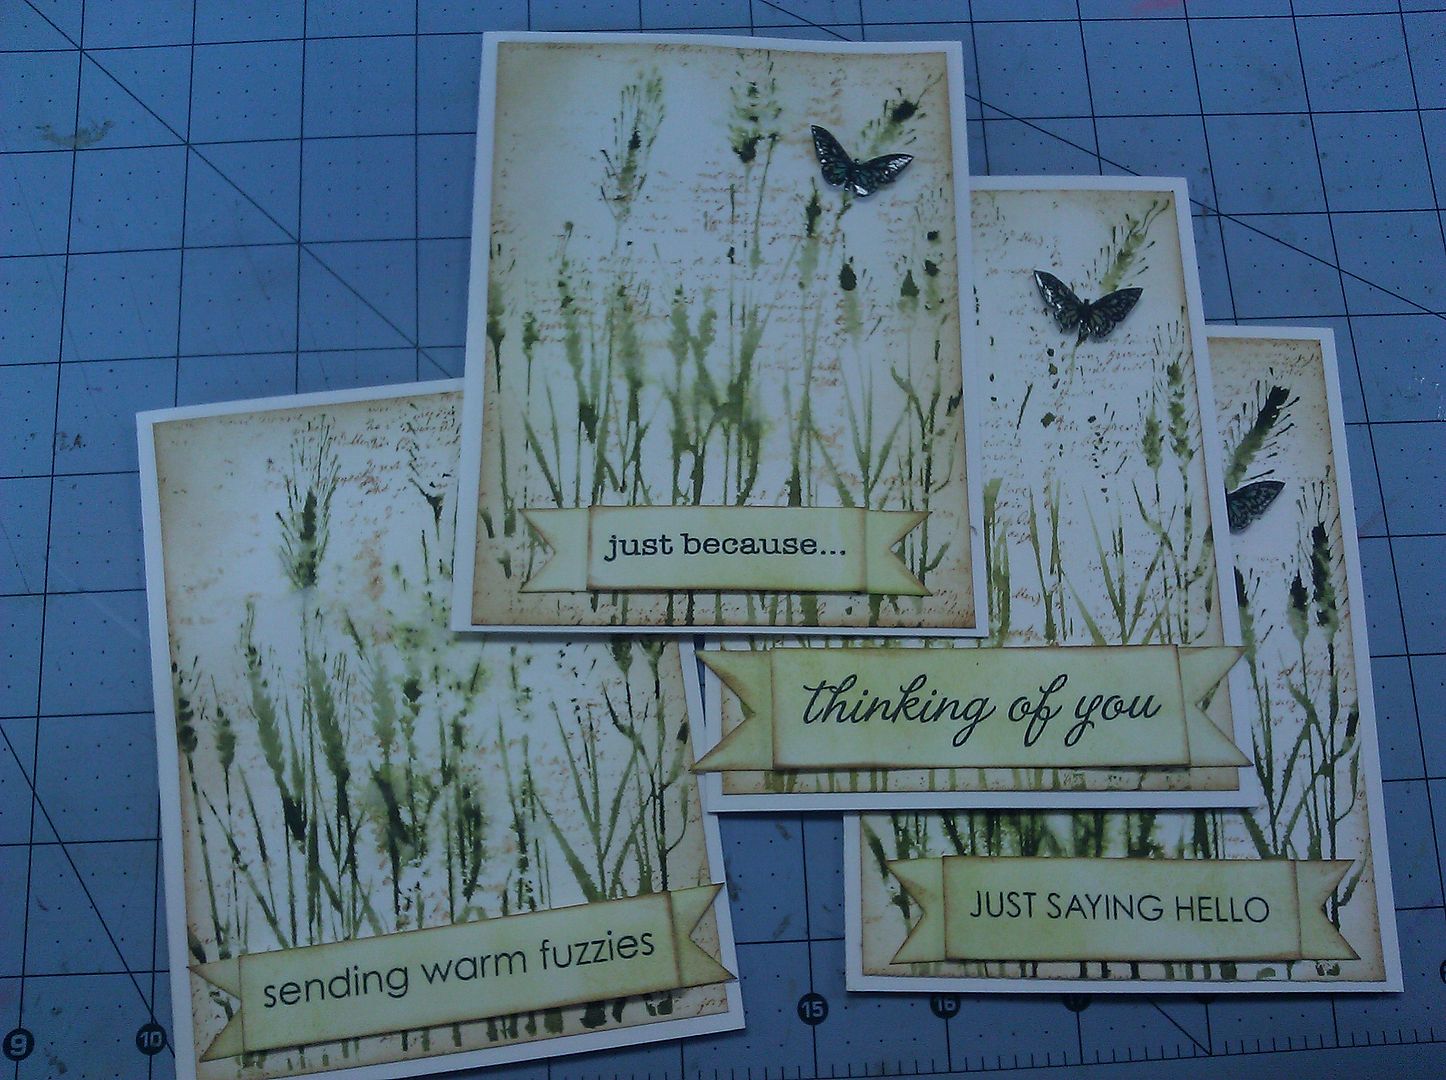
I purchased this large
background stamp on the way to my retreat, and was so excited to use it. It is such a funny thing, but I see it on a lot of cards and I am more of a flower stamp girl, but really wanted this one, and after seeing it used several times I could see how versatile it was! I stamped the text first after blotting it, then the background with Distress Ink and water. I softened the edges and colored the greeting strip with the ink blending tool and more Distress Ink. The butterfly was stamped, cut, colored with Copics, then covered with Crystal Effects.
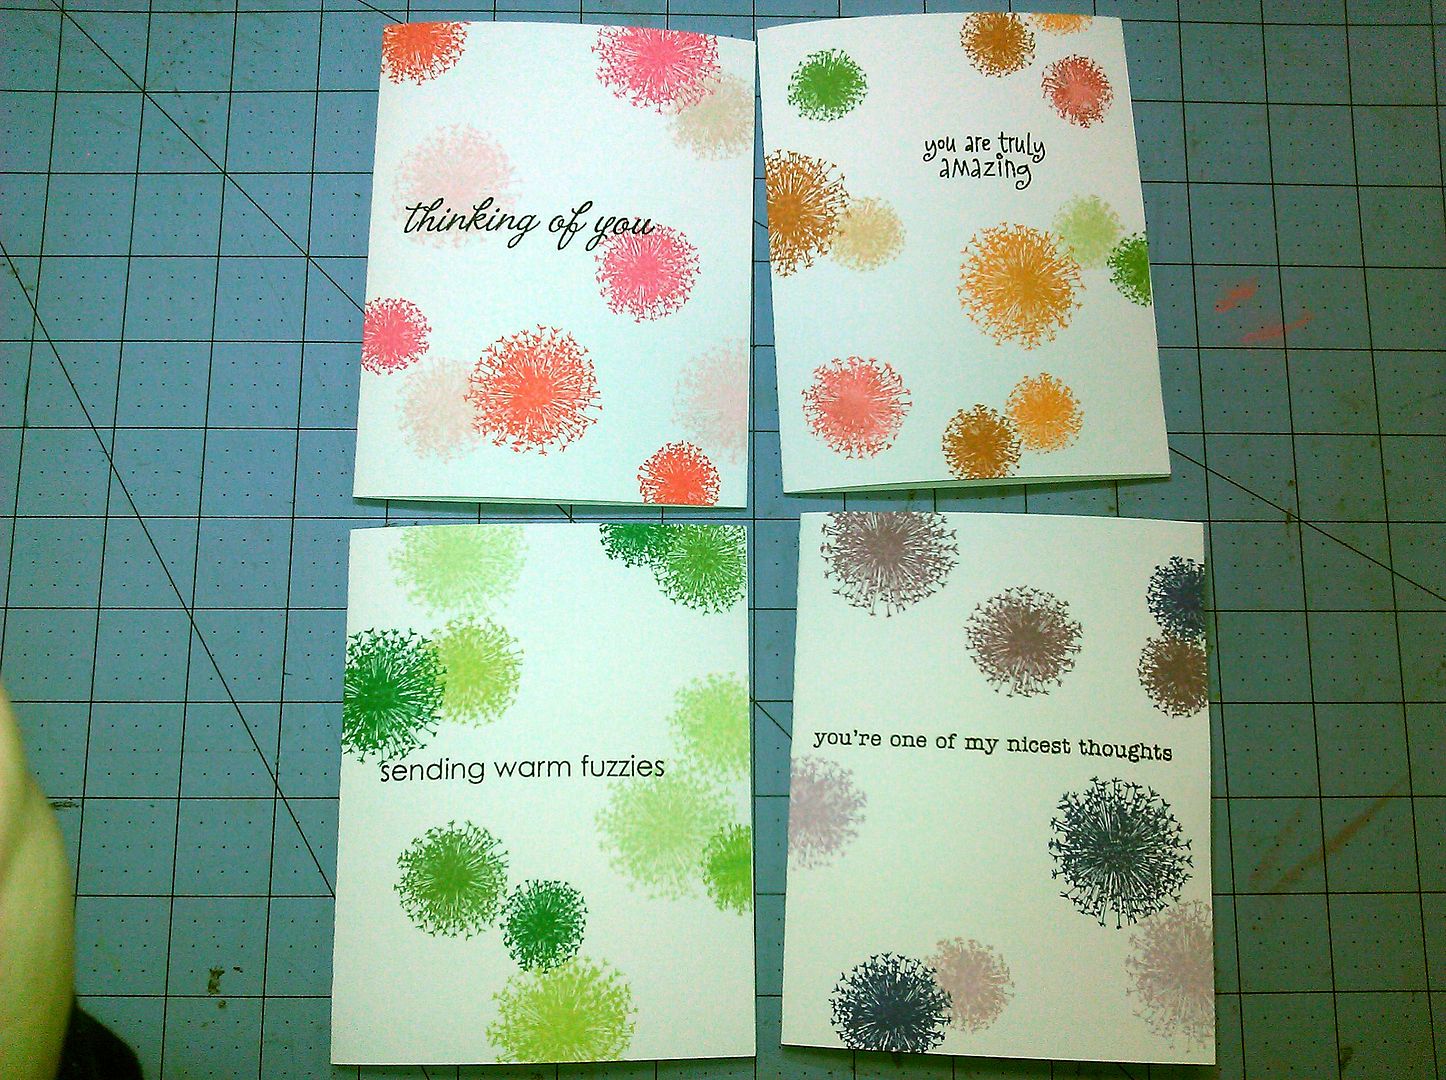
This one turned out so puuuurty.. Inspired by
this. I punched a circle out of white cardstock, 1 3/8" I believe, and then used it as a reverse mask. I inked over it with Wild Honey, one of my favorite Distress Inks, then removed it. The dandelion is from the same Gina K set as the cards a few pictures up, and sentiments from
PTI.
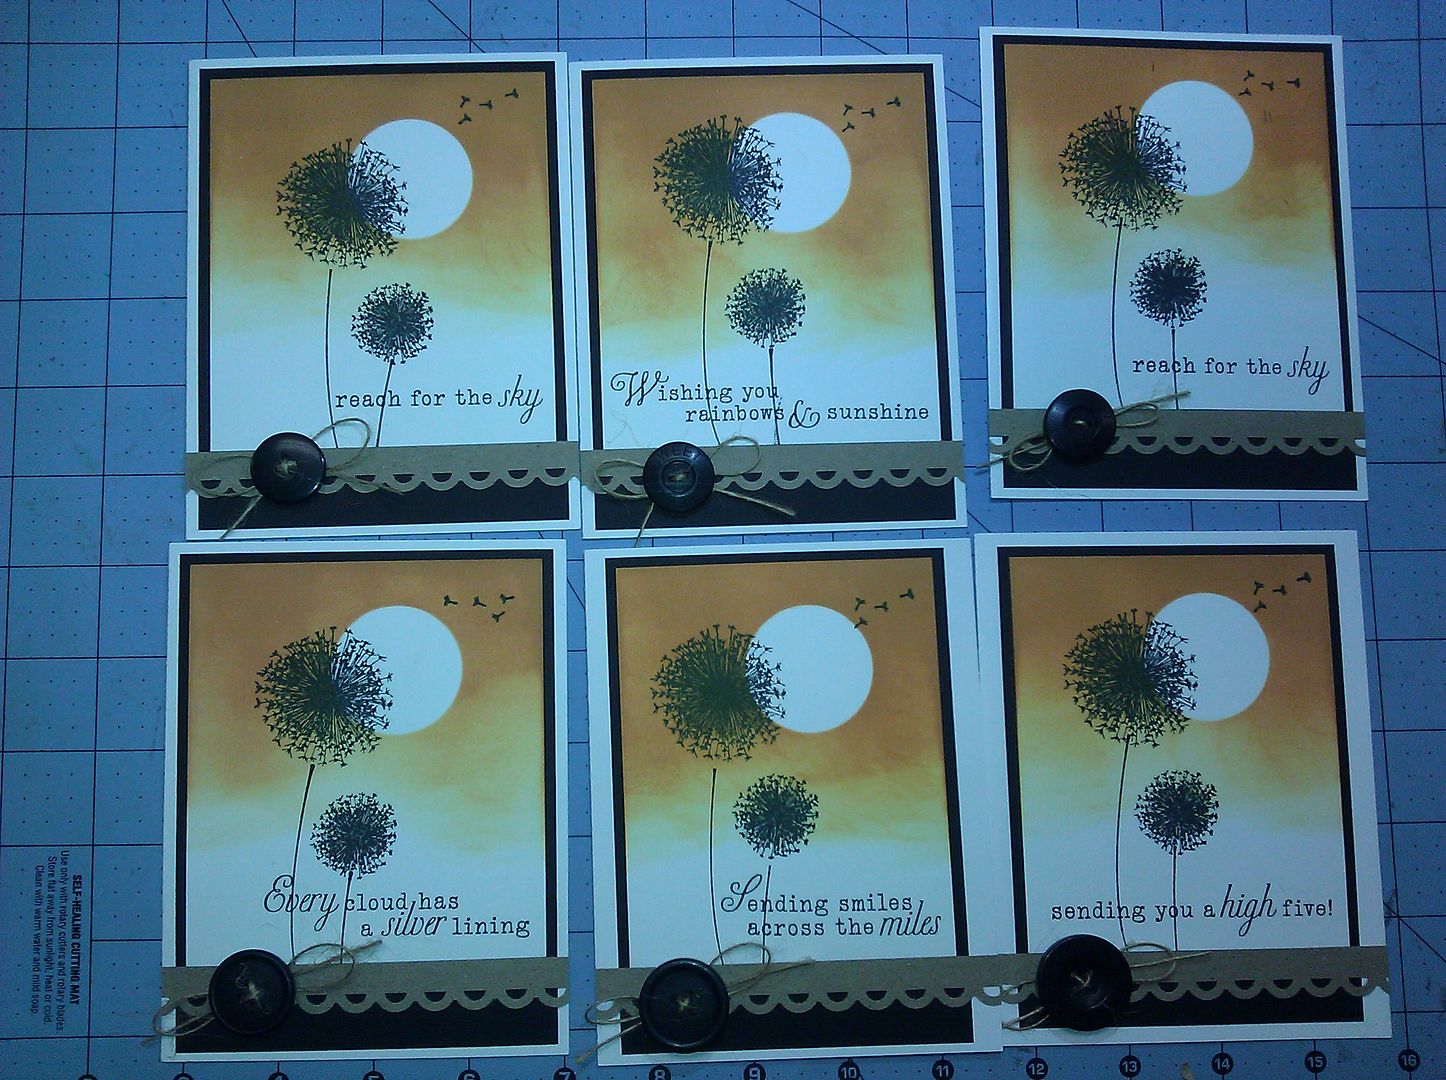
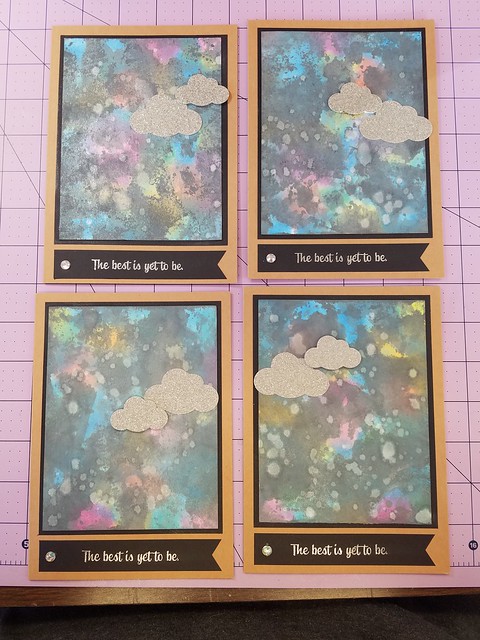
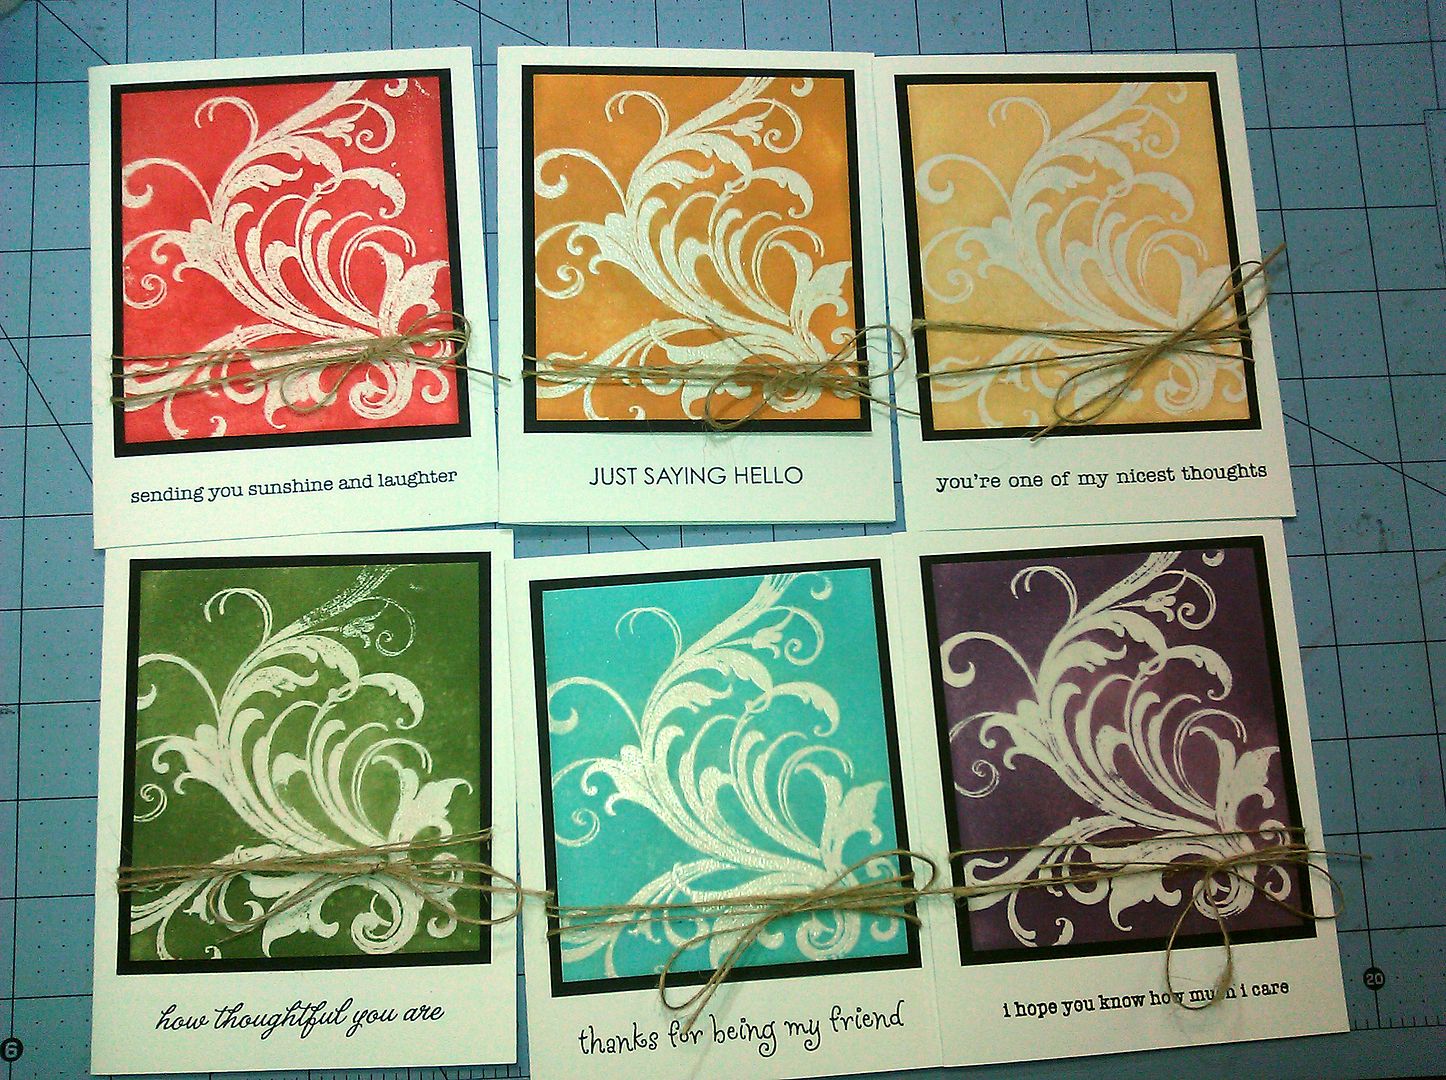
Ahhh, this picture just makes me happy. I remember my first time using a Tim Holtz Distress Ink pad, and I was sooooo disappointed. Now I just LOVE them. I tried to use it the traditional way, and was super unsatisfied at how the images turned out. I wanted them crisp and clean, and that is just not what these inks are about. After watching tons of videos and techniques, I use them all the time, for so many things! Inspired by
this.
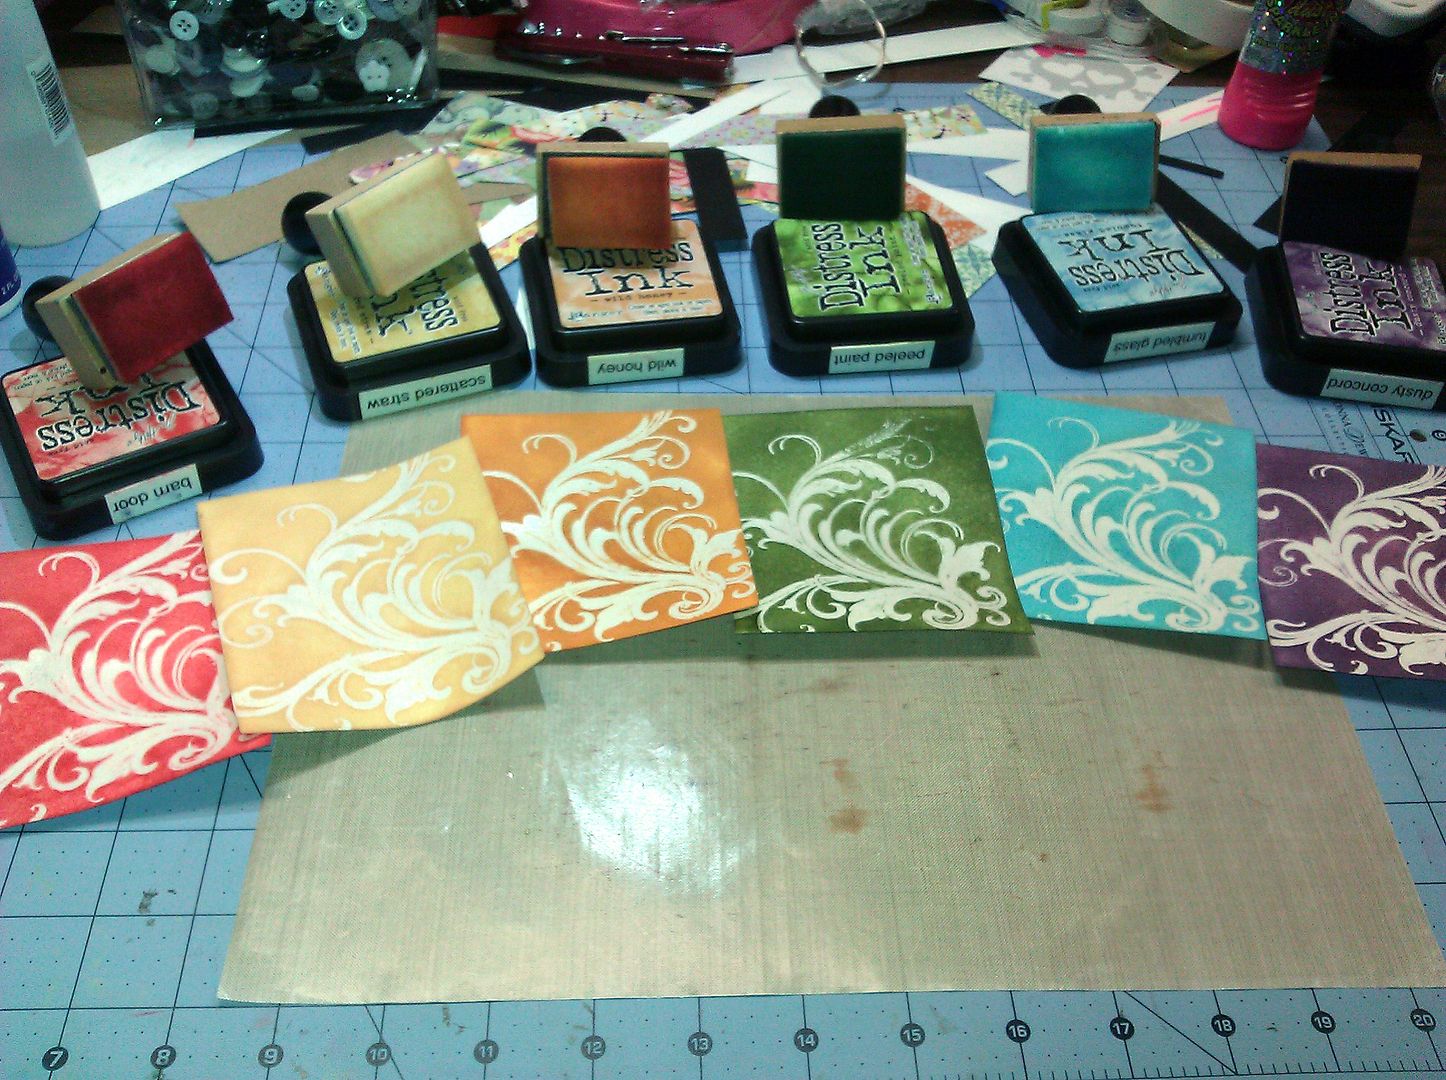
I used this large
background stamp and heat embossed it with clear powder. I inked over the image with the blending tool, and then wiped it off to remove any from the embossed area. It was mounted on black cardstock, add some twine and a sentiment.
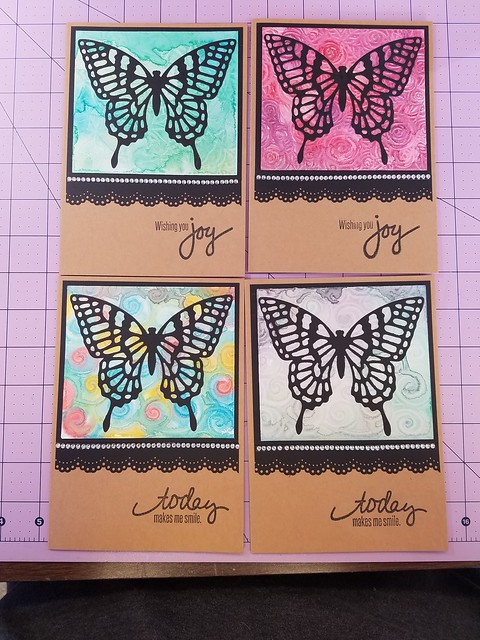
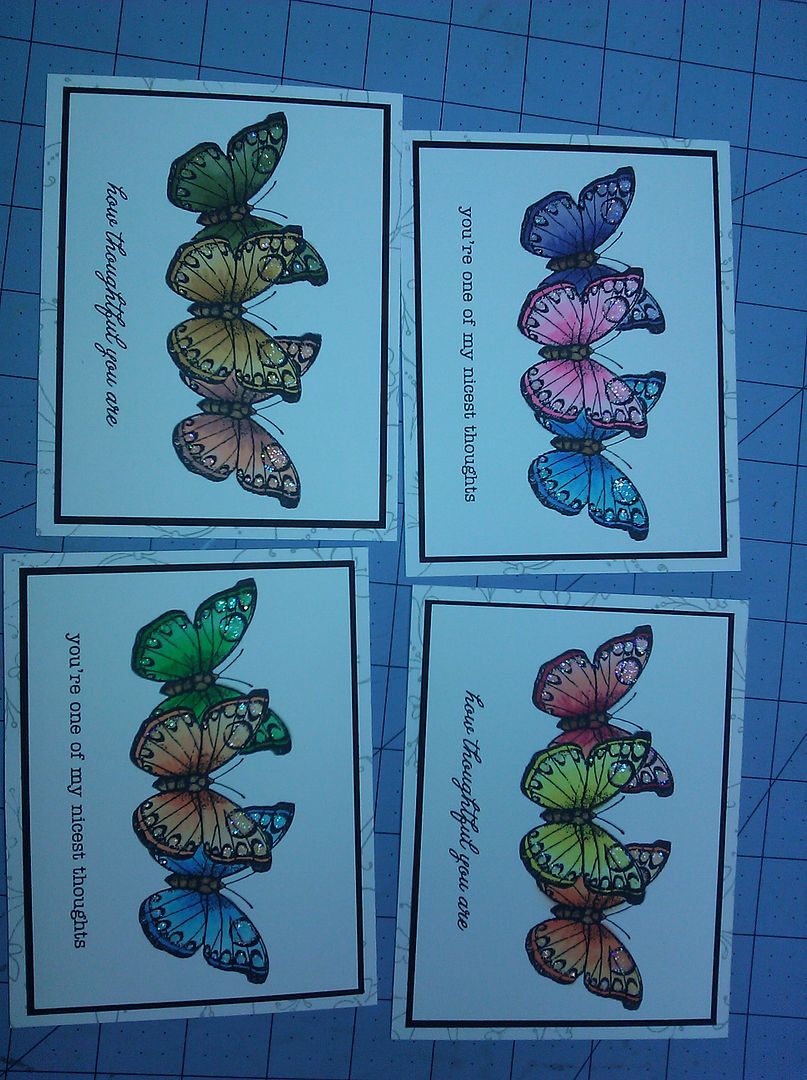
Here's that gorgeous butterfly stamp again! I stamped the image on a Post-It note and cut it out very carefully around the edges to create a mask. The center one was stamped first, and then I positioned the mask over the image exactly, and stamped the butterflies to each side. Once the mask is removed, the images are all nicely stamped with no overlap. Color with Copics, add the sentiment, background stamp and some
Rock Candy Stickles, done!
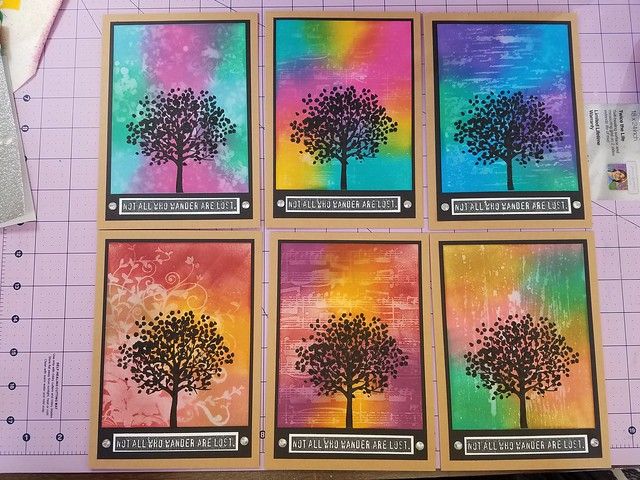
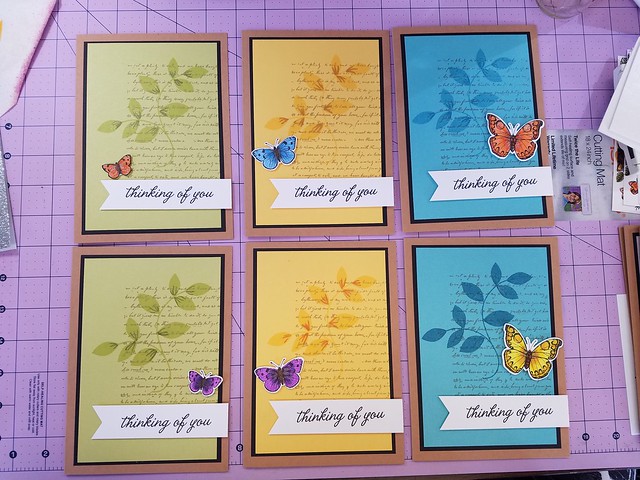
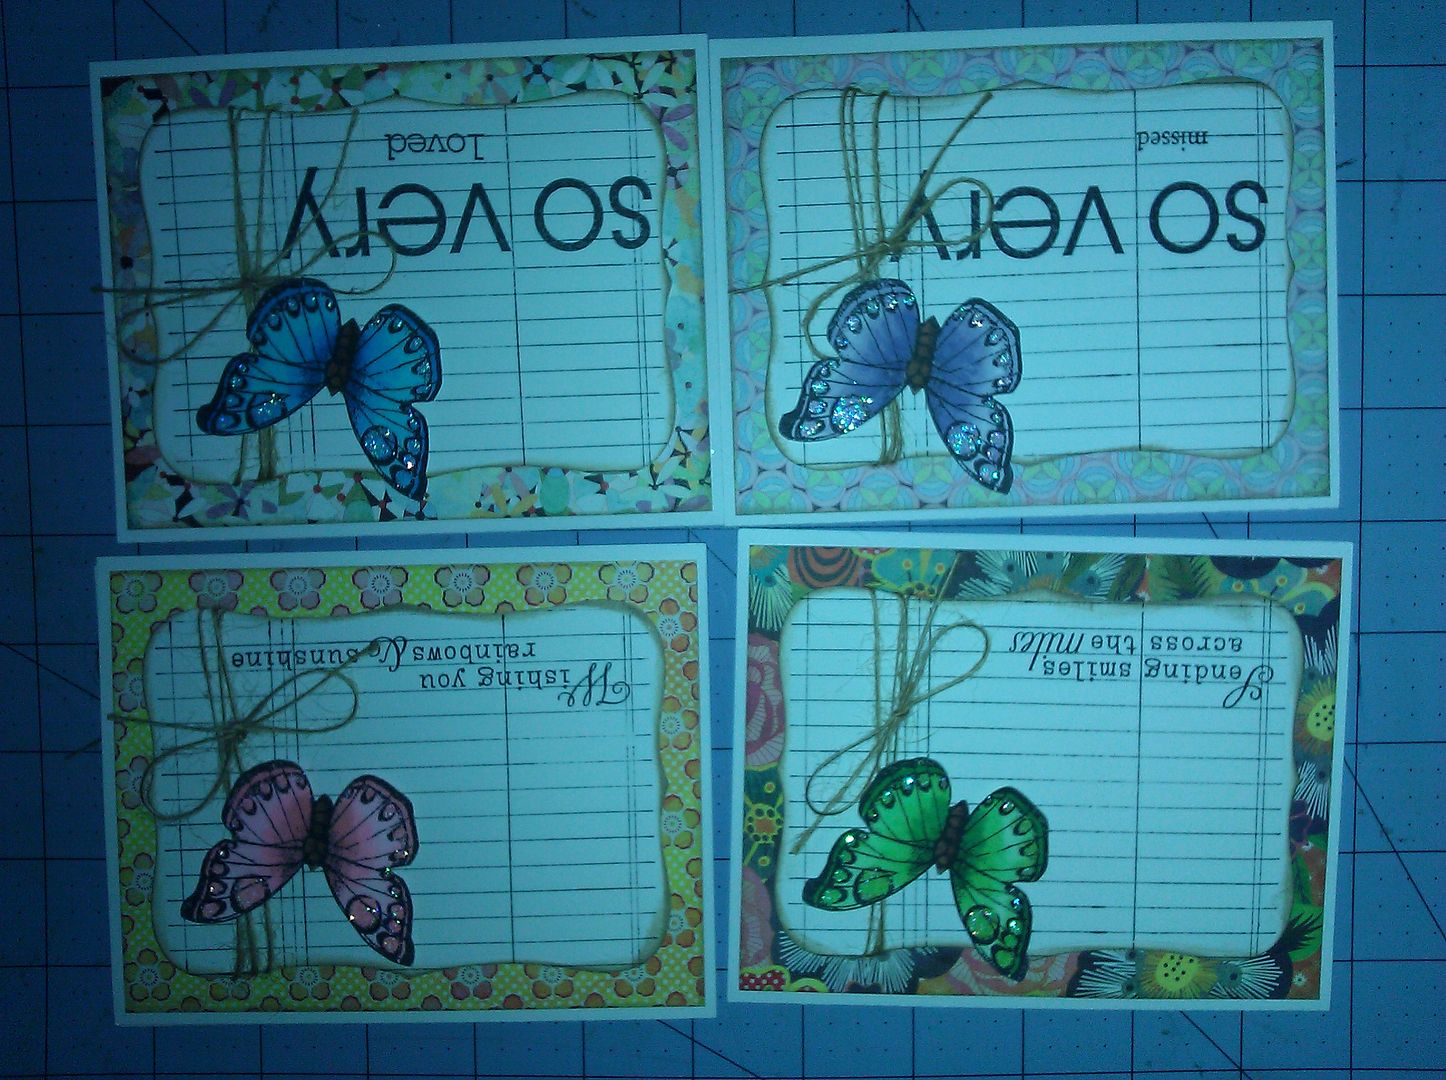
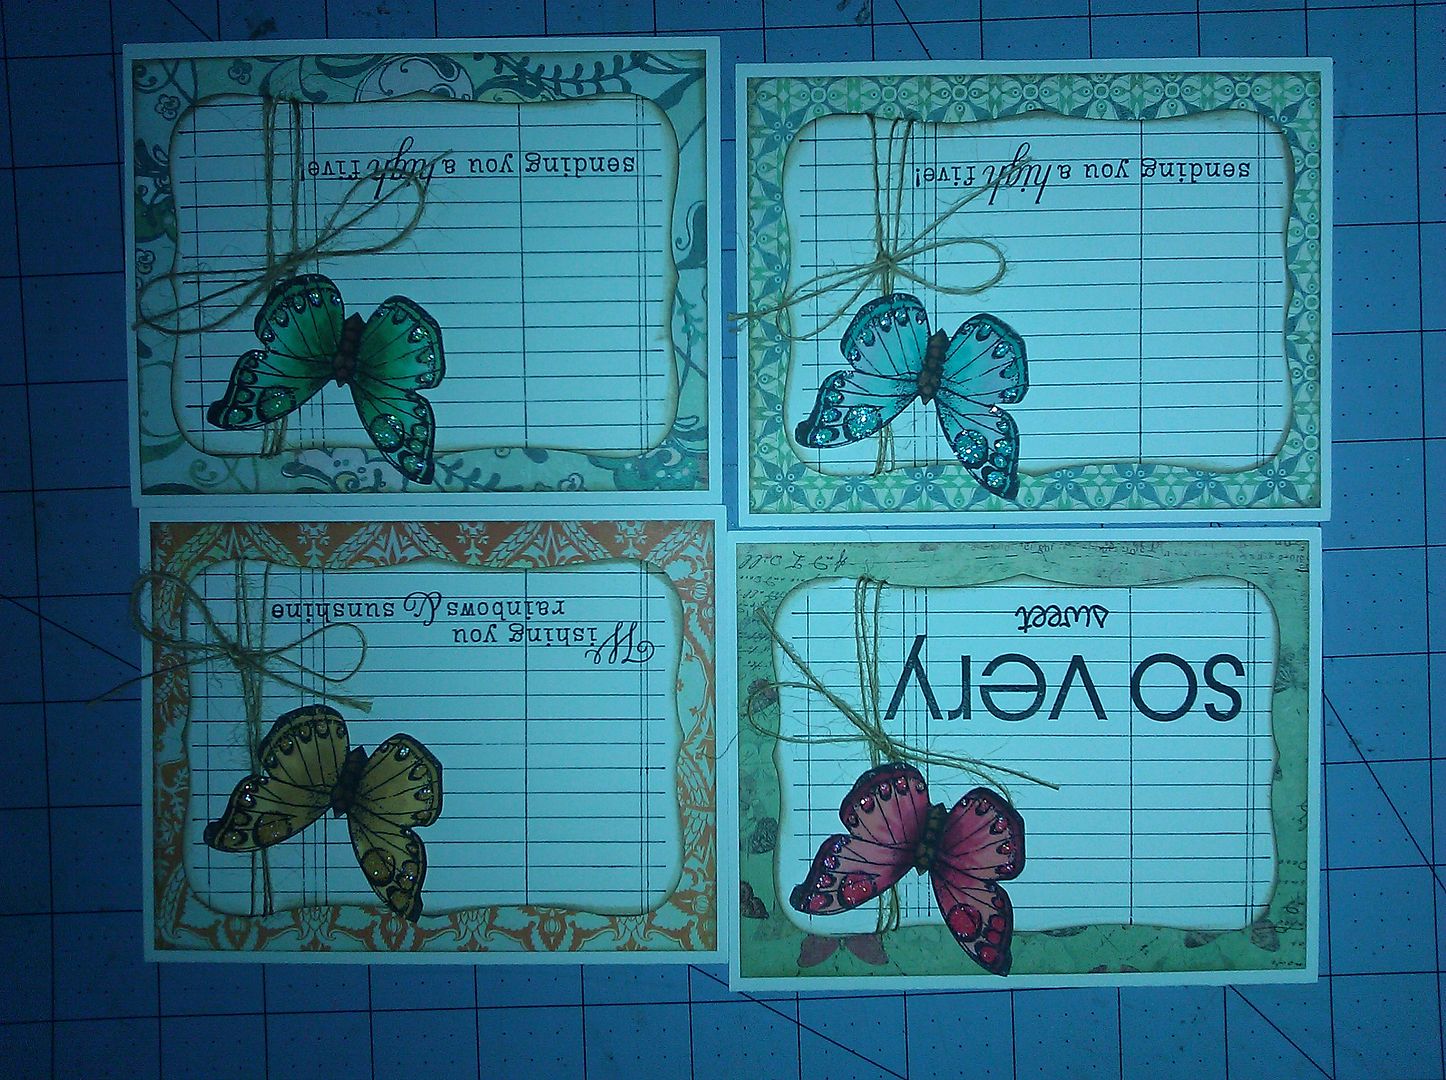
I get so much mileage out of this stamp! I stamped, colored and cut them all out to use on these next few cards. The background papers are from a 6x6 pad, but I dont remember what one, I think it was
Basic Grey. The white background is cut with a Nestabilities
die in the Cuttlebug and stamped with a
ledger stamp and the edges inked.
Thanks for taking the time to look!
Stay calm and craft on...