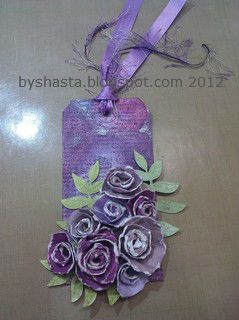
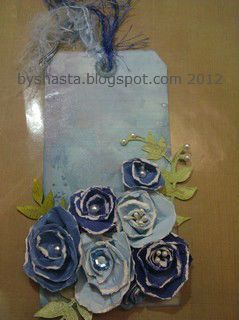
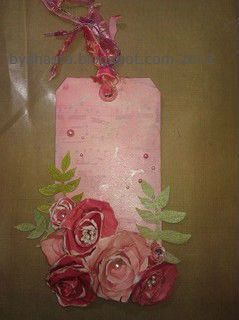
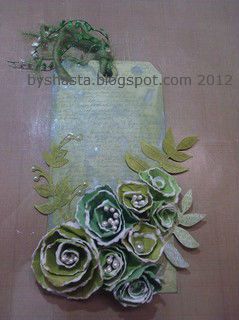
First, I started with some DCWV white core cardstock, although I am not sure what the color purple is called. I tore some random sized spiral shapes from the cardstock, one for each flower. Some had thinner or thicker spirals, and some had more laps around the circle, if that makes sense. That way all the flowers I made were varying in width, thickness and density.
I spritzed each spiral with a mixture of Perfect Pearls powder and water like this, on a craft sheet. They now make the spray already combined, but I just do it the old fashioned way by mixing the powder and water in a spray mister I already had.
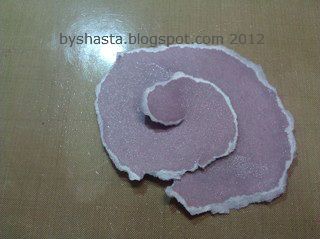
And then I crumpled them up while they were wet, and then flattened them out to dry. I used my heat tool, but you can also just let them air dry.
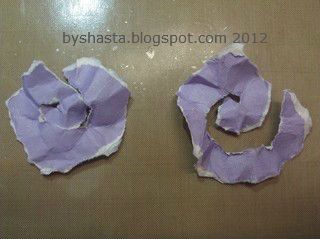
Once they were dry, I used a Quilling tool to roll the flowers up. I always thought you were supposed to start rolling on the inside, but after watching a few how-to videos, I started on the outside like they did.
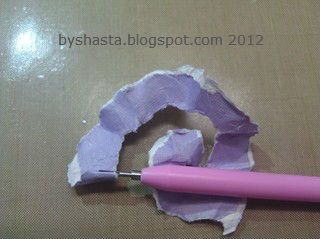
Once the layers are all rolled up, not too tightly, it looks like this. This is the time to do any adjusting, to get it looking how you want. I gave it a slight backwards twist just to loosen the center a bit, but don't over think it. They are all going to look differently, and that's ok.
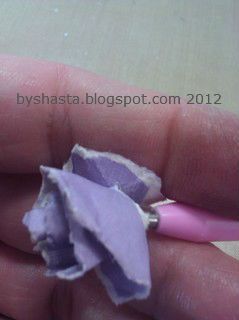
Once it is arranged how you like, slide it off of the tool, and flip it over while keepig a good grip so it won't unravel. Now you can see why it is a good idea to start on the outside, because when you get to the end, you are left with a little flap that was the center of the spiral. Place a glue dot right on it, and then cover the base of your flower.
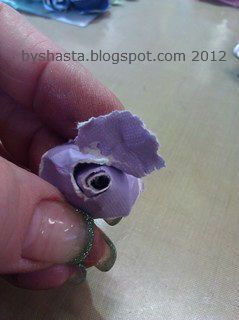
Voila! Now there is a nice neat base for your flower to sit on :) It is still a little loose, so handle it carefully.
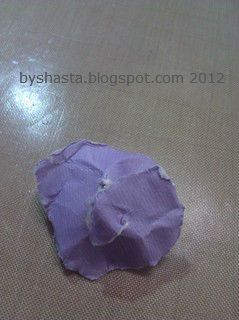
Once the flower is complete, I used Glossy Accents as another adhesive. Place the nozzle down in the center and give a little squeeze, and maybe a few small squirts inside any of the other loose petals. It doesn't take long to dry, and once they are all finished they will be nice and stable.
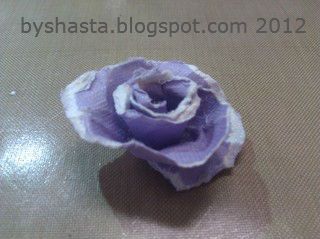
For the purple flowers I didn't put anything in the centers. They looked just fine how they were. For other ones I put jewels, half pearls, or white flower stamens that I found at Michael's.
These tags started as plain white, but were super easy to decorate. I started by dabbing colors of Tim Holtz Distress Inks on my craft sheet and adding a few spritzes of the pearlized water. For each tag I used a few different shades of the same color for some variation. I rubbed the tag around in the ink and then set it aside to dry, or use the heat tool again. Once it was dry, I rubbed the edges with one of the same color of inks, using the foam ink blending tool. Lastly, I inked up a large background stamp with another of the same shades, and lightly pressed it on the tag.
For all of these tags, I cut some leaf shapes out of the Stretch Your Imagination Cricut cartridge in varying sizes, from white cardstock. My favorite is Neenah, it is great for stamping, inking, and Copics, all of that. Using the same technique, I inked and sprayed them and added a few pearls and ribbons. All done :)
