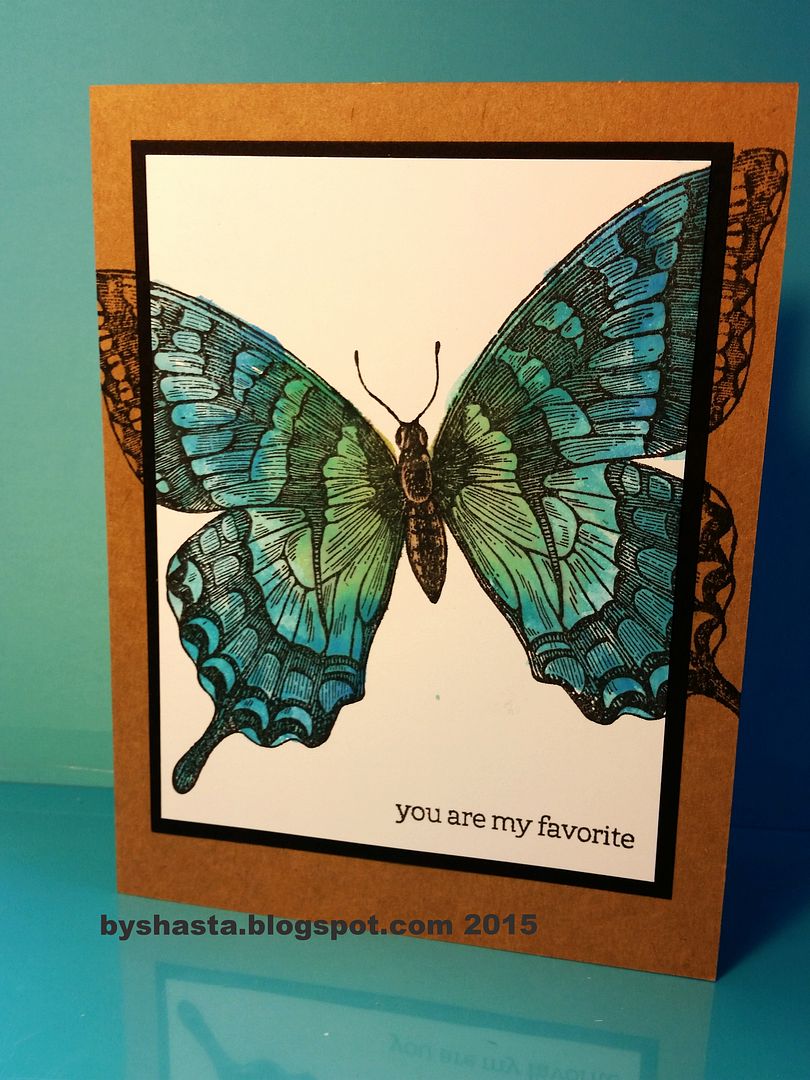
This one I stamped in Memento Tuxedo Black, and used Distress Inks with water to color the image. I stamped the white cardstock layer and card base at the same time, then added the black layer.
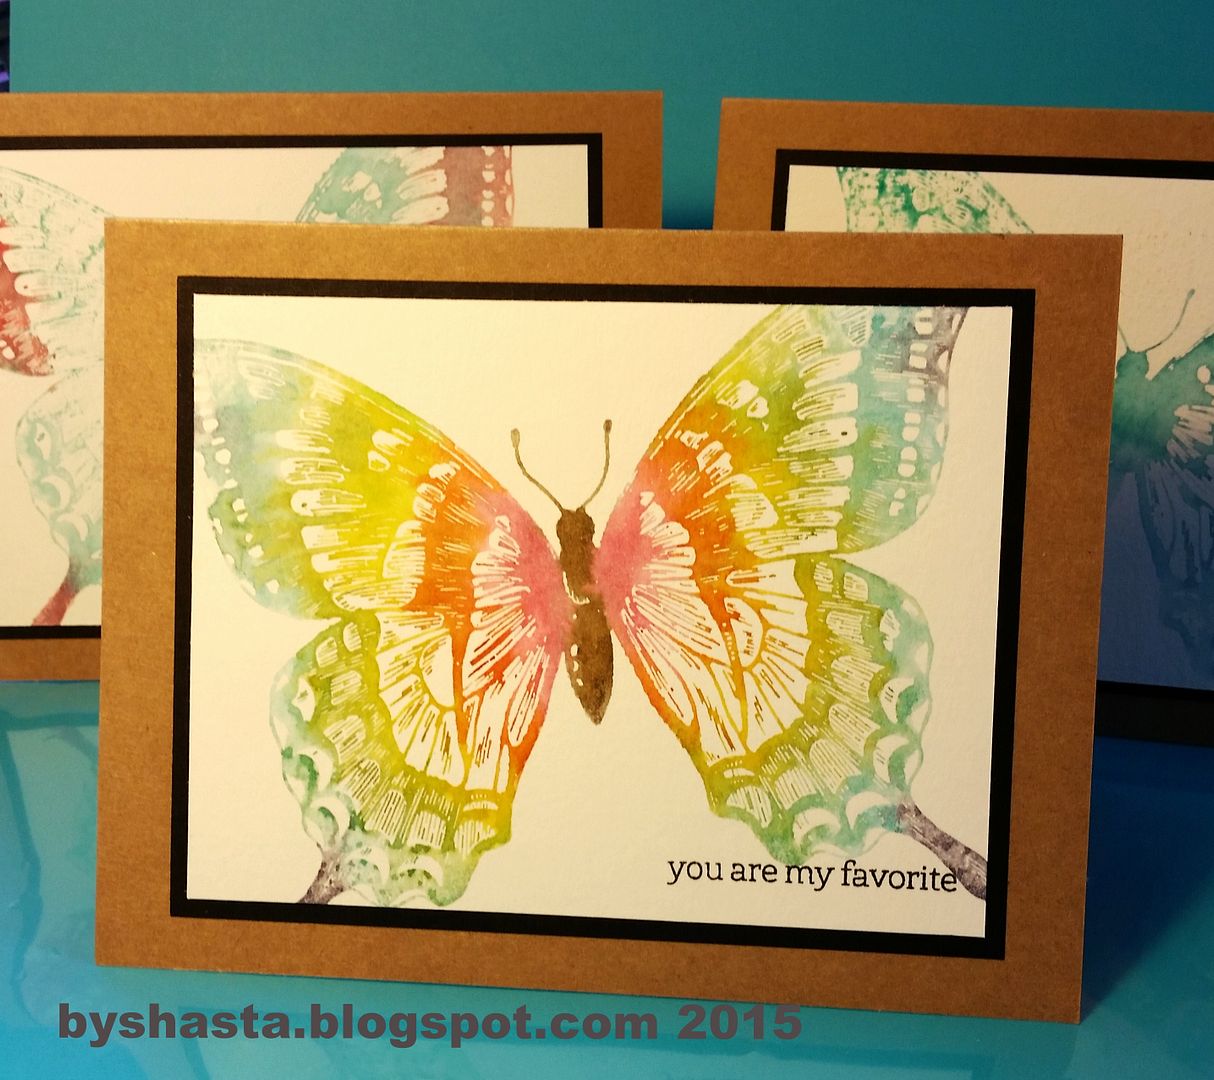
This one I inked up the stamp with Distress Markers, spritzed with water and then stamped.
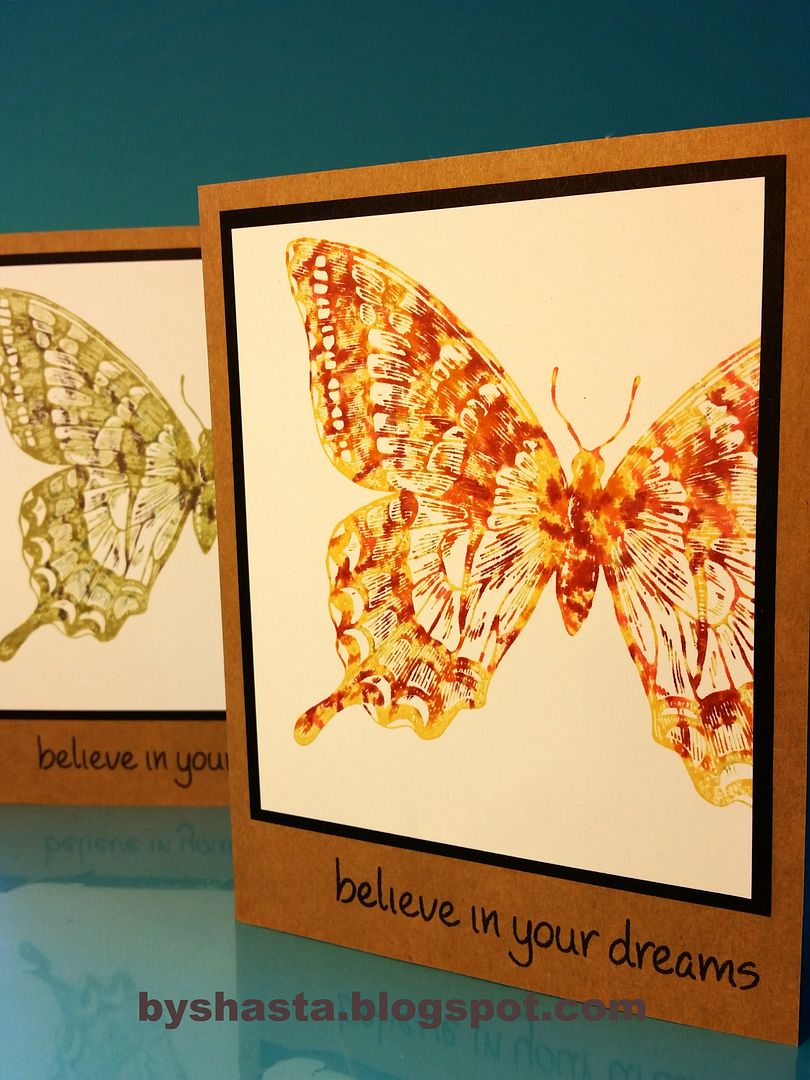
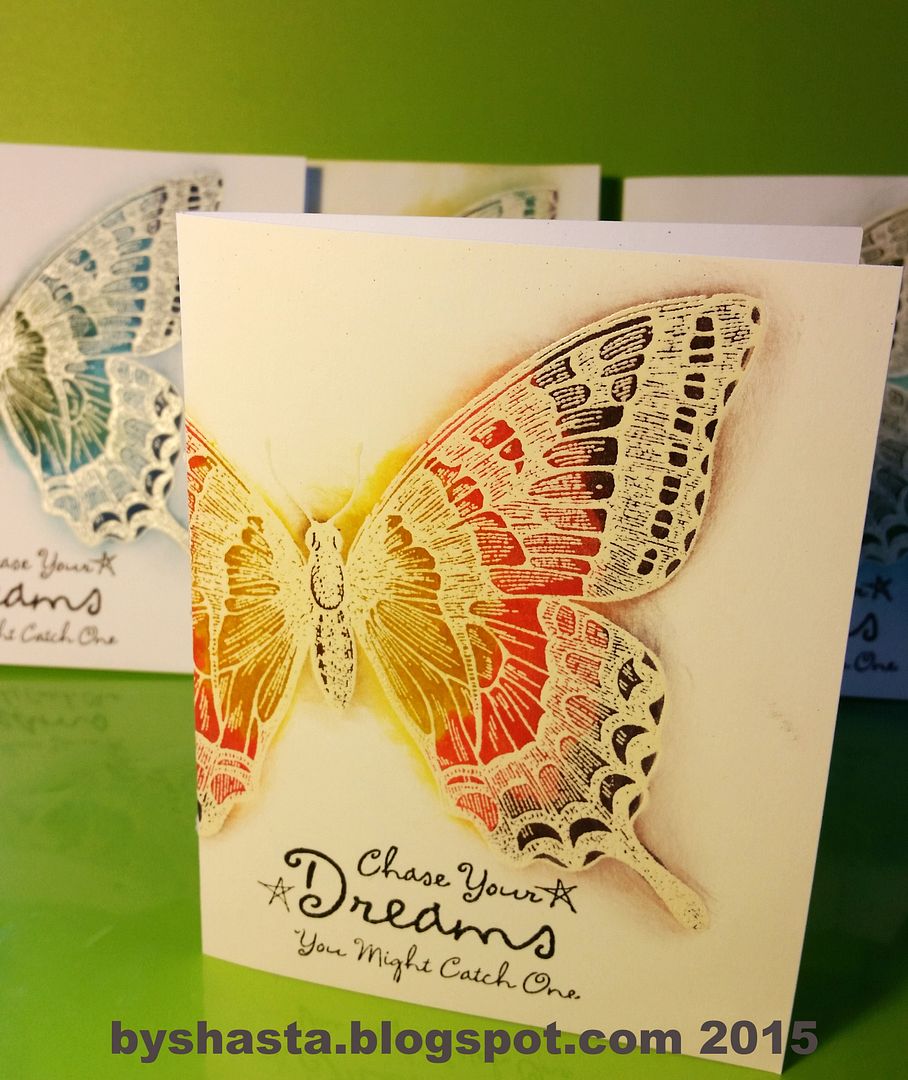
This is the thumping technique, which is pretty simple but has a complicated looking effect. I thought mine wouldn't turn out that well but I was pleasantly surprised! Basically you ink up your stamp and then thump 3 or 4 coordinating colored markers all over the image and then stamp. I used a light colored Memento ink and Distress Markers, going from lightest to darkest. Easy peasy!
For this one I used clear embossing ink and powder on white cardstock first, then used Distress Inks and the blending tool to ink over the design in varying colors, or embossed resist as it is called. I spritzed it with water at the end for the light dusting of water splotches.
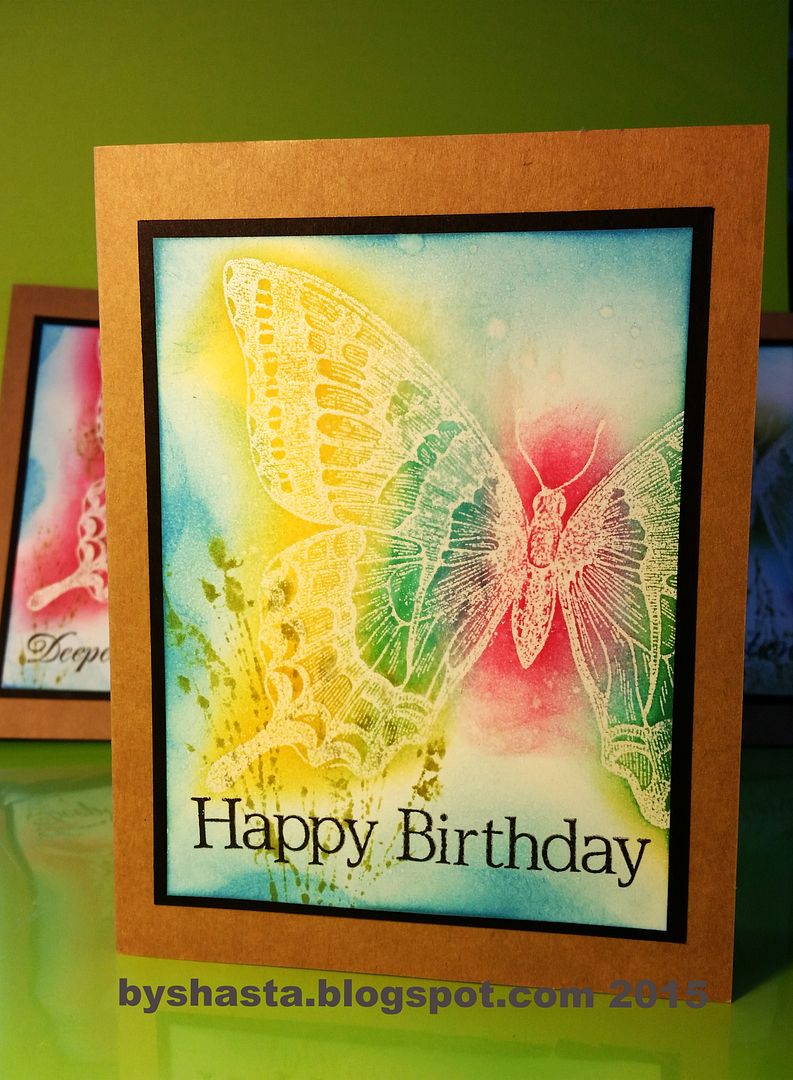
This one was kind of a fail at what I was attempting, but it turned out ok. It is a single layer card and I used the embossed resist technique as well. I wanted to color in the design with Distress Markers, which I did, and then wipe it off for a clean finish. Well, when I wiped it off the ink smeared. So I just went with it and smeared it all. Not what I intended, but...!,
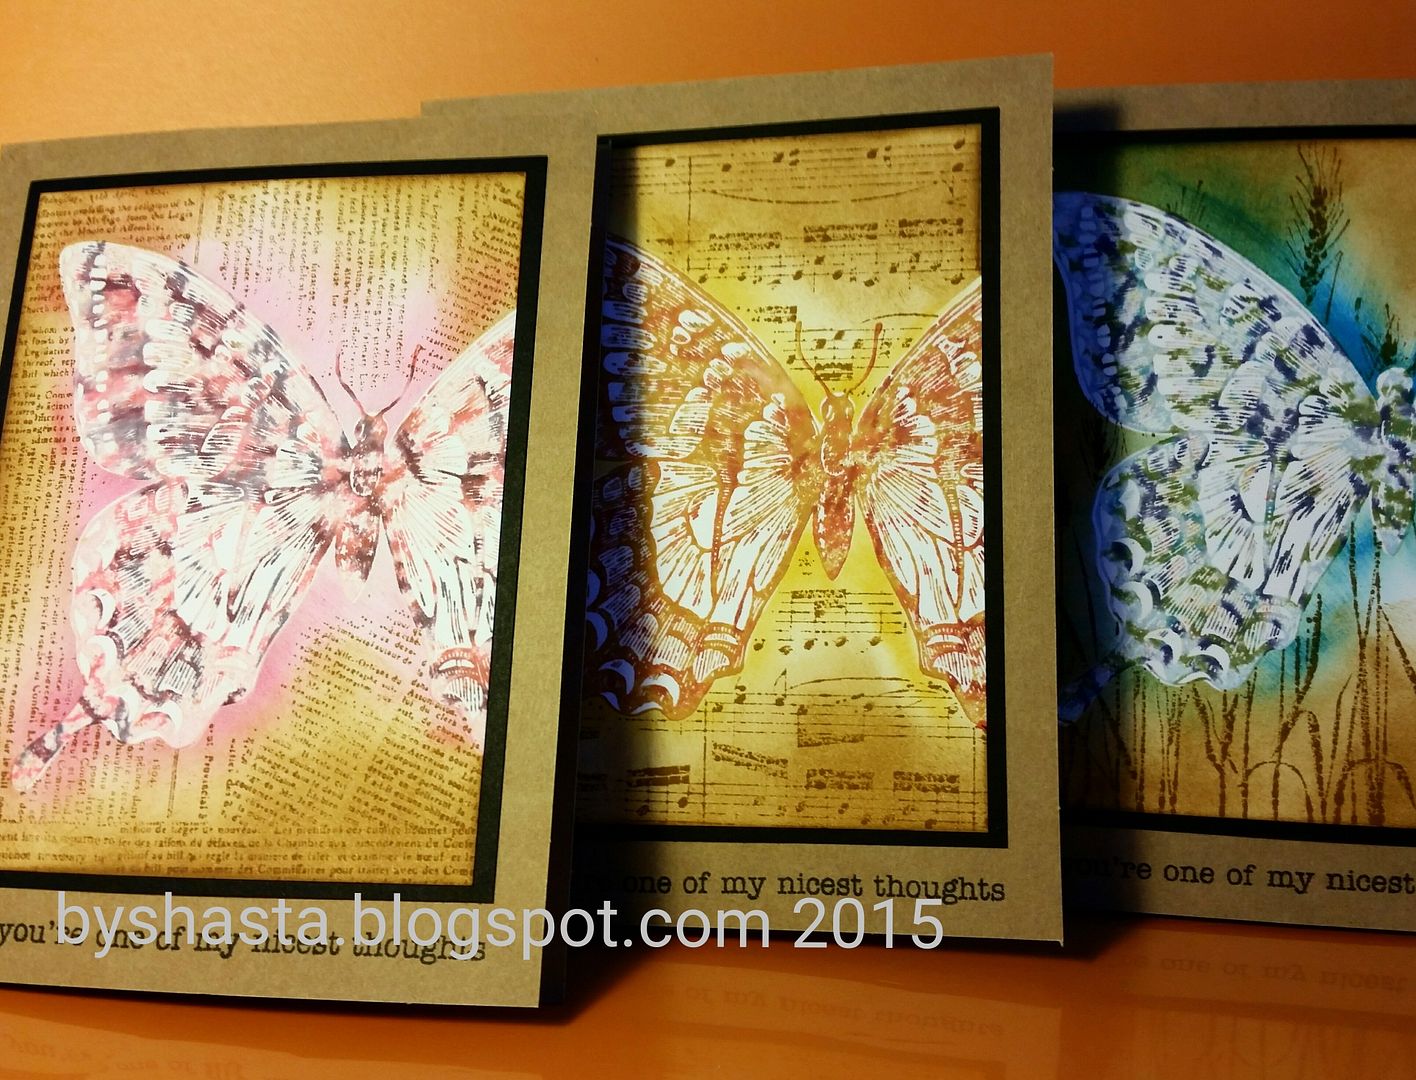
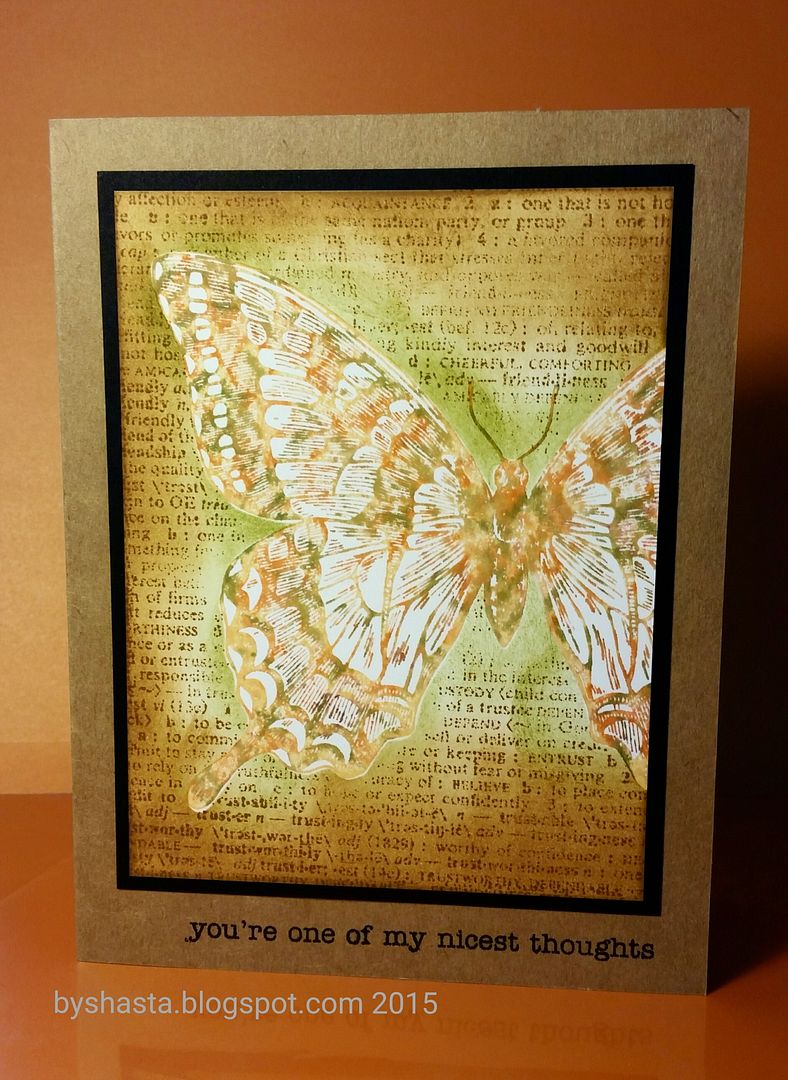
These ones have a lot going on. I first stamped the image using the thumping technique the same as before, then I used a mask of the same image and stamped the backgrounds over the top so the butterfly would remain clear. The brown of the background images, the music and wheat and text, was a bit harsh next to the butterfly, so I decided to do the backgrounds a little differently. I put the butterfly mask back down and inked each image with a similar color around the edges, and then softened the whole thing with a little bit of brown.
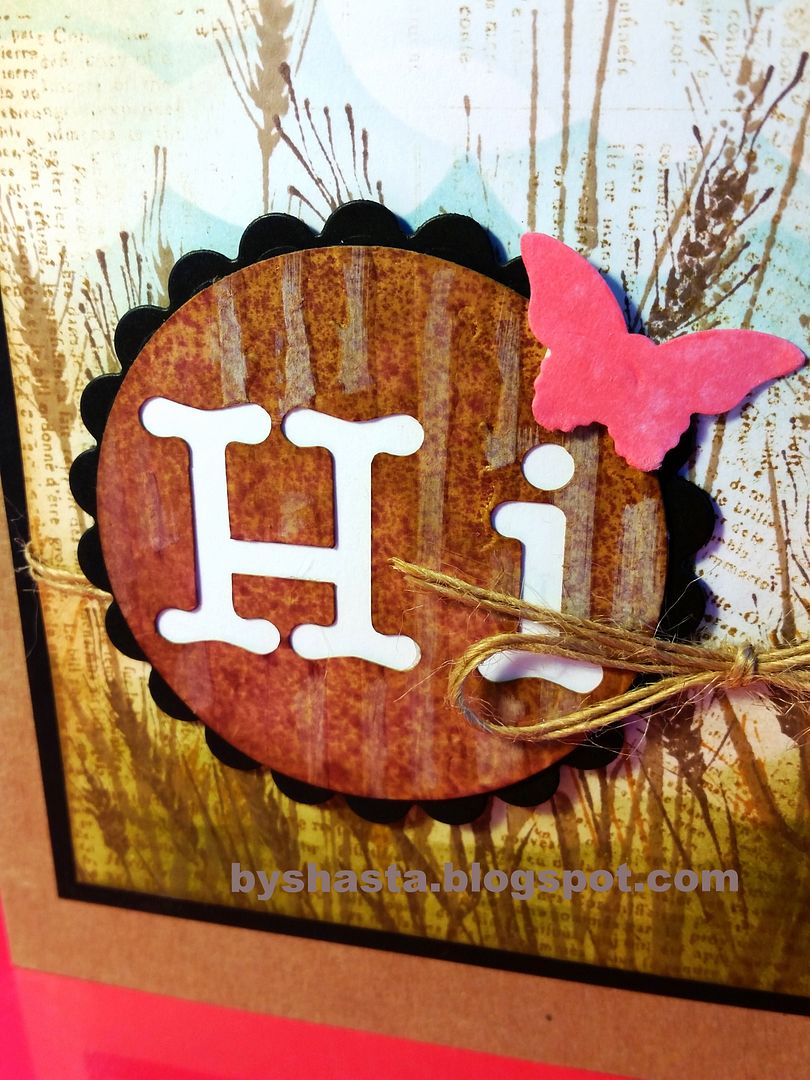
This one is my favorite, and an entire creation of my own. I started out by seeing another card with the clouds and grass done with Distress Inks and a simple paper mask. I tore two ends of a piece of paper in a loosely straight line for the grass, and then cut scallops on two ends of another scrap for the clouds. I inked each end with the blending tool and Distress Inks in varying layers in blue and green for the grass and sky, and then used the wheat background stamp over the top in varying shades of brown Memento Inks. I had no idea where this card was going, and was just creating backgrounds to see how they looked. At first I had thought of putting some sort of sign or fence post to hold a greeting, because something wood grain seemed appropriate, but that would cover up too much of the pretty background. I decided to use a die cut greeting, but none of the ones I had would fit, being as they were too large. I recently Got a Cricut Explore machine and have used it exactly zero times, so I can't even tell you what I cut. I pushed the add text button and typed "Hi." I have no idea what font it is, and just sized it to fit 4 on a sheet with enough room to be die cut later. The brown part is the die cut, the negative of the letters. It started out as white cardstock, which I ran through my Cuttlebug. First with a circle die and then with the wood grain embossing folder, and then heavily inked up with Distress Inks in Frayed Burlap.
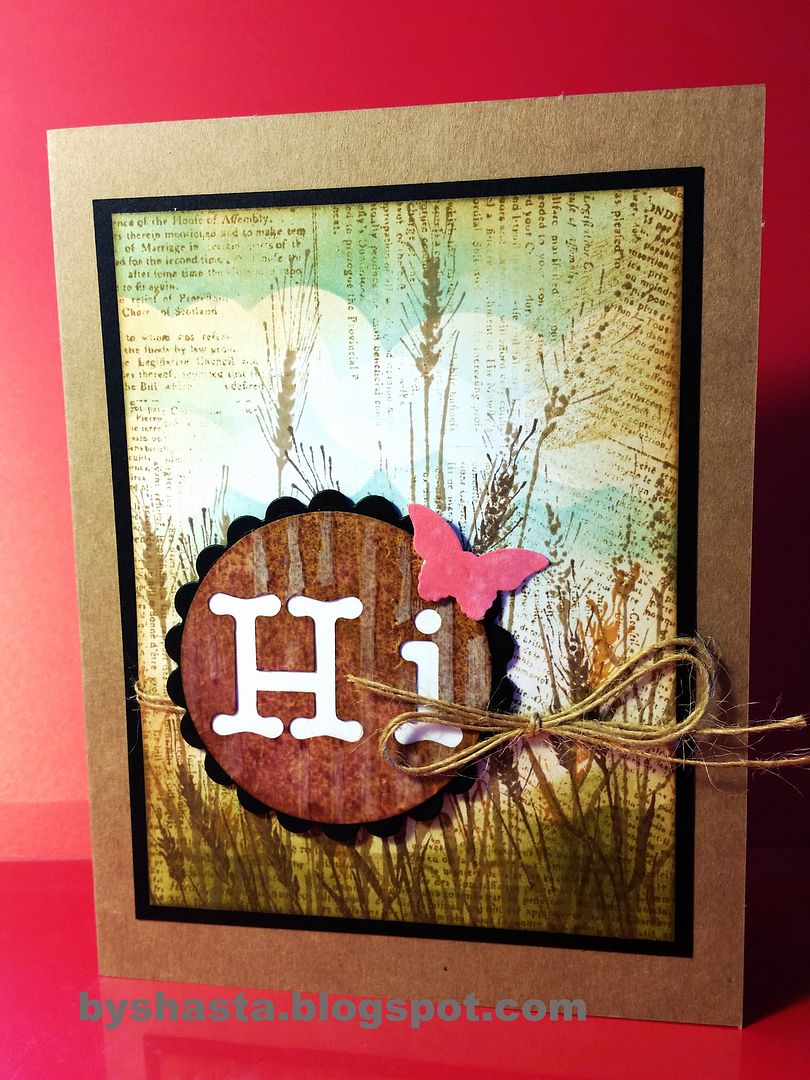
After all that I sprayed it with water, and then with an Adirondack color wash spray in Raisin I think. When it dried, I used the white Distress Marker on the raised areas, and then put a piece of white cardstock underneath. The little butterfly is a Stampin Up punch, and the color is Worn Lipstick Distress Ink on white cardstock. I inked the scrap of paper, sprayed it with water to make it splotchy, and punched it out after it dried. This card was by far more labor intensive than the rest, taking about 2 hours to make 4, but turned out so pretty!
