Showing posts with label Cuttlebug. Show all posts

Tuesday, June 23, 2015

Swallowtail by Stampin Up!

I just got this stamp just a few days ago from my friend Kim and have already put it to good use!  Most of these are lifts of another card, by technique or by material, that I see on Pinterest and I am not really good at keeping track...

This one I stamped in Memento Tuxedo Black, and used Distress Inks with water to color the image. I stamped the white cardstock layer and card base at the same time, then added the black layer.
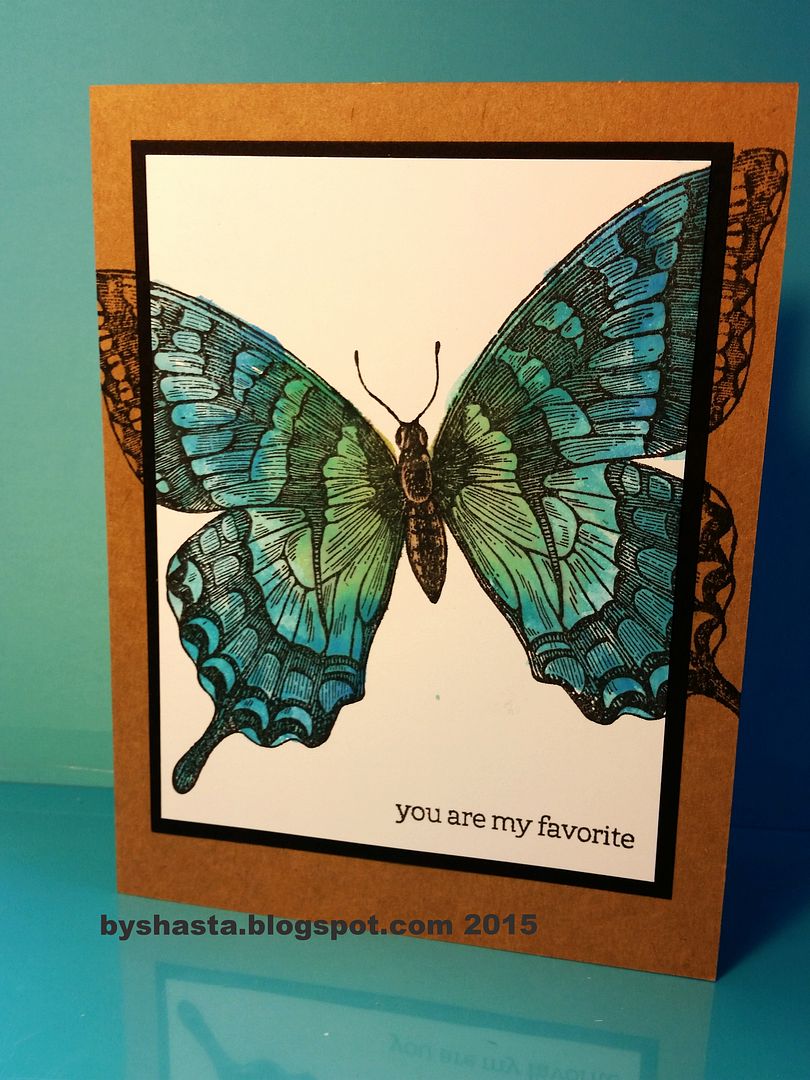
 photo 20150623_132400_zps7dzjzz3w.jpg


This one I inked up the stamp with Distress Markers, spritzed with water and then stamped.
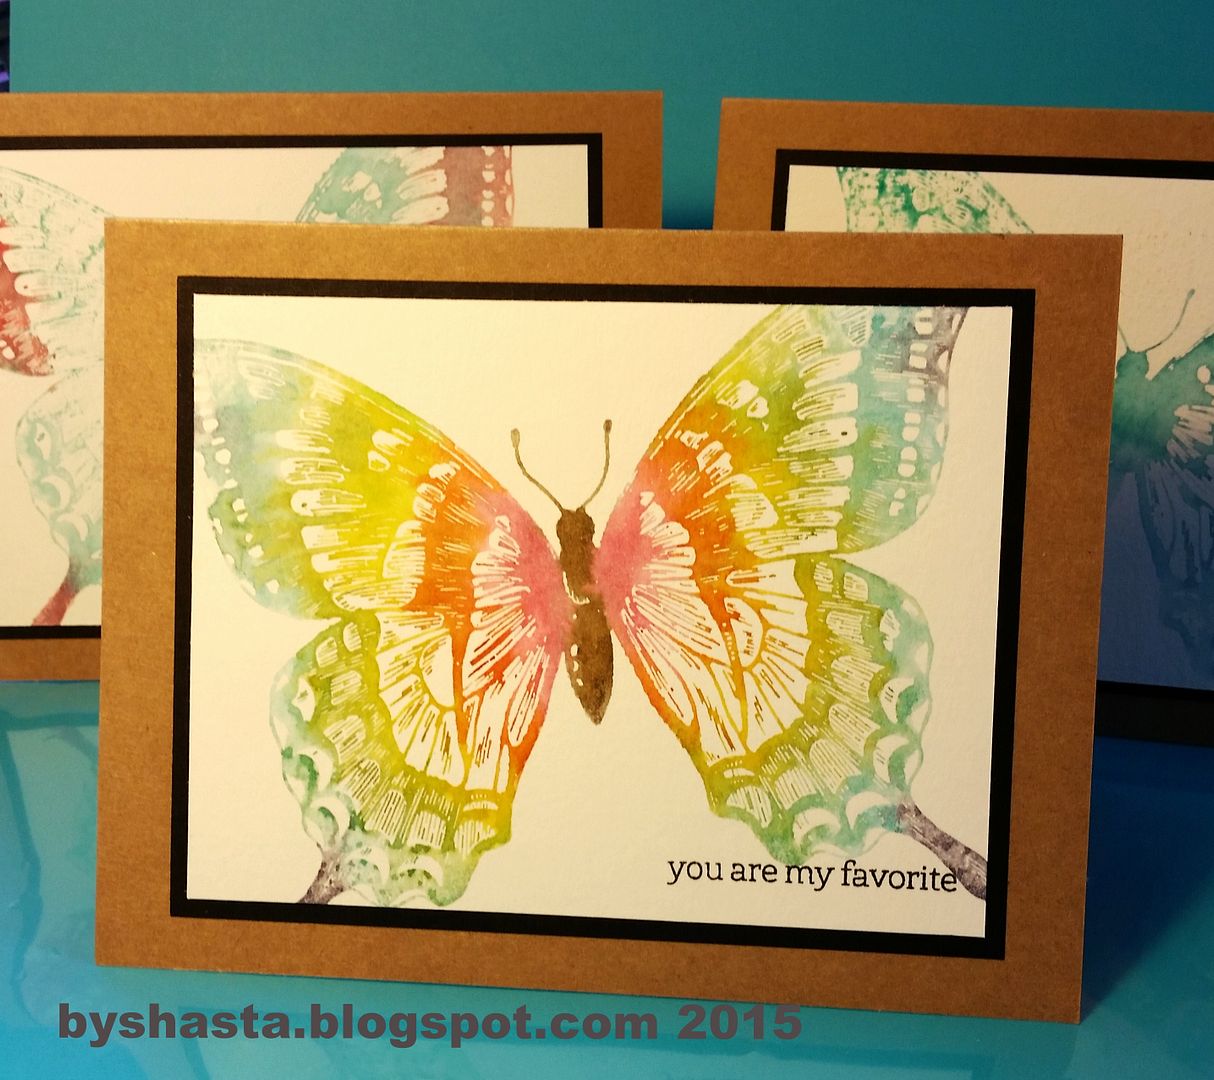
 photo 20150623_132249_zpsk2i4qmze.jpg


This is the thumping technique, which is pretty simple but has a complicated looking effect.  I thought mine wouldn't turn out that well but I was pleasantly surprised!  Basically you ink up your stamp and then thump 3 or 4 coordinating colored markers all over the image and then stamp. I used a light colored Memento ink and Distress Markers, going from lightest to darkest.  Easy peasy!
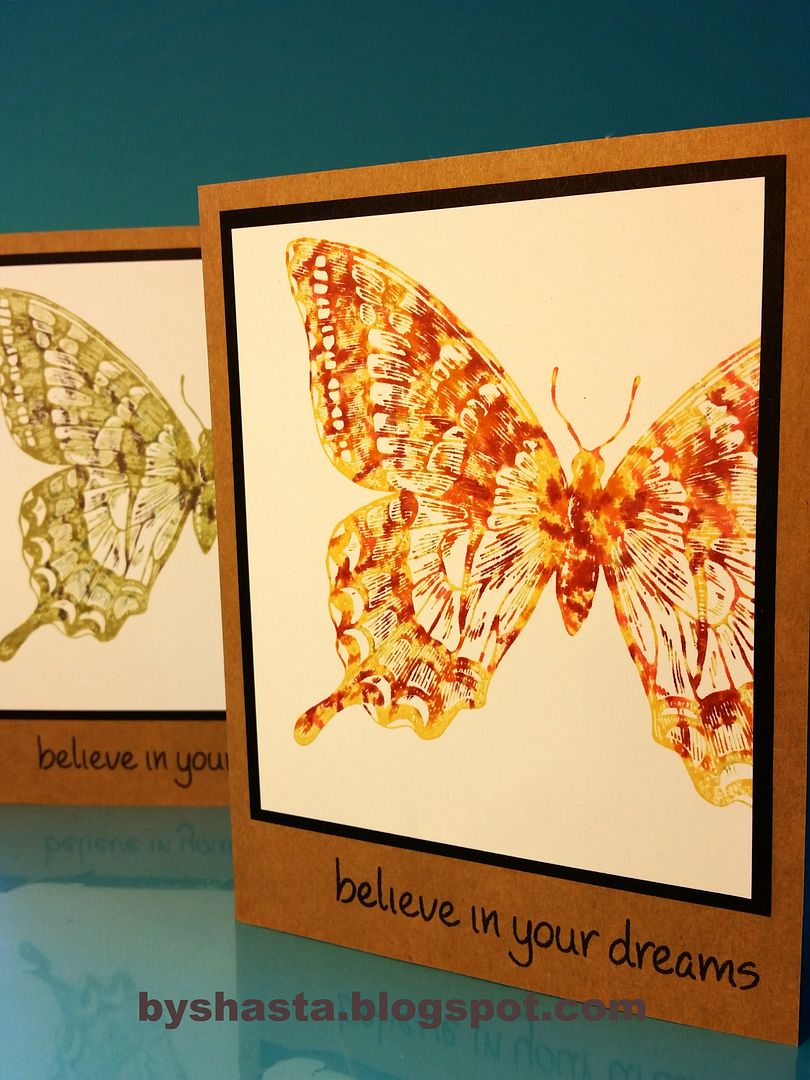
 photo 20150623_132157_zpsipbsuueq.jpg


For this one I used clear embossing ink and powder on white cardstock first, then used Distress Inks and the blending tool to ink over the design in varying colors, or embossed resist as it is called.  I spritzed it with water at the end for the light dusting of water splotches.
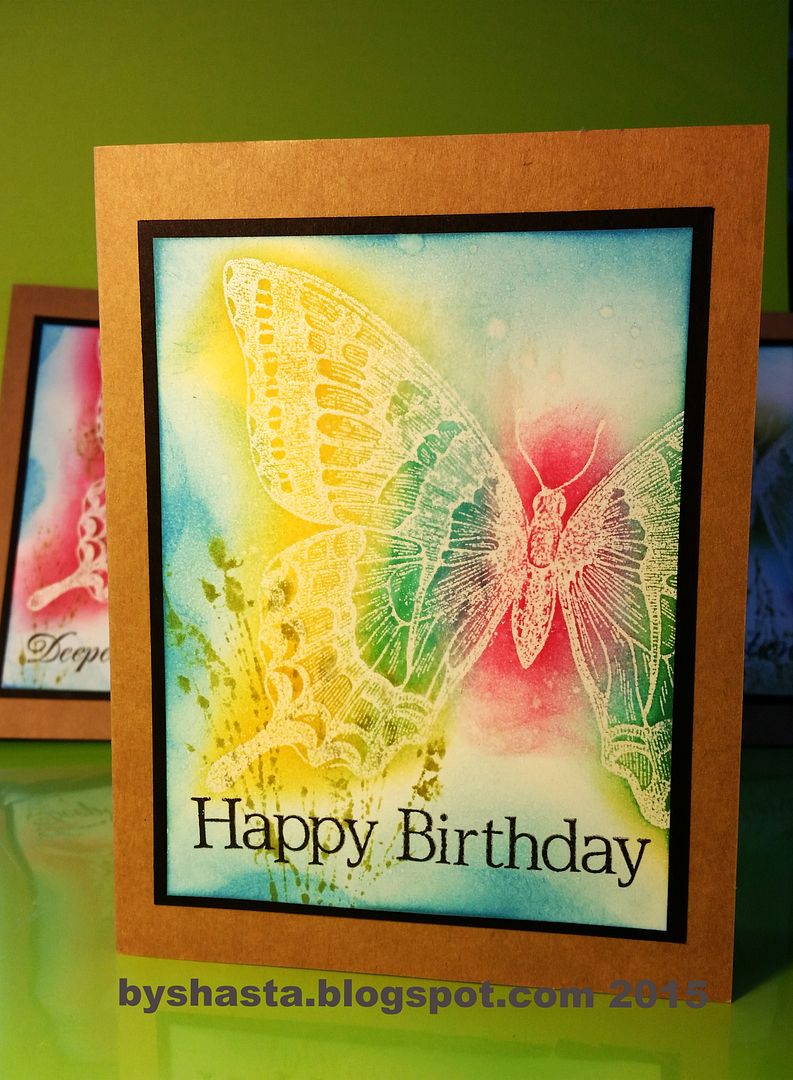
 photo 20150623_131955_zpswizuwzia.jpg


This one was kind of a fail at what I was attempting, but it turned out ok.  It is a single layer card and I used the embossed resist technique as well.  I wanted to color in the design with Distress Markers, which I did, and then wipe it off for a clean finish.  Well, when I wiped it off the ink smeared.  So I just went with it and smeared it all. Not what I intended, but...!,
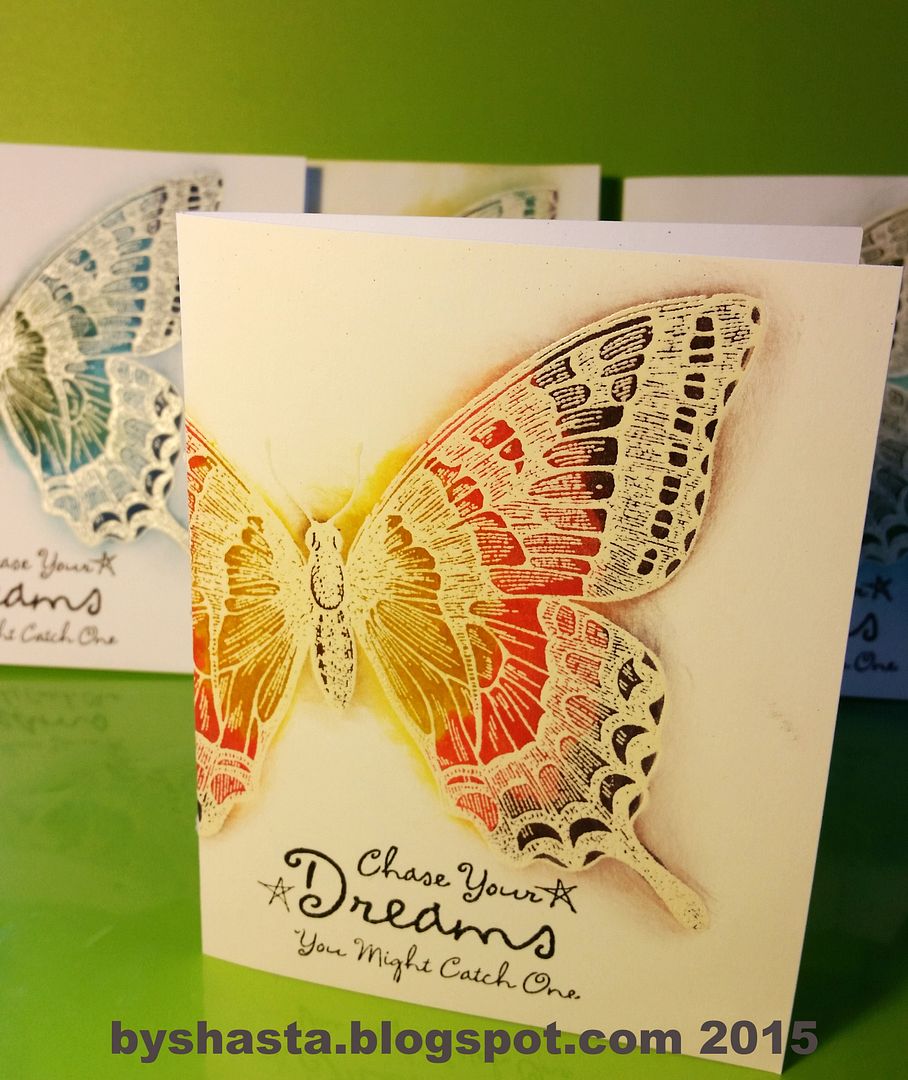
 photo 20150623_131859_zps2iebsaq0.jpg


These ones have a lot going on.  I first stamped the image using the thumping technique the same as before, then I used a mask of the same image and stamped the backgrounds over the top so the butterfly would remain clear.  The brown of the background images, the music and wheat and text, was a bit harsh next to the butterfly, so I decided to do the backgrounds a little differently.  I put the butterfly mask back down and inked each image with a similar color around the edges, and then softened the whole thing with a little bit of brown.
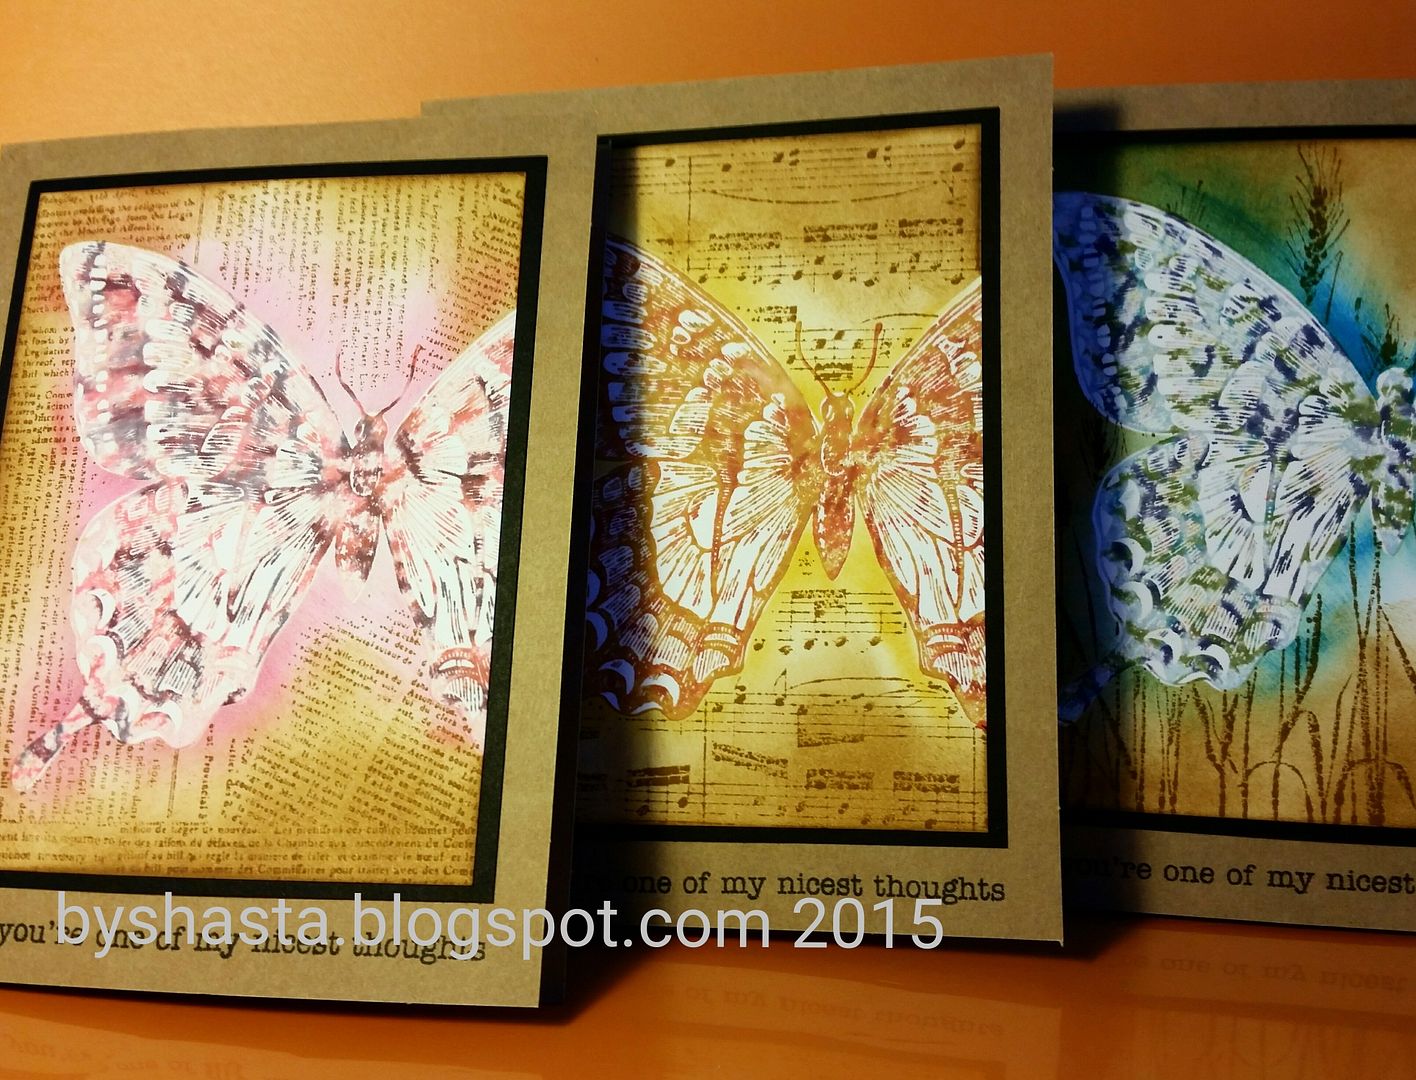
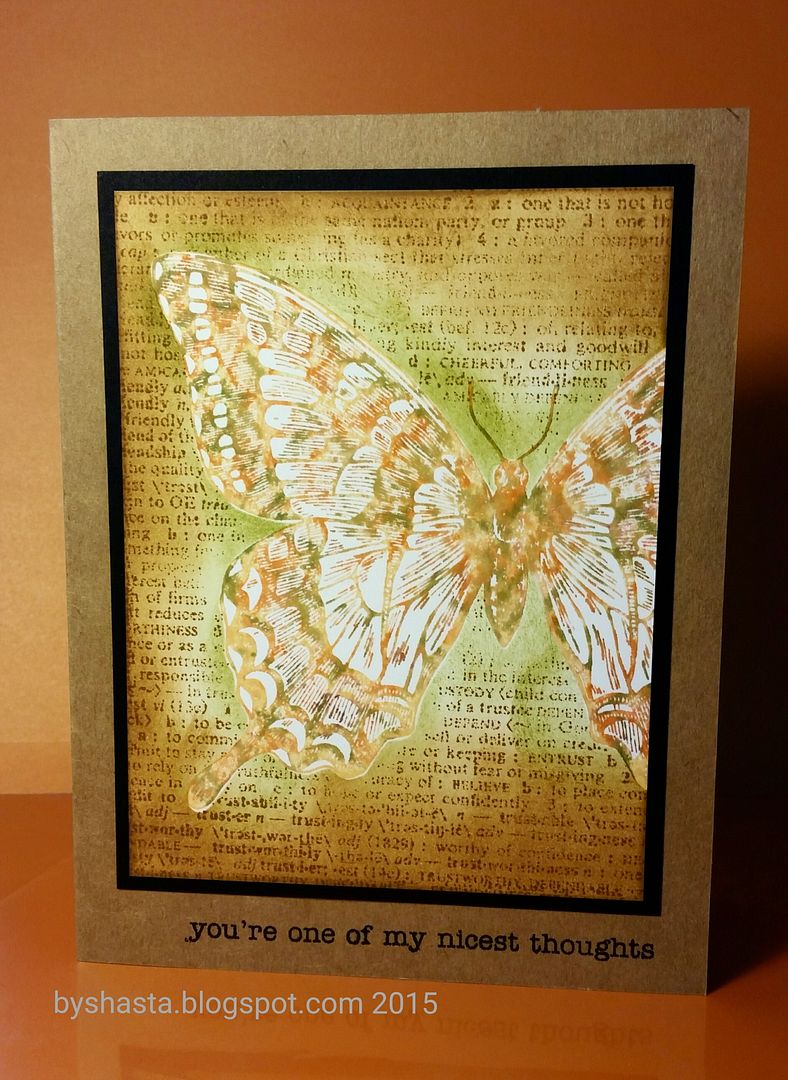
 photo 20150623_131707_zpsr8uxlxwv_edit_1435092437622_zpsgpsfxn8f.jpg


 photo 20150623_131641_zpshjygpomt_edit_1435092152767_zpsmrltfrqp.jpg


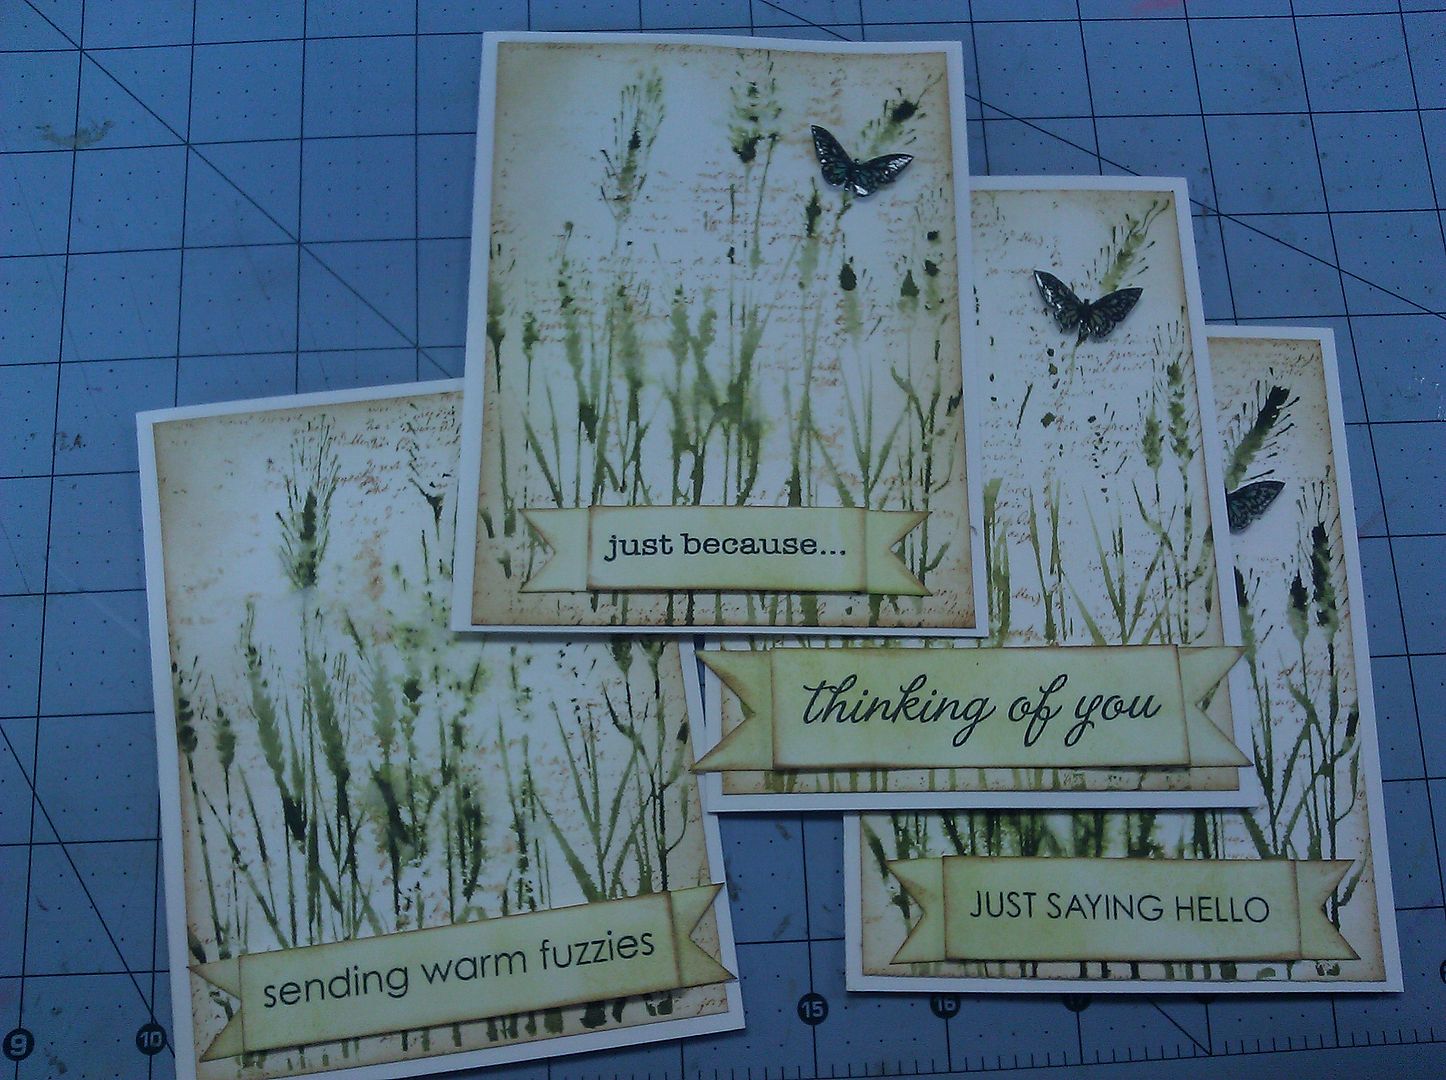
This one is my favorite, and an entire creation of my own.  I started out by seeing another card with the clouds and grass done with Distress Inks and a simple paper mask.  I tore two ends of a piece of paper in a loosely straight line for the grass, and then cut scallops on two ends of another scrap for the clouds.  I inked each end with the blending tool and Distress Inks in varying layers in blue and green for the grass and sky, and then used the wheat background stamp over the top in varying shades of brown Memento Inks.  I had no idea where this card was going, and was just creating backgrounds to see how they looked.  At first I had thought of putting some sort of sign or fence post to hold a greeting, because something wood grain seemed appropriate, but that would cover up too much of the pretty background.  I decided to use a die cut greeting, but none of the ones I had would fit, being as they were too large.  I recently Got a Cricut Explore machine and have used it exactly zero times, so I can't even tell you what I cut.  I pushed the add text button and typed "Hi."  I have no idea what font it is, and just sized it to fit 4 on a sheet with enough room to be die cut later.  The brown part is the die cut, the negative of the letters.  It started out as white cardstock, which I ran through my Cuttlebug.  First with a circle die and then with the wood grain embossing folder, and then heavily inked up with Distress Inks in Frayed Burlap.
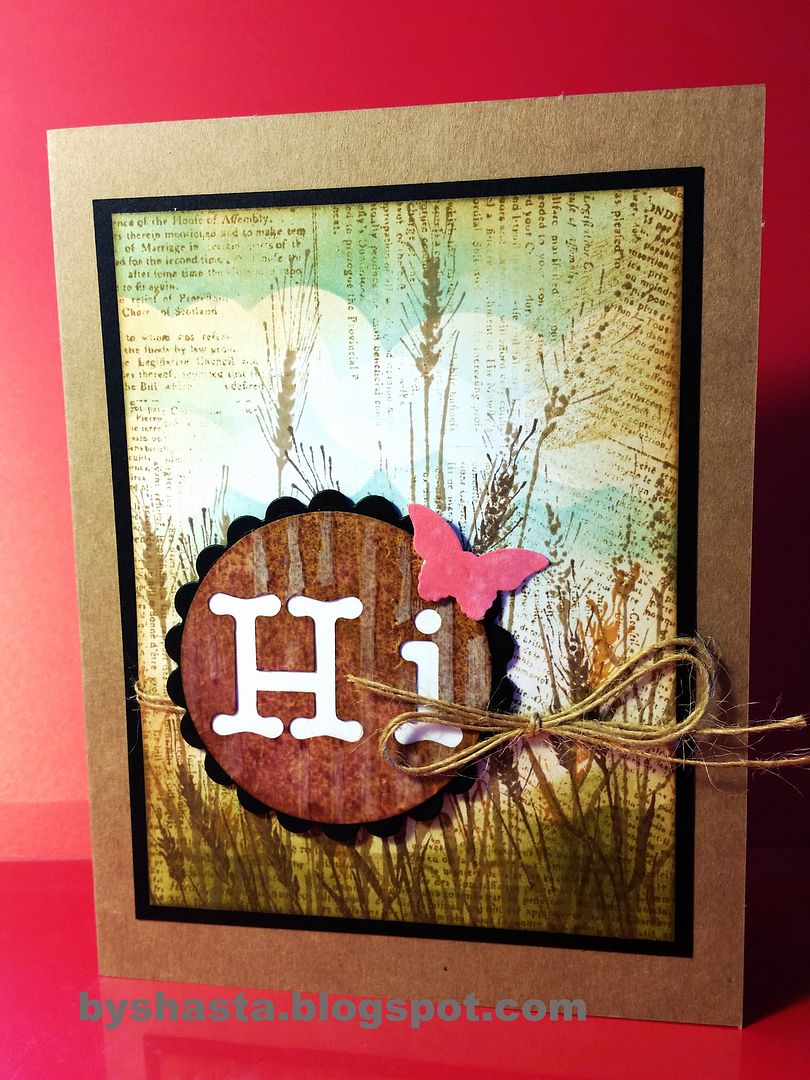
 photo 20150623_131745_zps2dzhrhda.jpg


After all that I sprayed it with water, and then with an Adirondack color wash spray in Raisin I think. When it dried, I used the white Distress Marker on the raised areas, and then put a piece of white cardstock underneath.  The little butterfly is a Stampin Up punch, and the color is Worn Lipstick Distress Ink on white cardstock.  I inked the scrap of paper, sprayed it with water to make it splotchy, and punched it out after it dried.  This card was by far more labor intensive than the rest, taking about 2 hours to make 4, but turned out so pretty!
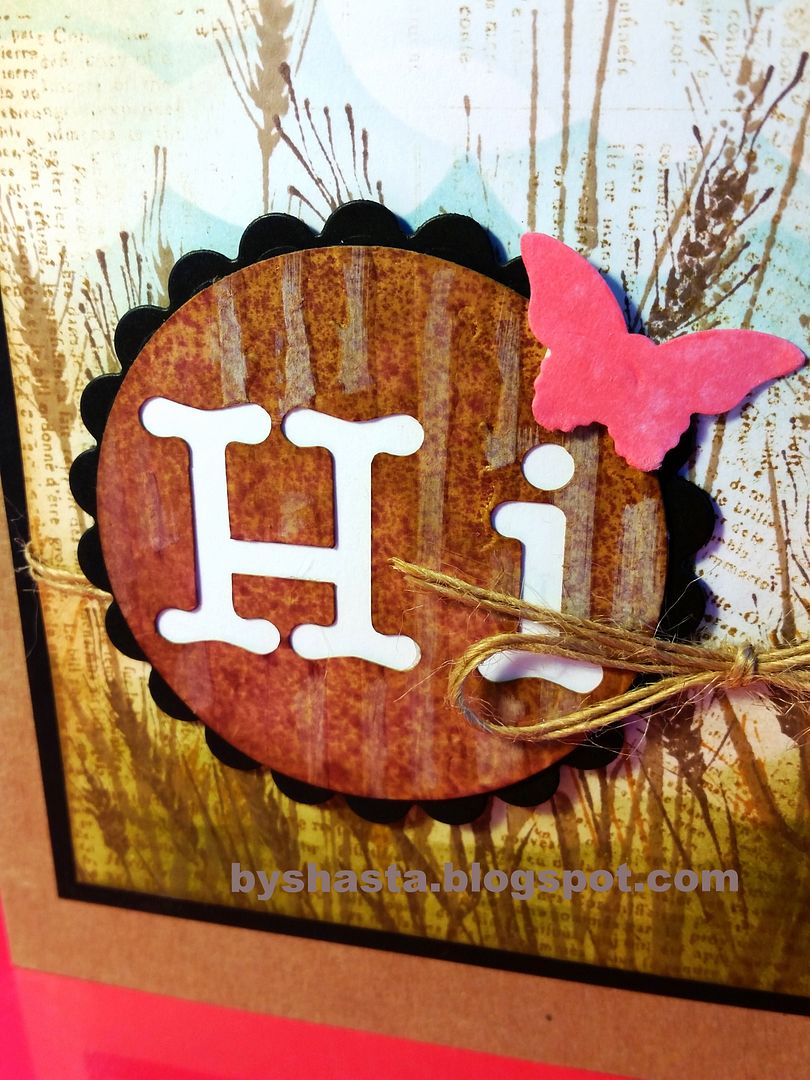
 photo 20150623_131755_zpsybfepdy0.jpg

Monday, November 19, 2012

Fall retreat cards

I spent the weekend at a scrapbooking retreat in lovely Fort Flagler State Park the first weekend in November, and made cards for a few days.  I have had the pleasure of going there for the last 6 or 7 years with 30-40 ladies twice a year, and just love it.  Usually I make pages, but decided to do these instead because my stash of cards is dangerously low!  Plus I wanted to get out *all* of my inks and stamps and just play.  Just about all of these are lifts from Pinterest or other ones I have seen on the Hero Arts blog or Jennifer McGuire's website (love her!).  She is probably single handedly responsible for my love of Distress Inks.  She had an incredible video tutorial collection a year or two ago that has some amazing techniques on how to use them.  There are 27 videos but trust me, it will not be a waste of your time!!

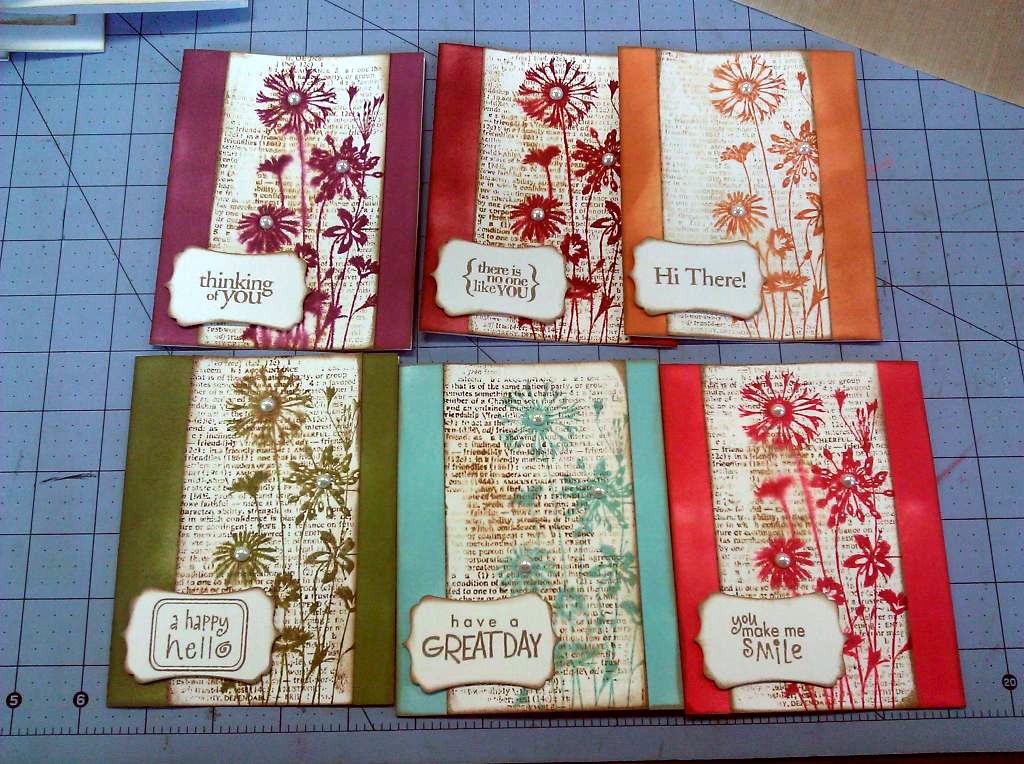
This first set uses a flower stamp and a text background stamp, both from Hero Arts.  I stamped the text first after blotting the image a bit so it wasn't solid, then stamped the flower.  I sprayed the stamp with water first to make it watercolor-ish, and all of the inks on these ones are from Tim Holtz.  I used my ink blending tool to color the card base with the same color that I stamped the flower in, and around the edges of the white cardstock, then mounted it.  Add a sentiment with a punch from various stamp sets, some half pearls, and voila!

IMG_20121109_090510


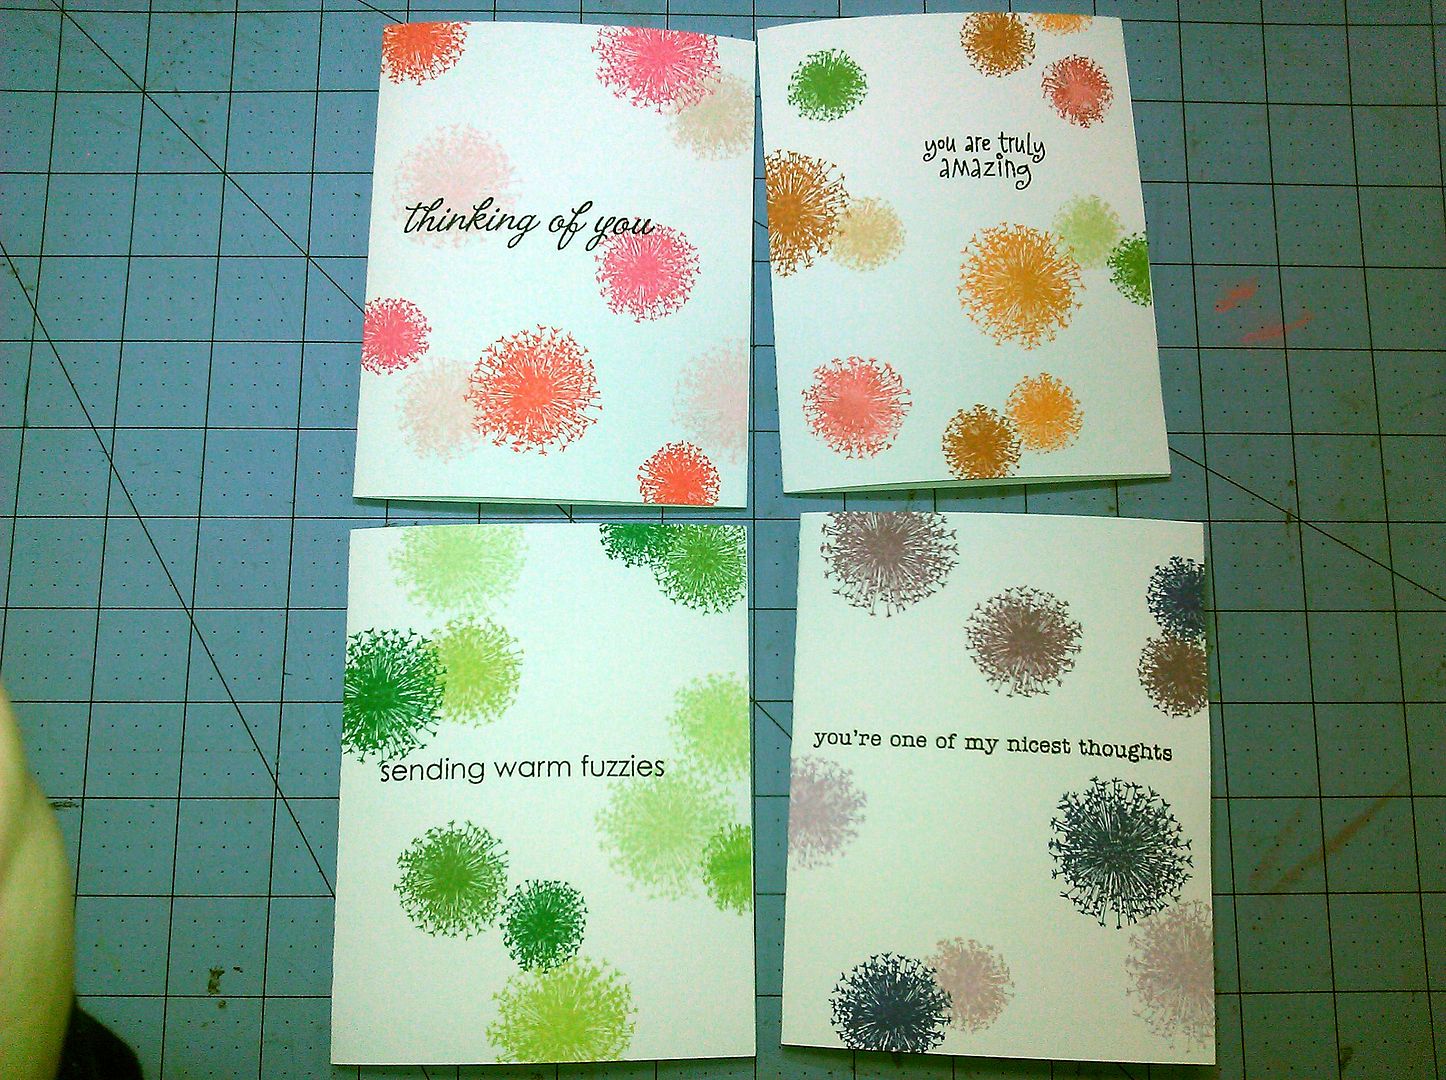
These ones are super simple, a single layer, and I love how they turned out.  Inspired by this.  I stamped the flowers in various Memento colors using a Gina K set, and various sentiments.  Done!

IMG_20121110_171627


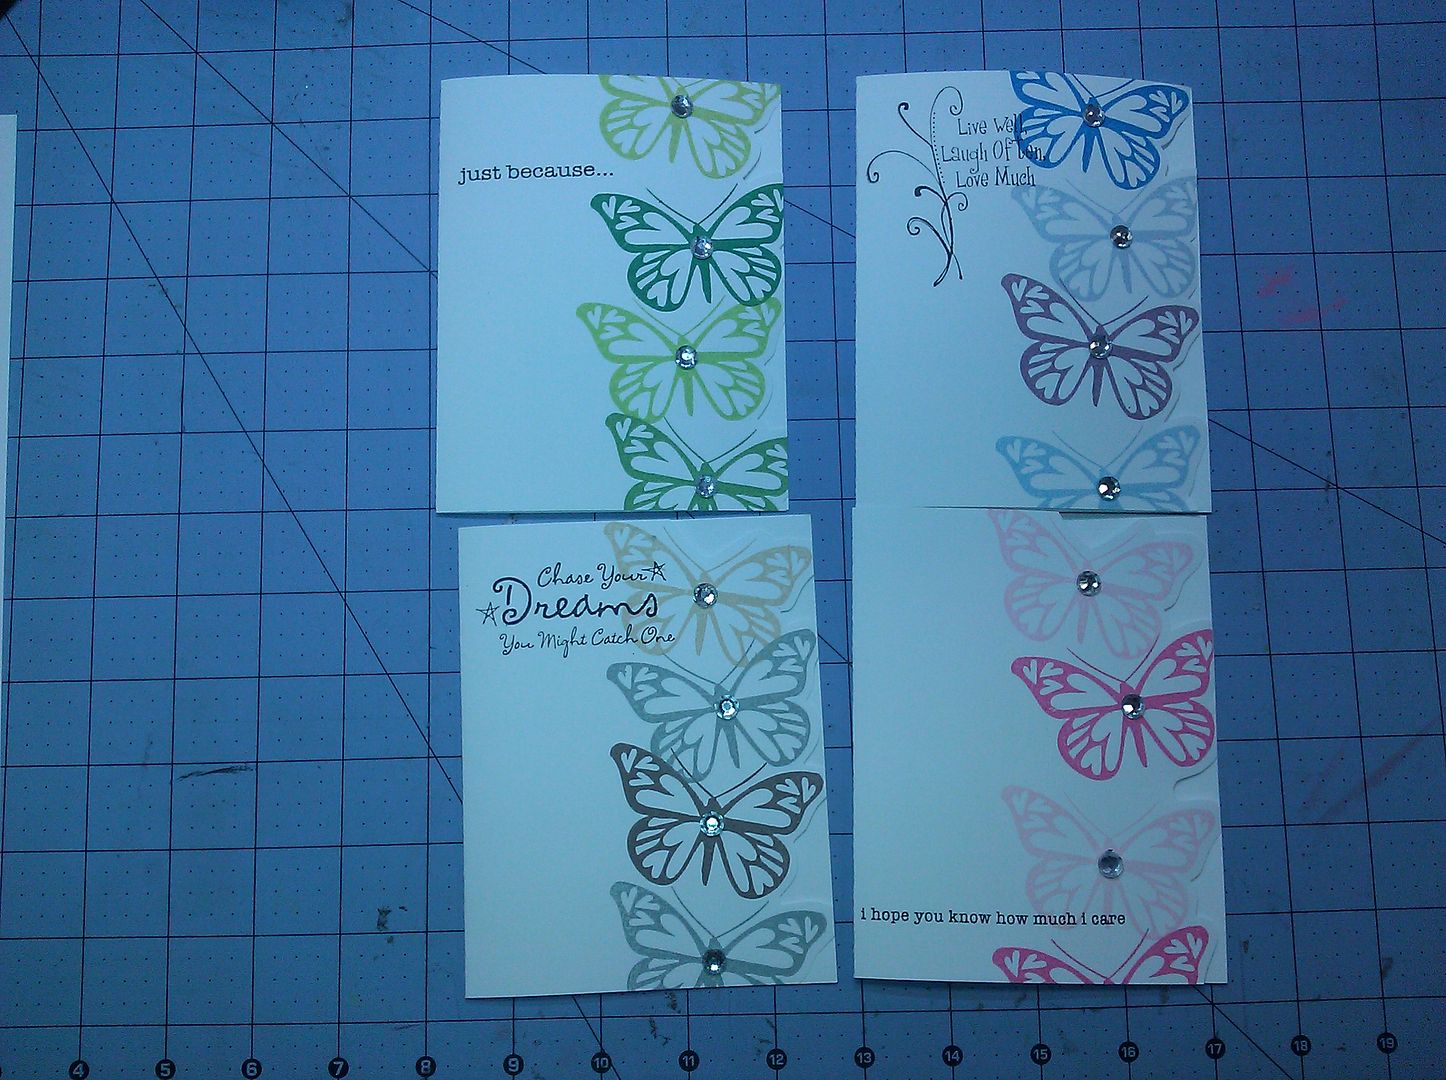
Here is another single layer card, easy peasy.  Inspired from here.  This is another butterfly stamp I use a lot, and Memento inks.  Then I fussy cut around the open edge with scissors.

IMG_20121110_191801, Uploaded from the Photobucket Android App


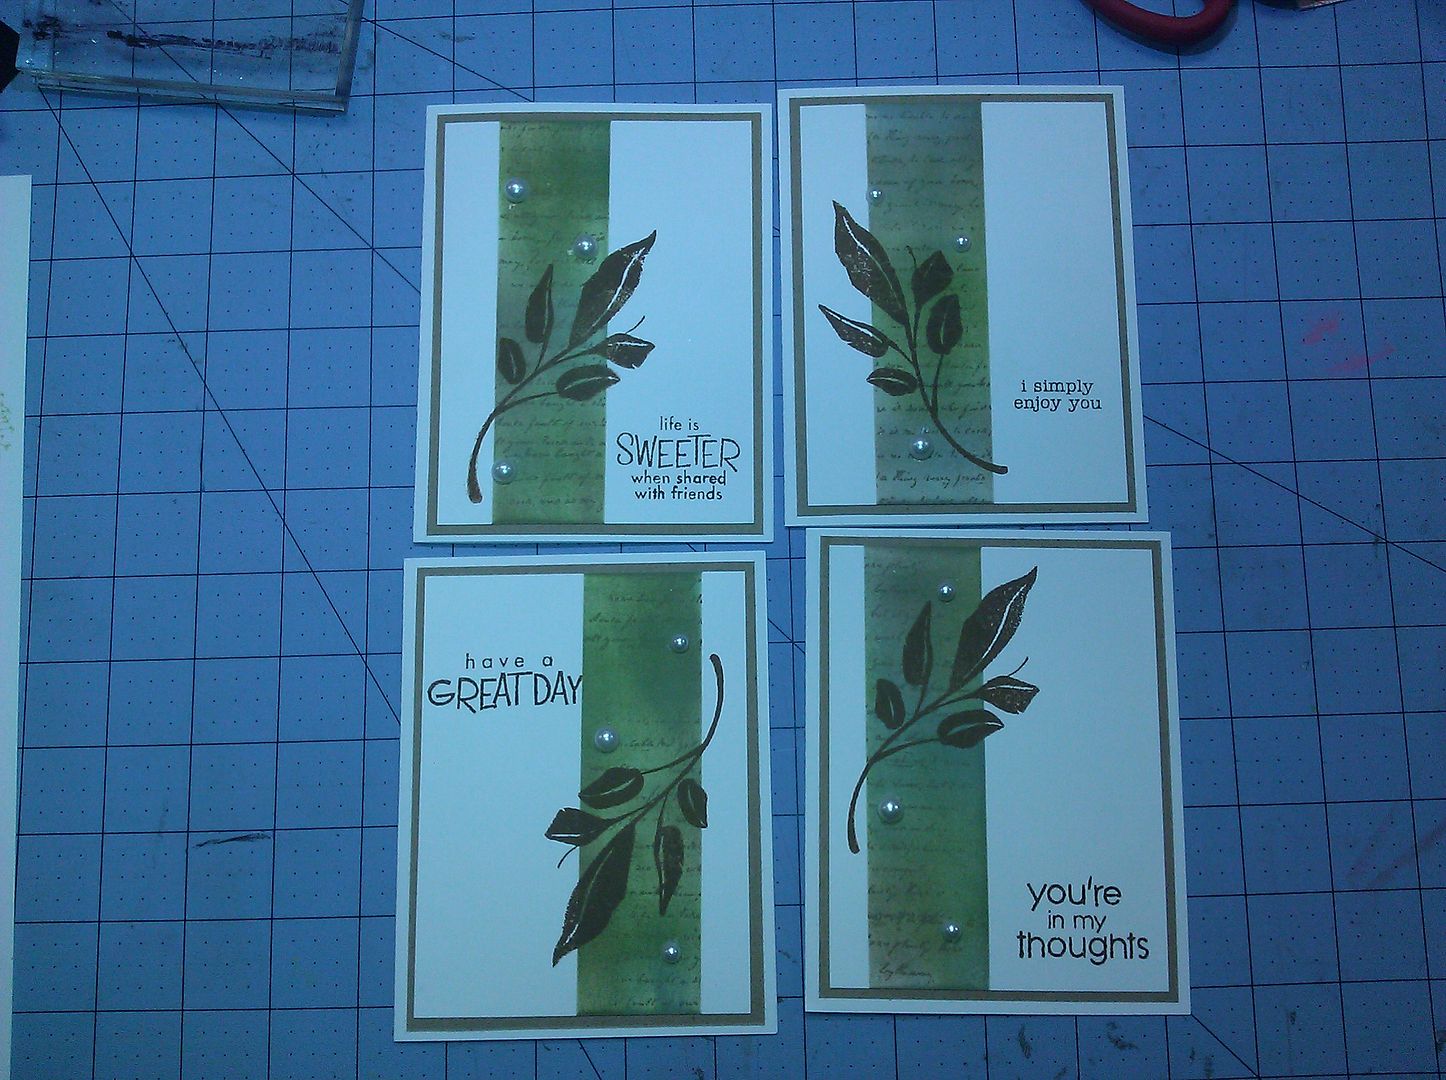
This one turned out just like I wanted, and was so pleased.  Inspired by this.  I masked off the white cardstock with two pieces of black paper, stamped the text and rubbed 2-3 colors of Tim Holtz Distress Inks over that with the blending tool.  Once the black paper masks were removed, it left that nice crisp design down the card.  I believe the leaf is a Close to My Heart one, I borrowed it from my friend so am not positive.  I used brown cardstock to mount it, and added more pearls.

IMG_20121110_181541


I kept seeing these triple stamped cards, and wanted to try it.  Inspired by this.  You can find a tutorial here.  I colored the images with Copic markers and mounted it on black cardstock.  Make sure you use the right ink for your images when coloring with these markers, or it will smear.  Memento Tuxedo Black is what I used.

IMG_20121110_144419

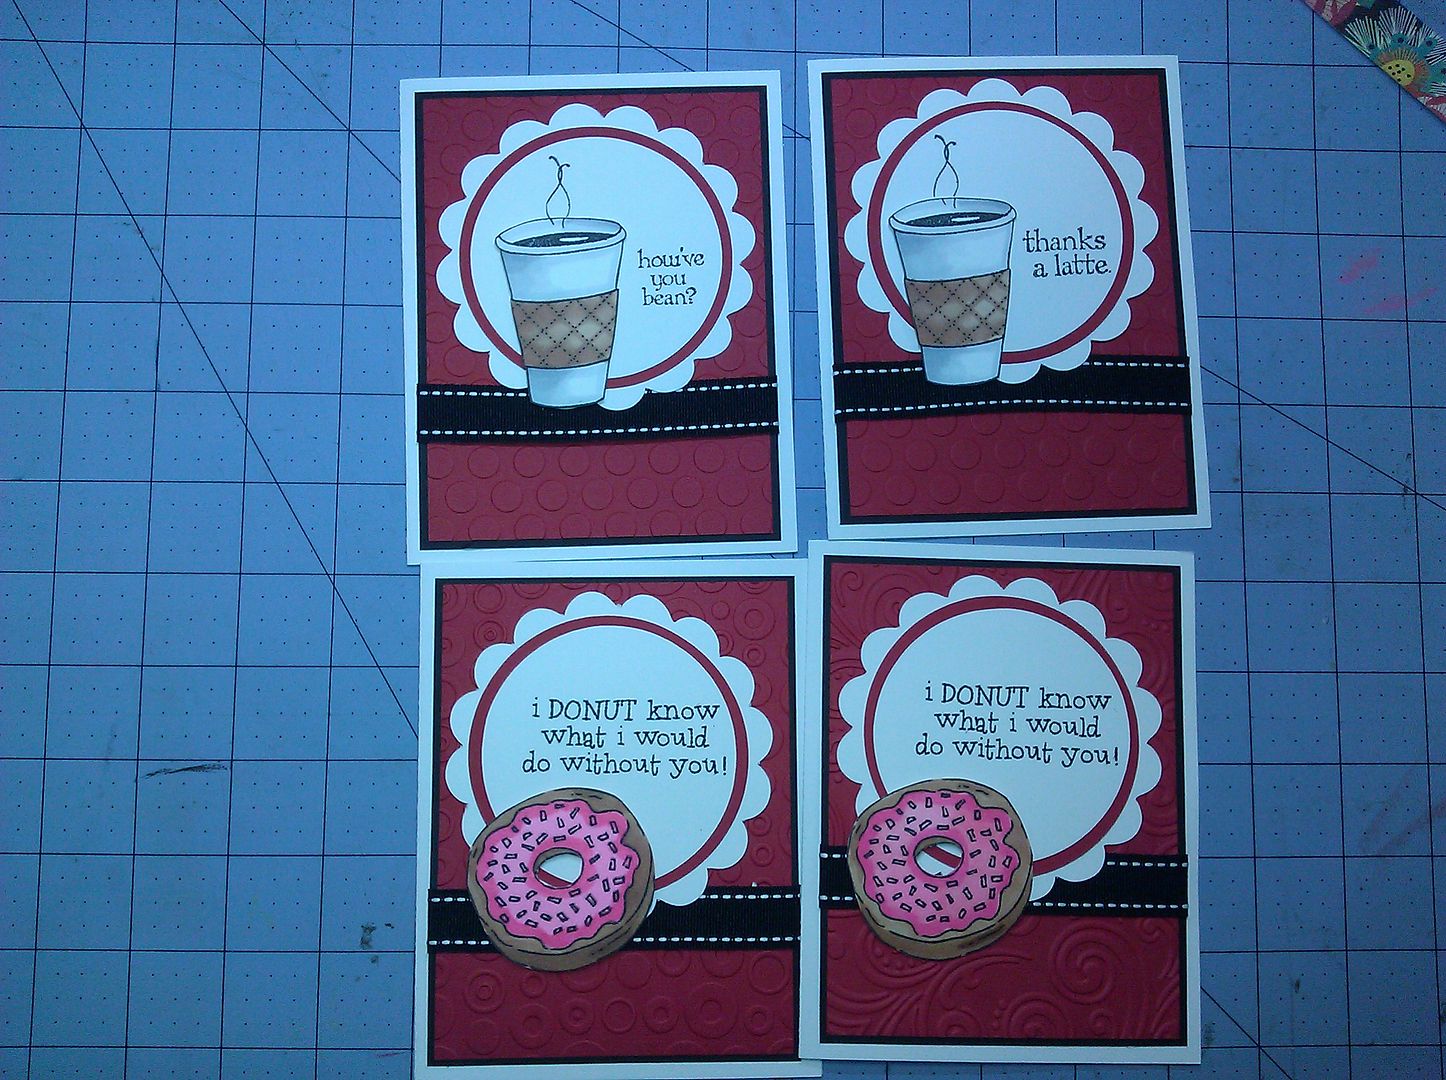
I thought this donut stamp was just too freakin' cute.  These were a combination of 3 or 4 coffee/tea stamp sets I have.  I dry embossed the red background with my Cuttlebug, cut the scallop and circles with my Cricut, and then colored and fussy-cut the images. 

IMG_20121109_235017


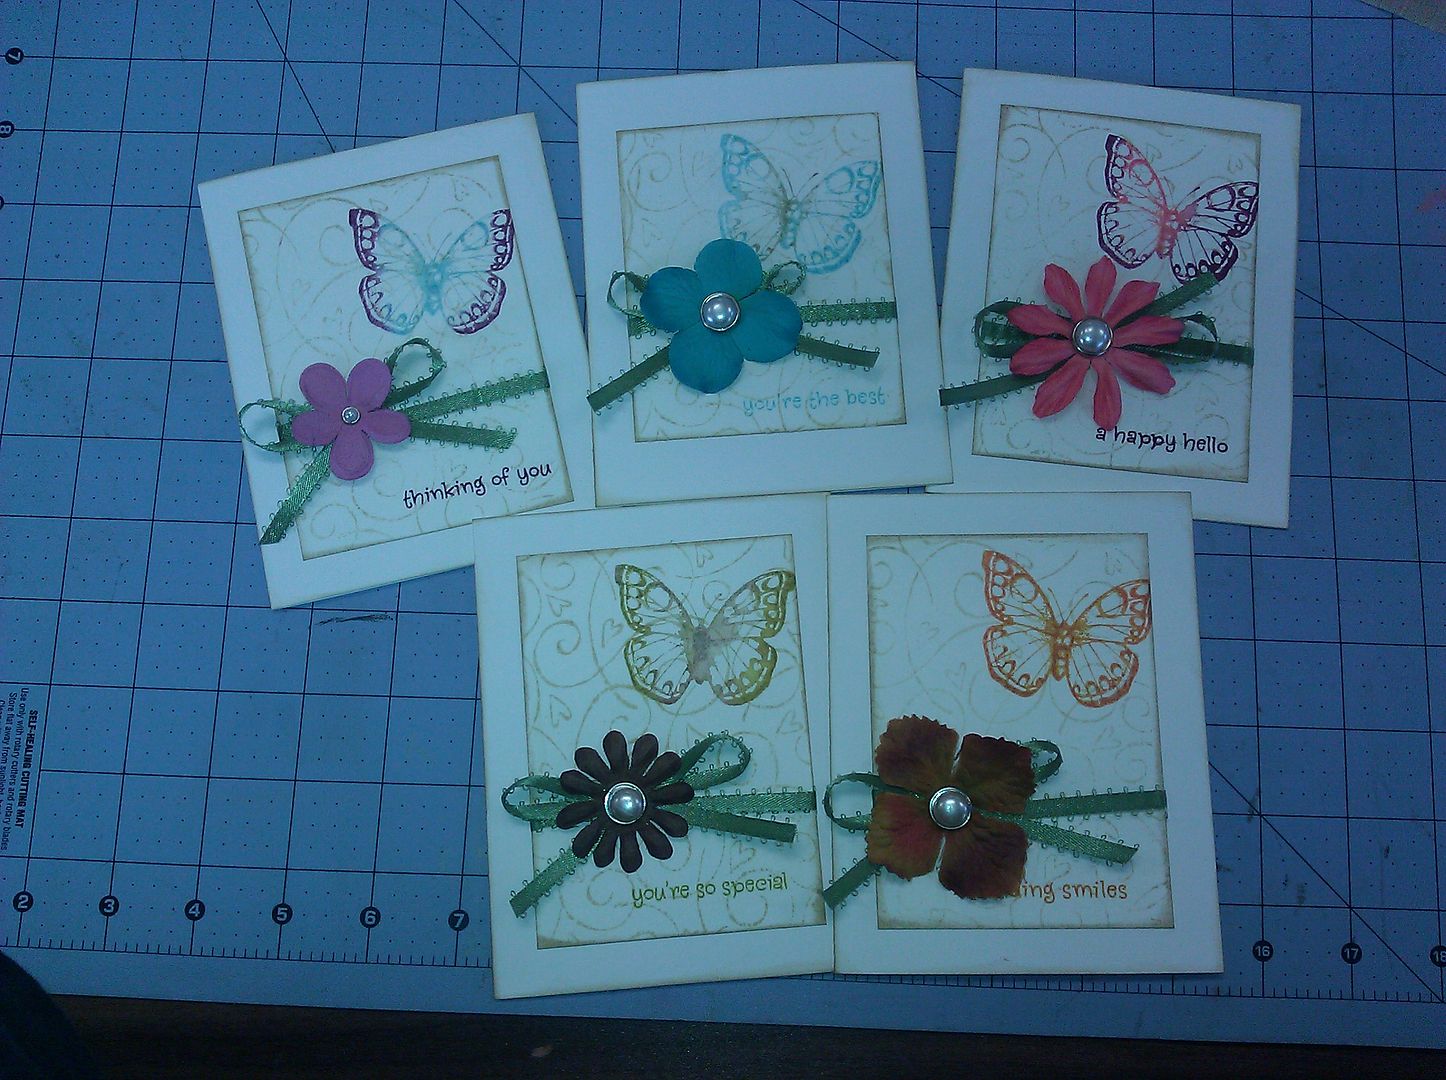
This butterfly stamp is one of my favorites, and I use it a LOT.  The background was done with a swirly stamp in grey ink, then the butterfly.  I inked the butterfly with the main color of Distress Ink and then just brushed the edges with another color and sprayed with water before stamping.  This is on watercolor paper.

IMG_20121109_090619


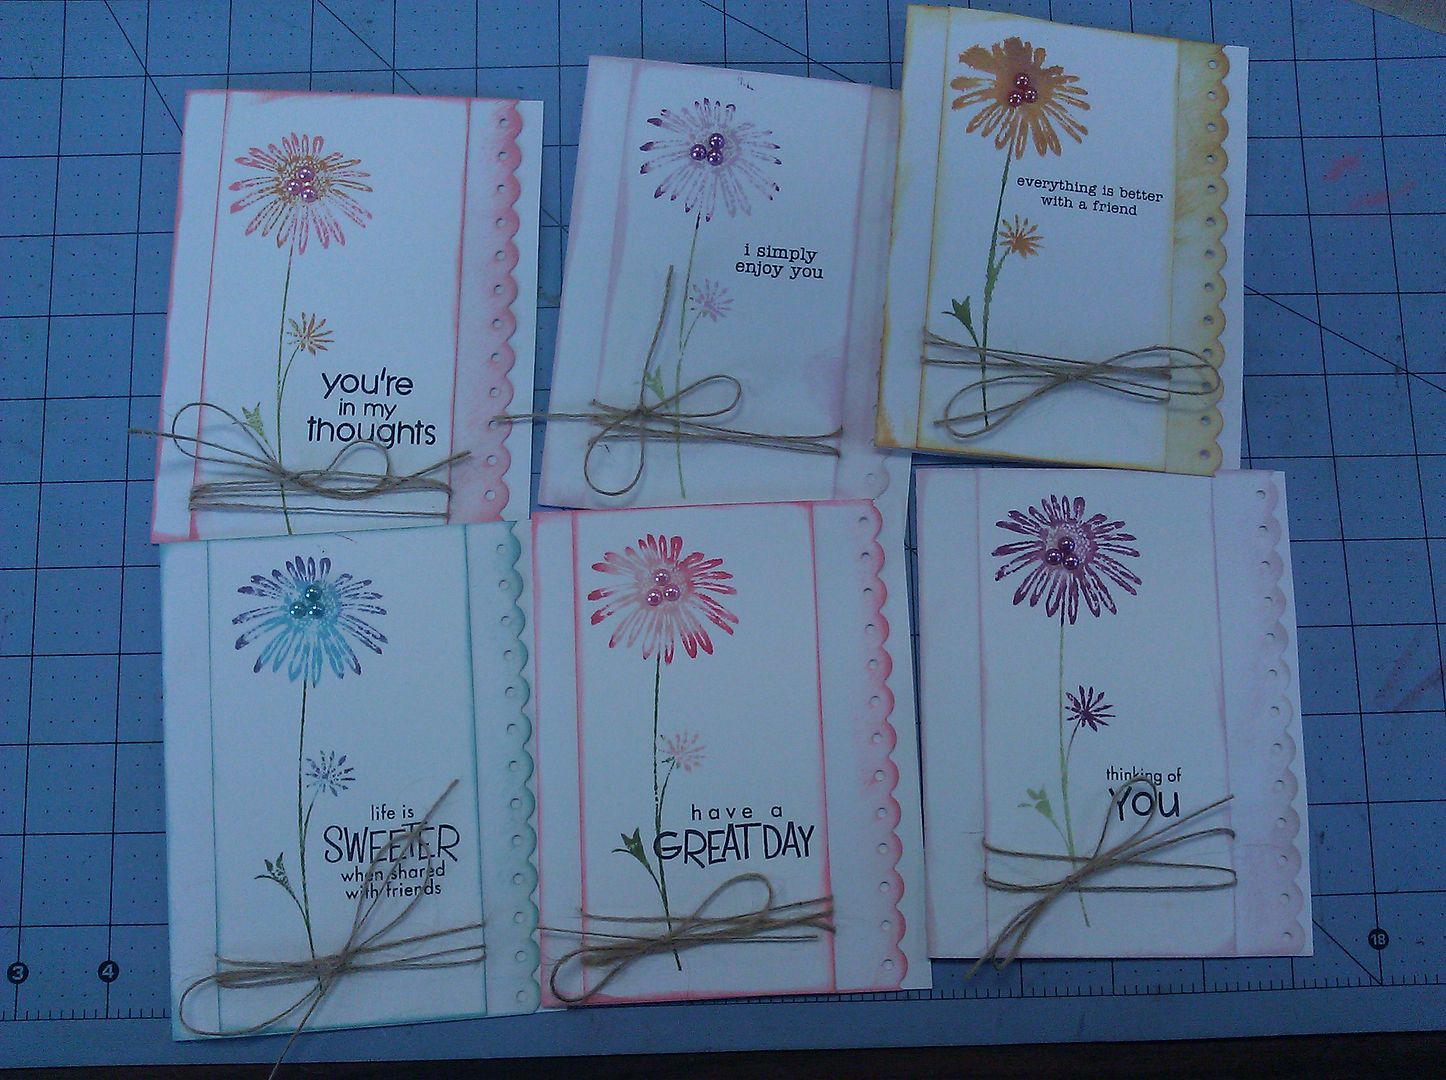
This one is pretty simple too, and looks so nice.  I punched the base with a border punch from Fiskars, then inked with Distress Inks.  Then the same color was used on the flower, with green on the stem.  I also sprayed the stamp with water first.

IMG_20121109_090542


I purchased this large background stamp on the way to my retreat, and was so excited to use it.  It is such a funny thing, but I see it on a lot of cards and I am more of a flower stamp girl, but really wanted this one, and after seeing it used several times I could see how versatile it was!  I stamped the text first after blotting it, then the background with Distress Ink and water.  I softened the edges and colored the greeting strip with the ink blending tool and more Distress Ink.  The butterfly was stamped, cut, colored with Copics, then covered with Crystal Effects.

IMG_20121109_090425


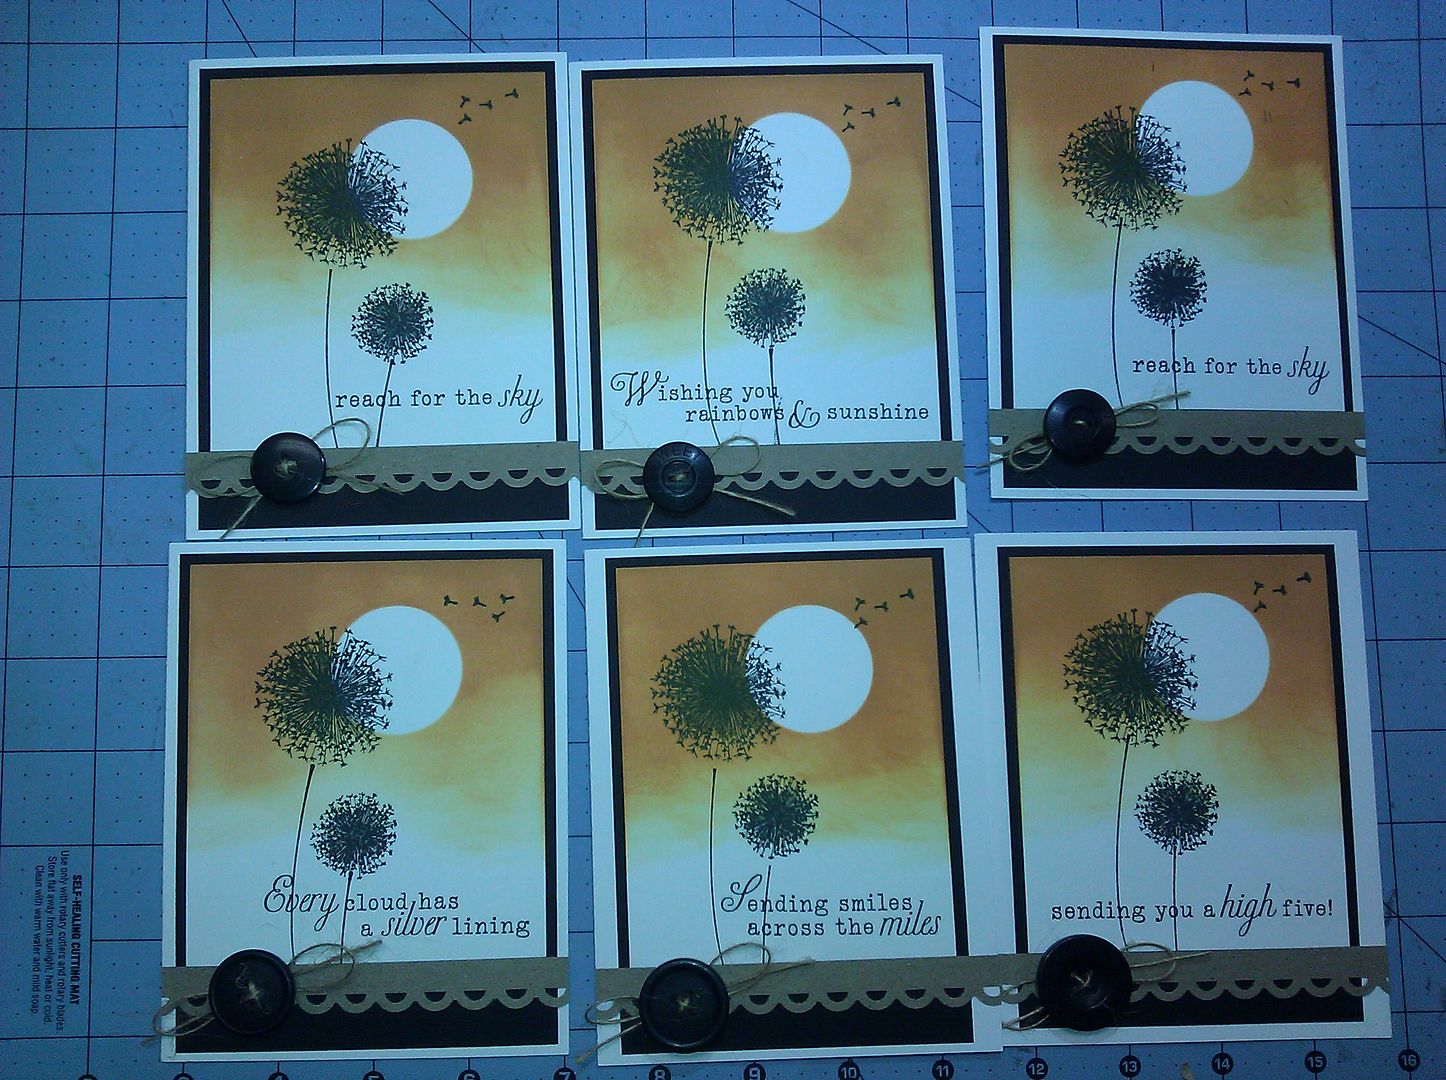
This one turned out so puuuurty..  Inspired by this.  I punched a circle out of white cardstock, 1 3/8" I believe, and then used it as a reverse mask.  I inked over it with Wild Honey, one of my favorite Distress Inks, then removed it.  The dandelion is from the same Gina K set as the cards a few pictures up, and sentiments from PTI.

IMG_20121110_011647


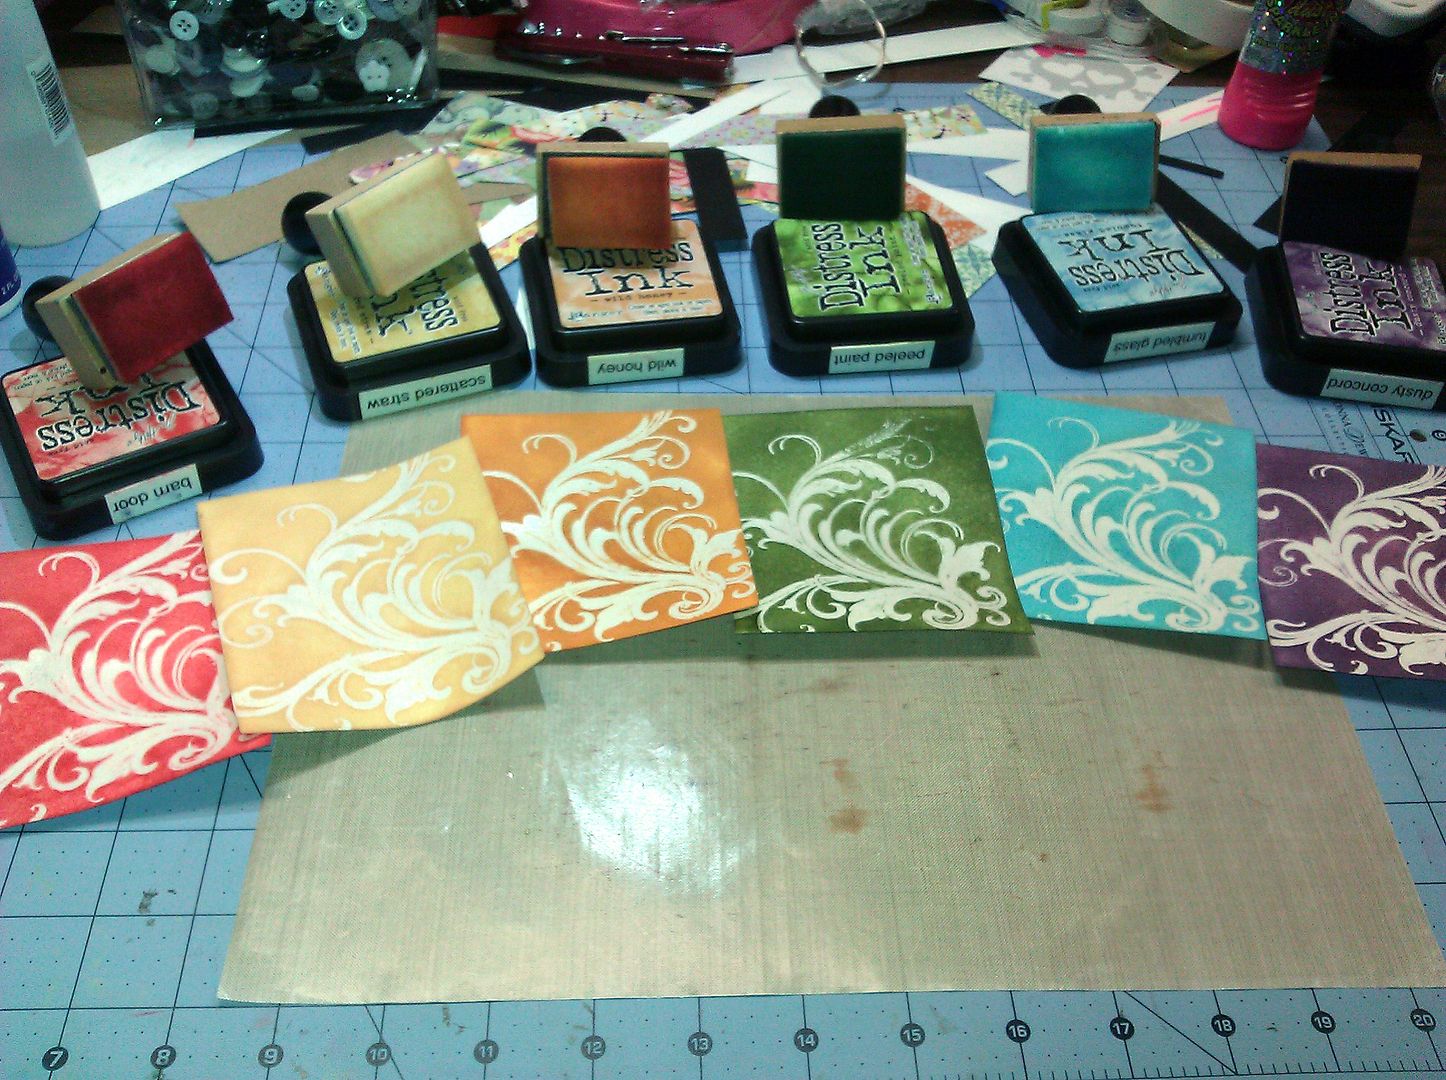
Ahhh, this picture just makes me happy.  I remember my first time using a Tim Holtz Distress Ink pad, and I was sooooo disappointed.  Now I just LOVE them.  I tried to use it the traditional way, and was super unsatisfied at how the images turned out.  I wanted them crisp and clean, and that is just not what these inks are about.  After watching tons of videos  and techniques, I use them all the time, for so many things!  Inspired by this.

IMG_20121110_212032


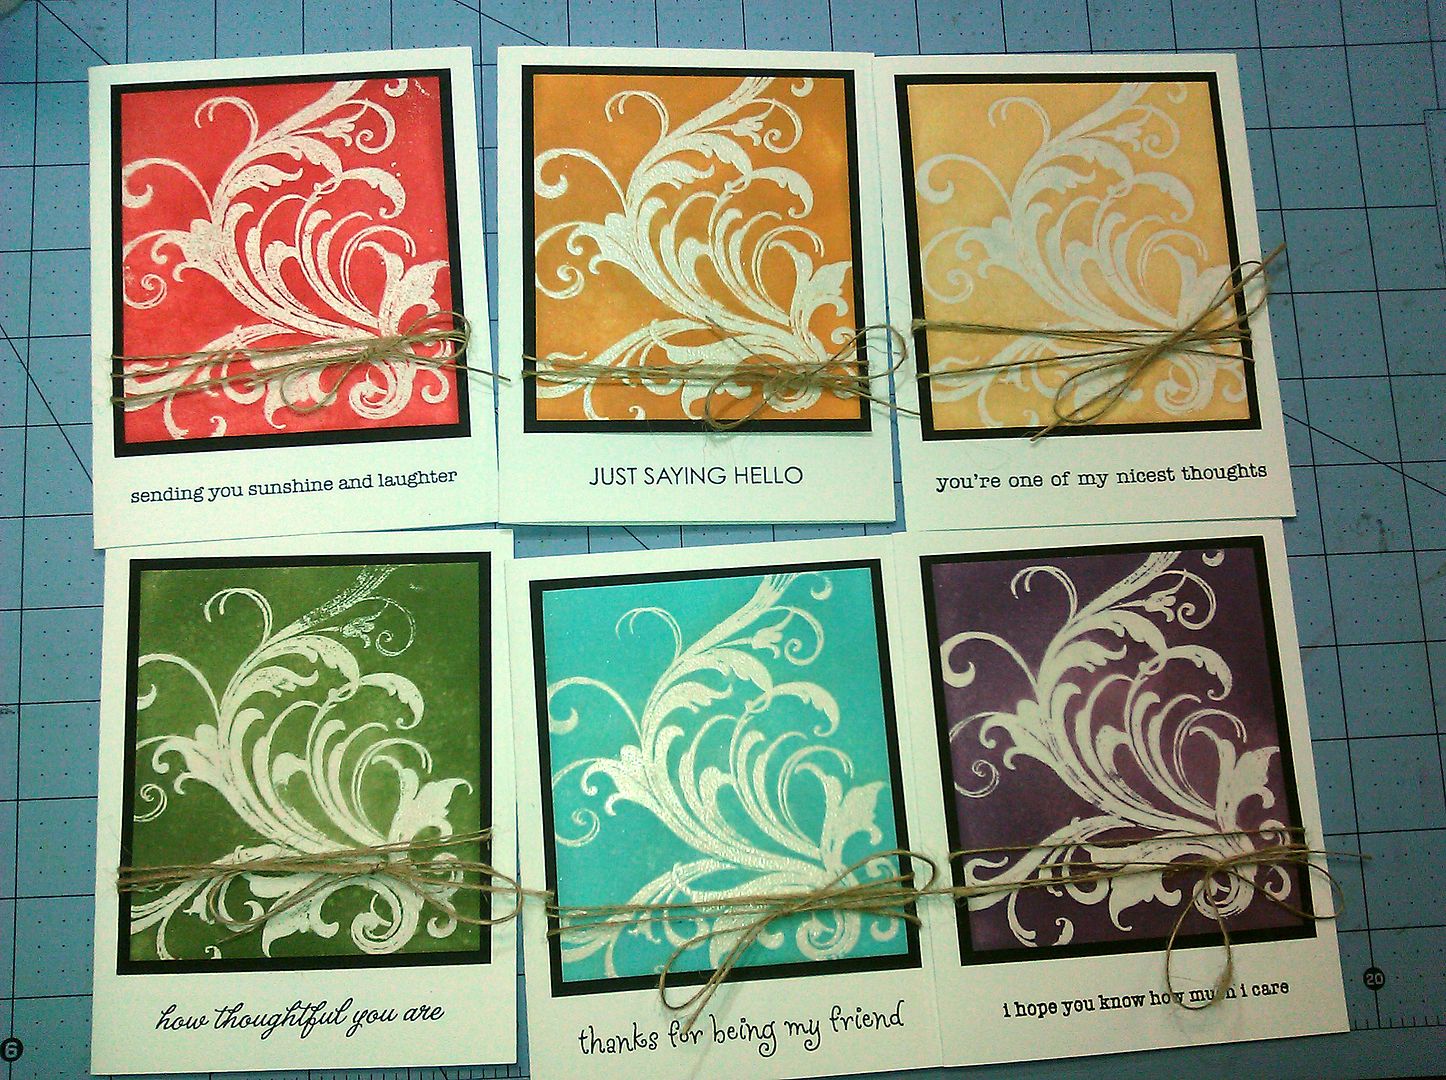
I used this large background stamp and heat embossed it with clear powder. I inked over the image with the blending tool, and then wiped it off to remove any from the embossed area. It was mounted on black cardstock, add some twine and a sentiment.

IMG_20121110_220542


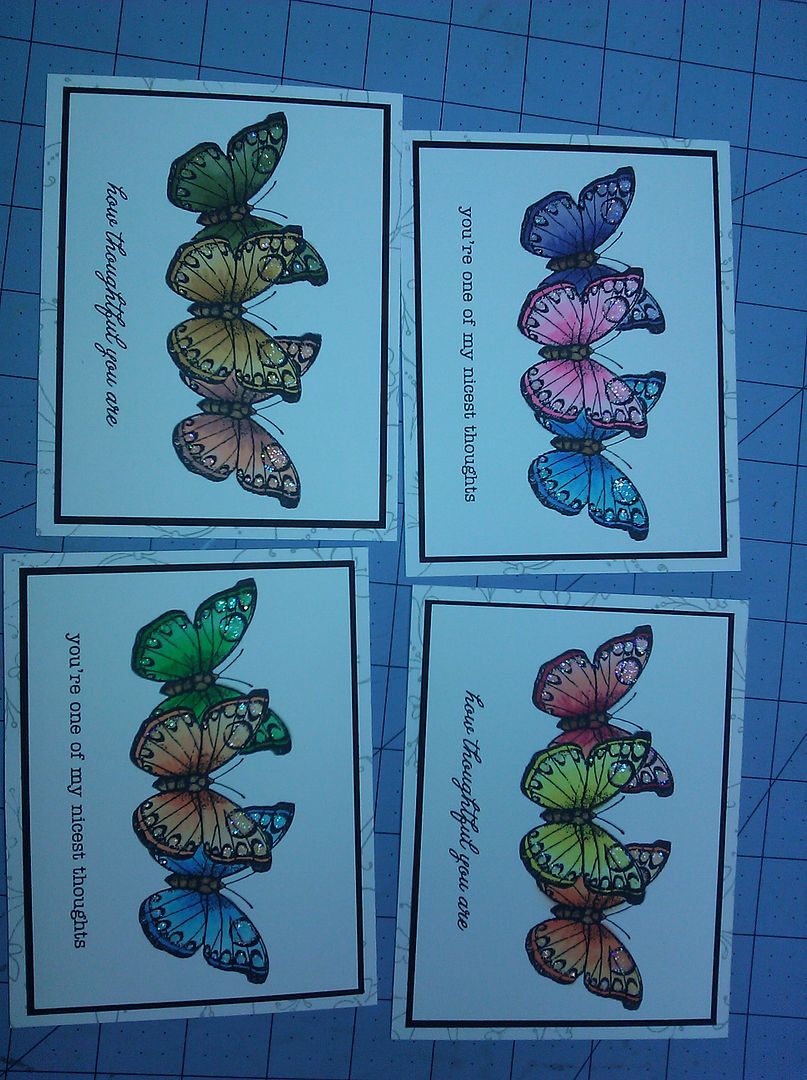
Here's that gorgeous butterfly stamp again!  I stamped the image on a Post-It note and cut it out very carefully around the edges to create a mask.  The center one was stamped first, and then I positioned the mask over the image exactly, and stamped the butterflies to each side.  Once the mask is removed, the images are all nicely stamped with no overlap.  Color with Copics, add the sentiment, background stamp and some Rock Candy Stickles, done!

IMG_20121109_105819


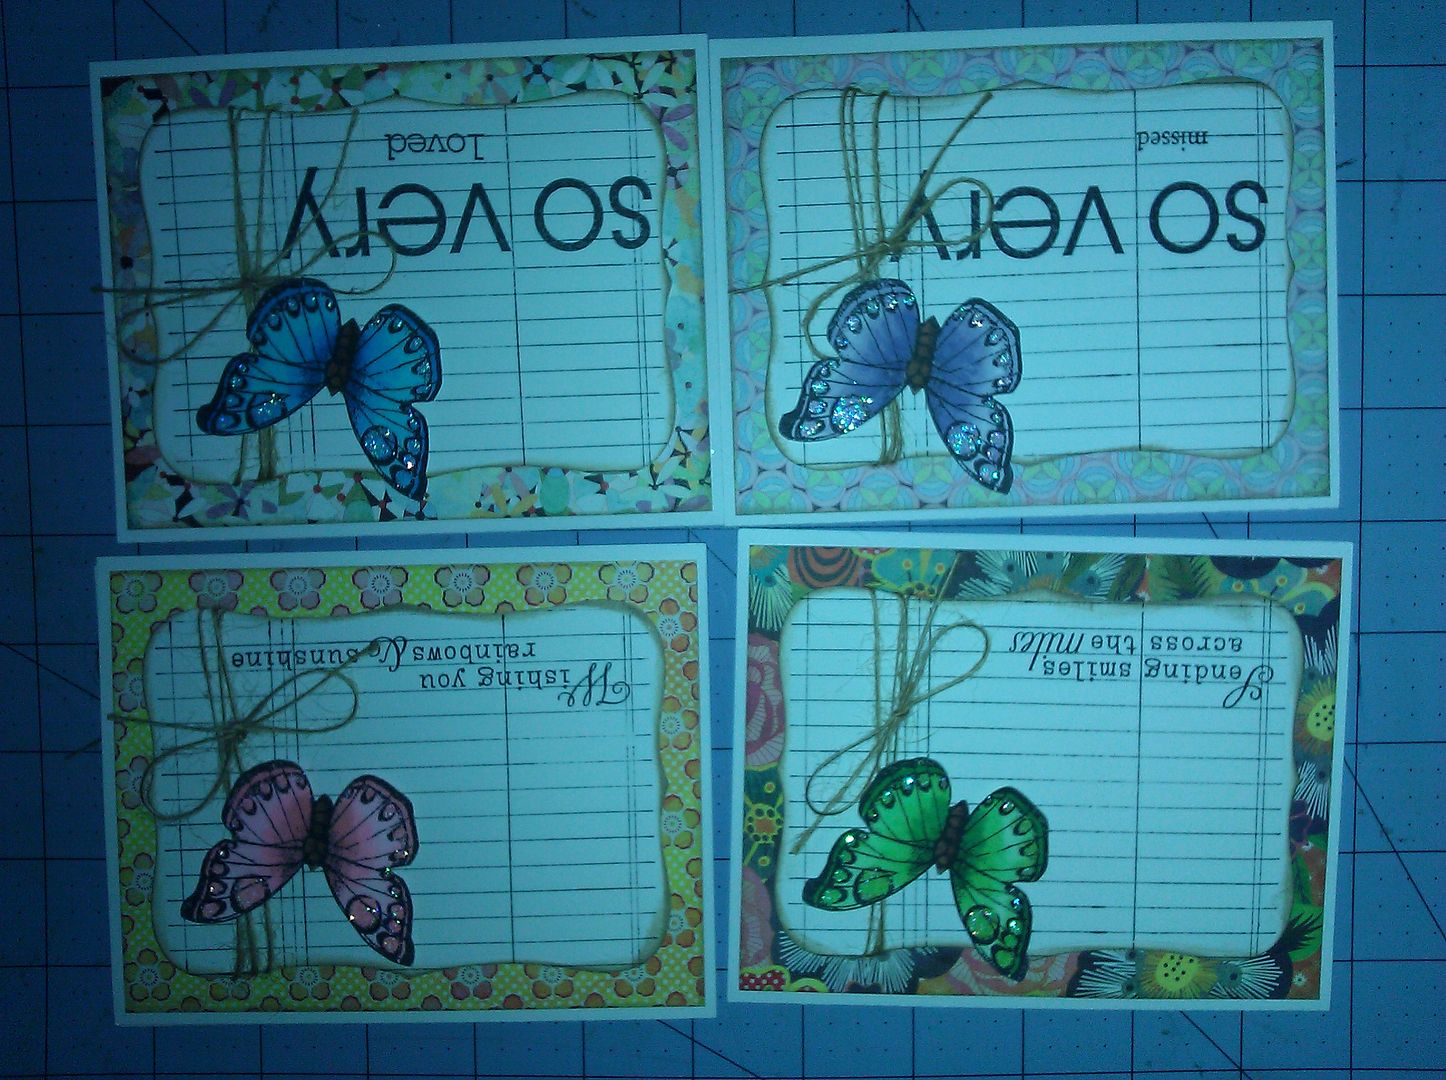
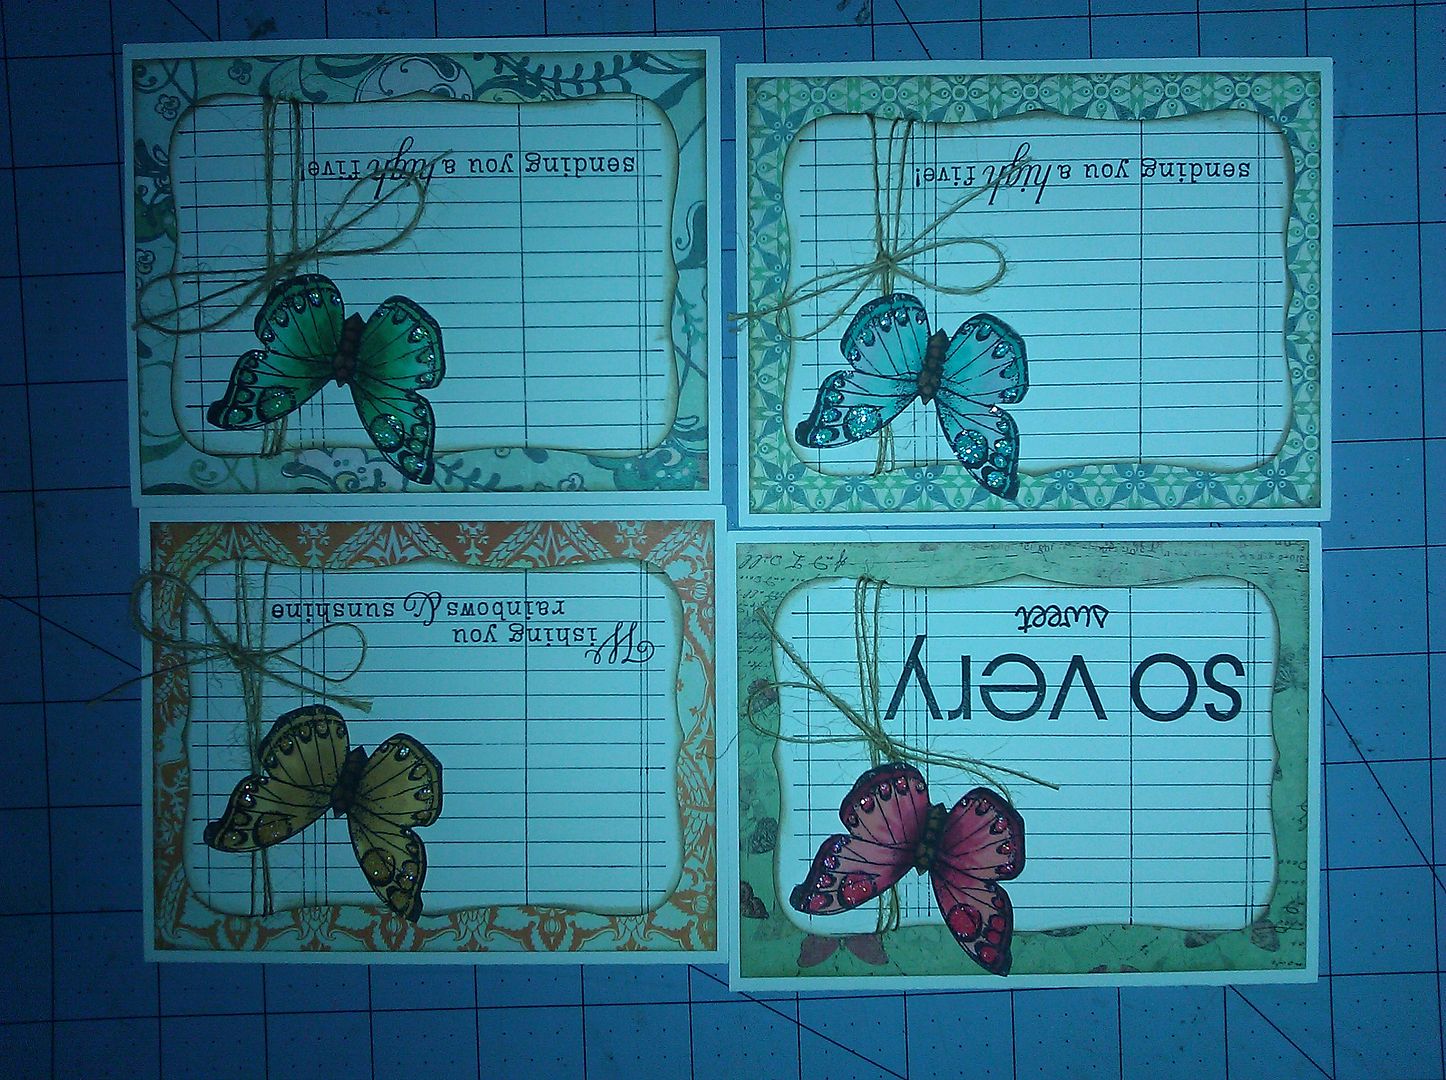
I get so much mileage out of this stamp!  I stamped, colored and cut them all out to use on these next few cards.  The background papers are from a 6x6 pad, but I dont remember what one, I think it was Basic Grey.  The white background is cut with a Nestabilities die in the Cuttlebug and stamped with a ledger stamp and the edges inked. 

IMG_20121119_122211, Uploaded from the Photobucket Android App IMG_20121119_122235, Uploaded from the Photobucket Android App

Thanks for taking the time to look!

Stay calm and craft on...

Sunday, September 6, 2009

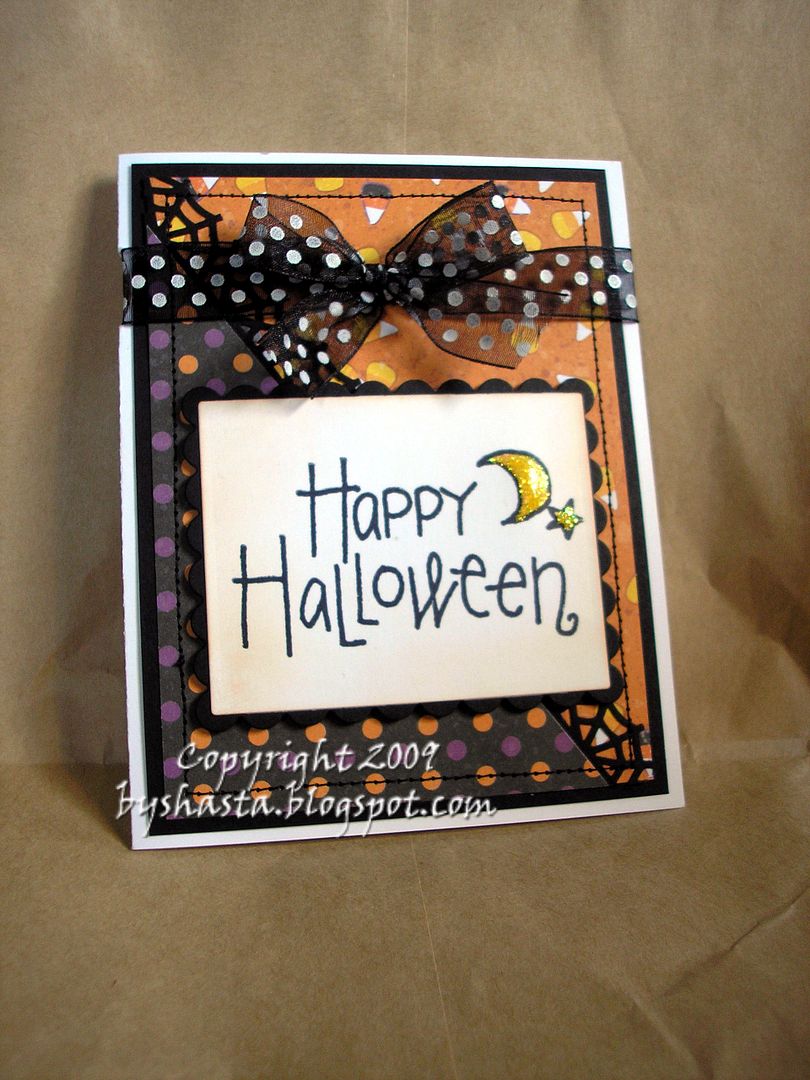
More Halloween cards

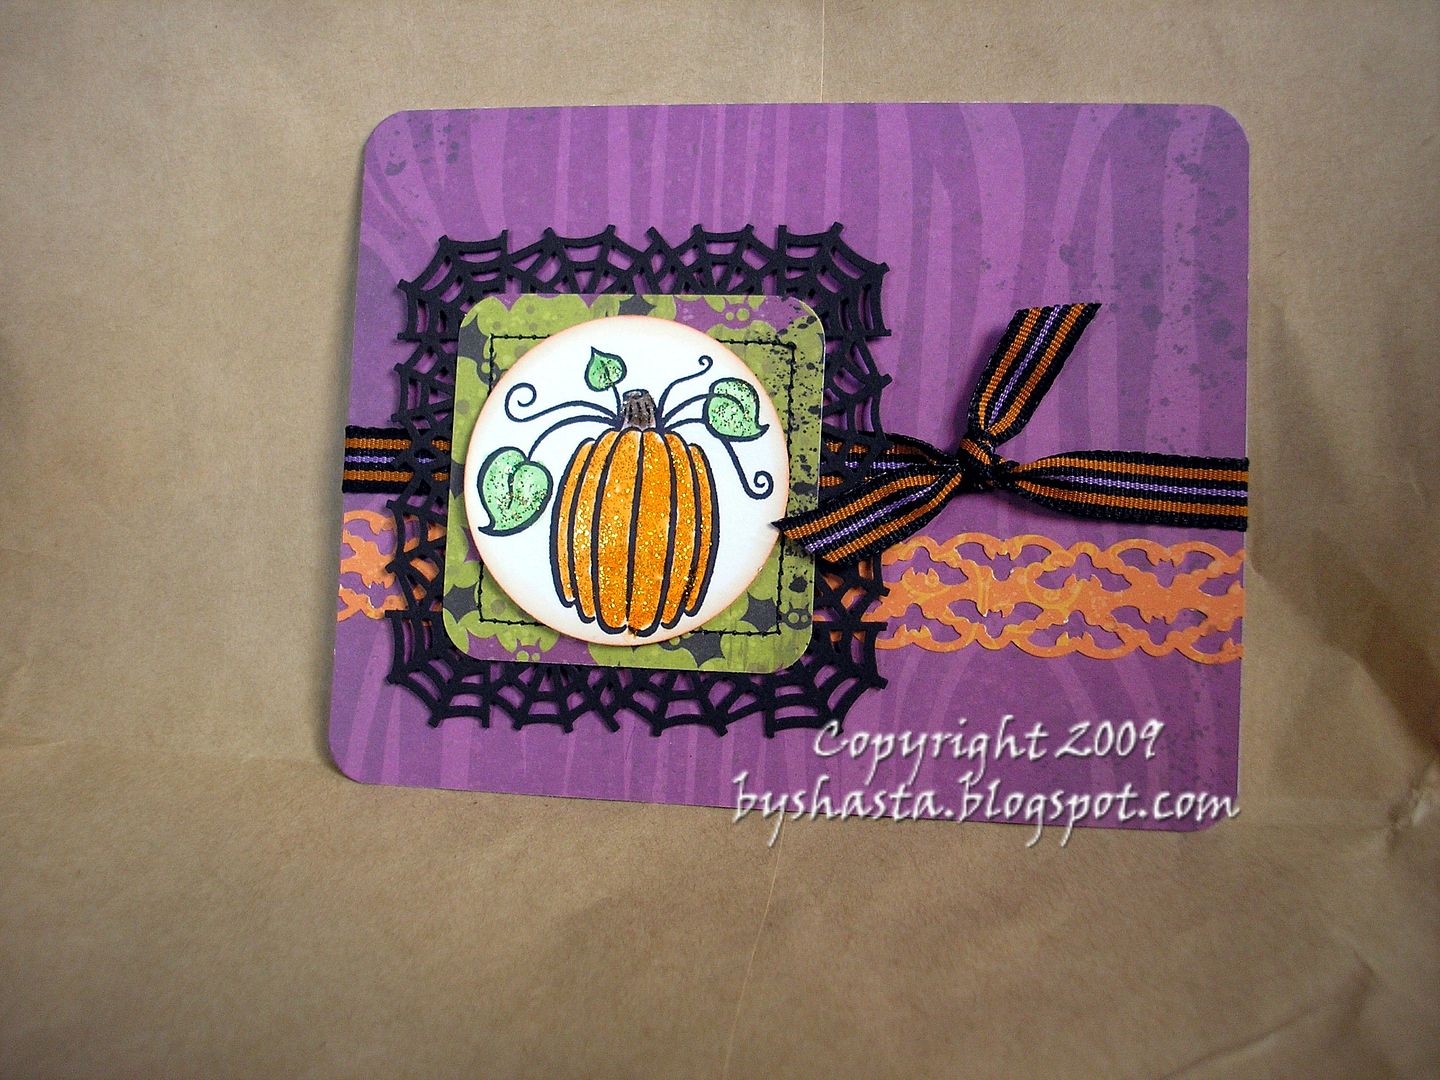
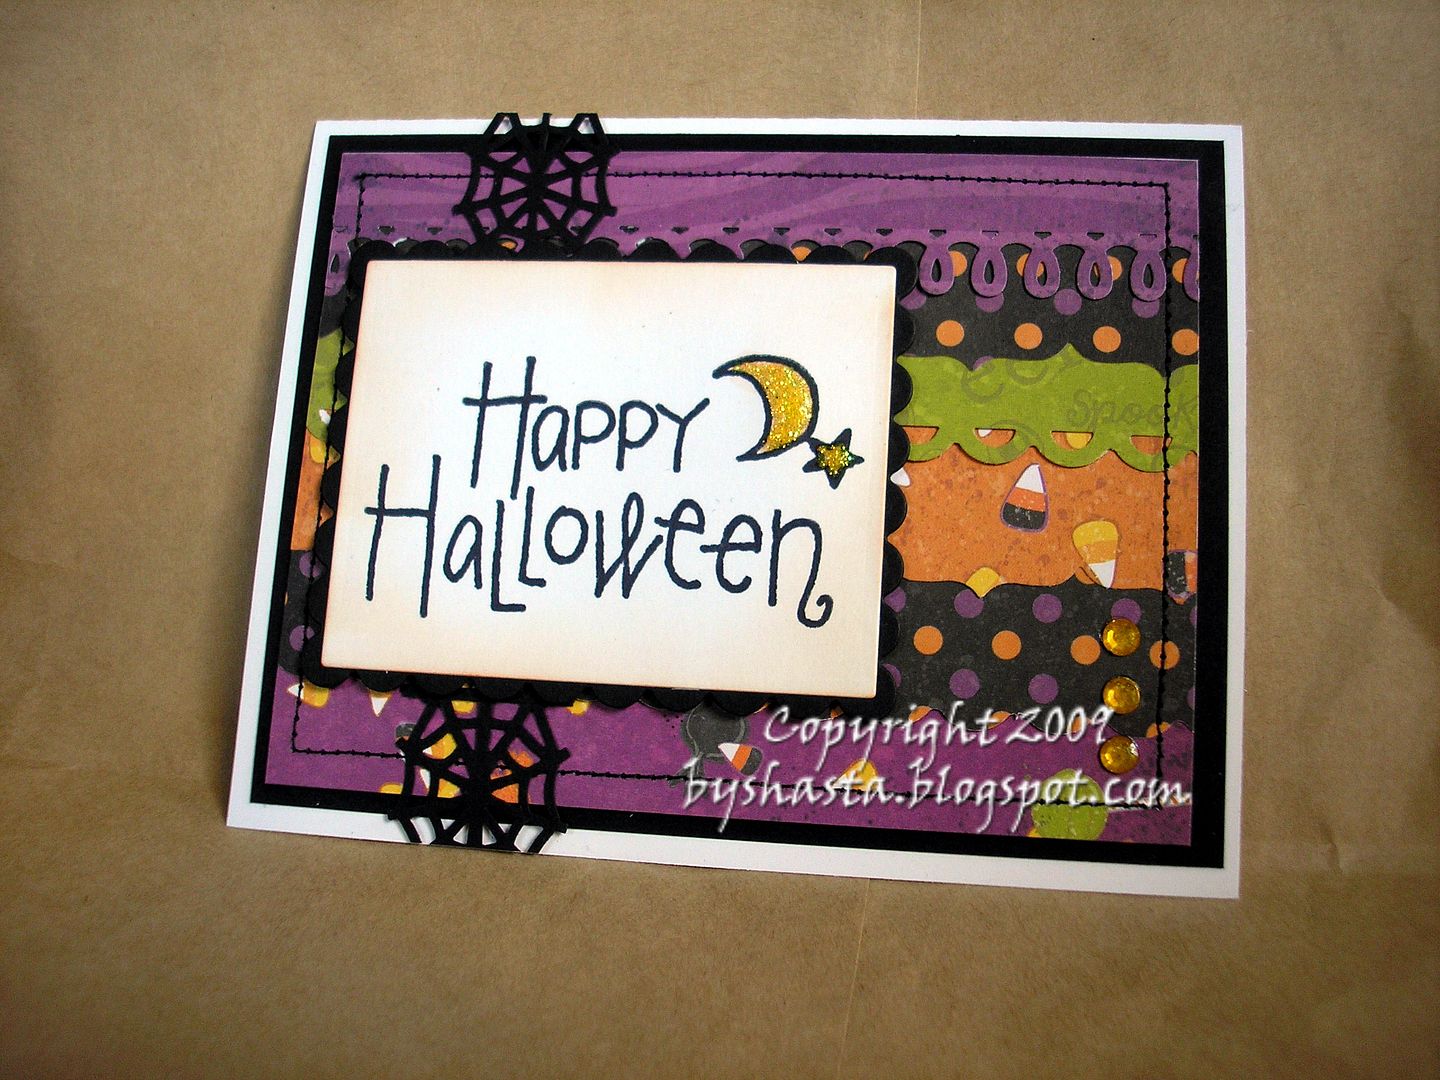
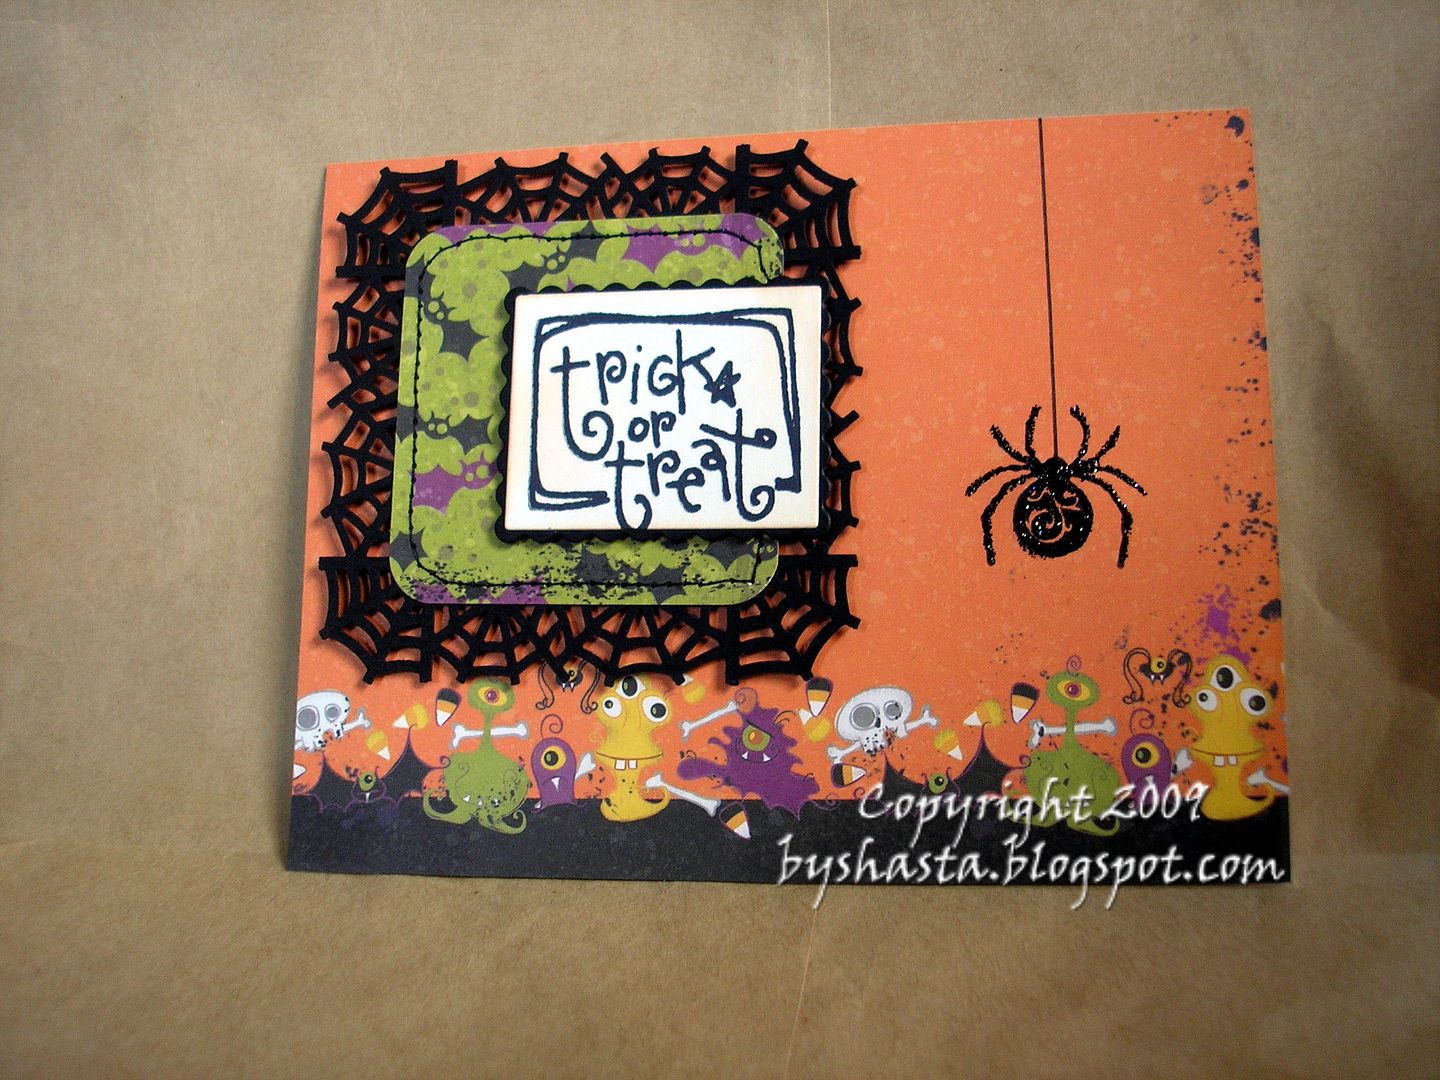
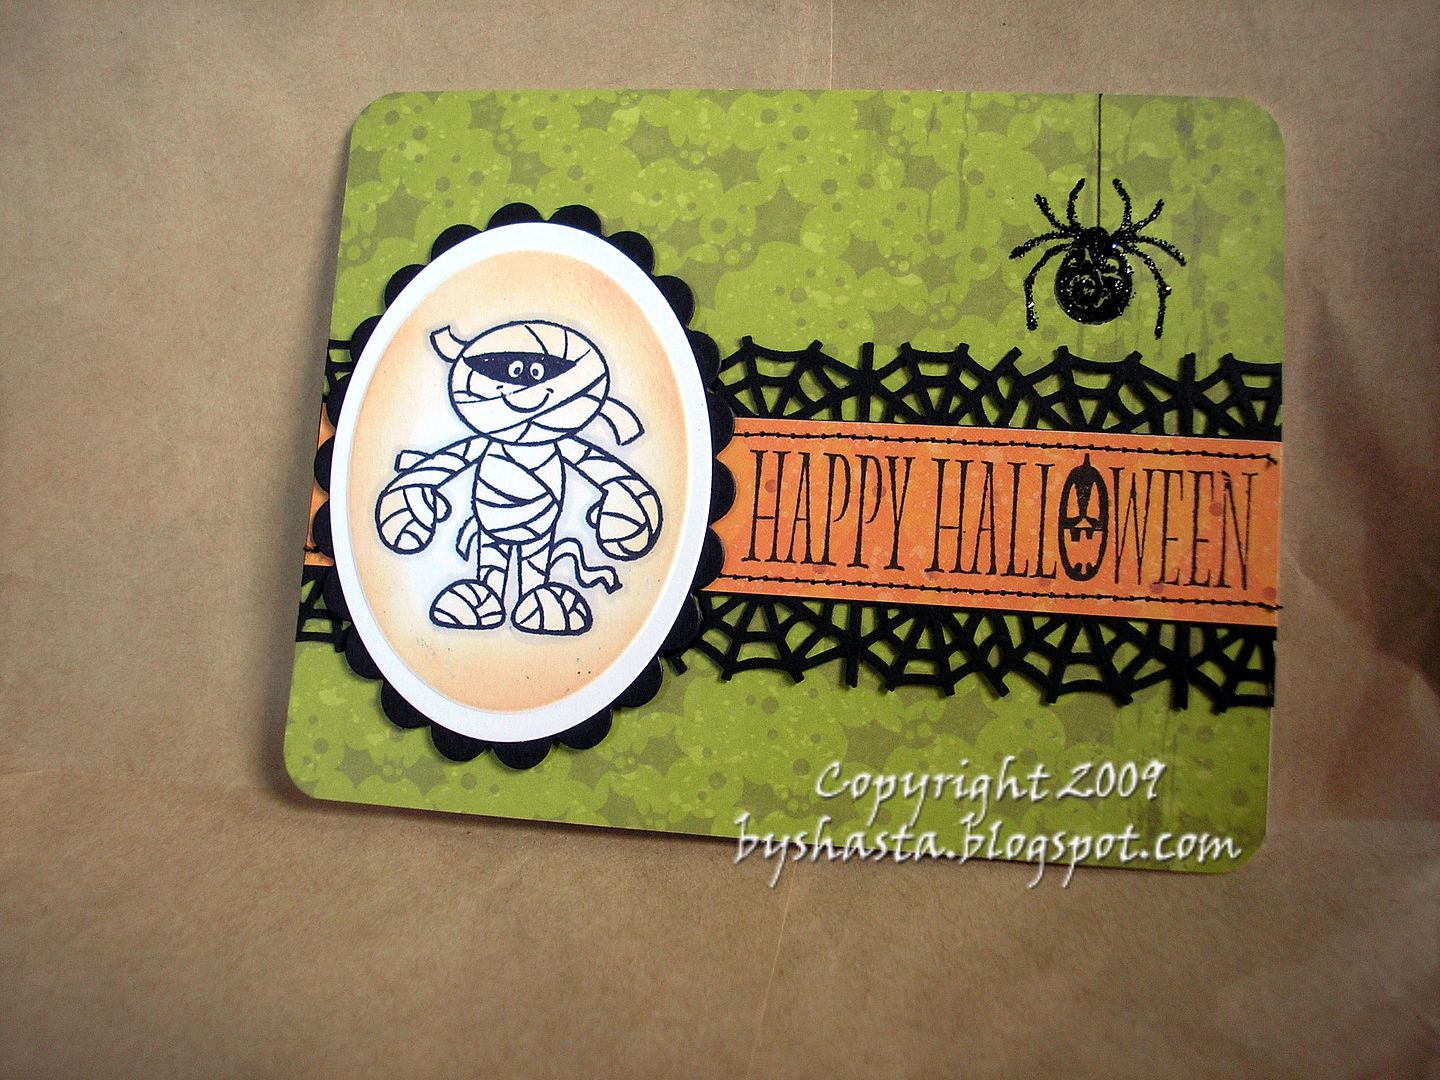
These were fun!! I got some new goodies from Michael's yesterday, and shut myself away for a few hours this morning, ahhhh....

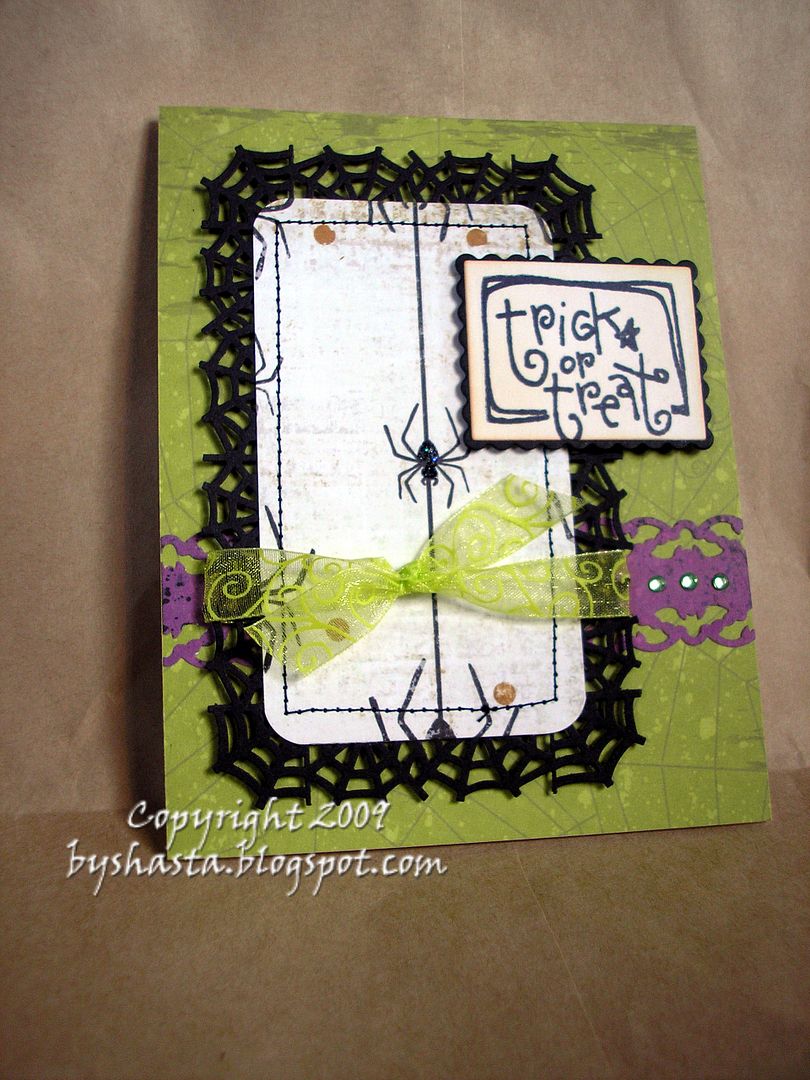
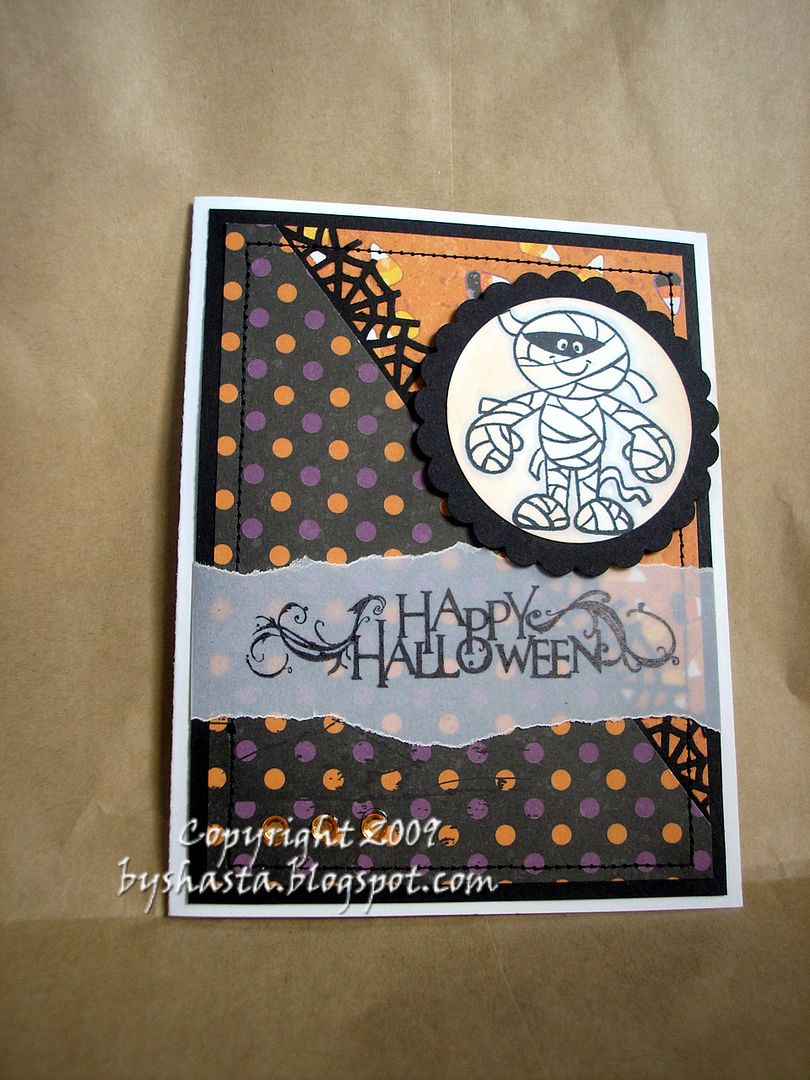
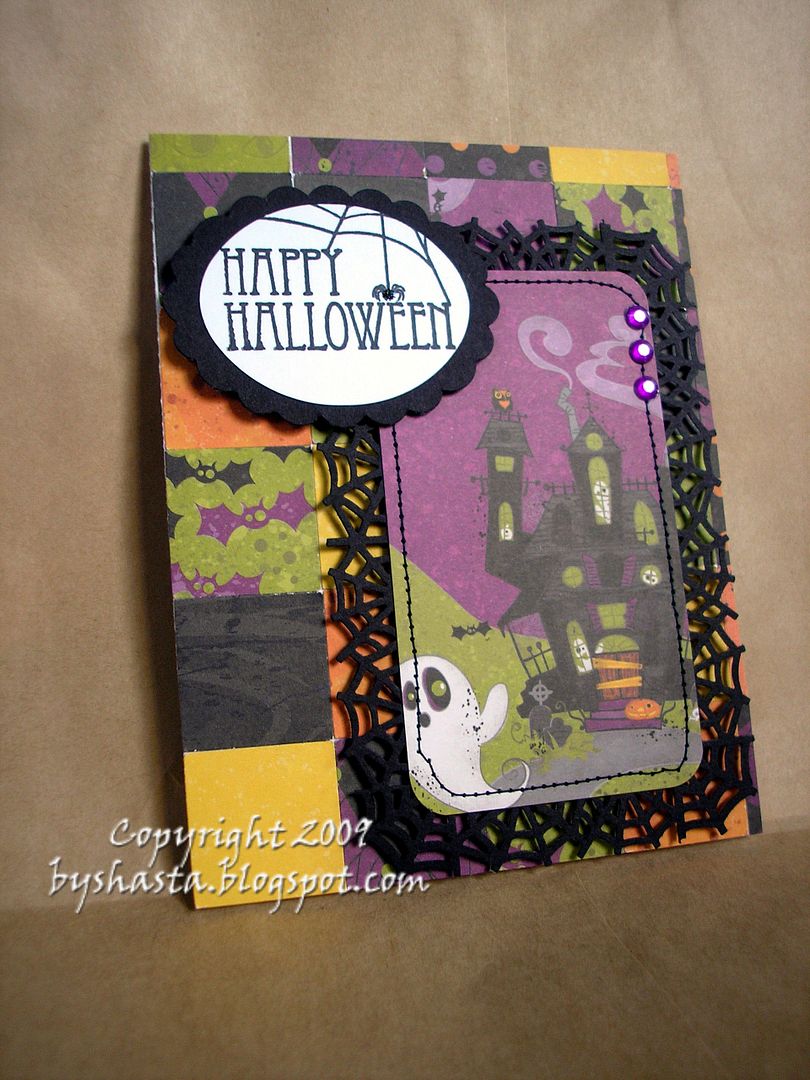
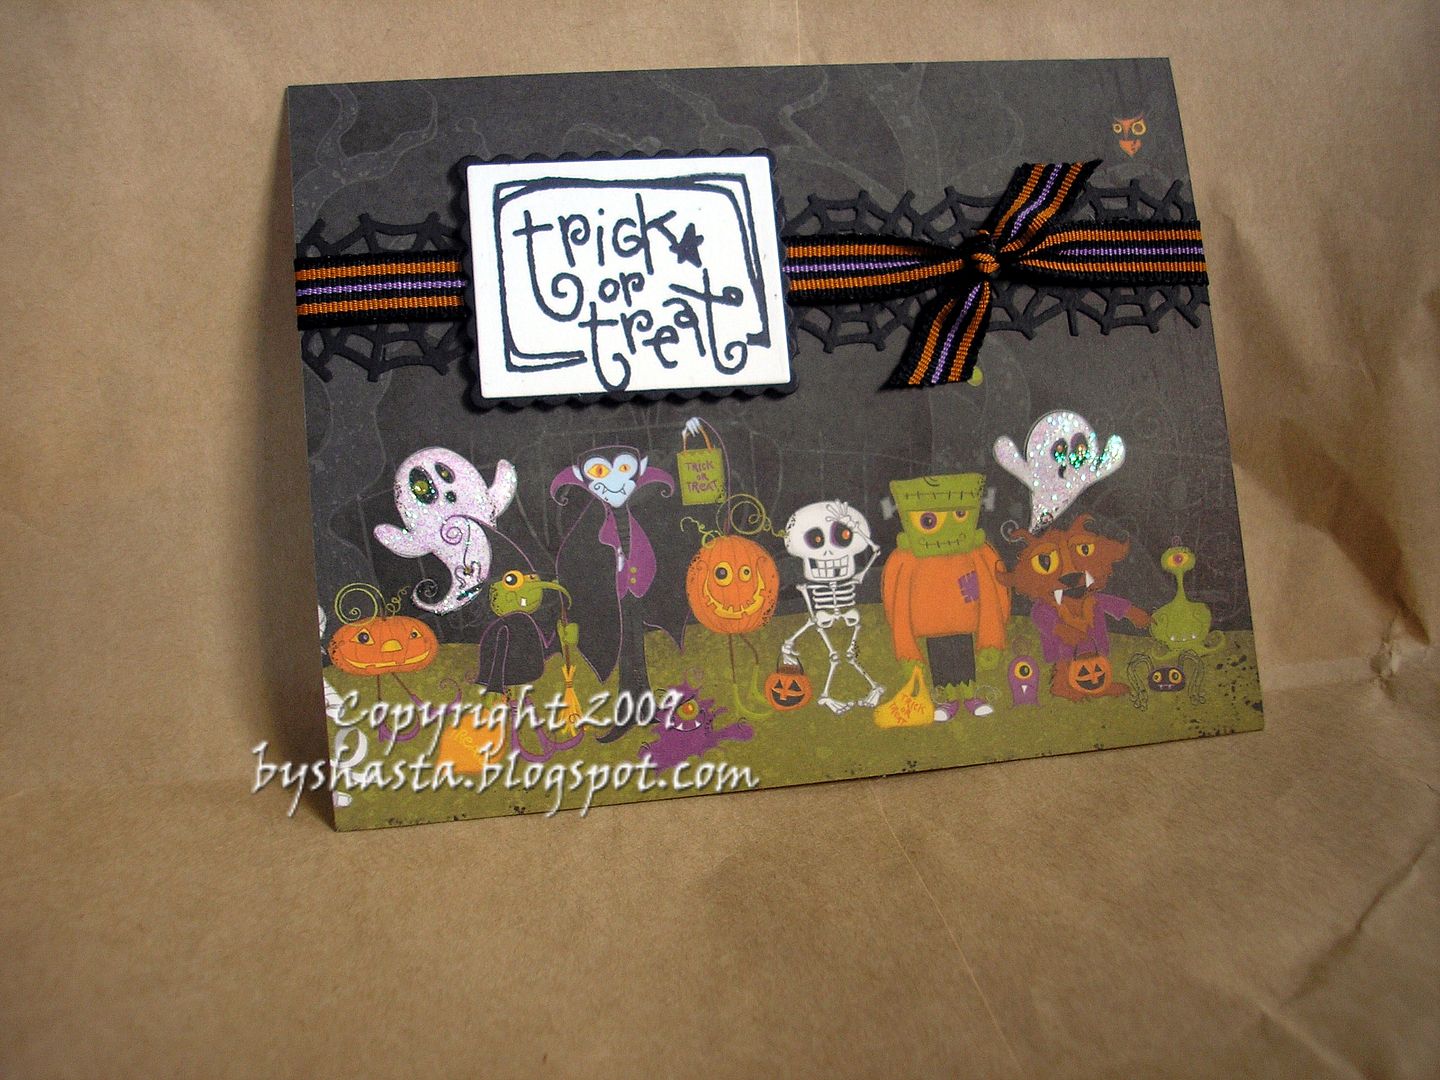
So all these papers except for the black cardstock were from a 4x6 stack from Michael's, called Recollections, sorry I can't find a pic of it anywhere. It says 'distributed by Michael's' on the back, which I have seen on a few other things I have bought recently. I also got the Martha Stewart spider web border and corner punches, though I tried mightily to resist!! All the scallop ovals and rectangles are cut using my Nestabilities and my Cuttlebug, except for one which I used a punch set from Marvy. The bling is misc from the Target $1 spot. Oh, and I also went a little crazy with Stickles :) All the stamping was done with Jet Black Staz-On ink.

This stamp set is by Autumn Leaves and I have had it for several years.


I showed such restraint at my LSS and ony bought FOUR pieces of paper, can you believe it?? I got this spider one, another Halloween one and two Christmas ones which I will share later... Thhis also has a bat border punch I got on clearance at M's!


This mummy is a M's wooden $1 stamp and the sentiment is from here...


Another $1 wooden stamp


That Autumn Leaves set again...


More $1 wooden stamps...


Autumn Leaves again..


The spider is from that Inkadinkado set..


The sentiment is another $1 wooden stamp...


Thanks for looking!

Sunday, June 7, 2009

I got crafty today, woohooo!

Well, in between breakfast, landry, lunch, making dinner, getting the kids washed up and in their jammies, I had a few minutes... Actually, my hubs went to his grandma's house today for a few hours with the kids so I did get a nice stretch of quiet time.

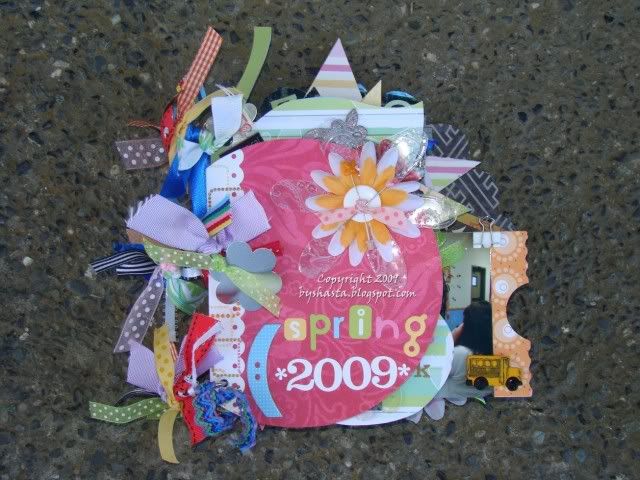
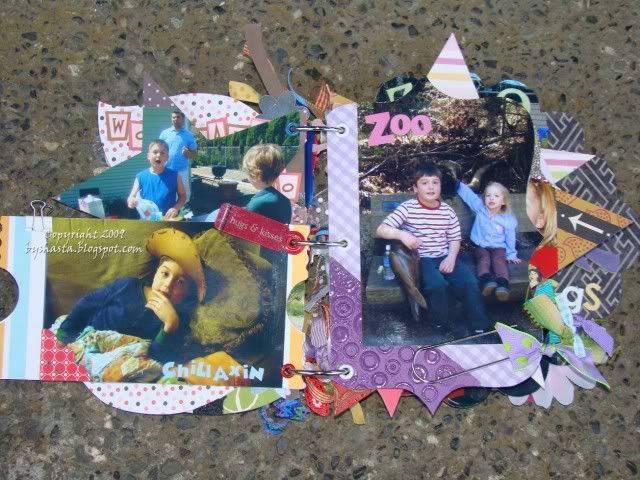
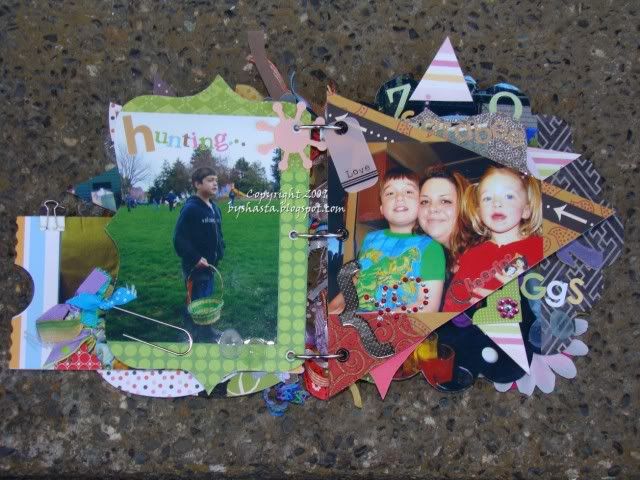
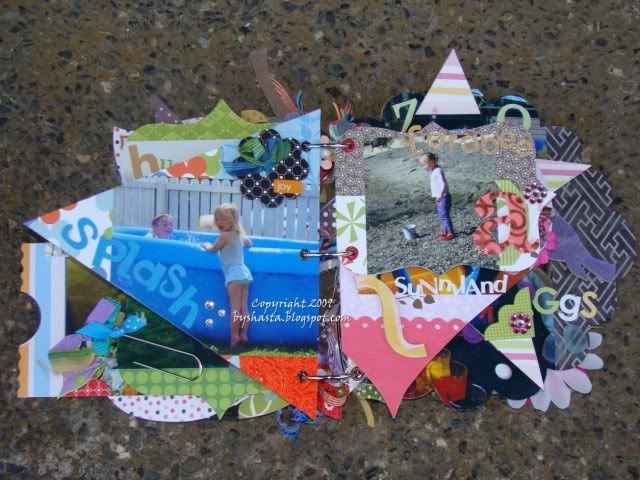
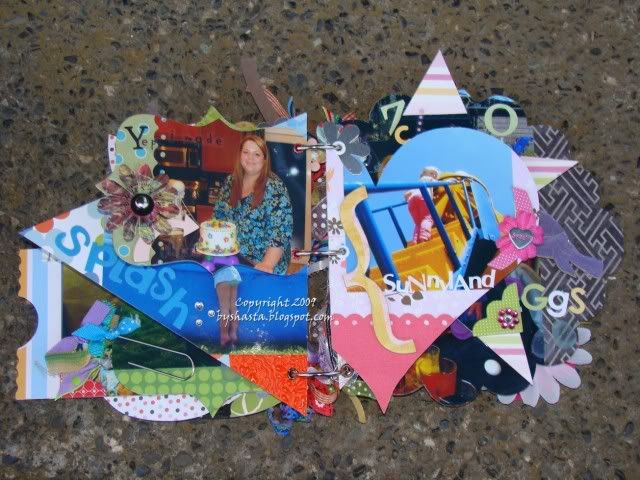
So here's what I made... I absolutely LOVE mixed-up albums, love them! You know, the ones with all different size and shaped pages??

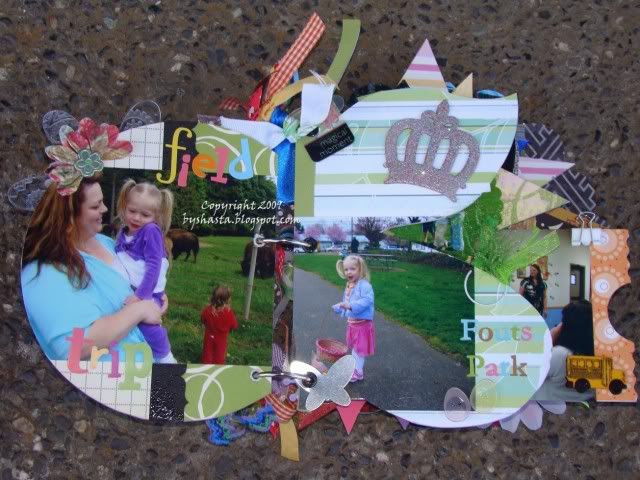
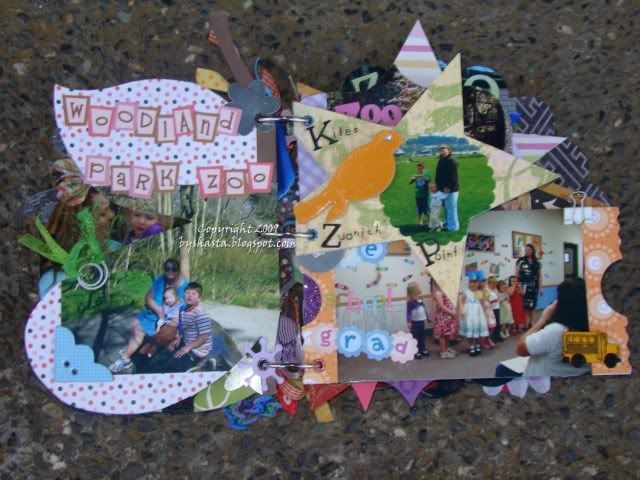
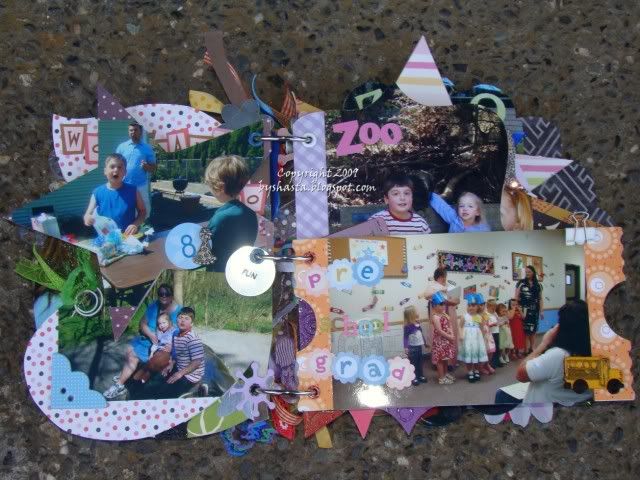
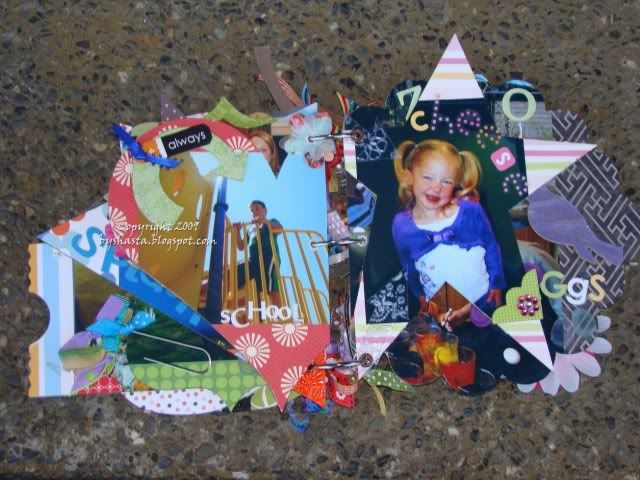
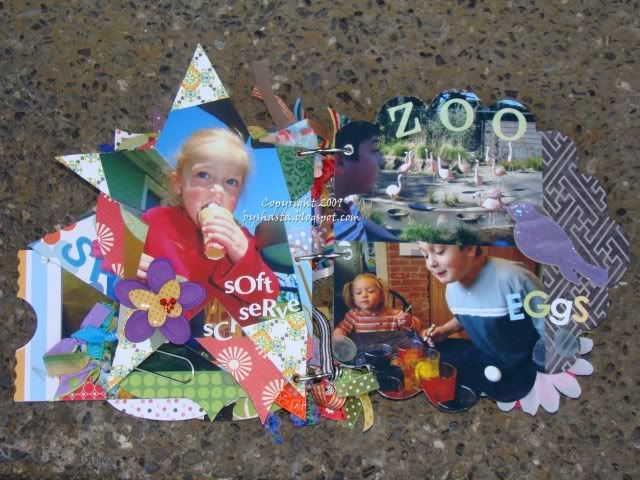
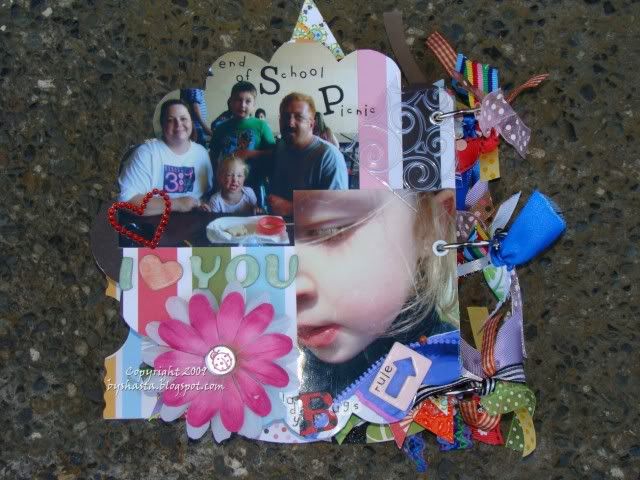
I used my Cricut to cut out all of the pages (from cereal or misc. boxes), and everything is from scraps. I also love the look of random-ness but just can't do it on a LO, but for some reason it's ok for me in a mini book! I have a 'misc' bucket on my desk, where leftovers and other junk goes. Ribbon scraps, leftover bits and pieces, buttons, things that don't have a home, etc., and I decided that was going to be my inspiration, and use it all up! A few other things I did were to use my Cuttlebug and dry emboss the background cardstock scraps, and then heat emboss with watermark ink and clear UTEE. I was inspired by THIS VIDEO the other day. I also dry embossed a few Heidi Swapp ghost shapes, that was fun :) Most of the alpha stickers were from DCWV stacks from J's.

These are pretty easy to make, the only tricky part is binding it. I used 3 rings, and the pages go through the top two, the bottom two, or all three rings. When you cut each page, and when deciding what order to put them in, and if they go up high or down low, pay attention to where they overlap in the 'spine' area. I had to do some minor adjustments to it to get them to fit into the 3 rings properly, but no biggie. I punched the holes with my Cropodile and then set a large eyelet in each hole, some with an embellie sandwiched in there!


This cover circle was cut with the George cart, about 6 inches or so.

Photobucket

This butterfly was cut with the Storybook cart, about 8 inches. The crown is from Maya road, and was plain chipboard. I inked it with pink ink and then heat embossed with sparkly powder.

Photobucket

The star is from Plantin Schoolbook, about 5 inches, the bird is from Storybook, cut about 2.5 inches. I sovered it with Tim Holtz crakle paints and then Diamond glaze.

Photobucket


This shape is a ticket stubb from the Mickey Font cart, about 7 inches.

Photobucket


This flourish shape is from SB, about 7 inches.

Photobucket

Trianlge from George, 6 inches or so, says 'Cheesin' :)

Photobucket


Same flourish from SB, but about 5 inches "Larabee"

Photobucket


Heart from Plantin Schoolbook, about 7 inches. On the left, Aaron's birthday cake, it says, "Yep, I made this!"

Photobucket

Star from Plantin Schoolbook, 8 inches.

Photobucket

Scallop circle from Mini Monograms cart, 8 inches.

Photobucket

Says "Ladybugs rule" in the corner :)

Photobucket