I found a tutorial here, and bought of the rayon seam binding here, and got started!
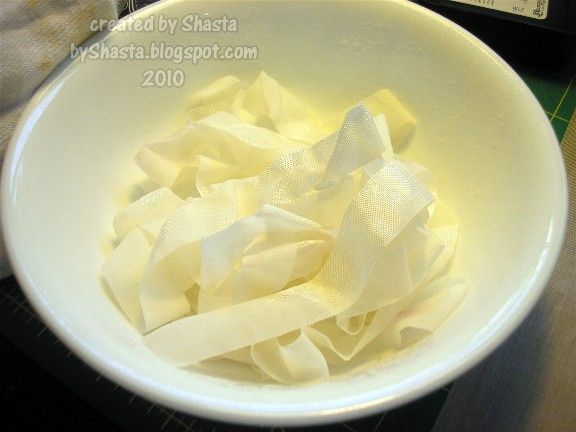
This particular tutorial uses Glimmer Mists, and since I don't have any yet, I used my good ol' standby instead: Tim Holtz Distress Inks and water. First I sprayed the ribbon (I did these in 4 yard increments) with water in a bowl and mixed it around until it was wet but not saturated.
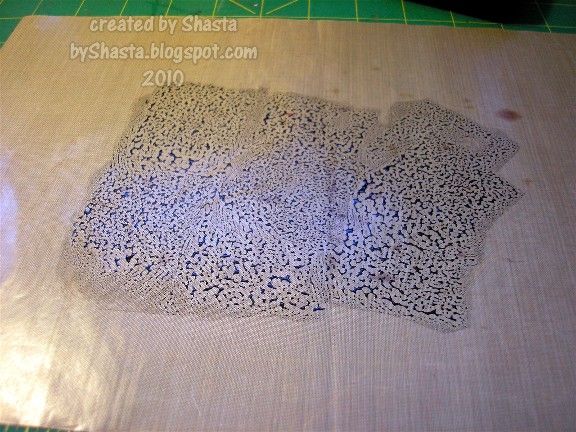
Then I spread some of the ink on my craft sheet and sprayed with water.
Then I added the seam binding! I had a plastic glove on so I wouldn't make too big of a mess ;) Surprisingly after coloring almost 100 yards of this stuff in about an hour, I was still pretty clean!
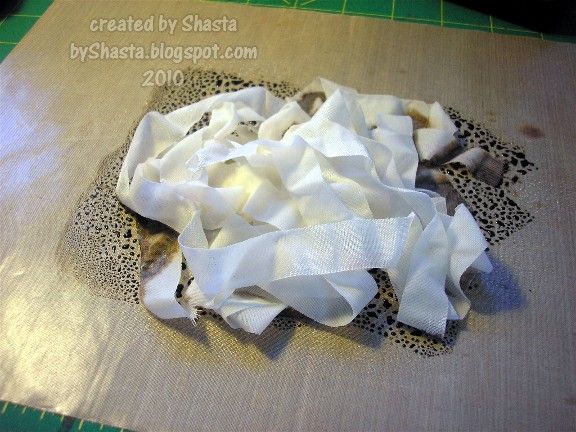
Then just toss it around a bit!
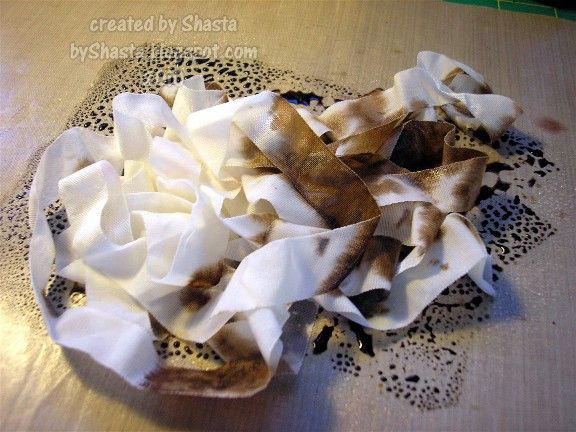
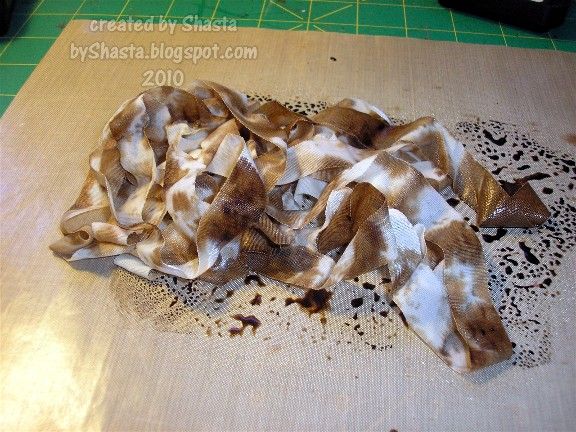
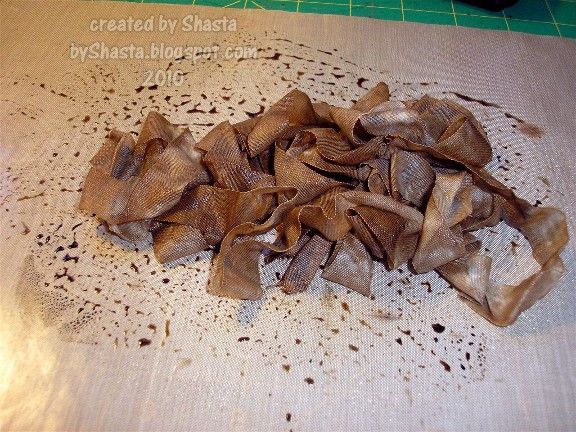
When it is colored to your satisfaction, mound it up into a small pile and swipe it around to pick up the last of the ink on the mat, and then set it aside to dry. I would put it on something non-porous, because anything porous or paper will absorb the water and ink from the ribbon.
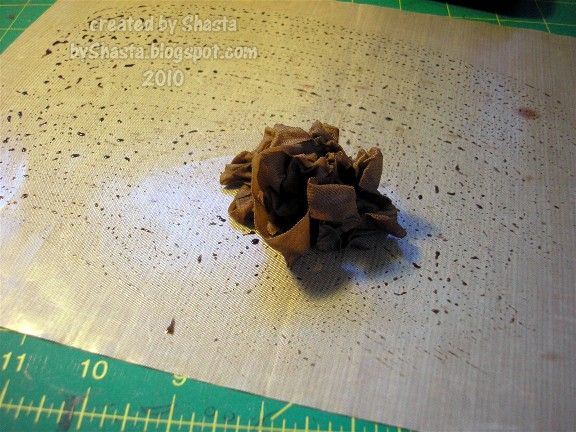
Here's my nice little collection, growing steadily ;)
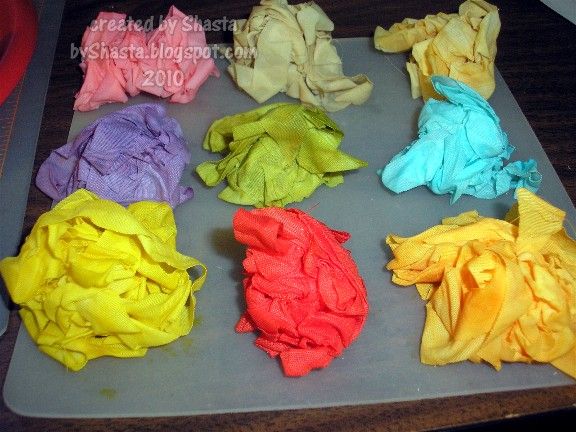
Here is the rest of what I made, and the colors I used. The roll of seam binding that I bought was 100 yards, and each color I made was 4 yards. I made 23 colors, so that was 92 yards, give or take, not bad for an hour's work, huh?
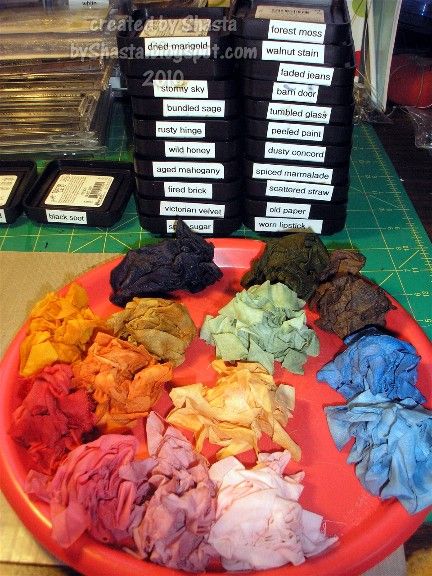
I let it dry overnight, and in the morning it was just about dry. I fluffed each pile a bit and let it dry for a few more hours, and then it was good to go. I will post pics soon of a project I made last night using the red pile, stay tuned! ;)


Thank you, I've been looking at sites to learn how to create the crinkle ribbon and this last one (yours) has shown me that I can make this from stuff I already have. I do need the rayon ribbon....but thanks so much!
ReplyDelete