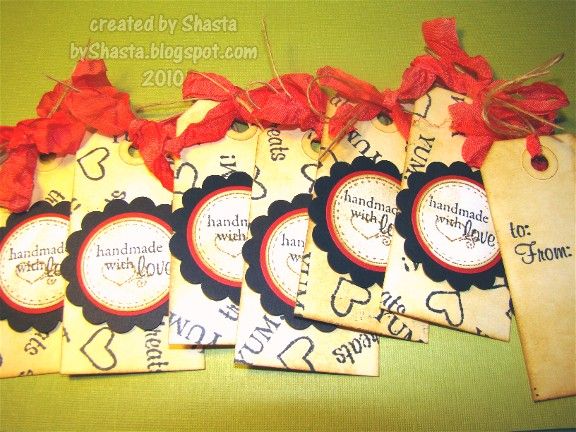
I posted some wrinkle ribbon I made the other day and here is the first project I used it on. I got this stamp set at Joann's recently and wanted to make some treat tags for those homemade goodies people love to give! I went with a more distressed, vintage feel since the ribbon is kind of like that. I grouped a few of the stamps on the block together and stamped all the tags at once to make a random background. The back of the tag has the "to:" and "from:" stamped as well. These are just plain manila shipping tags from the office supply store, and are about 3 or 4 inches long. I rubbed some Brushed Corduroy Distress Ink on the tags and the sentiments in the circles, which are also stamped with that Fiskars set. Then I popped them up with foam dots and tied the ribbon and some twine on the tag, and all done ;)
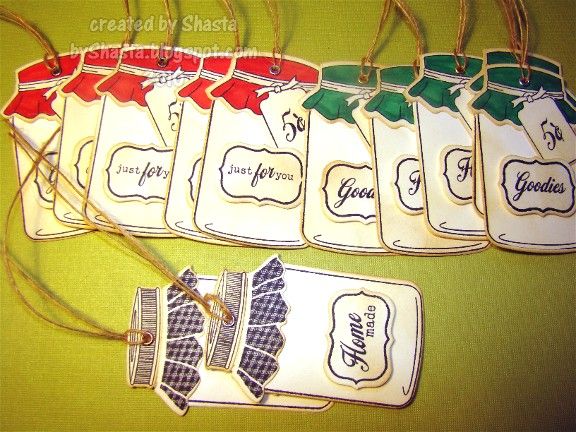
These tags are die cut and stamped using the PTI Friendship Jar stamps, and I love these. I inked them up with some Antique Linen Distress Ink and colored them with Copics. An eyelet and some twine finish them of nicely ;)
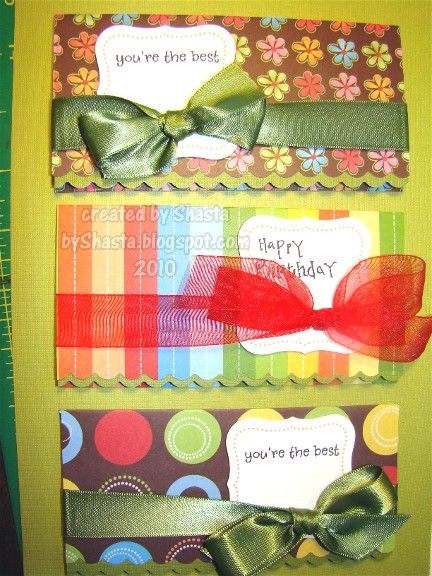
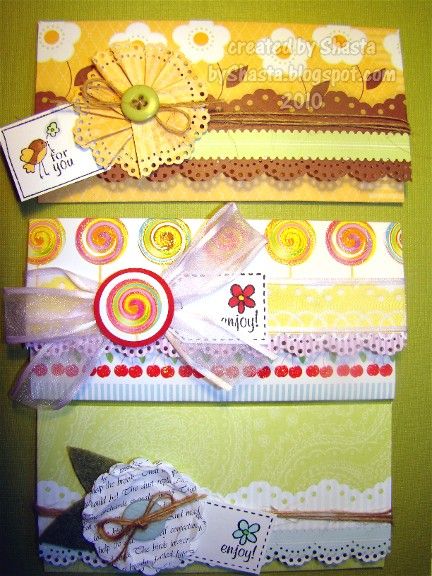
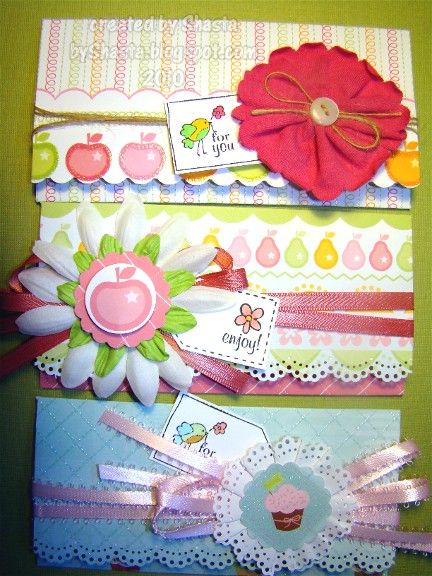
Next up are some money/check holders, and giftcard holders. I saw this one here and decided to make a few like it. I winged it on the dimensions, and just got out a dollar bill and made it to fit. I think it is 9 1/2" by 3", and folded into thirds, and then scored at 3" and 6". The front flap I cut about a 1/4" off and then used the edge punch. The inside of the front flap has a piece of white cardstock matted on a piece of green cardstock. The green piece is big enough that the bottom edge just peeks out from underneath when the card is closed. I adhered the ribbon first on the inside, and then put the matted pieces on top.
The sentiment on the front is cut with a Nestie (Labels 1) and the border is stamped with a PTI set called Vintage Labels that fits perfectly. The papers are from an Imaginisce pad, and the Sweet Stack by DCWV.
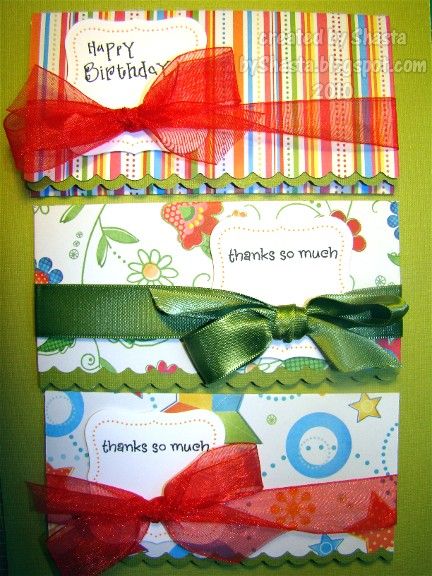
These ones I did a bit different. I wanted to embellish them with the same papers that they were made out of, and I had pile of scraps left to use up.
This first one, I punched a strip of the same paper to make the card with an edger punch, and made a flower out of it! The rest I used whatever embellies I had close at hand to dress them up a bit. Some were made with paper some with other flowers I had already assembled. The tags are stamped with the same Fiskars set as the treat tags above.
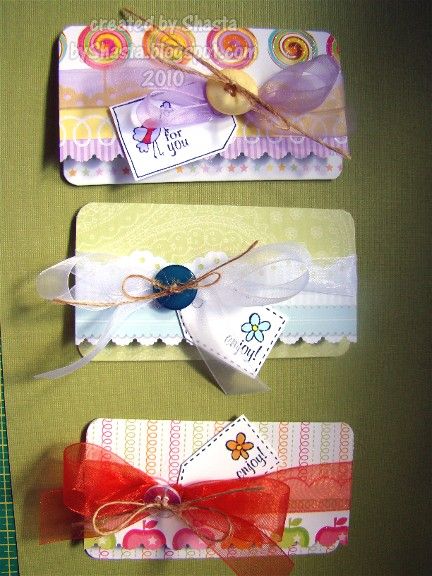
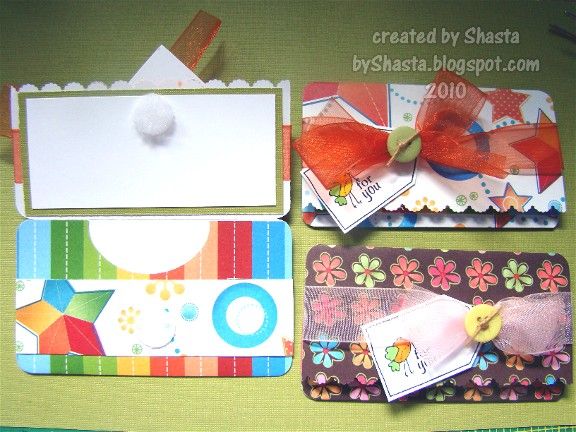
These are smaller holders for a standard plastic gift card. Again, I just winged it and measured a giftcard I had to make them. I believe they are 4 1/2" wide by 3" tall.
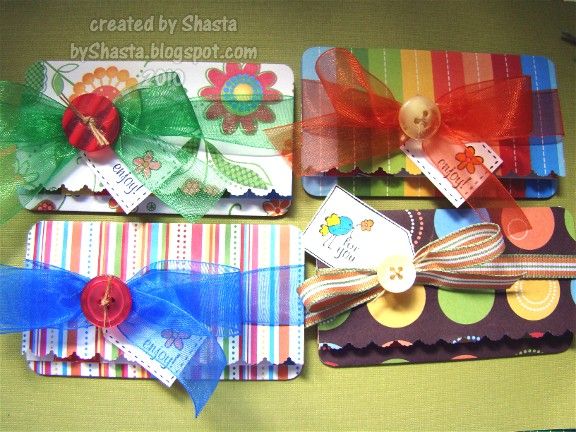
This pic shows the inside, which is the same as the insides of the larger money/check holders. I used a large oval punch to cut a portion of the lower flap out and make it easier to see the card, and also get your fingers in there to get it out.


Awesome projects!
ReplyDeleteI wanted to in paper craft section there.
Come join us and help us make it even more fun:)
http://www.chatterscene.com
I am also having a giveaway see my blog for that:)
great projects!
ReplyDelete