

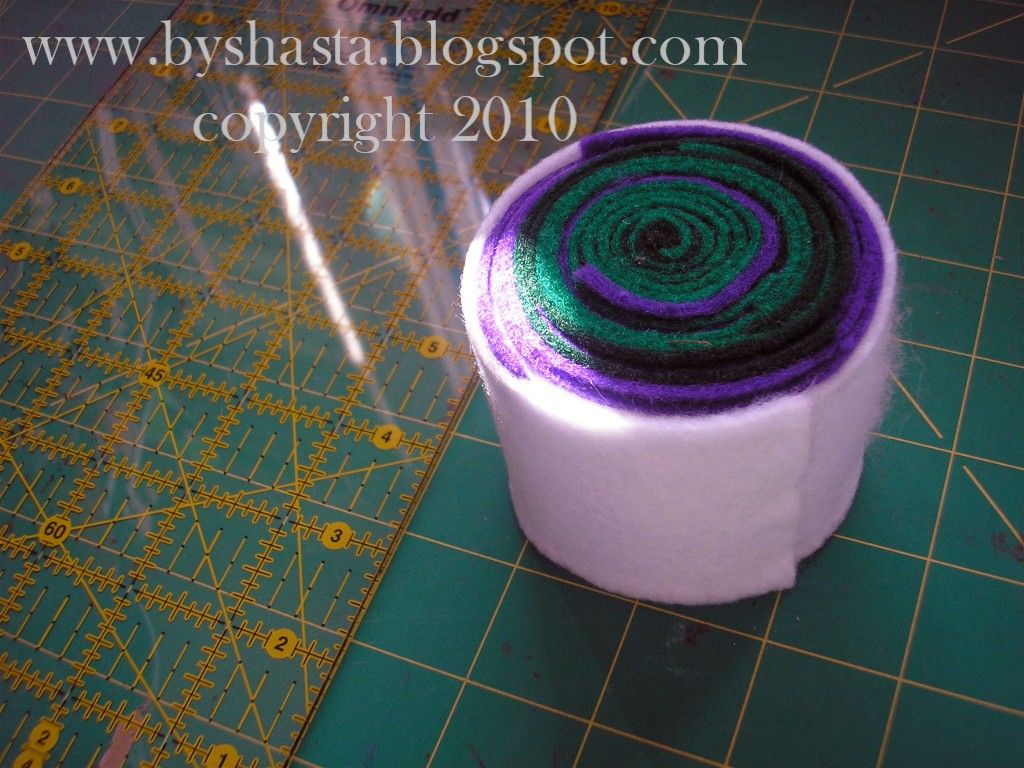
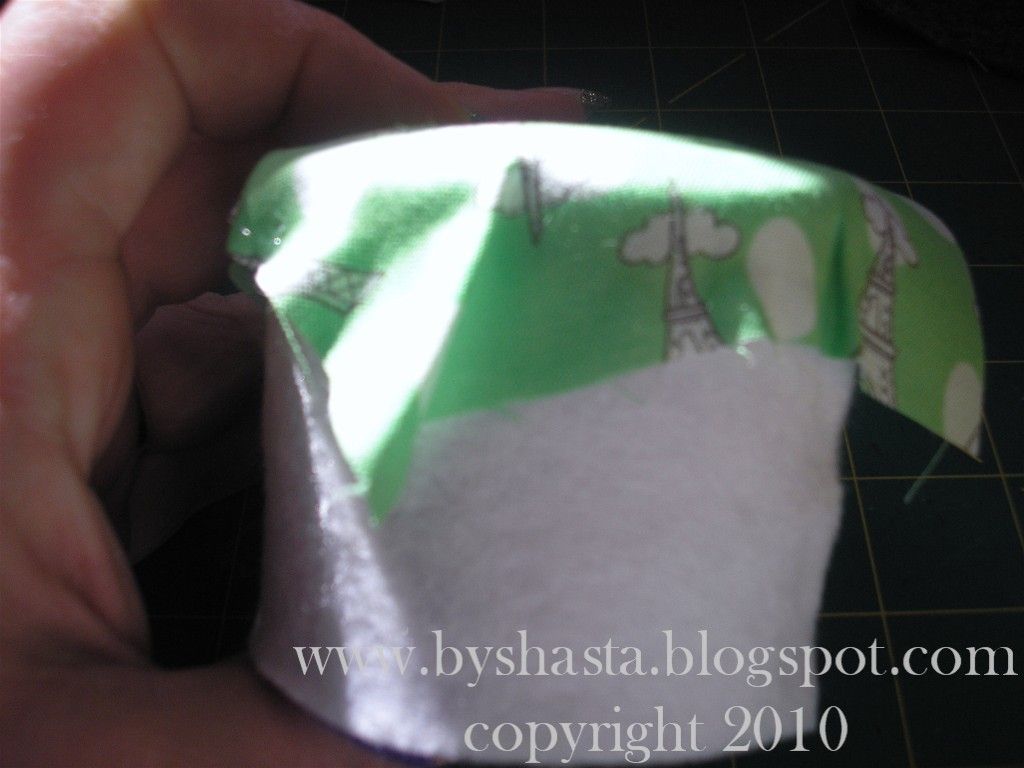
I even had all the supplies to make this, so even better, no shopping to do ;) Here's the body of the cushion, made out of rolled felt strips.
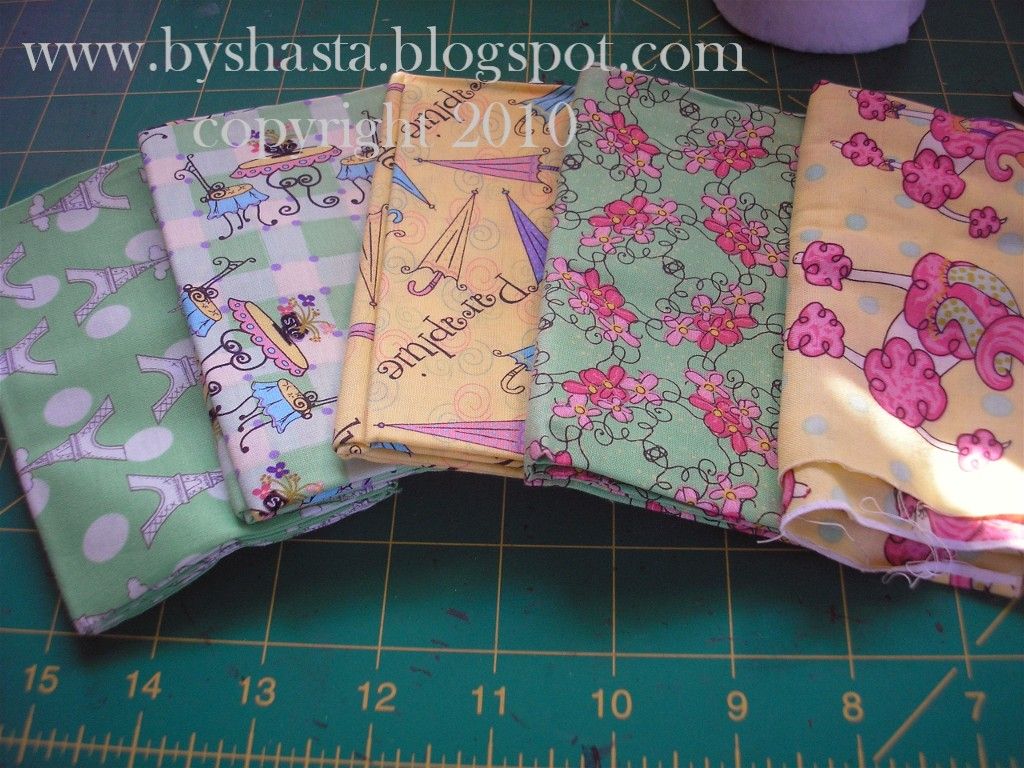
I had this cute stack of fat quarters laying around, and hadn't done anything with it yet.
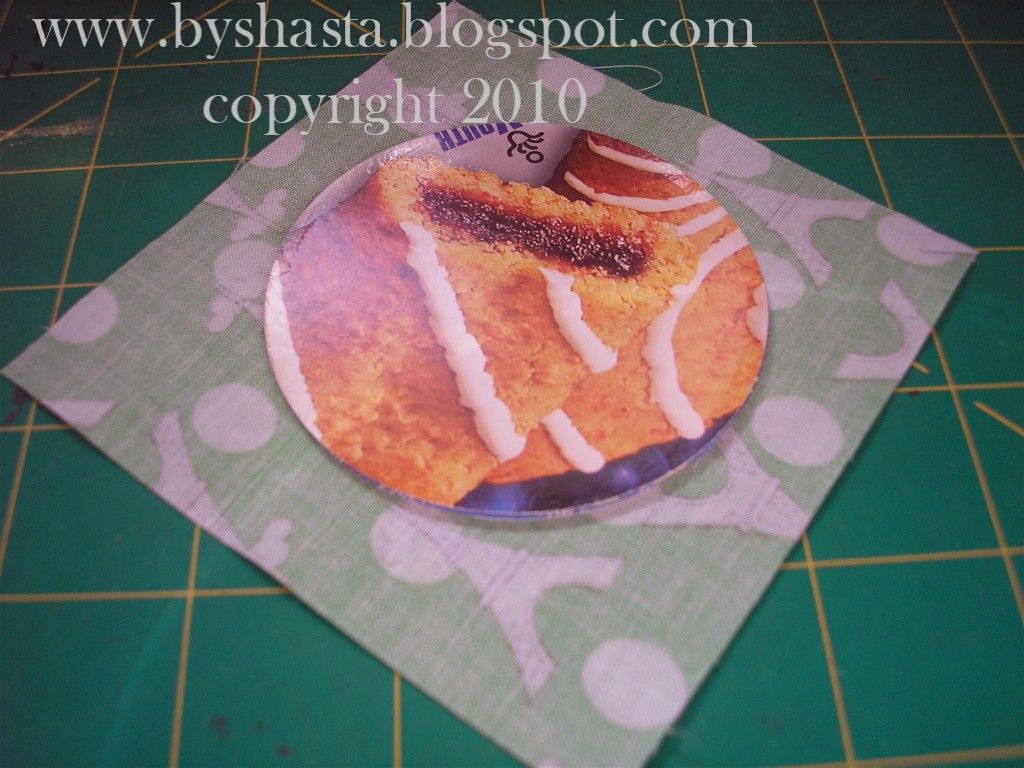
I decided to change it slightly from the video. I wanted the bottom to finished, so I cut some cereal boxes with my Nestabilites circle dies for the bottom.
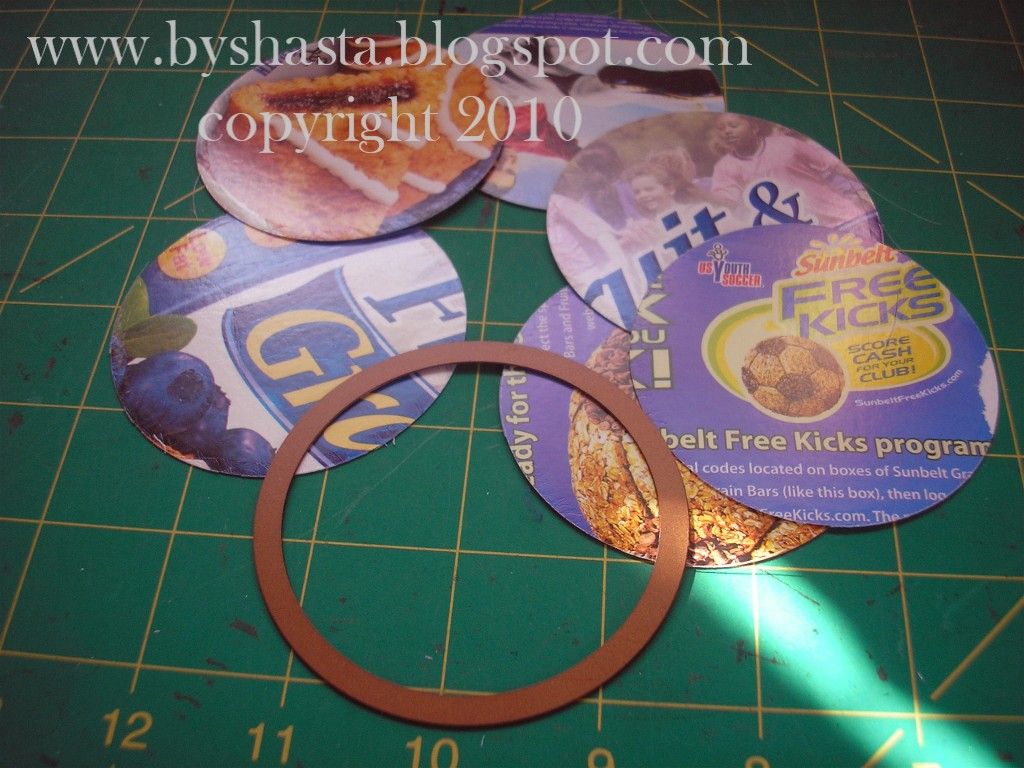
To make it a little sturdier, I glues 3 of them together. One a side note... My husband had comandeered my glue gun and it was somehwere in his gagrage. I looked for it for about 10 minutes, and then gave up and went to Hardware Sales. I was able to find a mini glue gun and 2 packages of glue sticks for less than $10!
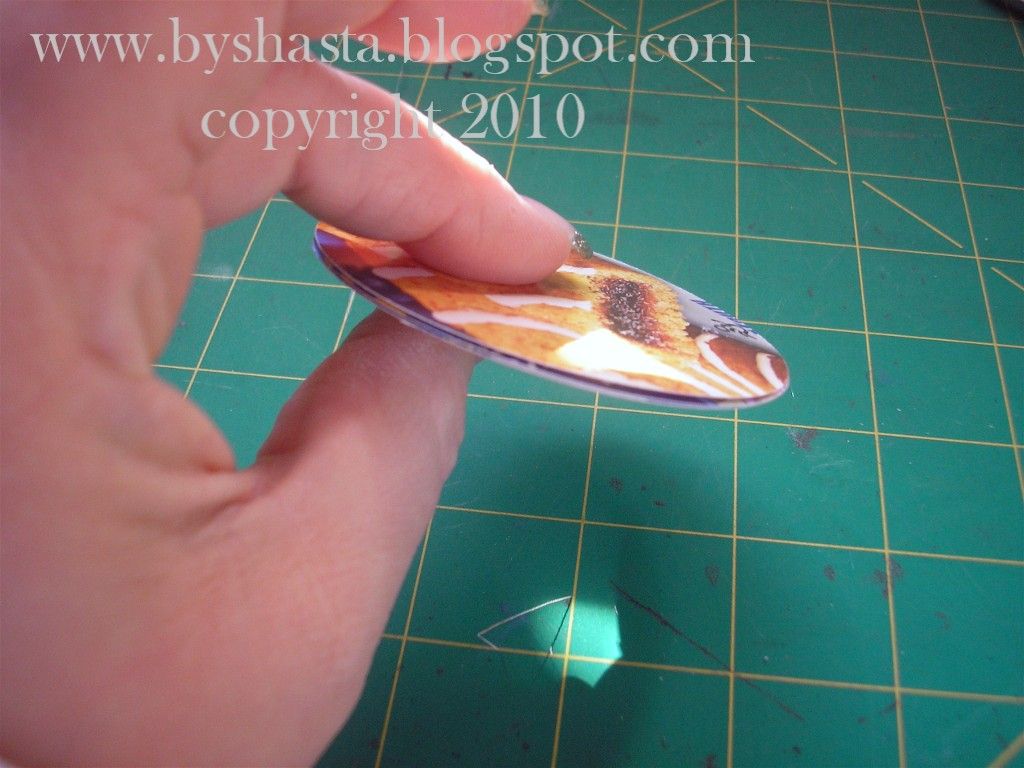
I covered the circles with a square of fabric. Only one side of this was going to show, so it didn't matter what the back looked like.
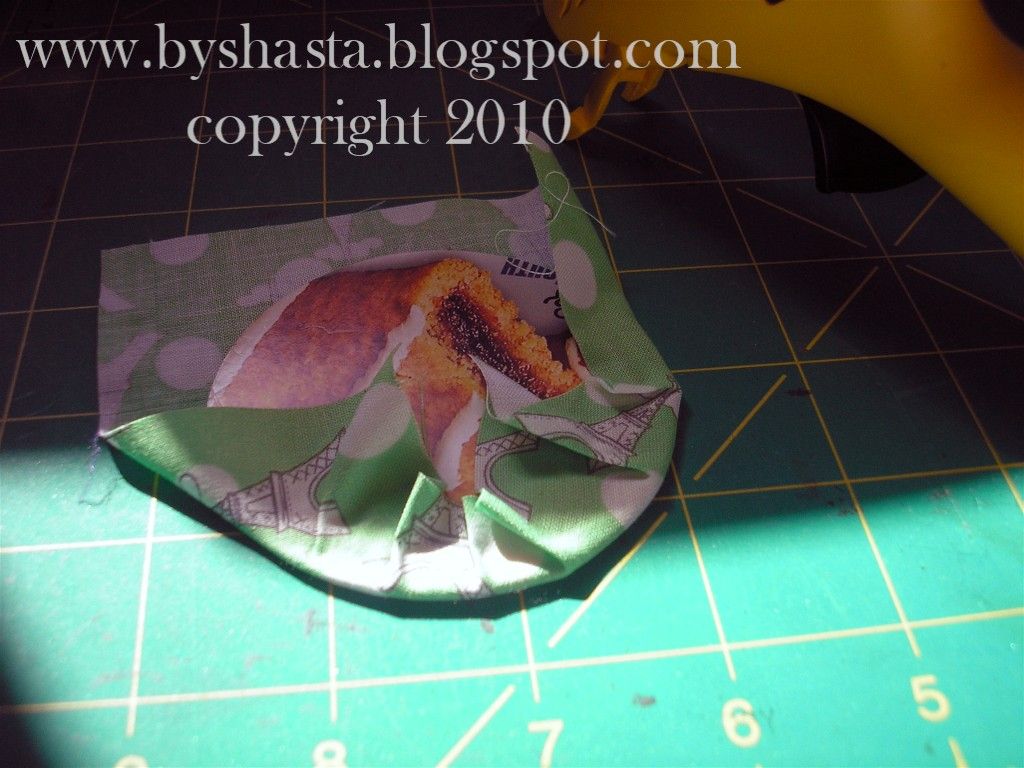
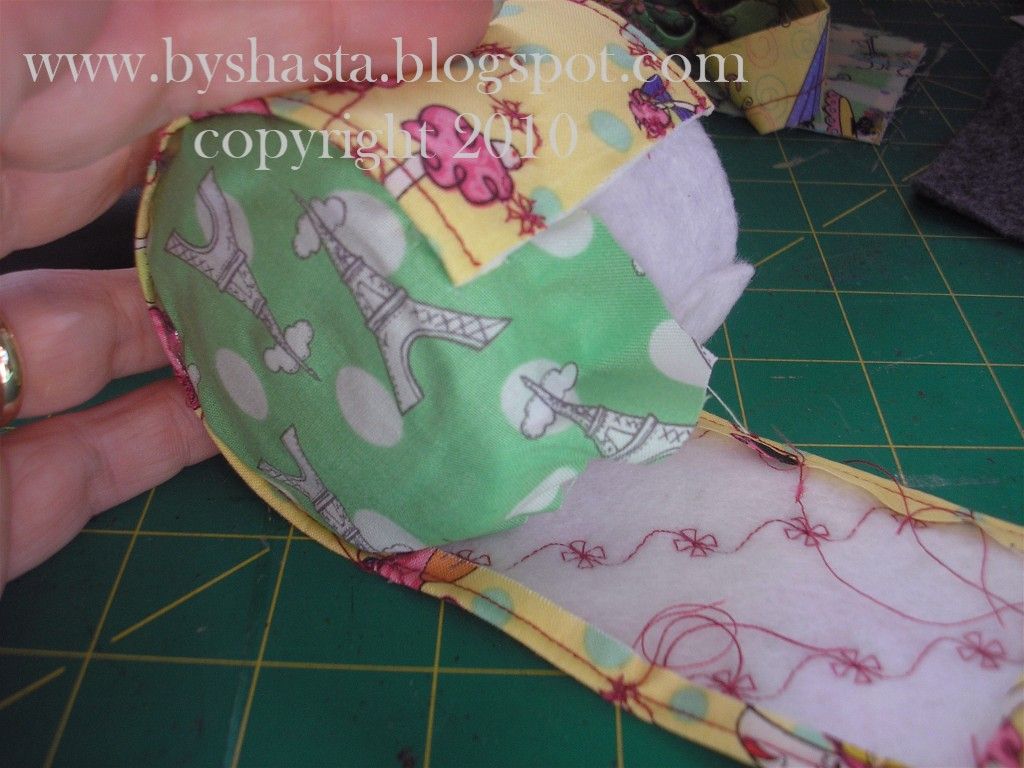
Then I covered the top with another square of fabric, only glueing the edges. This had to be tight, snd the glue dries fast, so I had to work in stages pretty quickly!
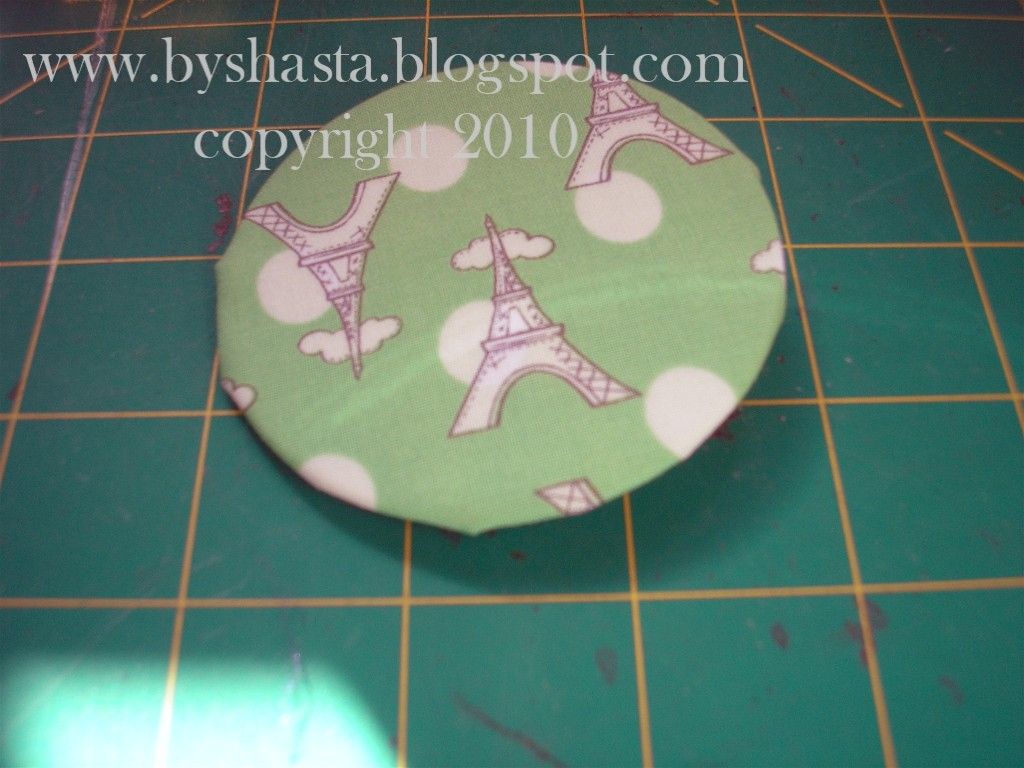
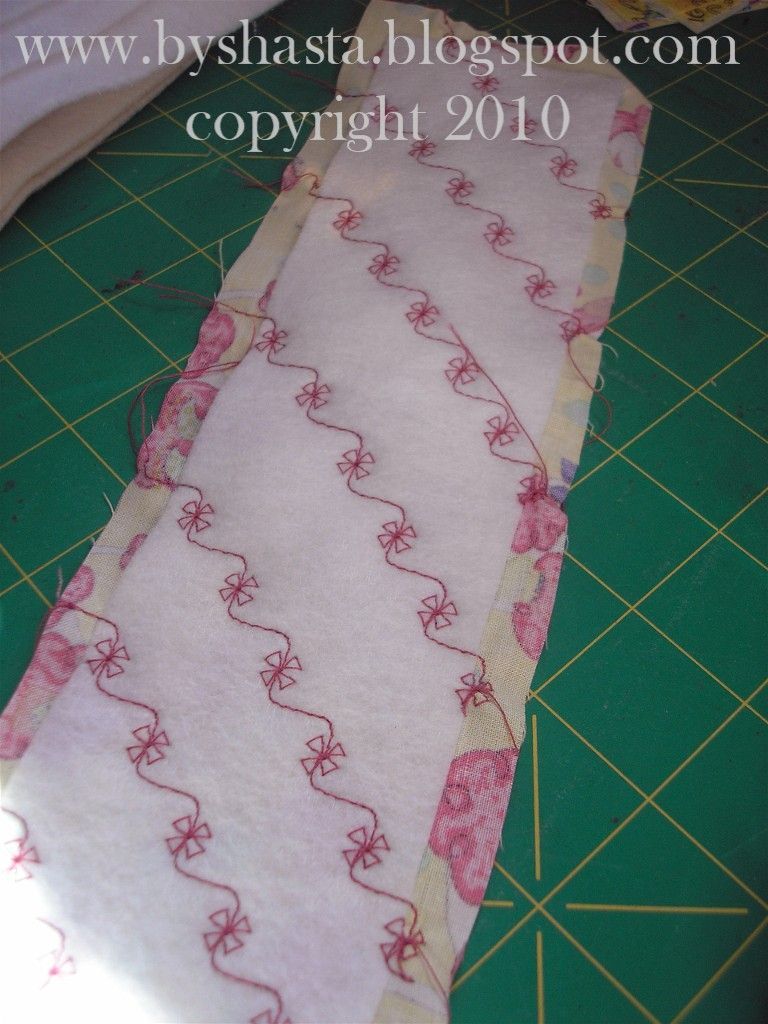
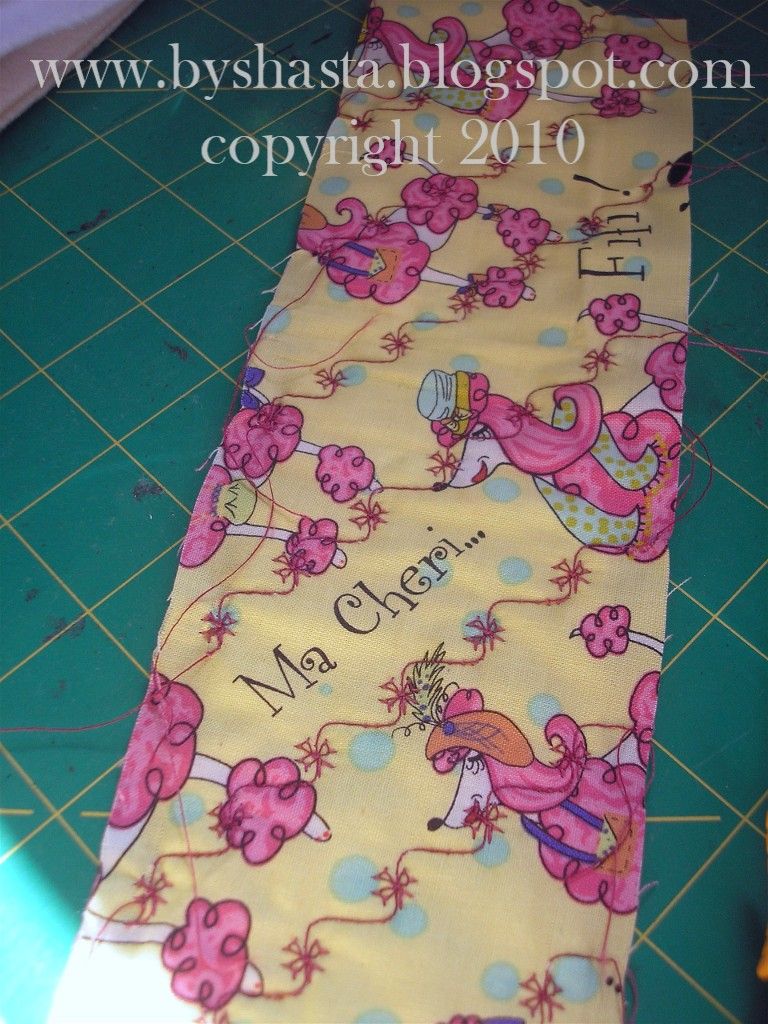
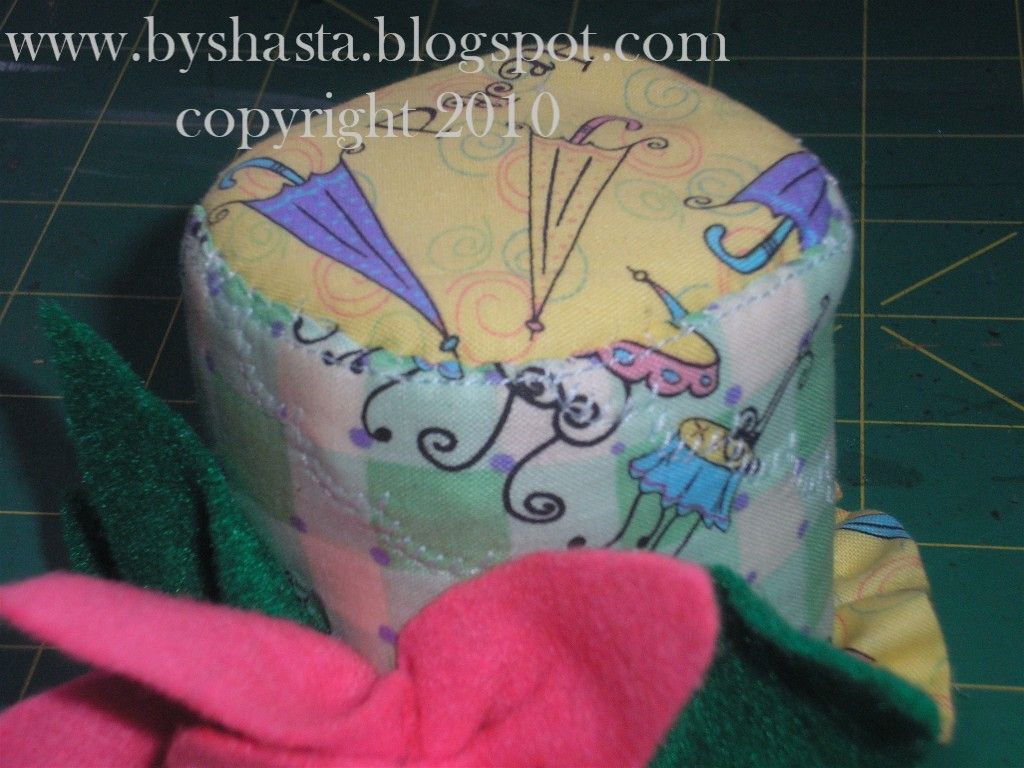
This is the part that wraps around the outside. I embroidered this cute design, ans then top-stitched 3 of the edges (two long sides and one short side).
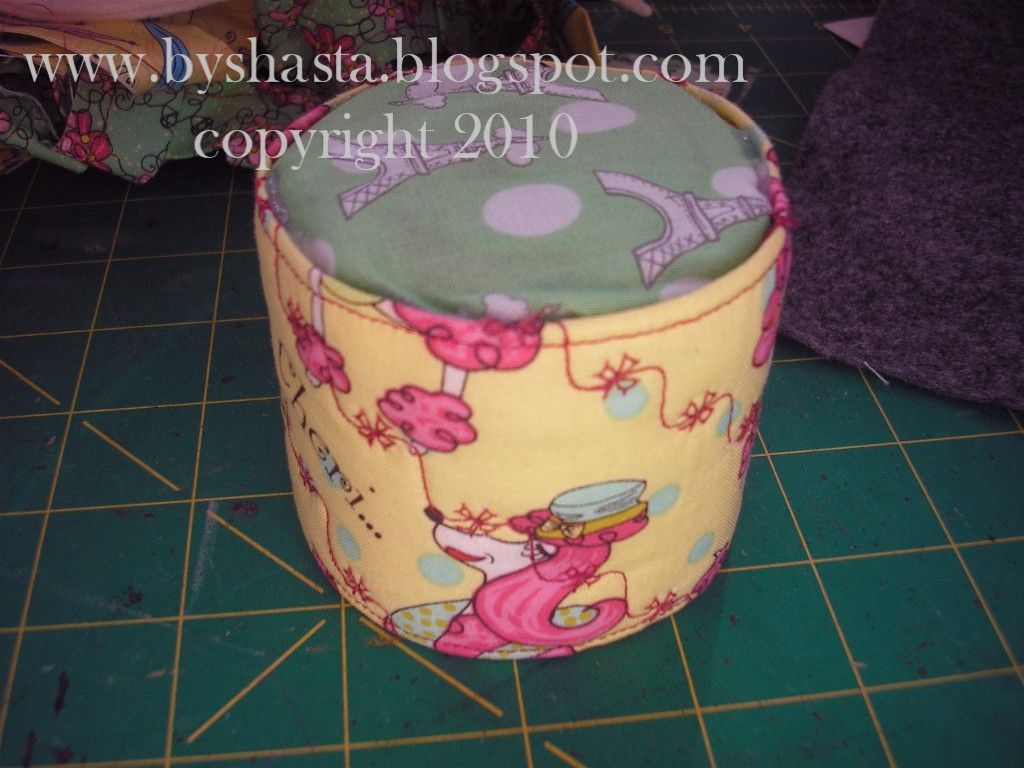
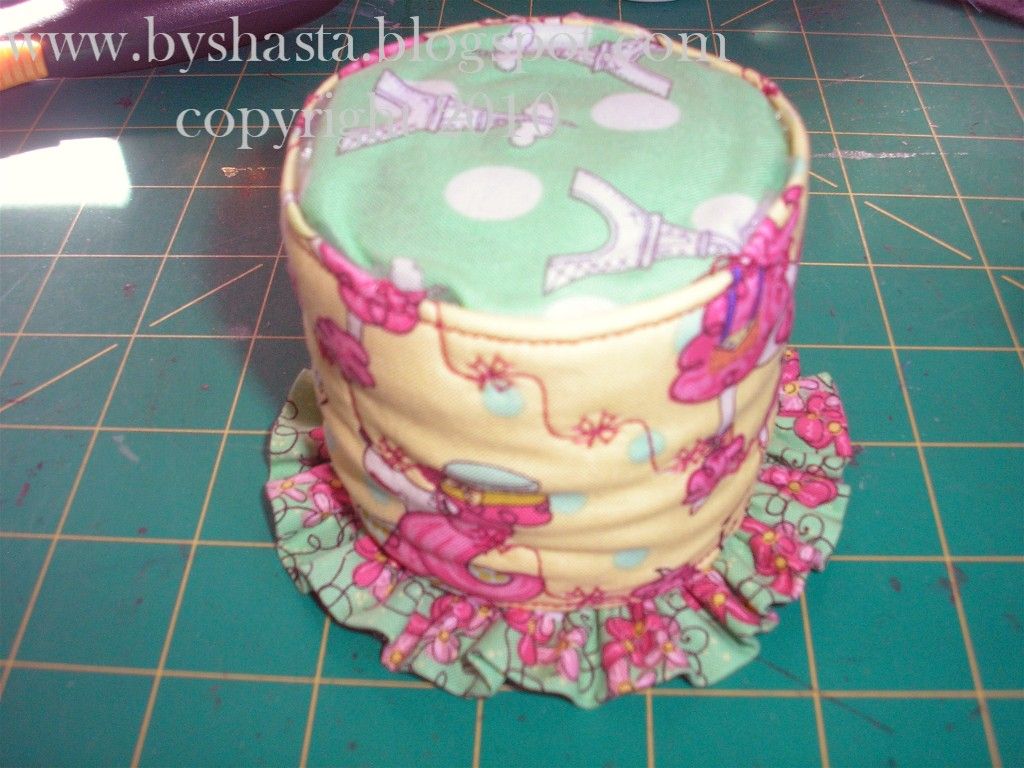
I started with the raw short side, and started wrapping. The hot glue dires fast, so again I had to do small sections at a time.
I got a little overzealous with the hot glue! This one you can see it sticking up from the edges, so this one will be mine to keep ;)
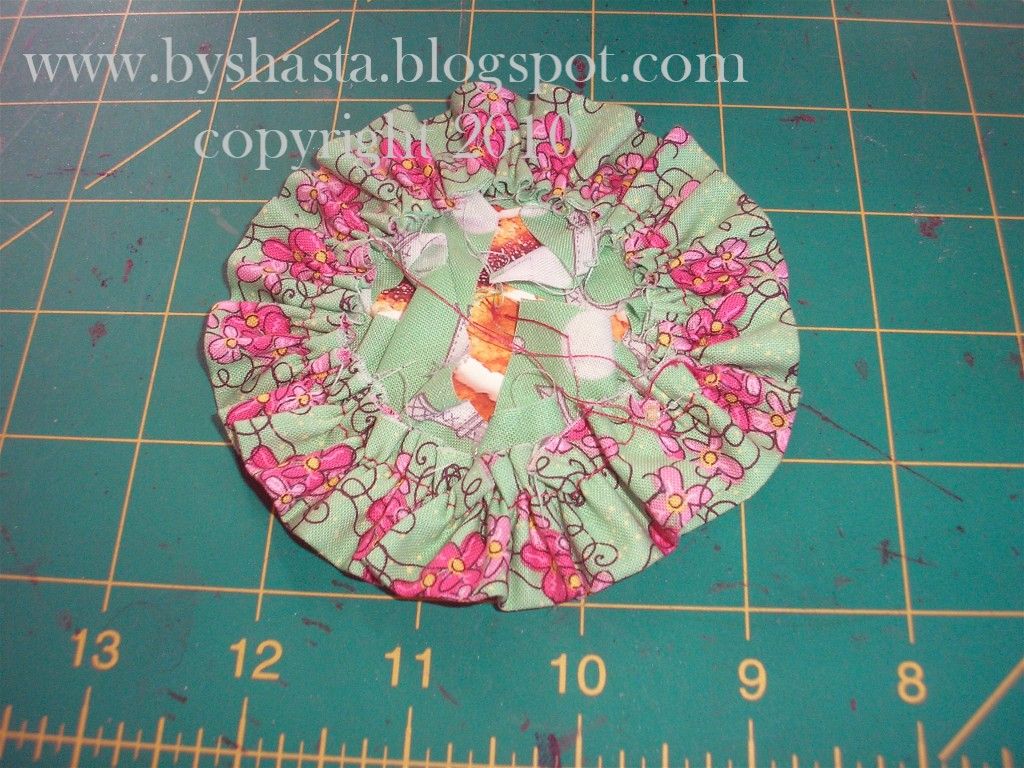
It is a perfectly functional pin cushion now, but I wanted to fancy it up a bit. I sewwd a 2 inch strip of fabric along the raw edges, and pulled the bottom thread to make it into a ruffle. It took some fussing to get the ruffle to be about the same length as the circumfrence of the circle, but it wasn't too hard.

Then I glued the ruffle to the back of the circle. This will be the bottom of my cushion, so it is all neat and finished.

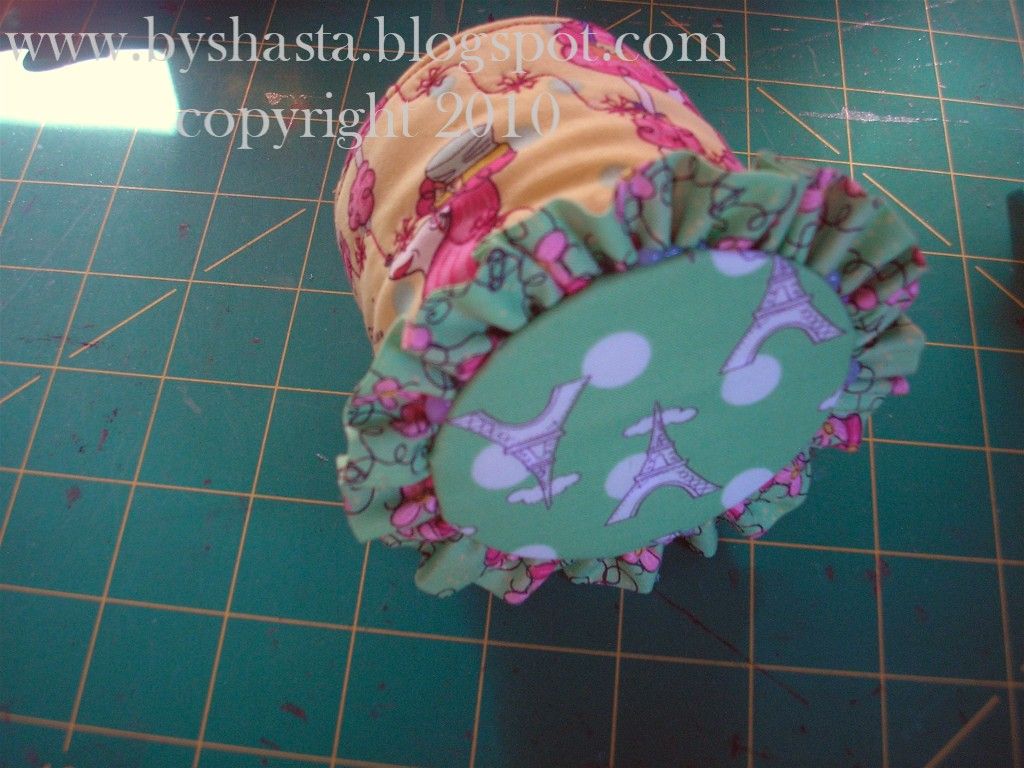
This is the other side, the side that faces up and will be glued to the bottom of the cushion itself.
Here it is put together. I put a whole bunch of Tacky Glue in the middle to hold the felt, and then went around the edges carefully with the hot glue. I tried to keep the nozzle under the finished edge so the glue wouldn't ooze out and show.
I also wanted to make some felt flowers to add, and here's how. I just rough-cut some flet and used a long running stitch to gather up the 'petals'.
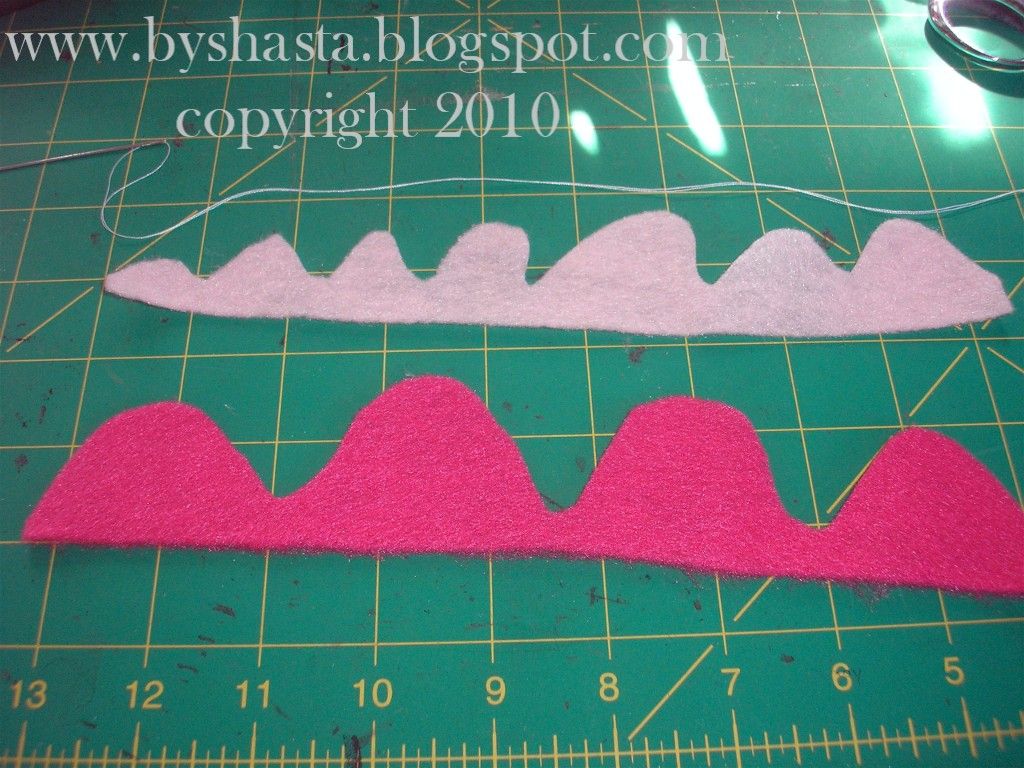
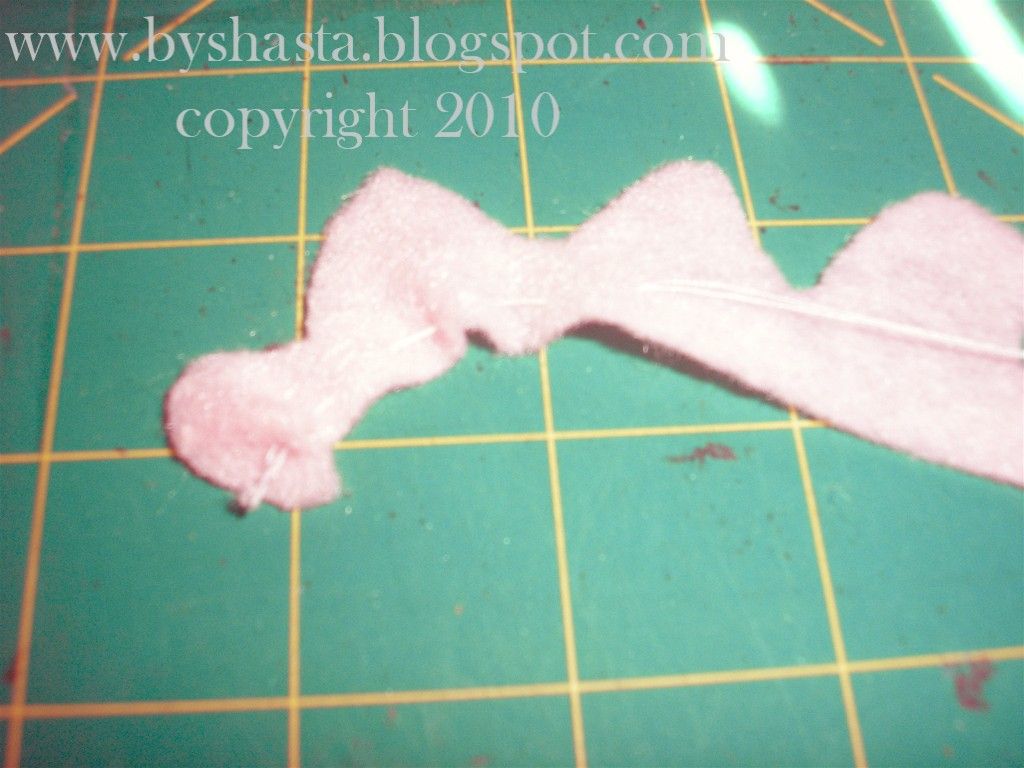
I did the same thing for the leaves. They were triangles cut out of the green felt, and then used the same stitch on the short side to gather. The one on the left, I used hot glue farther down the inside when I was wrapping the cushion. Then I went back and stitched the edge closed all the way around the top, which I like better.
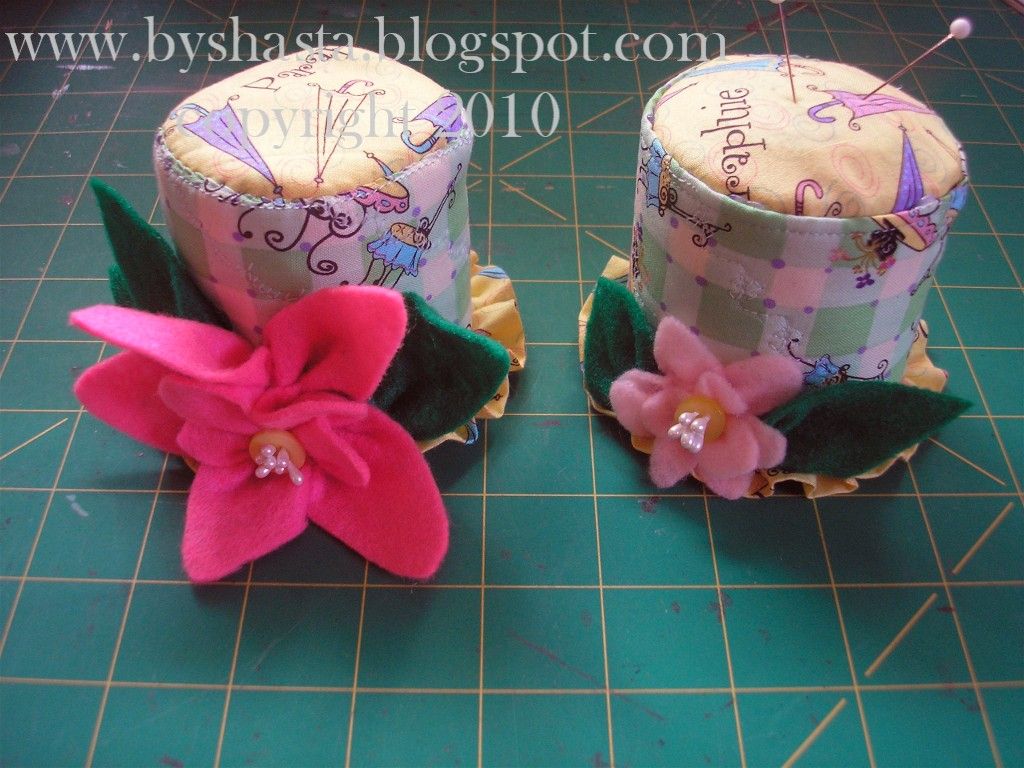
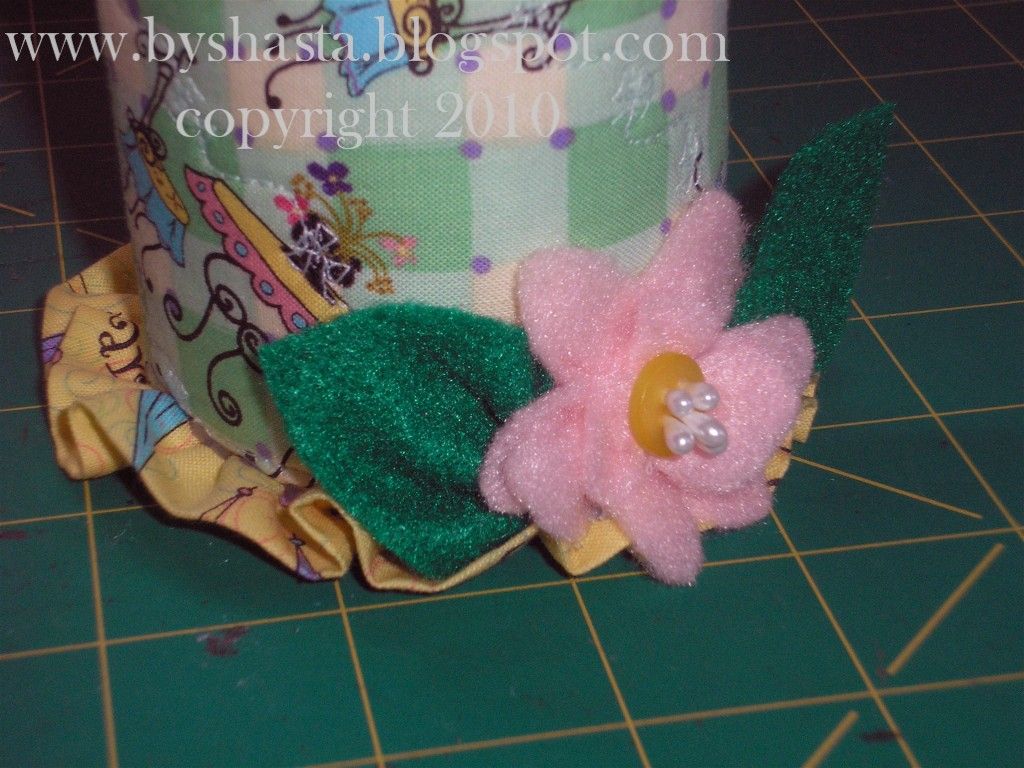
I found some flower centers to use as 'stamens' and added them to the buttons.
These were super fun to make and I have already purchased a few more fat quarters!


I love what you did with this Shasta! Those felt flowers turned out so cute and I love the stitch you chose to quilt the fabric to the felt! Thank you for following our show and for posting this - it was so fun to see!
ReplyDeleteKim
This is amazingly adorable. I love it. I left you something on my blog. http://cherylswindow.blogspot.com/2010/03/im-brightened-again.html
ReplyDelete