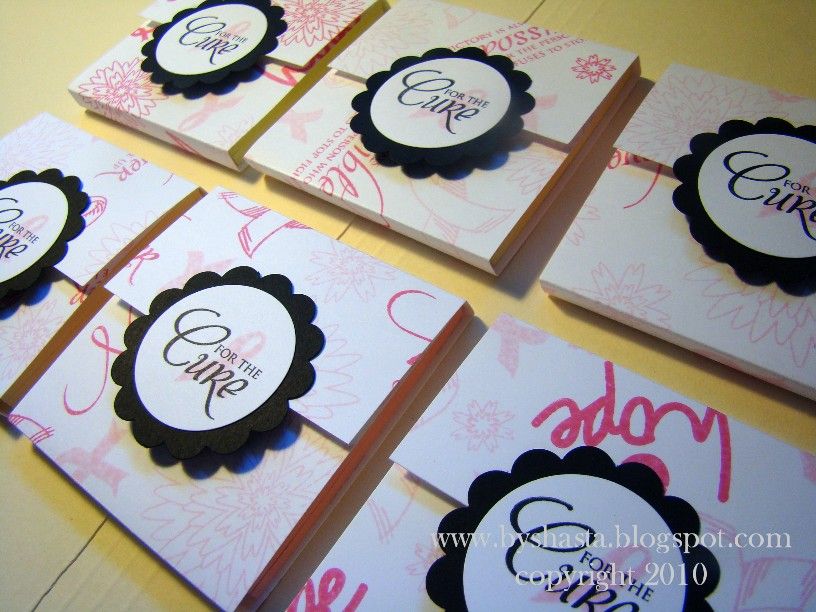
...That the Seattle 3day Breast Cancer Walk is only 19 days away??
Did you know that there are TONS of things that the friends and family members of a 3day Walker can do during the event?? If you live in the Seattle area, there's lots to do and I would LOVE to see your smiling face! :)
Did you know that you can write letters to 3day Walkers and we can pick them up at our very own 3day Post Office?? My first year doing the 3day in 2008, one of my team members, Dyona, wrote us all letters and it was so special to go pick up such happy mail :)
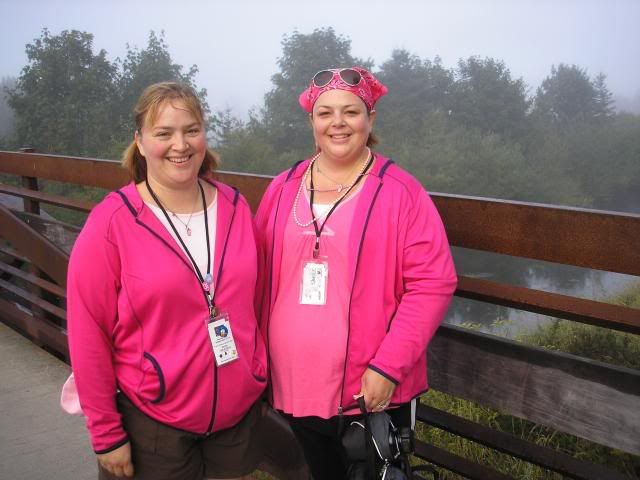
Dyona and I, 2008
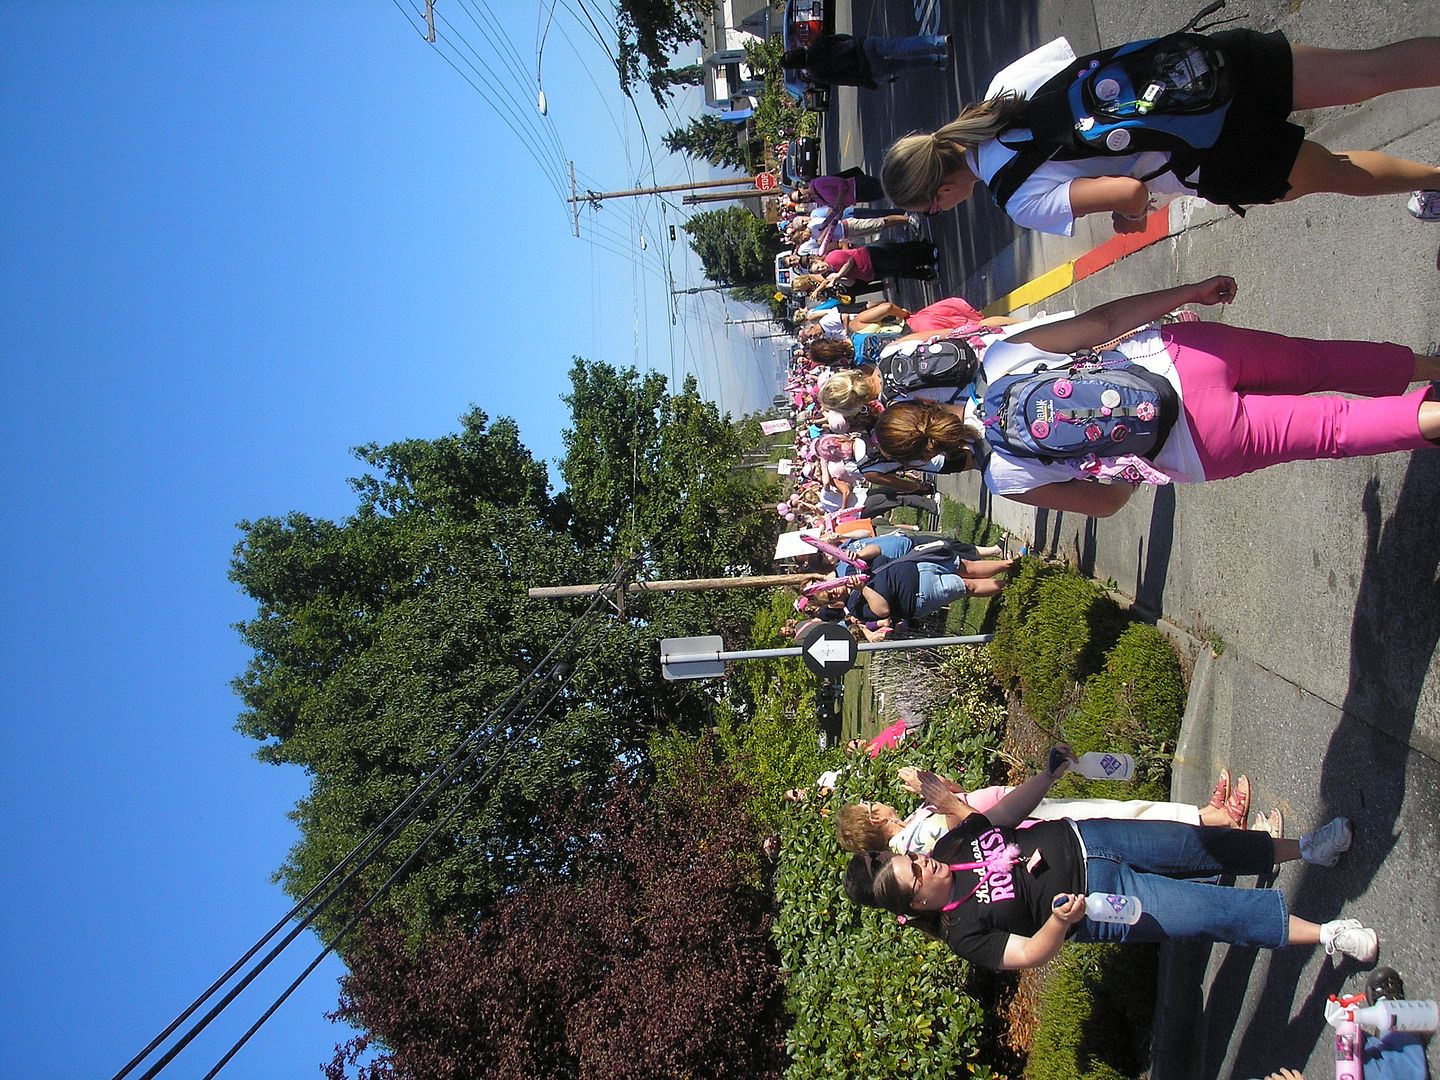
 Did you know that all 3 days you can join other supporters and cheer on a Walker at one of the designated cheering stations??
 These stations are literally lined with hundreds of smiling faces, and it is an awesome site to see. It is such a boost and helps to re-energize our tired muscles to keep walking!
Cheering station, 2009
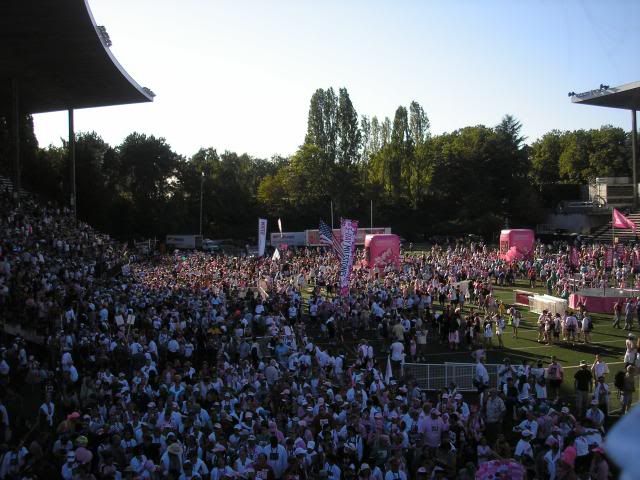
 Did you know that you can come support Walkers at the Closing Ceremonies??
 Memorial Stadium is easy to find, and plus being able to see pics taken by friends and family from their perspective is pretty cool :)
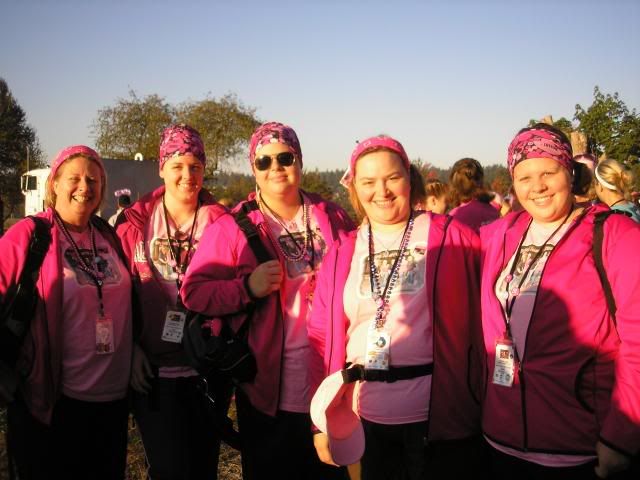
This was our team in 2008, "Saving Jenny's Jugs" :)
Kim, Calie, Me, Dyona and Matty
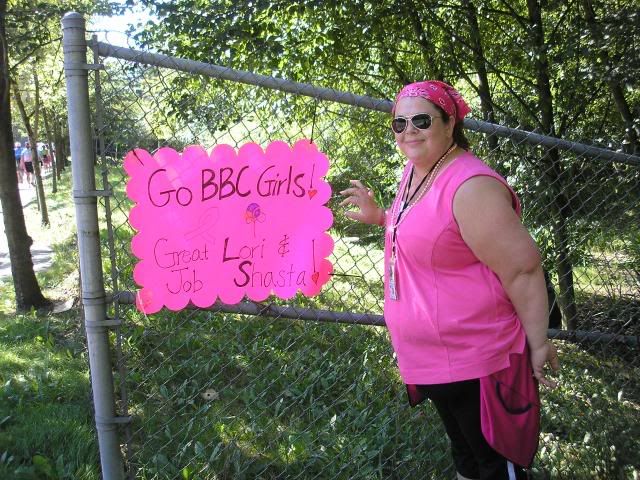
 Did you know that there are hundreds of handmade signs and pictures posted along the route for us to see??
 Some are drawings by children in crayon, some are fancy with glitter, but they all are works of art :) It is so special to see a sign with your name on it with some encouraging words! My friend Angie made a sign for me and another Walker, Lori. It was a great surprise after seeing all these other signs, and then to see one that had OUR names on it!
2008
All this info and more can be found in the Spectator Info. The info here is for Seattle, but the info for all the other 3day cities can be found there as well.
Here is the direct link, or read on below...
Before the Event
Getting ready for the Susan G. Komen 3-Day for the Cure™ is a big job. Here are some ways to support your participant before the big day arrives.
Write a letter expressing your love and support to your walker, which we’ll deliver to him/her on the event. Send letters to:
3-Day for the Cure
ATTN: INSERT NAME OF PARTICIPANT
P.O. Box 31609
Seattle, WA 98103
Envelopes only, please. No boxes or large packages. Mail must be postmarked no later than September 14 in order to ensure delivery at the Komen 3-Day for the Cure Camp Post Office.
Please note: This address is not the actual location of camp, but a PO Box for mail delivery only. Any mail that is not received by the 3-Day for the Cure by the date above or retrieved by the participant by October 10 will be destroyed.
Organize a group to host your very own private cheering station. (Contact smooney@event360.com for more information.)
Organize a group of Camp Angels to assist participants with setting up and striking tents and unloading gear. (Contact dnelson@event360.com for more information.)
Help raise money. Ask your participant how you can get involved in her/his fundraising plan.
Join your participant on a training walk.
Opening Ceremony
The Komen 3-Day for the Cure begins early Friday morning with the Opening Ceremony. When you arrive, take a moment to write the names of the people in your life who have lost their lives to breast cancer on the white ribbons we will provide. Those ribbons will be used to create a special memorial flag that will be raised during the ceremony.
This celebration is not just for participants. Friends and family are highly encouraged to attend, though please note that seating will not be available, so if you are unable to stand for 30-60 minutes, you may want to bring a folding chair. Please allow extra travel time due to expected traffic congestion at the site.
After the Opening Ceremony is over, participants will begin walking the 60-mile route and start a journey of a lifetime. It will be even more special if you are there to help send them off with smiles and encouragement. We'll also have the Shop3Day.com™ store on site if you'd like to purchase a souvenir for yourself or your participant.
Friday, September 24
60 Acres Park
15200 NE 116th
Redmond, WA 98052
Schedule for the Day:4:00 a.m. - Crew members should arrive.5:30 a.m. - 6:00 a.m. - Walkers should arrive.6:30 a.m. - Opening Ceremony begins with community stretching.
Directions:Please enter Sixty Acres Park off of NE 116th St. from Willows Road.
Cheering Stations
Public cheering stations are a great way to show your support along the route to encourage walkers and let them know that you are with them every step of the way. Seeing familiar faces cheering them on can provide that extra burst of energy that gets them to take that next step or go the next mile. Create banners, hold up signs, bring some music and make some noise - anything to make them smile, get energized and keep walking.
Friday, September 24
8:45 a.m. - 12:00 p.m.Red Robin 21215 Bothell-Everett Highway, Bothell, WA 98201
12:00 p.m. - 4:30 p.m.Silver Lake Shopping Center 112th St. SE and 19th Ave. SE, Everett, WA 98208
Saturday, September 25
8:30 a.m. - 11:00 a.m.Jackson Elementary 3700 Federal Ave., Everett, WA 98201
11:45 a.m. - 6:00 p.m.Fluke Corporation 9028 Evergreen Way, Everett, WA 98204
Sunday, September 26
10:45 a.m. - 1:30 p.m.Cal Anderson Park 1635 11th Ave., Seattle, WA 98122
On some portions of the route you may find some areas that are deemed “quiet zones” which will be indicated by signage on the route. Please assist us in respecting our neighborhoods and communities during this time.
Camp
Our campsite is meant to be a special place for your participants to relax, reflect and bond with the 3-Day for the Cure community. To help us maintain a safe, secure and organized campsite for your loved ones, we ask that you respect our “no visitors” policy. Also, if you wish to call your walker or crew member on their cell phone, please do not call after 9:00 p.m. “lights out,” when camp is a quiet zone.
While at Home
Capture the 3-Day for the Cure in the news: While walkers are taking steps to end breast cancer, save any media coverage of the 3-Day for the Cure. Aside from being a nice addition to your participant's 3-Day for the Cure memorabilia, it will show his/her impact on the community.
Engage the kids in the cause: Since holding down the fort may include taking care of the kids, you can make this time meaningful by connecting them with the breast cancer cause.
Have them create signs or decorations if they are able to go to a cheering station.
Have them create a welcome home banner.
Give them journals so they can write or draw what they’ve been doing for three days.
Have them plan a welcome home meal or put together a care package with goodies, movies, comfy slippers, etc.
Use this as an opportunity to talk to your kids about community, helping others and making a difference in the world.
Closing Ceremony
After three days and 60 miles, participants will take a final and incredibly emotional victory walk into the Closing Ceremony. Friends, family and supporters should arrive at the Closing Ceremony site at least one hour early to get the best view of the program. We encourage you to carpool or take public transportation. Not only is it better for the planet, but it will help lessen traffic congestion for everyone.
All walkers and crew members should remain in the Participant Holding Area where they will receive a victory shirt, cheer on fellow walkers and crew members and celebrate one last time together before their dramatic victory walk. The Participant Holding Area is CLOSED to spectators. If you wish to meet with a participant before the Ceremony begins, please have them meet you at the Closing Ceremony site. All participants must return to the Holding Area no later than 4:00 p.m. in order to join the victory walk.
Don't forget to continue the spirit of kindness we'll be building on the 3-Day for the Cure throughout and beyond the Closing Ceremony!
Sunday, September 26
4:30 p.m.
Memorial Stadium at the Seattle Center
501 5th Ave N
Seattle, WA 98103
Directions:
From I-5, take the Mercer Street/Seattle Center exit (exit 167). At the first traffic light, turn right onto Fairview. At the next light, turn left onto Broad Street. Turn right onto 5th Avenue. The main entrance to the stadium is located on 5th Avenue North. Visit http://www.seattlecenter.com/transportation/directions.asp for a list of alternate directions.
The Seattle Center offers thousands of parking spaces within a short distance of Memorial Stadium. Please visit this link for a list of parking locations in the area: http://www.seattlecenter.com/transportation/parking.asp. You can also find information about bus and monorail options there.
After the Event
Your participant has participated in two emotional celebrations, a challenging 60-mile journey and a life-changing experience in just three days. Now, it’s time to go back home. Here are some tips on how to help your walker make a smooth transition back to their daily routine.
Have a welcome home meal prepared and make it an evening of rest and relaxation.
Encourage your participant to share the 3-Day for the Cure experience.
If you can’t attend the Closing Ceremony, be sure to ask how much money was raised!
Unpack, clean and put away gear.
Share the newspaper articles or news footage that you’ve collected over the weekend.
The following day, give your participant a massage or schedule a day of pampering at a spa.
In the days to come, help your participant write thank you notes.
Print pictures and assemble a scrapbook.
Help your participant plan a reunion party to keep in touch with other walkers.
Get ready to do it all over again! Maybe you’ll be joining the 3-Day for the Cure in 2011!
