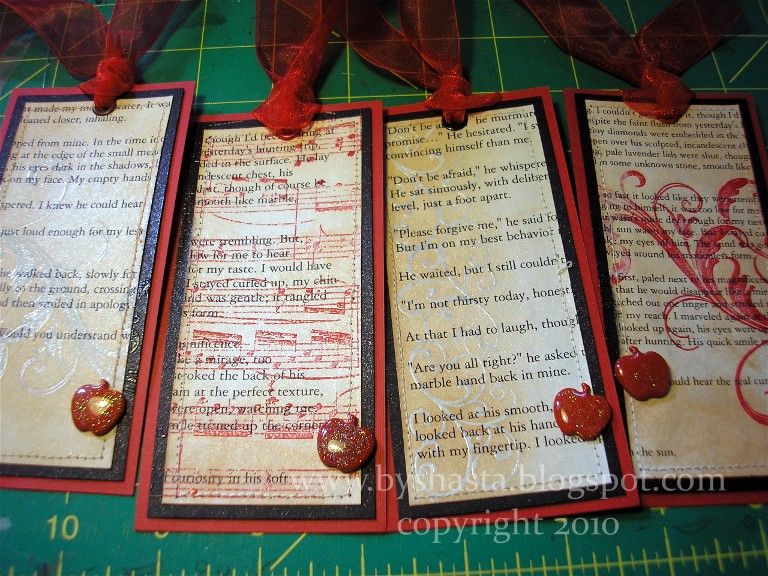
I knew I wanted to put an apple on them, but couldn't decide if I wanted a charm, and brad, or something else. First I tried stamping a bunch of apples and colored them in with inks, then covered them with Crystal Lacquer for shine. But when they dried (and I waited overnight!), they were a bit lumpy and the red just wasn't the right color. Then I decided to see if I could find the EK Success apple punch after seeing it used on some cards, but after THREE trips to three different stores I still couldn't find it. I was wandering around Michael's trying to find something else that would work, but I didn't want to spend too much since I needed 24 of them.
I came across this pack of 24 brads (perfect!), but half of them were green. But they were 40% off so I bought them anyways, thinking I could come up with something to do with them! I started by painting them all red, even the red ones, so they would all match. I just used some plain acrylic craft paint. Then when that was dry, I used a bit if some Making Memories clear glitter glaze over the top. I still needed them to be shiny, but was too impatient to wait for more Crystal Lacquer to dry... So I decided to use some good old UTEE, Ultra Thick Embossing Enamel!
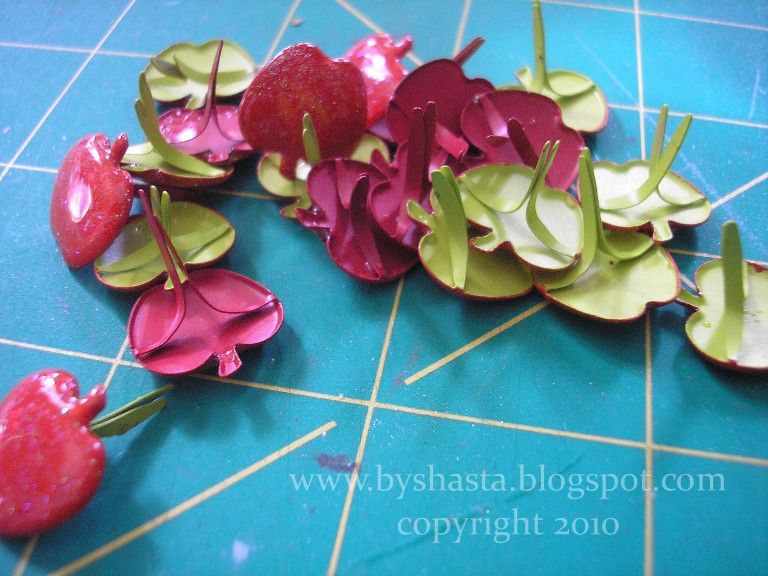
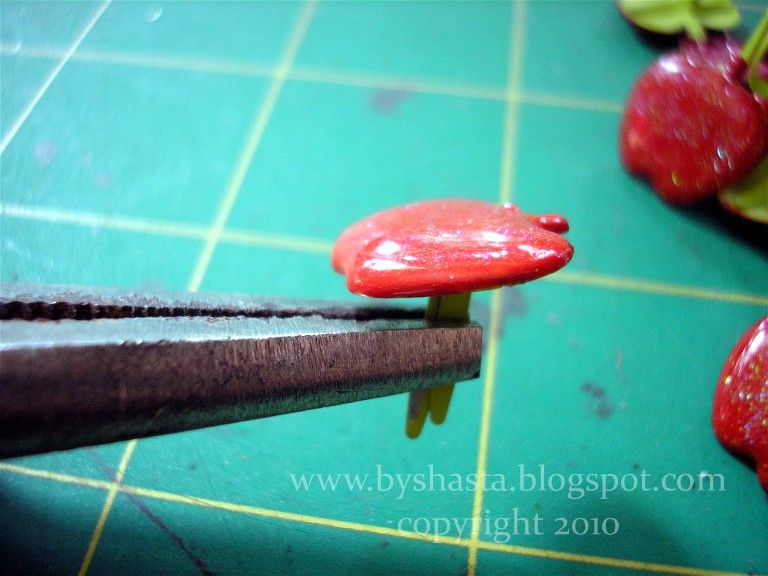
The apples needed 4 coats of UTEE, and after doing 4 or 5 apples, my fingers were getting a bit tired of holding them with tweezers, so hubs came to the rescue with a pair of vice-grips, and after that it was a piece of cake! They clamped on the brad prongs with no tension, much easier ;) It was a bit time consuming to do 24 of these puppies, but they turned out so pretty!
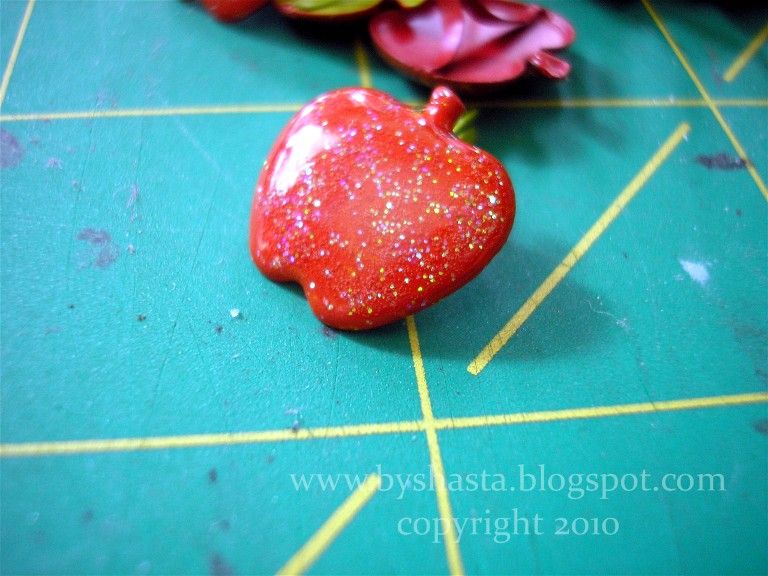
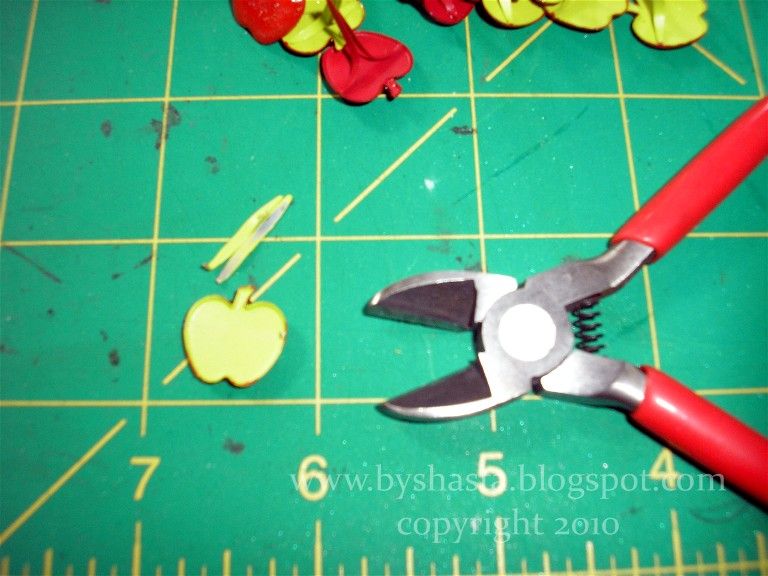
Then I just cut off the prongs, and adhered them to the bookmarks with a foam dimensional, easy peasy :)
Now let me tell you a bit about the bookmarks themselves. I love this technique, is is such a dramatic effect for so little work! I started with printed paper, approximately 2" x 5", and matted it with black cardstock. I went around the edges with my sewing machine, and then matted them again on red cardstock. I did this so the stitching wouldn't show on the back ;) I punched holes, and then added eyelets. Once they were all assembled, I stamped various background stamps on them with Versamark Watermark Ink. I used a few different flourishes, and a music score background.
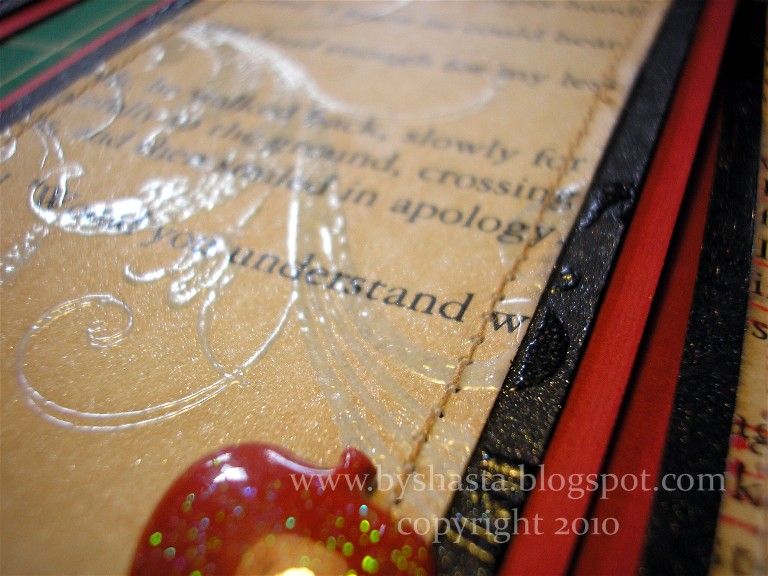
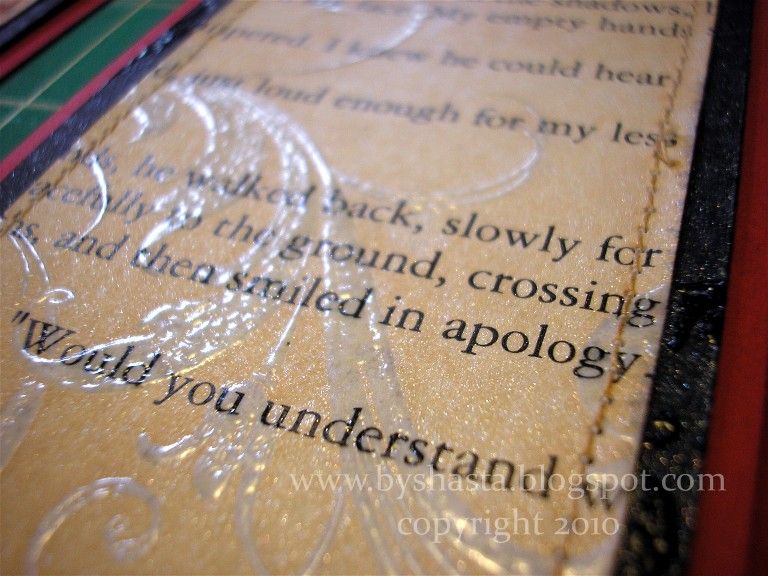
After that, I heat embossed them with clear embossing powder, then went over that with some Tim Holtz Distress inks in Antique Linen and Tea Dye. LOVE the inking tools and foam applicators, I use them so much!
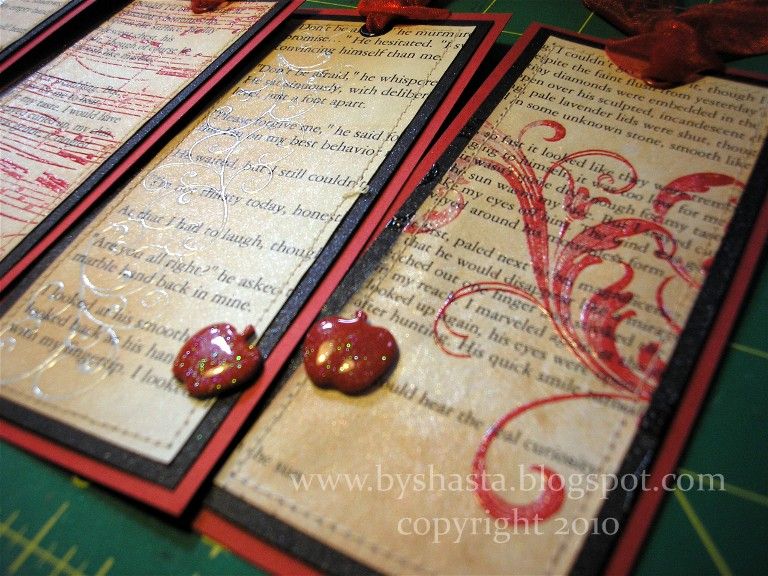
The final step was to add some more sparkle ;) I sprayed the whole thing with a mixture of Perfect Pearls powder and water, and dried it with the heat tool. The ribbon went on last, and all done!
Guessed the theme yet??


Hi!! I love this but don't fully understand how you did this .. Is there anyway you can explain it step by step?
ReplyDeletei tried to do the watermark and heat emboss it with the colour but then to put a clear powder over that and to heat it again messes up the other part under it .. I am a beginner and cannot seem to get it as gorgeous as you