I decided to start my Christmas crafts a bit earlier than I did last year. I started in August and was in such a rush, and since it was my first season doing Craft Fairs, I made a bit of everything. This year I am going to focus on a few less items, so here's my first ones.
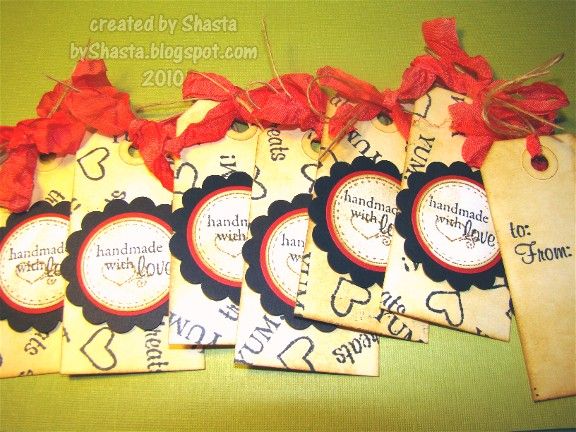
I posted some wrinkle ribbon I made the other day and here is the first project I used it on. I got this stamp set at Joann's recently and wanted to make some treat tags for those homemade goodies people love to give! I went with a more distressed, vintage feel since the ribbon is kind of like that. I grouped a few of the stamps on the block together and stamped all the tags at once to make a random background. The back of the tag has the "to:" and "from:" stamped as well. These are just plain manila shipping tags from the office supply store, and are about 3 or 4 inches long. I rubbed some Brushed Corduroy Distress Ink on the tags and the sentiments in the circles, which are also stamped with that Fiskars set. Then I popped them up with foam dots and tied the ribbon and some twine on the tag, and all done ;)
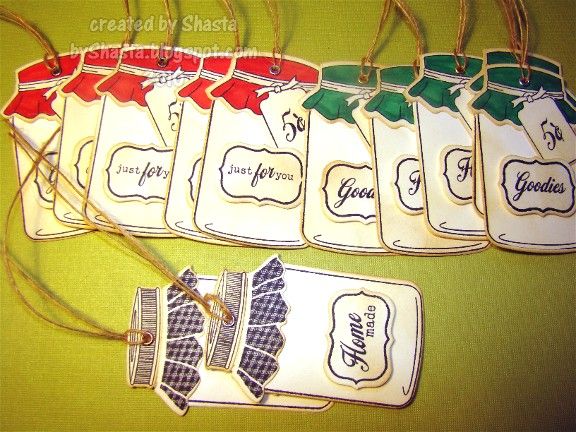
These tags are die cut and stamped using the PTI Friendship Jar stamps, and I love these. I inked them up with some Antique Linen Distress Ink and colored them with Copics. An eyelet and some twine finish them of nicely ;)
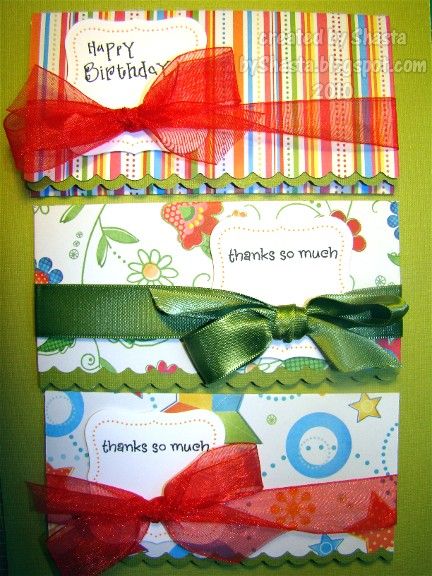
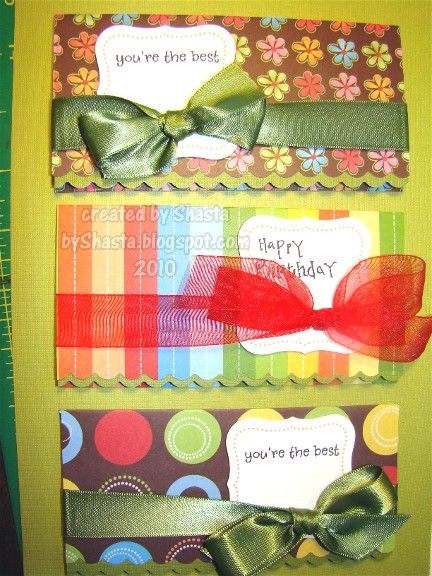
Next up are some money/check holders, and giftcard holders. I saw this one here and decided to make a few like it. I winged it on the dimensions, and just got out a dollar bill and made it to fit. I think it is 9 1/2" by 3", and folded into thirds, and then scored at 3" and 6". The front flap I cut about a 1/4" off and then used the edge punch. The inside of the front flap has a piece of white cardstock matted on a piece of green cardstock. The green piece is big enough that the bottom edge just peeks out from underneath when the card is closed. I adhered the ribbon first on the inside, and then put the matted pieces on top.
The sentiment on the front is cut with a Nestie (Labels 1) and the border is stamped with a PTI set called Vintage Labels that fits perfectly. The papers are from an Imaginisce pad, and the Sweet Stack by DCWV.
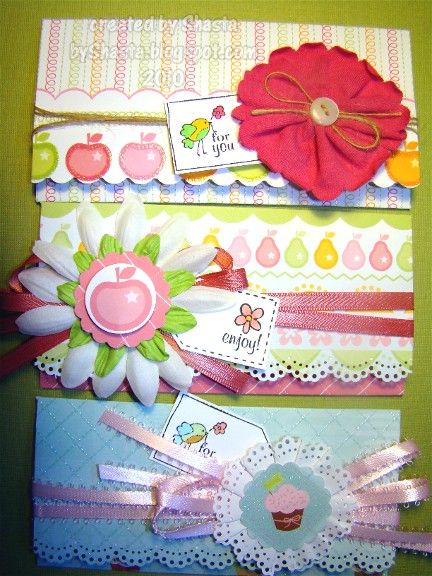
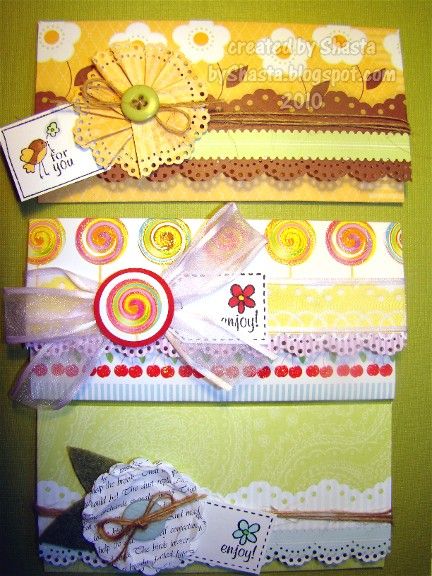
These ones I did a bit different. I wanted to embellish them with the same papers that they were made out of, and I had pile of scraps left to use up.
This first one, I punched a strip of the same paper to make the card with an edger punch, and made a flower out of it! The rest I used whatever embellies I had close at hand to dress them up a bit. Some were made with paper some with other flowers I had already assembled. The tags are stamped with the same Fiskars set as the treat tags above.
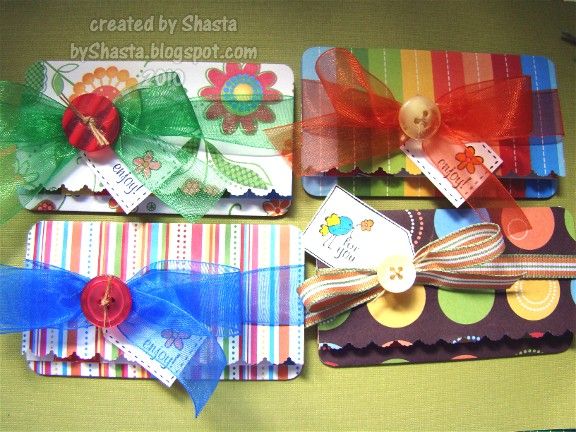
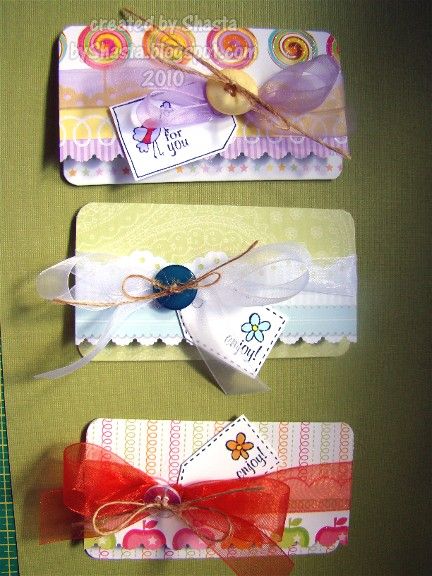
These are smaller holders for a standard plastic gift card. Again, I just winged it and measured a giftcard I had to make them. I believe they are 4 1/2" wide by 3" tall.
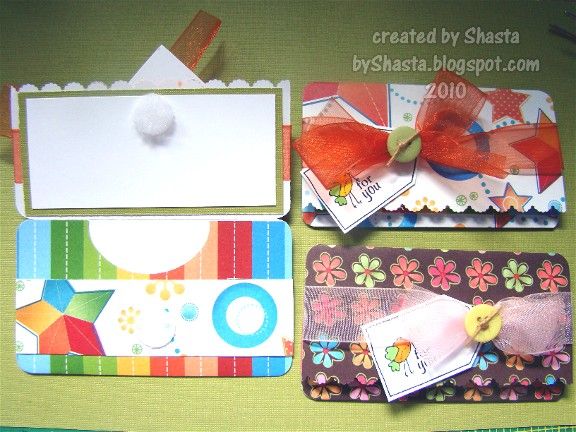
This pic shows the inside, which is the same as the insides of the larger money/check holders. I used a large oval punch to cut a portion of the lower flap out and make it easier to see the card, and also get your fingers in there to get it out.
About Me
Sunday, July 25, 2010
Friday, July 23, 2010
Wrinkle, or Crinkle, Ribbon
Have you seen it? It is popping up on a lot of blogs and message boards I read lately, and I decided to try making it myself. One of my favorite bloggers uses it all the time, and there are tons of sellers on Etsy that make it, but that's no fun!
I found a tutorial here, and bought of the rayon seam binding here, and got started!
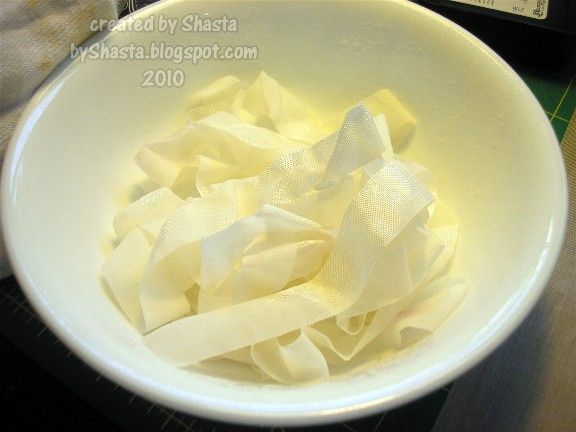
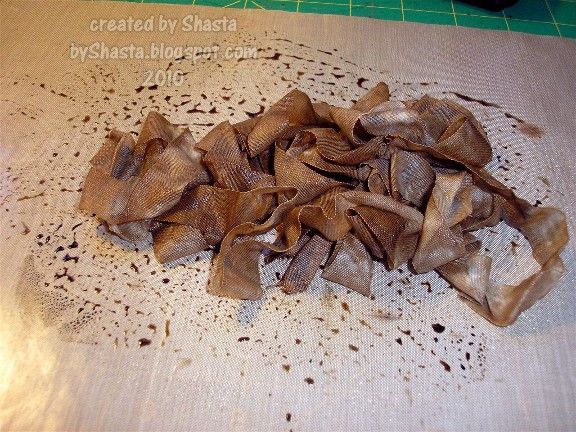
This particular tutorial uses Glimmer Mists, and since I don't have any yet, I used my good ol' standby instead: Tim Holtz Distress Inks and water. First I sprayed the ribbon (I did these in 4 yard increments) with water in a bowl and mixed it around until it was wet but not saturated.
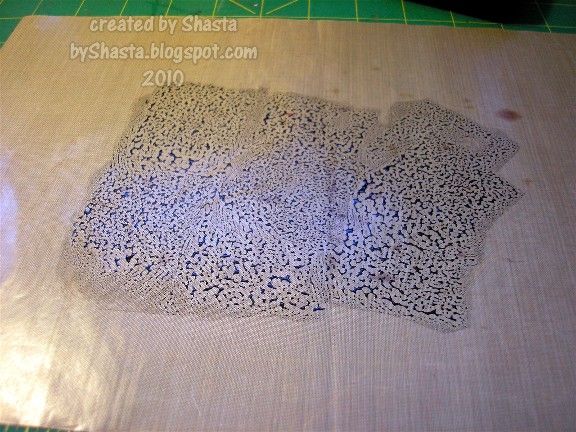
Then I spread some of the ink on my craft sheet and sprayed with water.
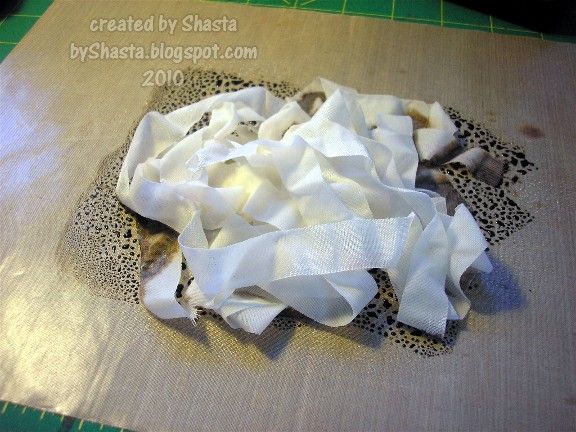
Then I added the seam binding! I had a plastic glove on so I wouldn't make too big of a mess ;) Surprisingly after coloring almost 100 yards of this stuff in about an hour, I was still pretty clean!
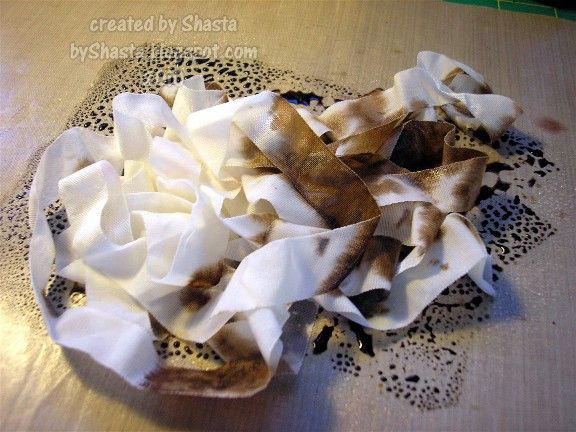
Then just toss it around a bit!
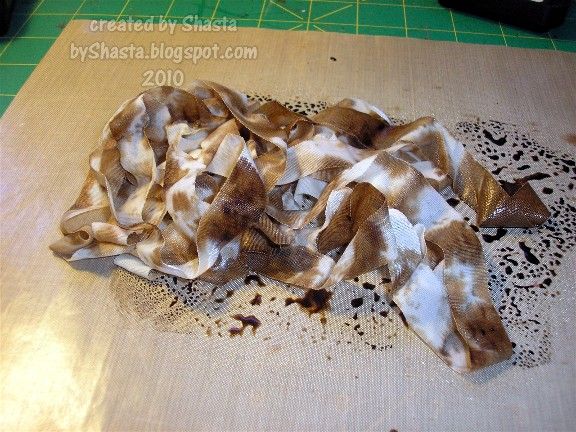
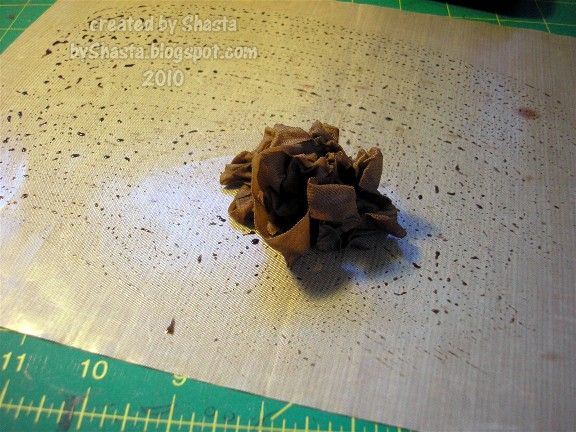
When it is colored to your satisfaction, mound it up into a small pile and swipe it around to pick up the last of the ink on the mat, and then set it aside to dry. I would put it on something non-porous, because anything porous or paper will absorb the water and ink from the ribbon.
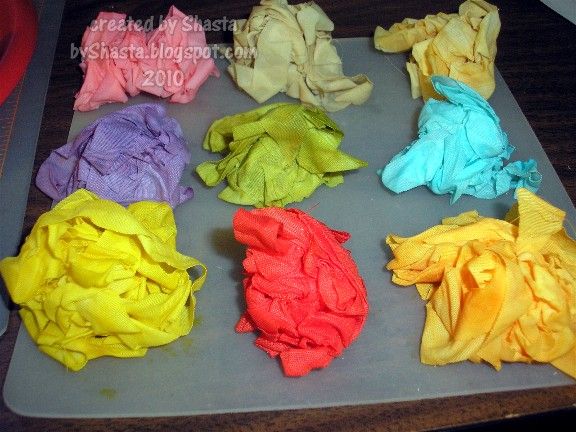
Here's my nice little collection, growing steadily ;)
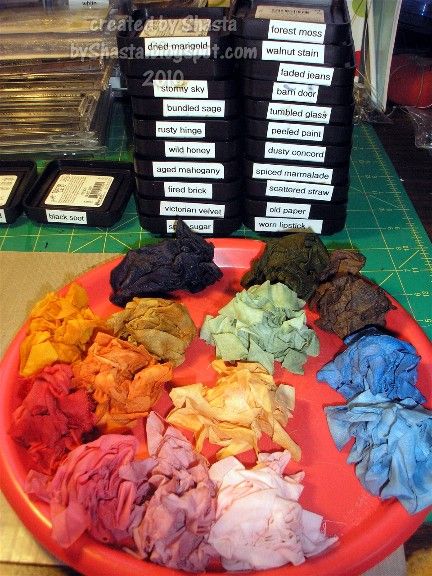
Here is the rest of what I made, and the colors I used. The roll of seam binding that I bought was 100 yards, and each color I made was 4 yards. I made 23 colors, so that was 92 yards, give or take, not bad for an hour's work, huh?
I let it dry overnight, and in the morning it was just about dry. I fluffed each pile a bit and let it dry for a few more hours, and then it was good to go. I will post pics soon of a project I made last night using the red pile, stay tuned! ;)
Wednesday, July 21, 2010
More flowers
I posted my pink flowers the other day, and here are my Boy and Neutral flowers for the swap I am hosting.
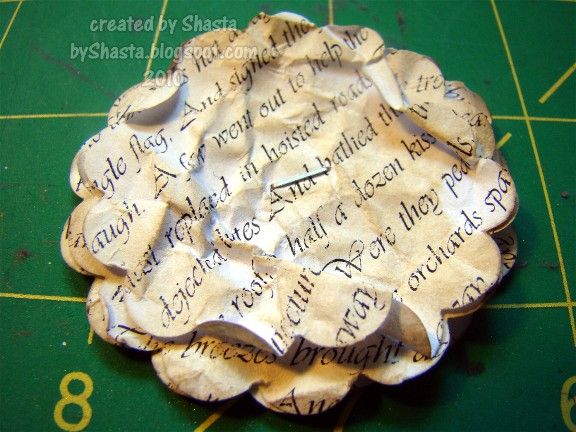
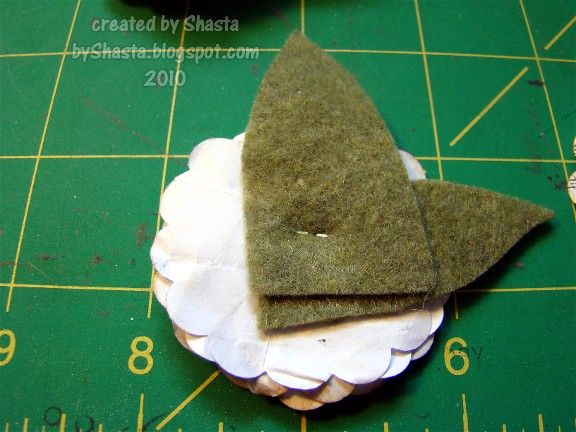
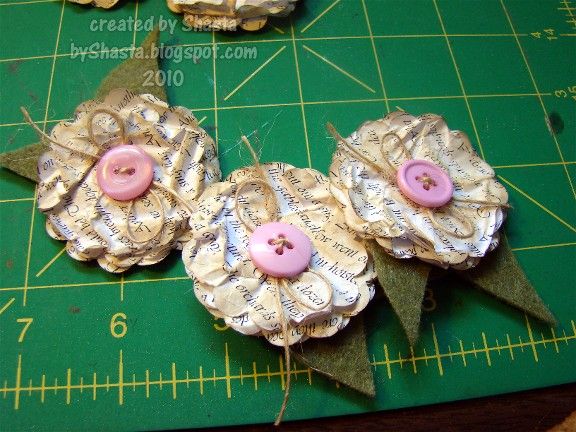
For the Neutral ones, I found some random text and put it in a pretty font in Works, and printed it on plain copy paper. I adjusted the margins a bit so it would print as close to the edges as I could make it, and then justified the edes to make them even on the right and left sides. I used a 2" scallop punch and needed 5 layers per flower. After all the punching was done, I crumpled them all up with my hands and then stacked the scallops in groups of 5. I wanted them to have leaves too, so I made them out of felt. I just hand-cut some leaf shapes with a slightly long end. I cut a bunch of rectangles, about 1" by 3", and cut the leaf shape on one end. The other end was just left square, since it would be under the flower and out of sight. I stacked the scallops on top of the leaves, and stapled them together, easy peasy :) The final step was to ink them up a bit with some Tim Holtz Antique Linen Distress Ink.
Then just add buttons and twine! I had to make about 10 of these for this swap, but I had some extras. These ones are for me, so I made them pink :)
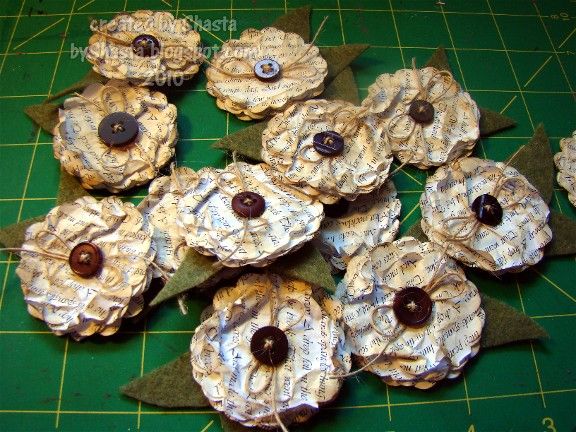
The neutral ones I made with brown buttons.
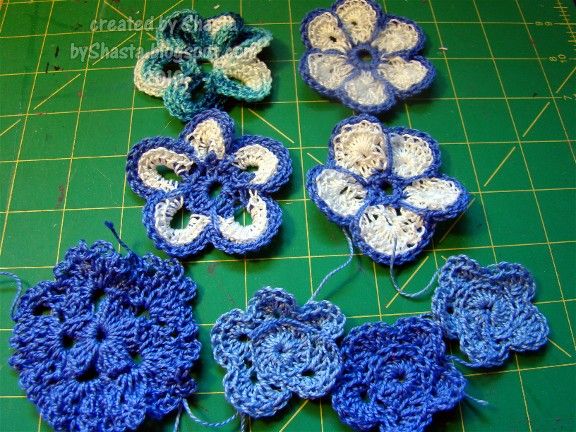
For my Boy group I decided to make crocheted flowers. I tried out a bunch of different patterns before I found the on I liked best.
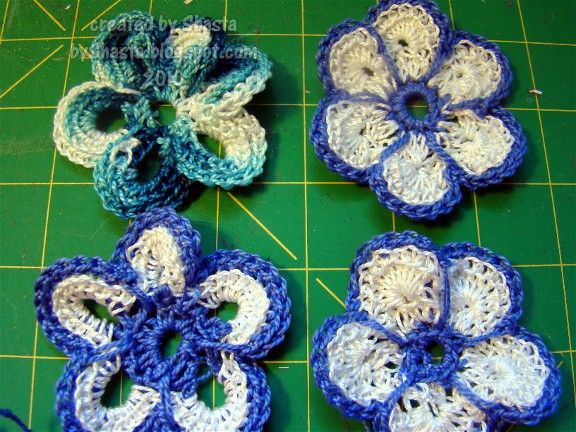
These two were pretty, but a bit large for what I needed, so in a drawer they will go for a future project!
Here is the pattern for the flower on the left, and the patter for the one on the right.
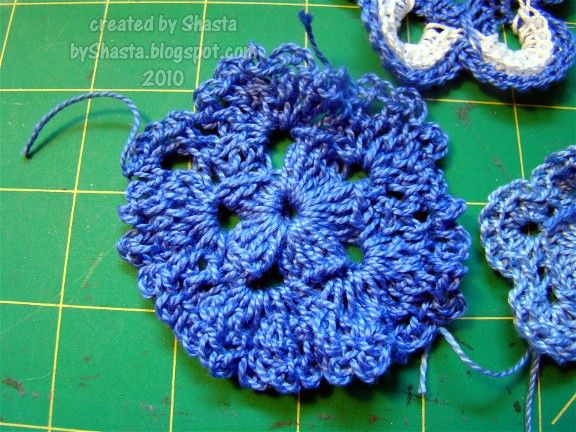
This one I can't remember where the patten came from, but it was huge and took awhile. The other 3 were too tiny, and so they didn't quite make the cut either.
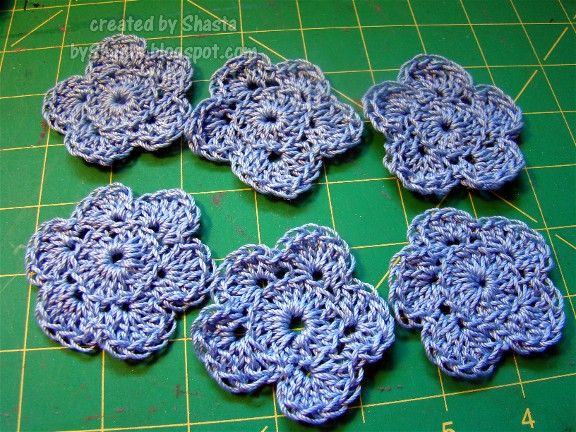
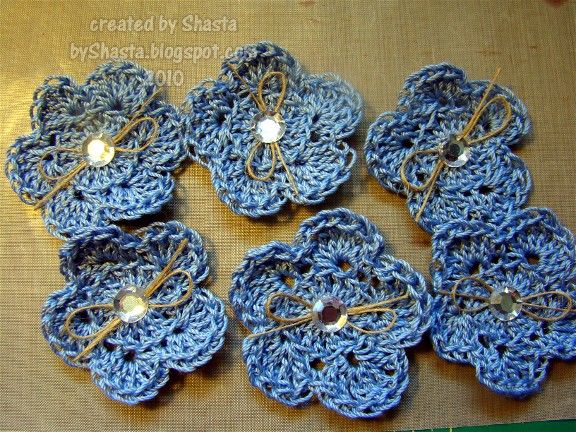
I found these and they were super quick to make and easy. The pattern is here. Somehow I made one with 6 petals, not sure how that happened ;)
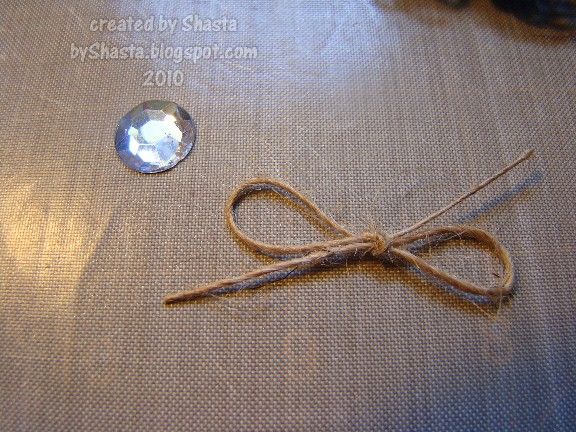
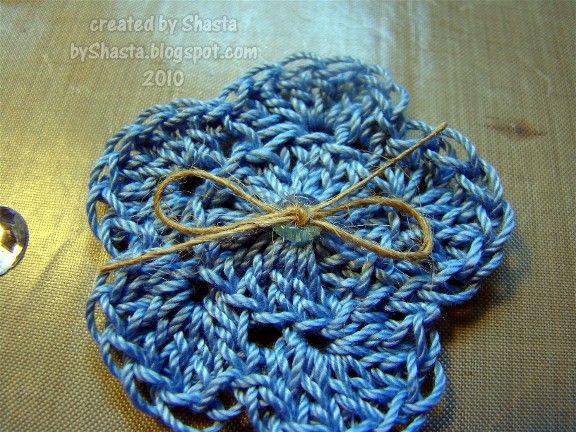
I decided that they needed a bit sprucing up, even if they are in the 'boy' group. So again I decided to use twine, but I paired it with rhinestones instead of buttons. I got a bag of these at Michael's, I think they are 10mm in size.
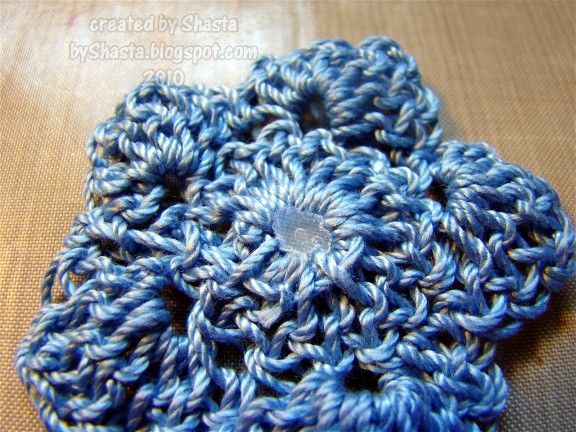
I added a dab of hot glue and then the twine, then the rhinestone. I did this all on a Ranger Craft Sheet, since they are heat resistant and non-stick...
But also because after the flowers cool and I removed then from the mat, the glue would be nice and flat on the back.
Tuesday, July 20, 2010
Pretty Pink Flowers
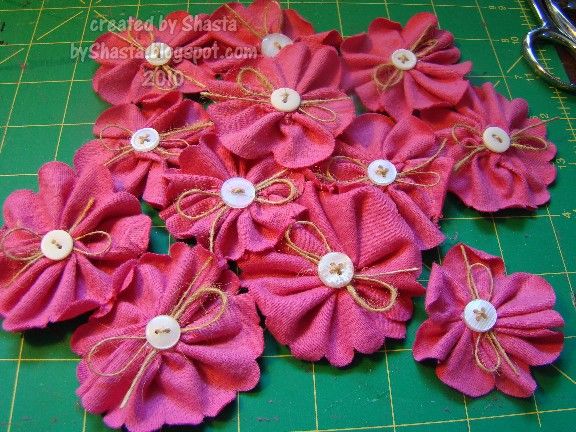
I started a swap on a scrappy board for the first time in ages! I am so into flowers that it just sounded like a good idea to have that be the theme. I signed up for 3 groups, Boy, Girl and Neautral. These are the ones I made for the girl group.
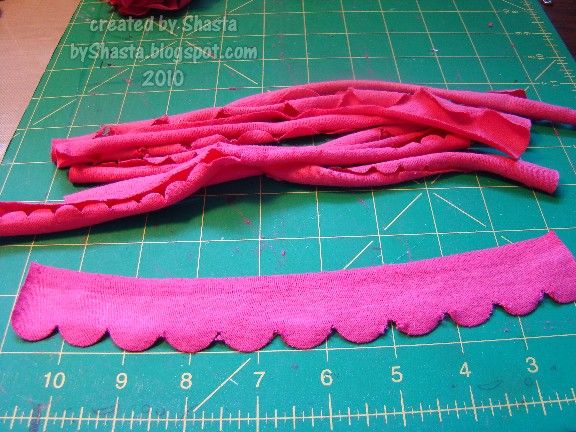
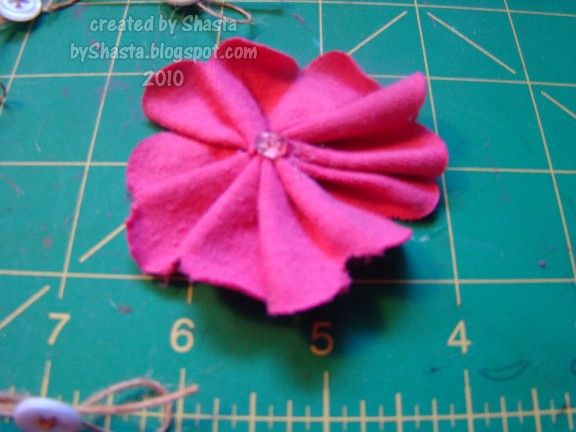
I made these out of a pink t-shirt material, so they are super soft cotton. I cut them using Papertrey Ink's scallop border dies. I ran all three sizes through my Cuttlebug at once, so they have varying sizes of scallops on the edges.
Some of them didn't cut very cleanly, but I think that just adds a little fun to them ;) After that, I gave them a little stretch, so they curled up a bit.
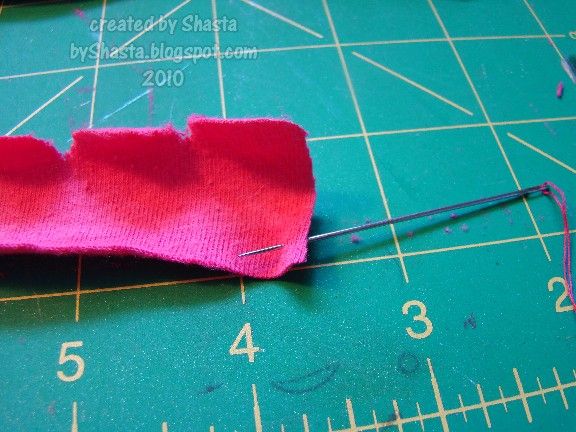
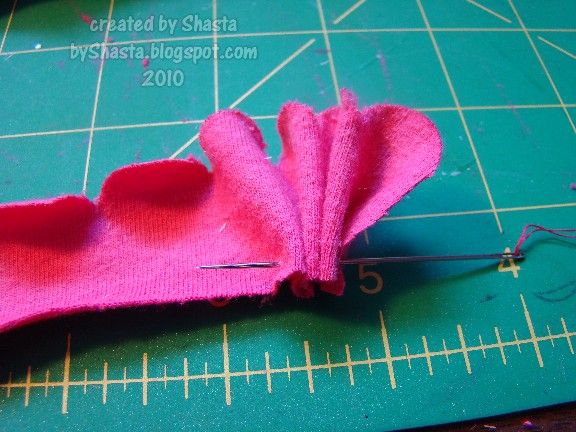
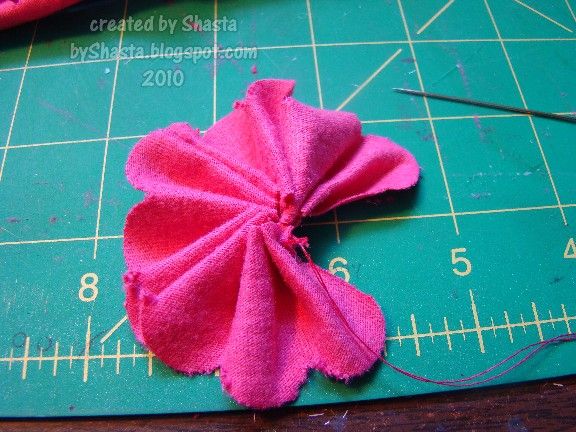
Then I got some matching thread and gathered the straight edge like this...
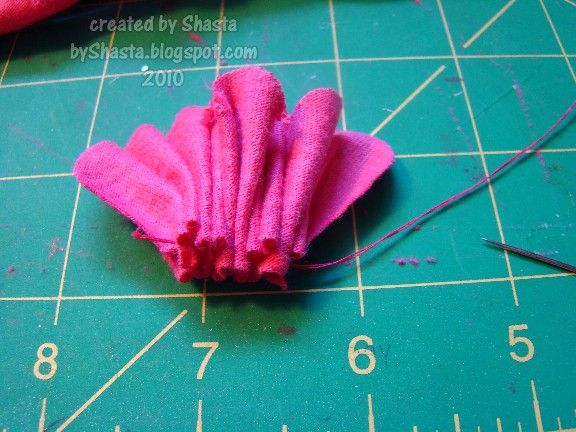
Once all the fabric is gathered, then I pulled the thread through, but not too tightly, and secured the end with a knot.
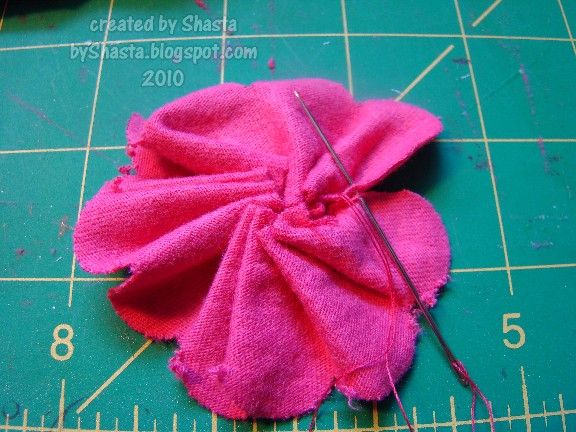
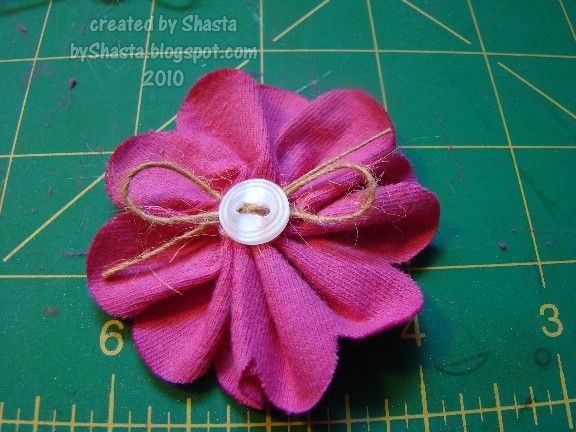
The reason you don't want to pull it too tight is because the next step is to bring the edges together to form the flower. Secure the edges that meet with another knot.
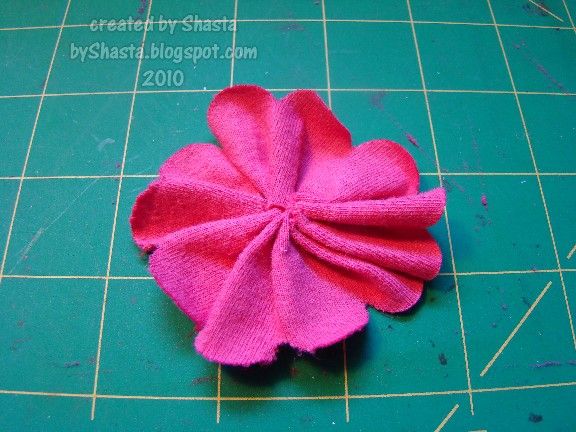
Then I took the raw edges and stitched them together once or twice. This way they won't come apart and the flower will not separate.
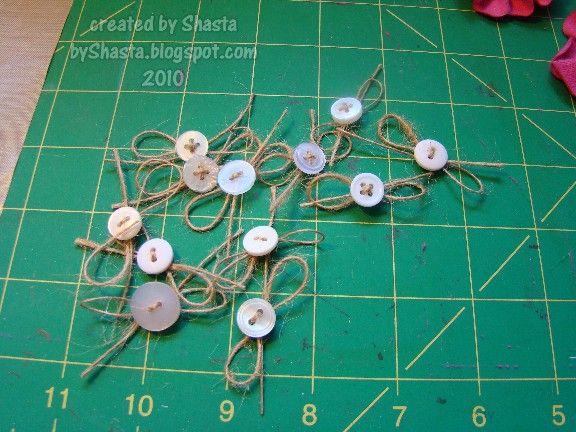
For the centers I chose to use white buttons and some twine (more on the twine at the end!). I tied the twine in a bow on the back of each button after threading it through the front.
Hot glue has long been a staple in my crafting, but I haven't used it in a while! Just a little dab in the middle for the buttons...
And all done ;)
I made 12 of these babies in a bout an hour, not too shabby!
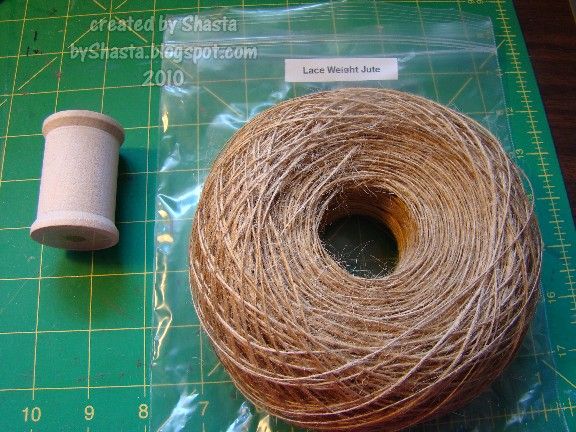
Now abou that fiber...
I found this seller on Etsy, Wind Rose Fiber Studio, and got a fabby deal on this twine, which is a favorite of mine. Can't you tell? :) And since I got such a great deal, I don't have to worry about being stingy with it! I got this huge ball of twine, all 225 YARDS of it, for $1.20 plus a few dollars for shipping. See that spool on the left? That was for the 20 yards of twine I ordered from Papertrey Ink for $5 plus shipping. Now, I love me some PTI, but I just go through this twine so fast! I thought 20 yards would last forever, and it just didn't. If I had to snip off a 1/2" and toss it in the trash, it made me sad, so no more worries about running out for a while ;)
Sunday, July 18, 2010
Friendship Jar stamps by Papertrey Ink
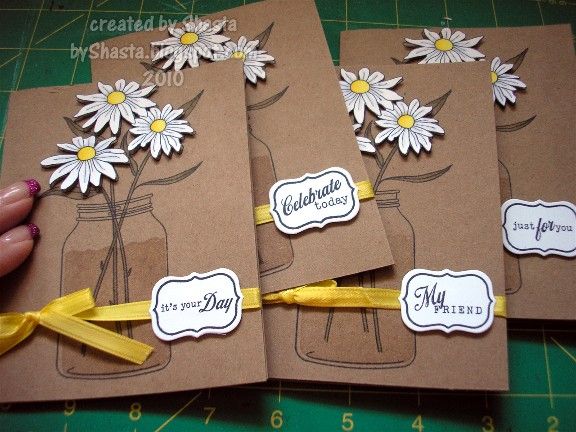
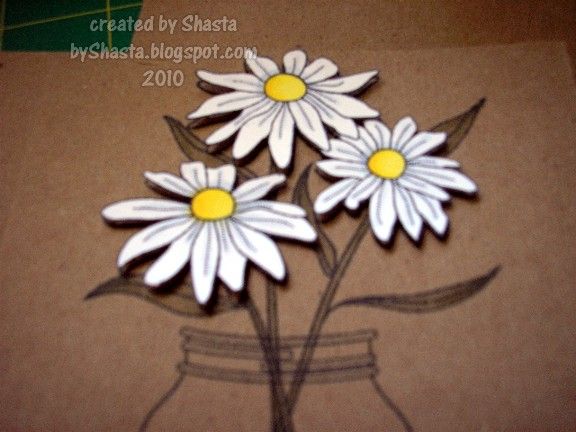
I loved these stamps the minute I saw them, an just had to order them! They are just so cute, and very versatile. I saw a card using this similar layout, and it was the first one I wanted to make with this set.
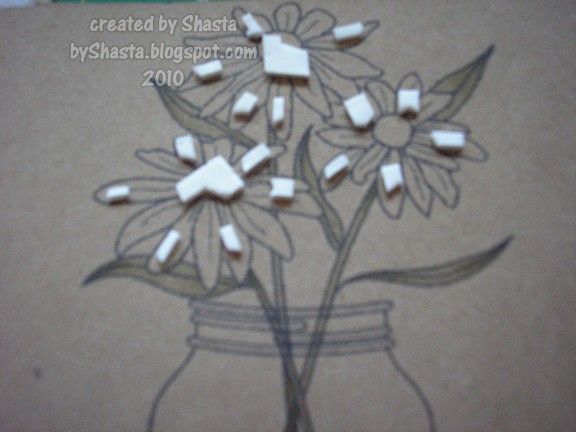
Cutting out the individual flowers was a bit tedious, but I only had to do it for four cards, so not too bad ;) I also always keep my Stampin Up! dimensionals handy, and don't toss the sheets when all the dots are gone! They come in handy for cards like this, when you need itty bitty pieces.
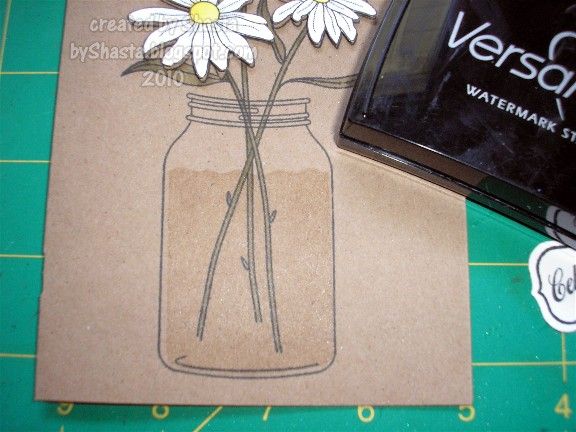
I colored the stems in with Copic markers, YG93, YG95, and YG97. The yellow centers were with Y02, Y04 and Y06. I went along the outside of the the yellow and the lines down the petals with C1. Then I stamped the 'water' in the jars with Versamark watermark ink.
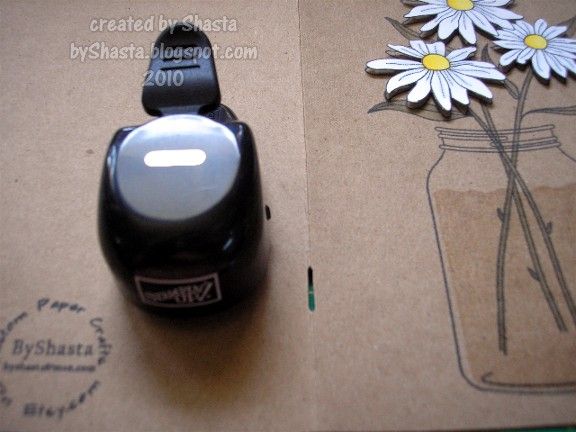
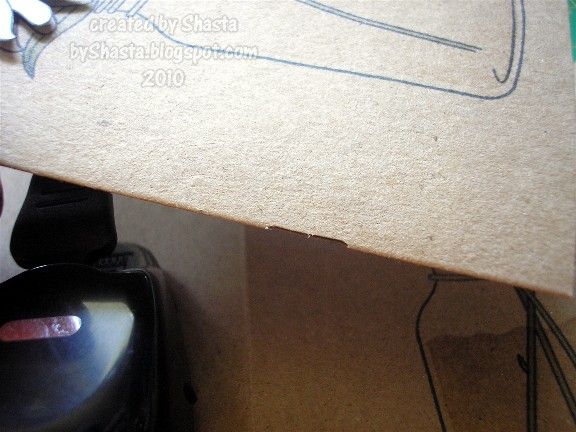
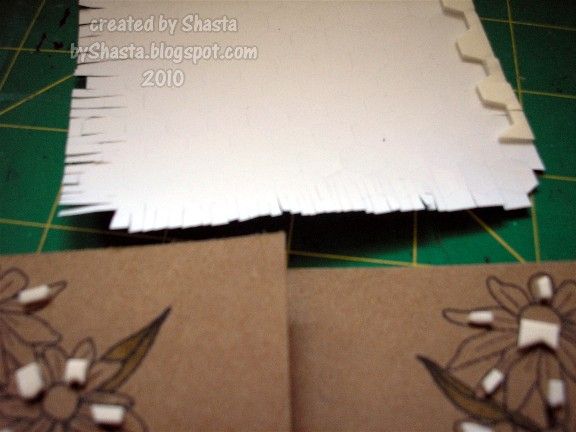
I learned this trick, but I think it was Karissa, a fellow cardmaker and retreat-er, thanks Karissa! It works nicely for wrapping ribbon around cards. I used to use a small (1" I think) circle punch until I finally broke down and ordered this slot punch. When the card is folded in half, slide the punch onto the folded edge and punch. Only punch a sliver of the edge, not a big piece. This way, the hole is hardly noticeable.
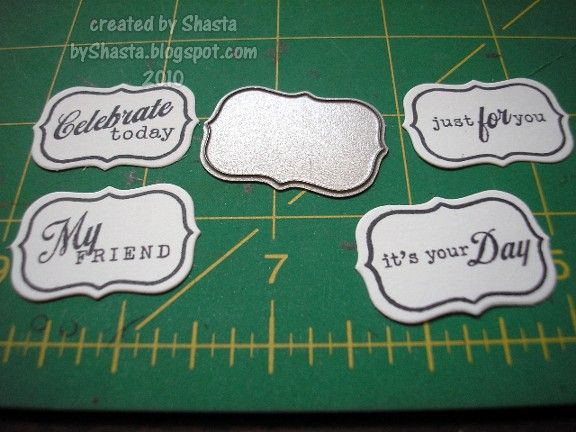
This stamp set comes with a bunch of sentiments, and coordinating dies, which I LOVE! I really dislike having to hand-cut things, and this makes it so much easier. It fits perfectly, and the edges are nice and smooth.
Recipe:
stamps: Papertrey Ink, Friendship Jar
ink: Memento in Tuxedo Black, Versamark Watermark Ink
cardstock: Neenah Solar White
misc: kraft cardstock, ribbon
Subscribe to:
Posts (Atom)