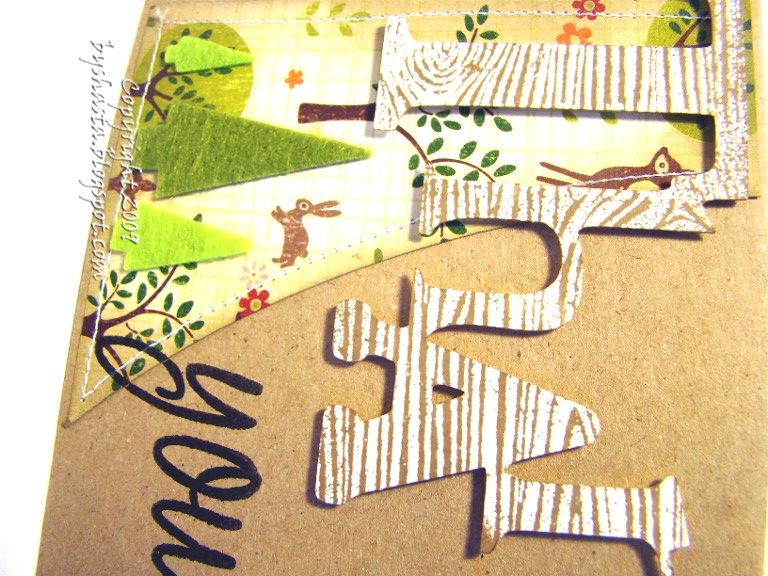
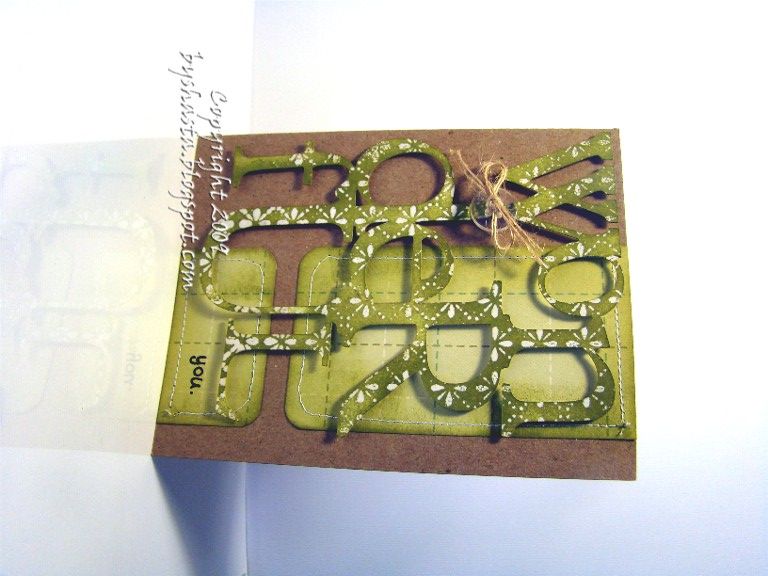
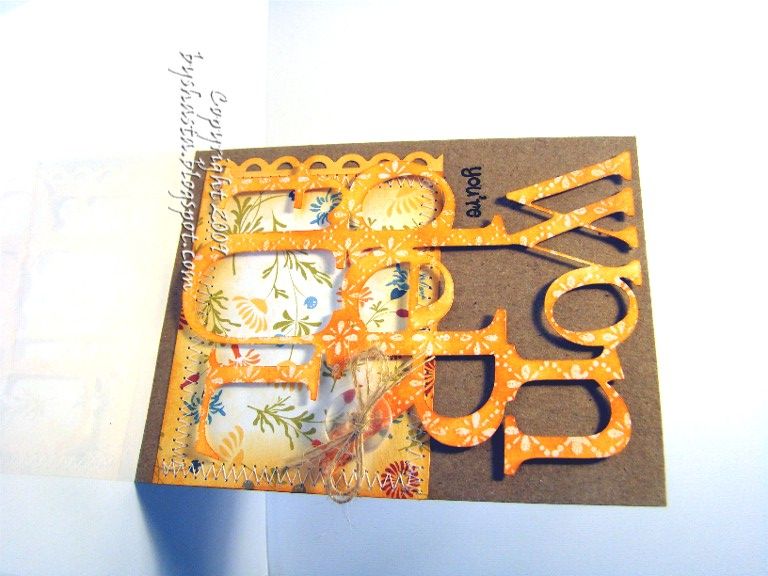
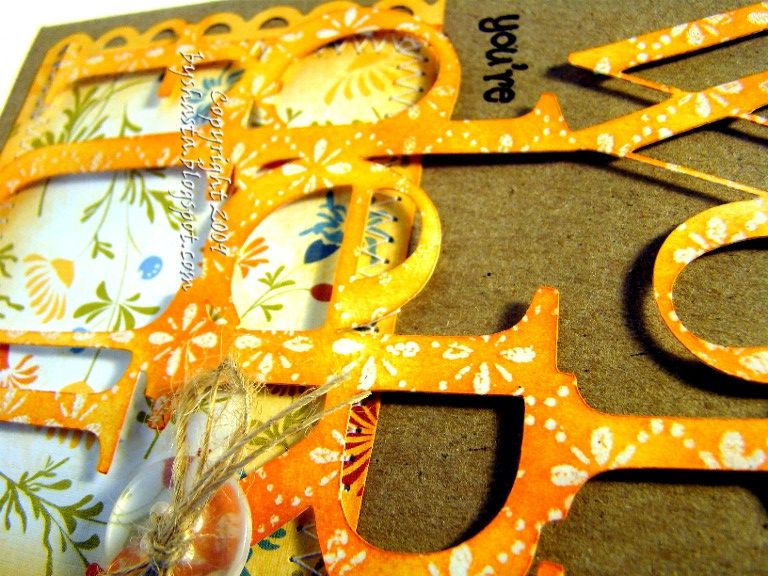
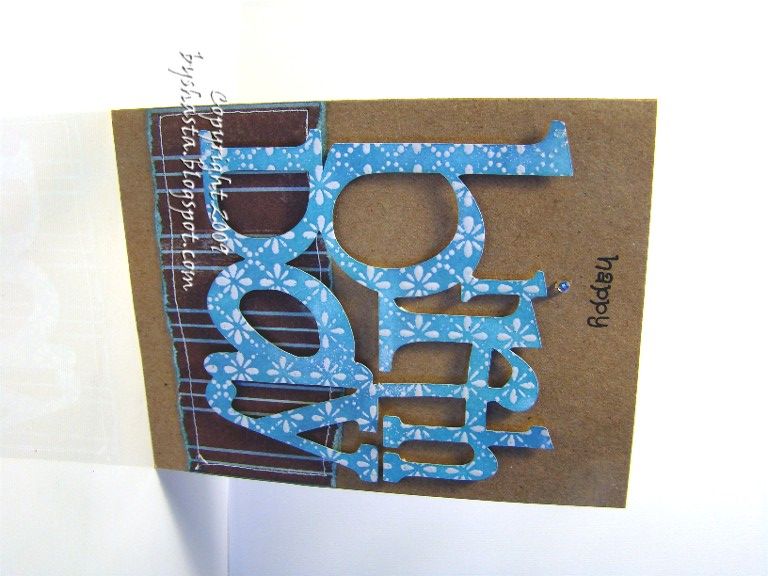
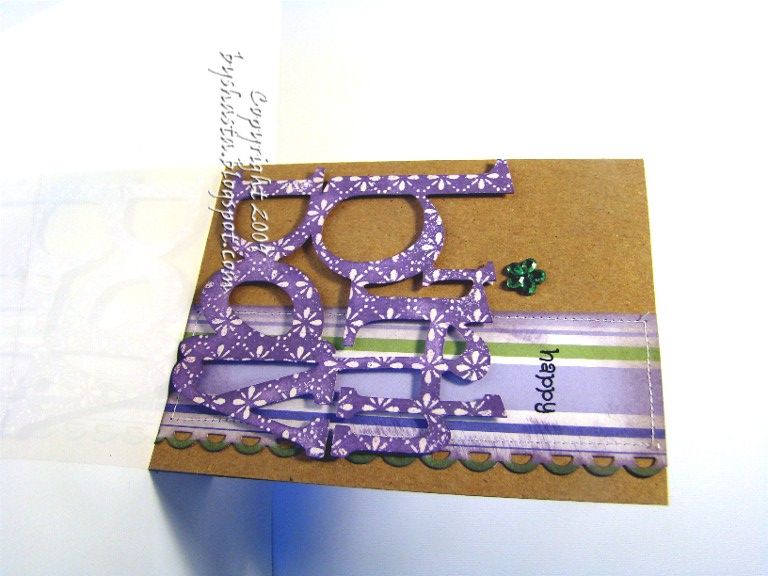
I was inspired awhile back by THIS card by Jennifer McGuire, and wanted to make something similar. I created the words with my Cricut and using the Design Studio software. I can't remember what cartridges I used other than Base Camp and Plantin Schoolbook. It was awhile ago I cut these, maybe 3-4 months ago and just now made something with them because I couldn't remember where I stashed them!
So each one of the words was cut on white cardstock, and then heat embossed with white powder. I used two Hero Arts background stamps, Dots and Flowers and the Woodgrain one. All the papers are scraps from KI Memories, October Afternoon, Making Memories and who knows what else. I used a few EK Success punches, and a bunch of misc stamps.
I inked over this one with the Tim Holtz inking tool and foam applicators with Frayed Burlap Distress ink.
This one uses Peeled Paint ink...
Spiced Marmalade..
Broken China..
and Dusty Concord..
About Me
Wednesday, December 30, 2009
Oh out of the mouths of babes...
My 8 year old son wants bananas EVERY morning for breakfast, and we were out. It was about ten minutes after 8 AM, and we were all still in our jammies. I thought it would be fun to walk the whole block and a half to Trader Joe's and get some for him... In our pj's! So we did ;)
On the way there he asked me if his daddy and I really had two jobs. I said nope, we only have one job. I work at the salon and daddy works at the university. Then he tells me, "No Mom, you have a 'work' job and then you have the 'bossing around' job!"
Nice, Kid.
On the way there he asked me if his daddy and I really had two jobs. I said nope, we only have one job. I work at the salon and daddy works at the university. Then he tells me, "No Mom, you have a 'work' job and then you have the 'bossing around' job!"
Nice, Kid.
Monday, December 21, 2009
Thursday, December 17, 2009
A new TOY!
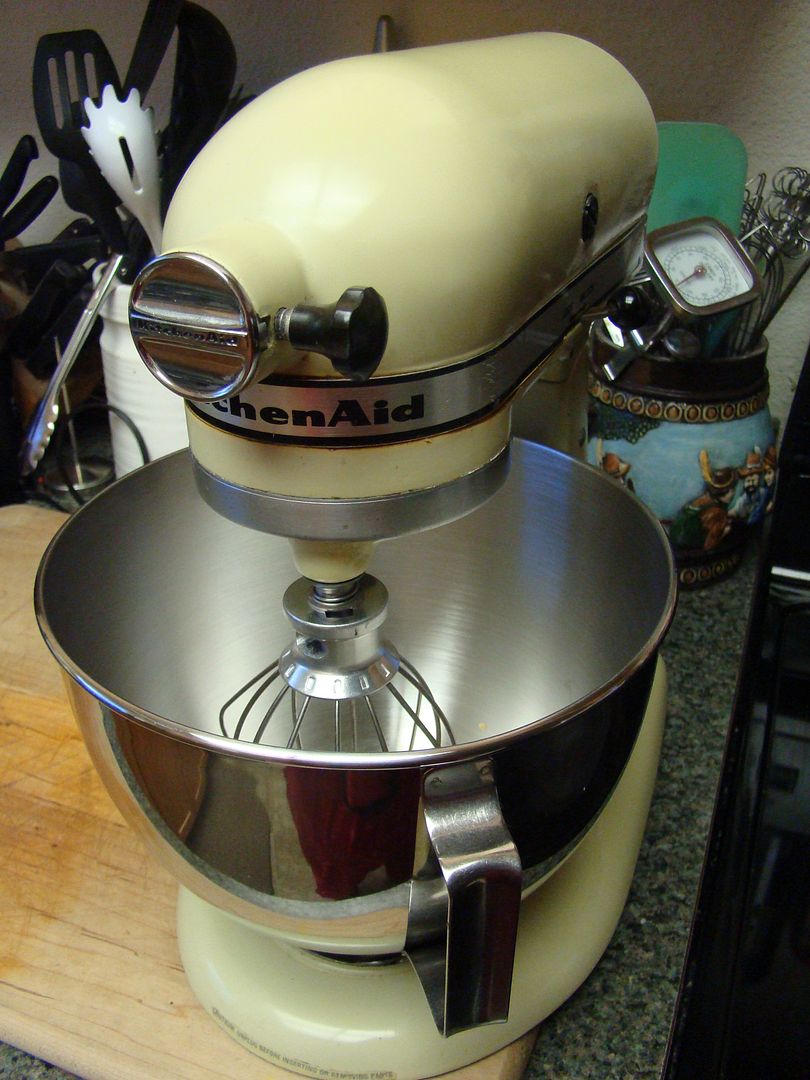
I have wanted a KitchenAid stand mixer for ages, and now I have one, woohooo!!
My hubsband found an ad in the Seattle PI newspaper last year around this time for the professional KitchenAid for $99. They are normally $399-$599 so I said "Go get one right now, I didn't even care what color!!" But when he got to Macy's they said it was a misprint, sorry ;( They wouldn't even budge, I was so sad!
So fast forward to this last summer, he found one at a garage sale for a whopping $3. Just the stand, no accessories or attachments, or even the bowl. We cleaned it up, and tested it out and it worked just fine, so an awesome deal ;) Well I promptly forgot about it, though he kept a look-out for accessories, which are not cheap by the way!
I had forgotten about completely until yesterday, and I wanted to use it. So I ran to the Kitchen Collection store in the mall and bought a bowl, paddle with a built in scraper, and whisk attachments. So all in all my mixer coast us $3 plus $80 in accessories, not too shabby!
Here she is, and now I have to think of a name ;)
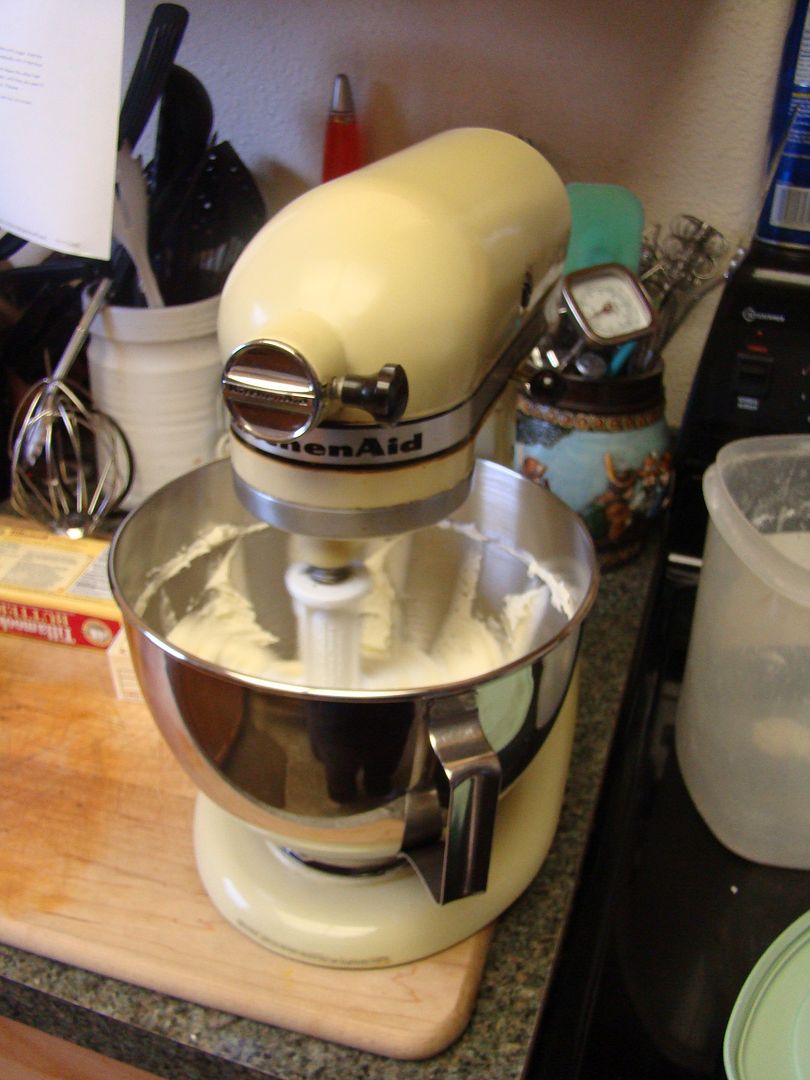
Mixing away!!
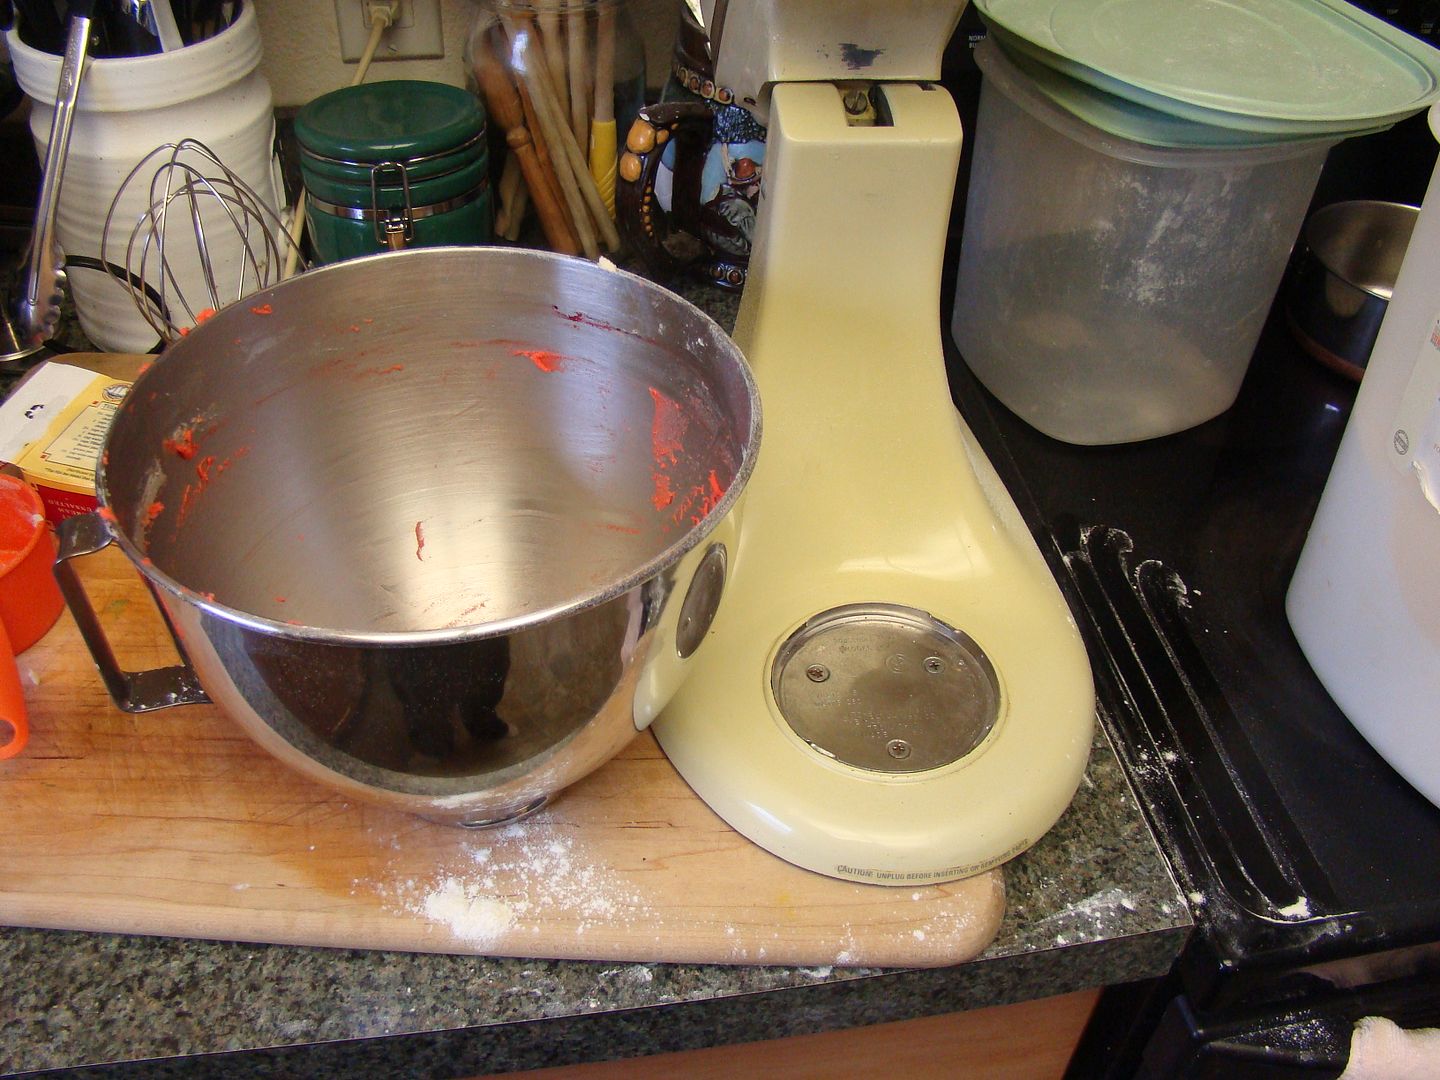
All broken in and messy ;) Learned the hard way to add the flour slowly, lol! This is sugar cookie dough for THIS recipe.
Tuesday, December 15, 2009
Some misc holiday pics...
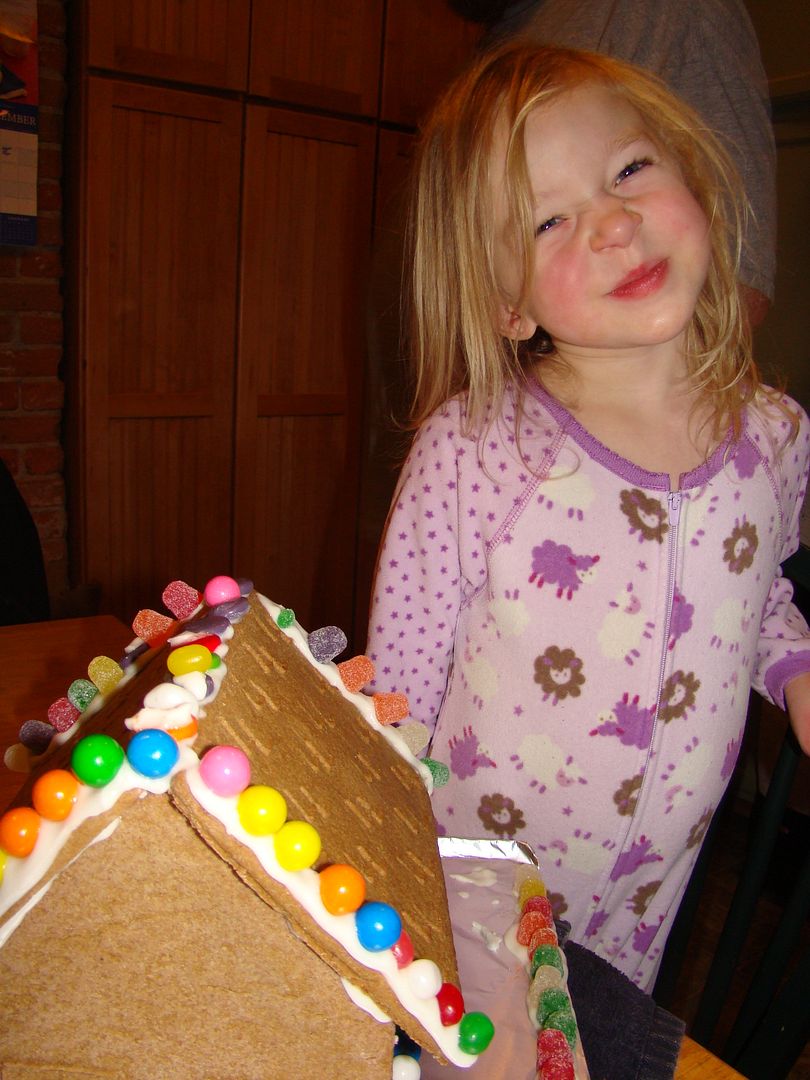
We decorated a Gingerbread House the other night,. Aaron helped for a bit, but wasn't into it like Adrian was.
One of my favorite holiday treats to make is Christmas Crack, so-called because it is soooo good you get addicted ;)
2 sticks of butter
3/4 cup sugar.
2 sleeves saltine crackers
1 bag chocolate chips
nuts optional
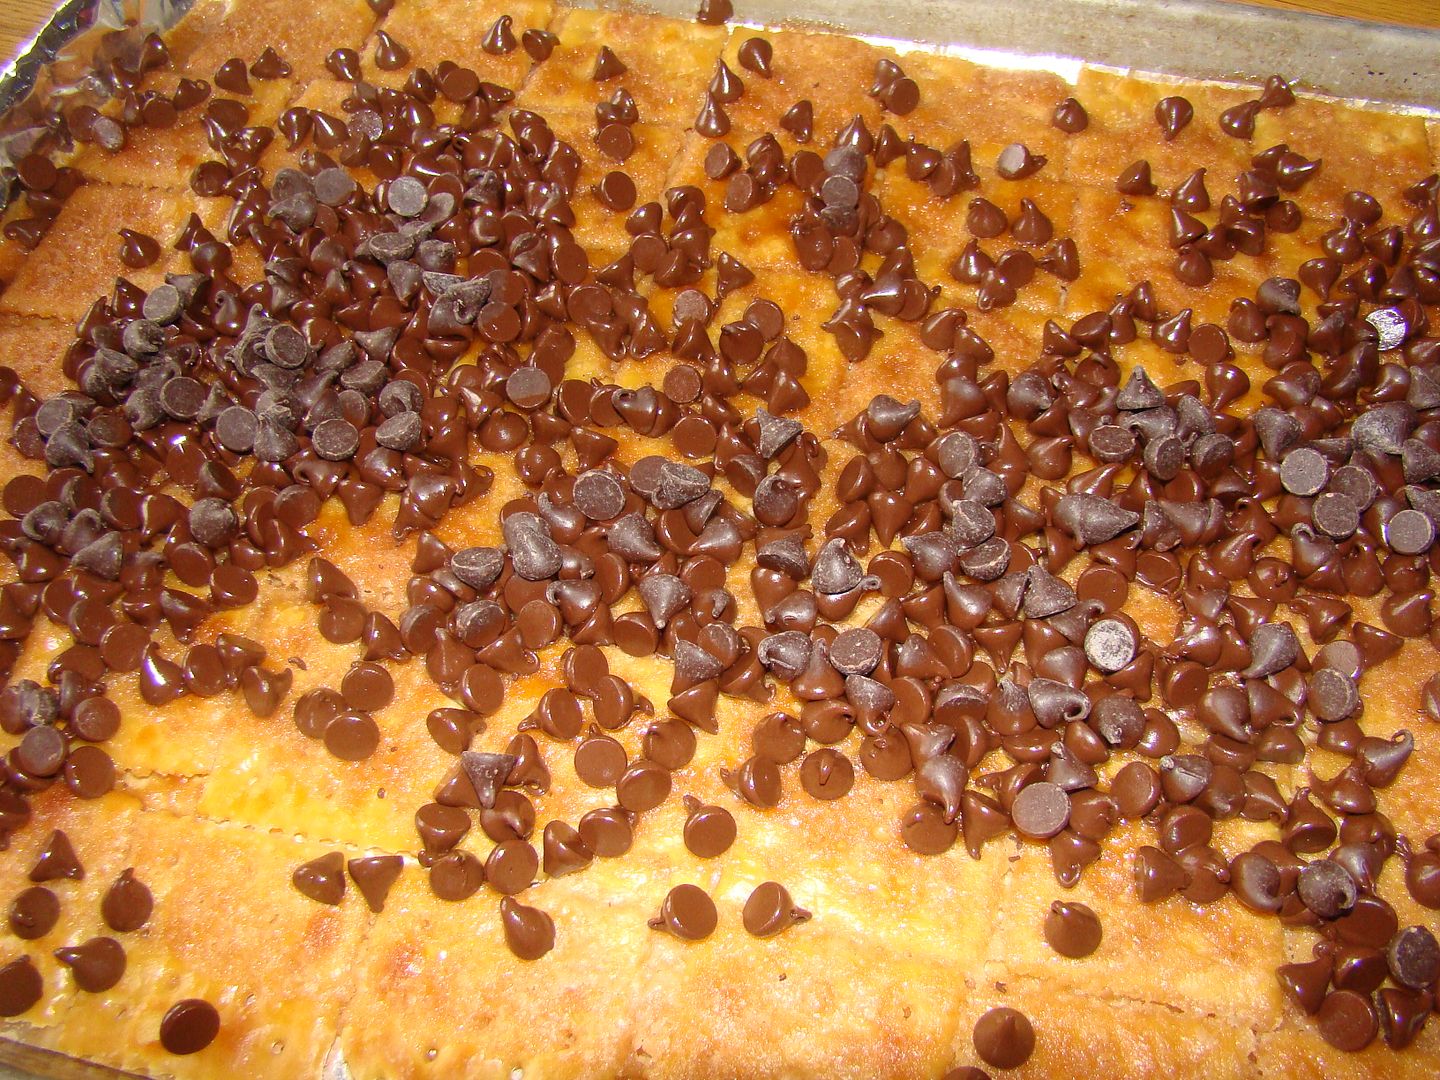
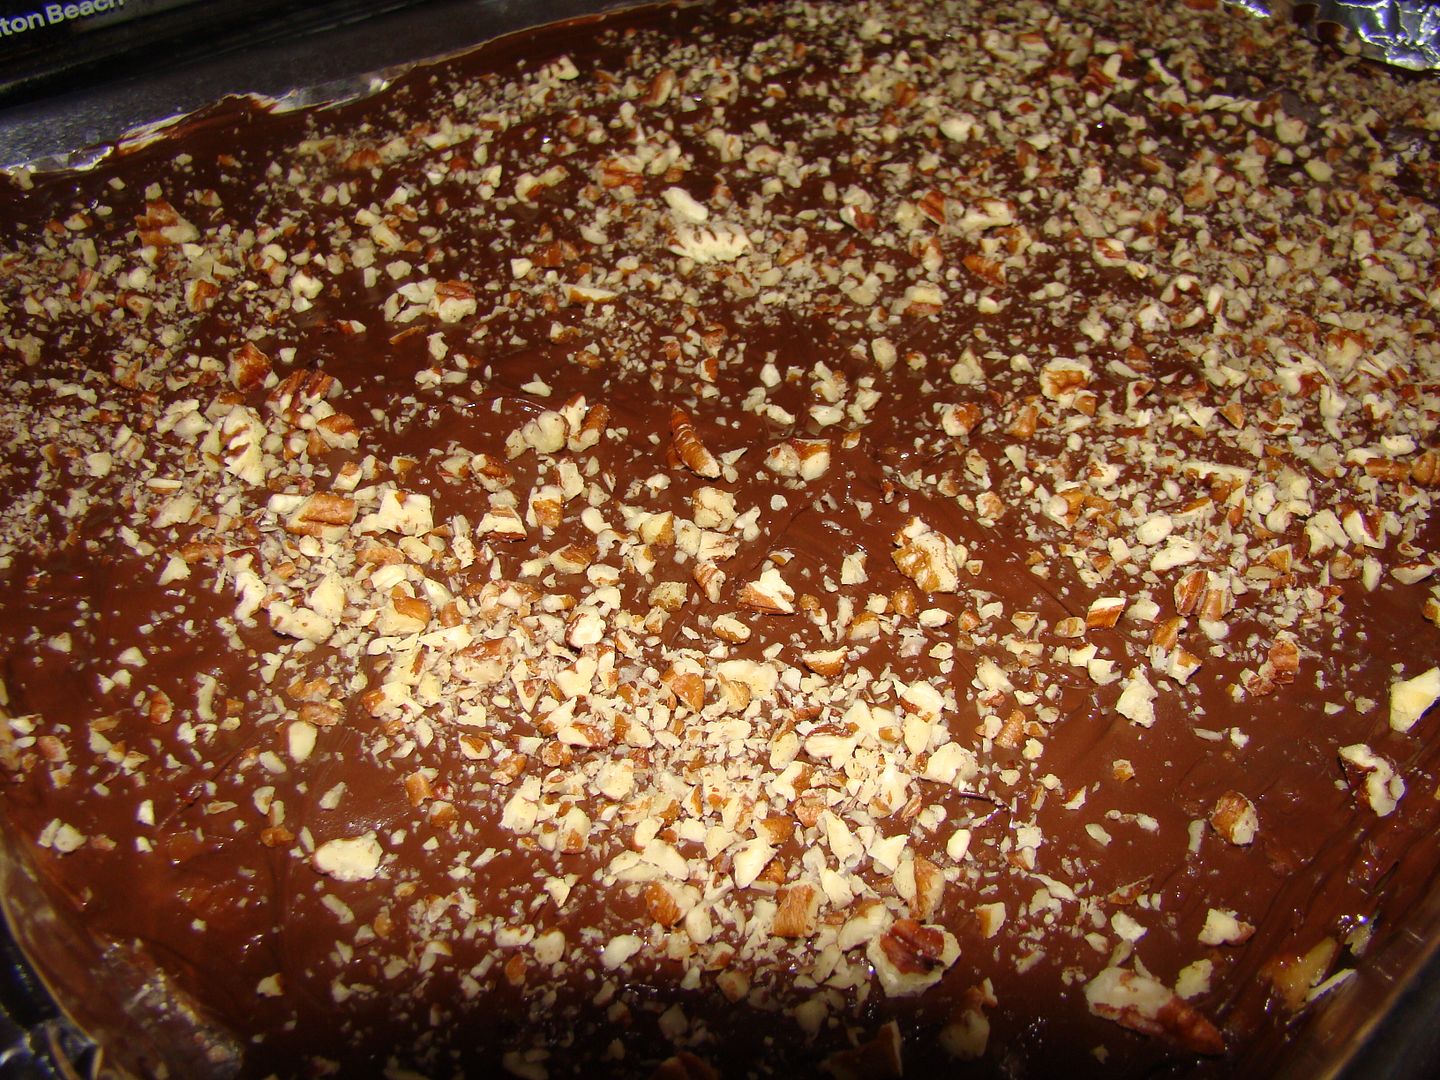
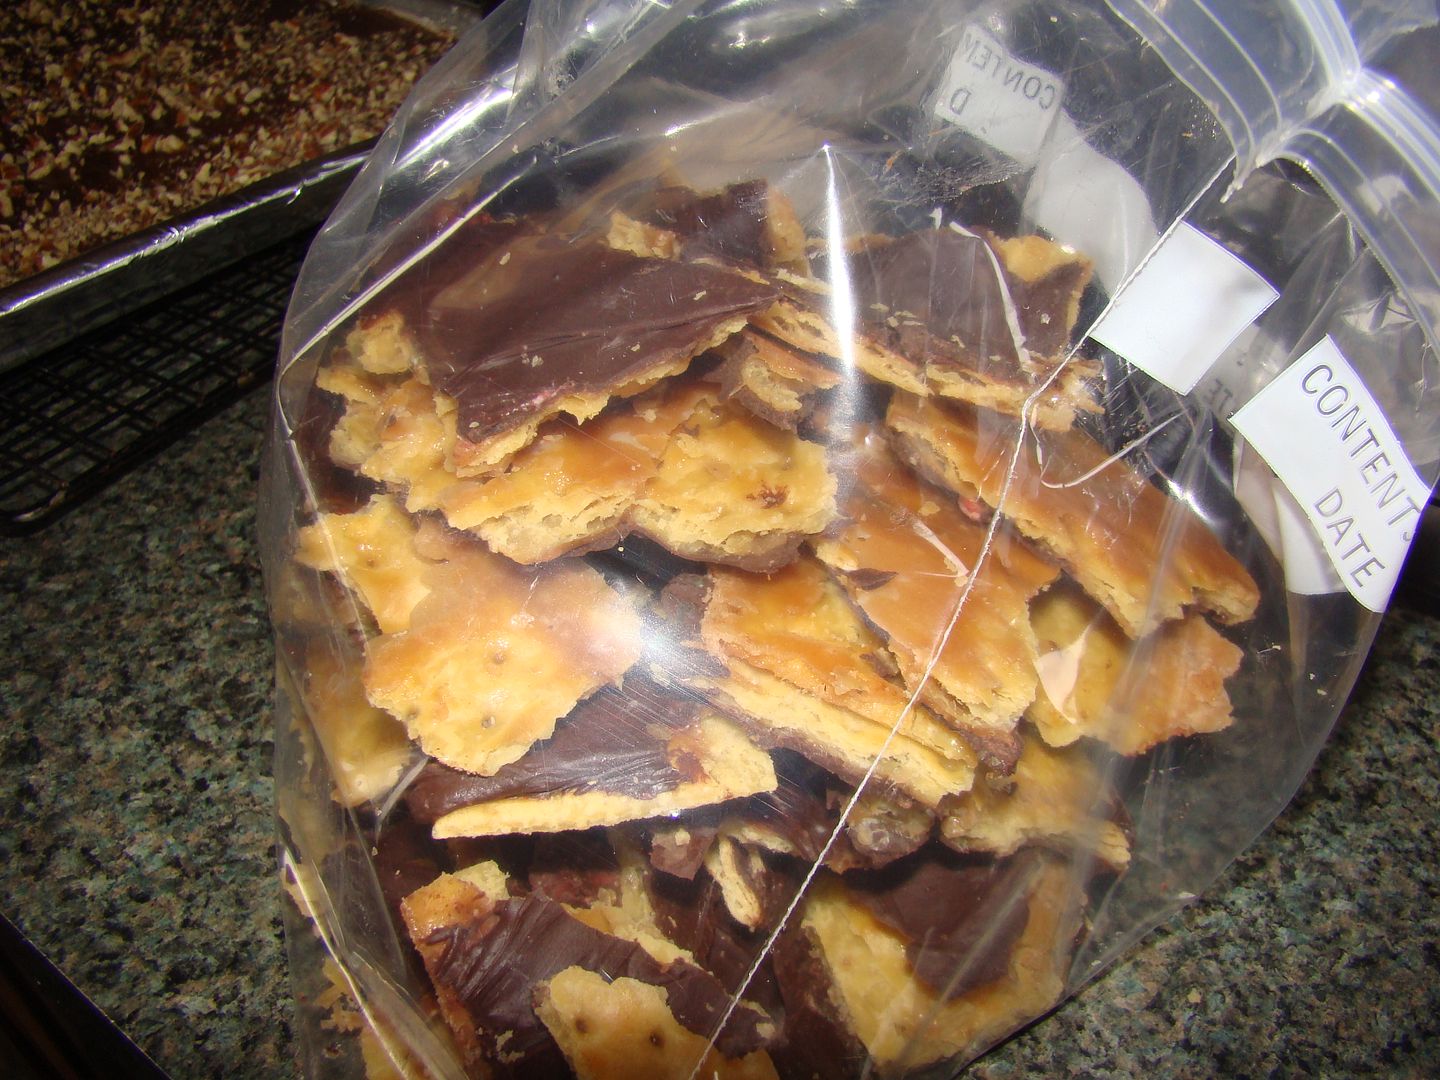
Line a cookie sheet (with sides) with foil, and arrange crackers tightly. Melt together butter and sugar in a saucepan, and bring to a boil for THREE minutes. Pour over crackers and spread evenly. Bake for FIVE MINUTES at 425 degrees. Remove pan from the oven and immediately pour entire bag of chips onto the crackers. Let stand for 5 minutes and spread chips with a rubber spatula. Sprinkle chopped nuts on top if desired. Let cool completely and break apart to serve.
Here's some I made, right after I sprinkled the chips on and they wre starting to melt.
And after I sprinkled the nuts on....
And ready to eat!
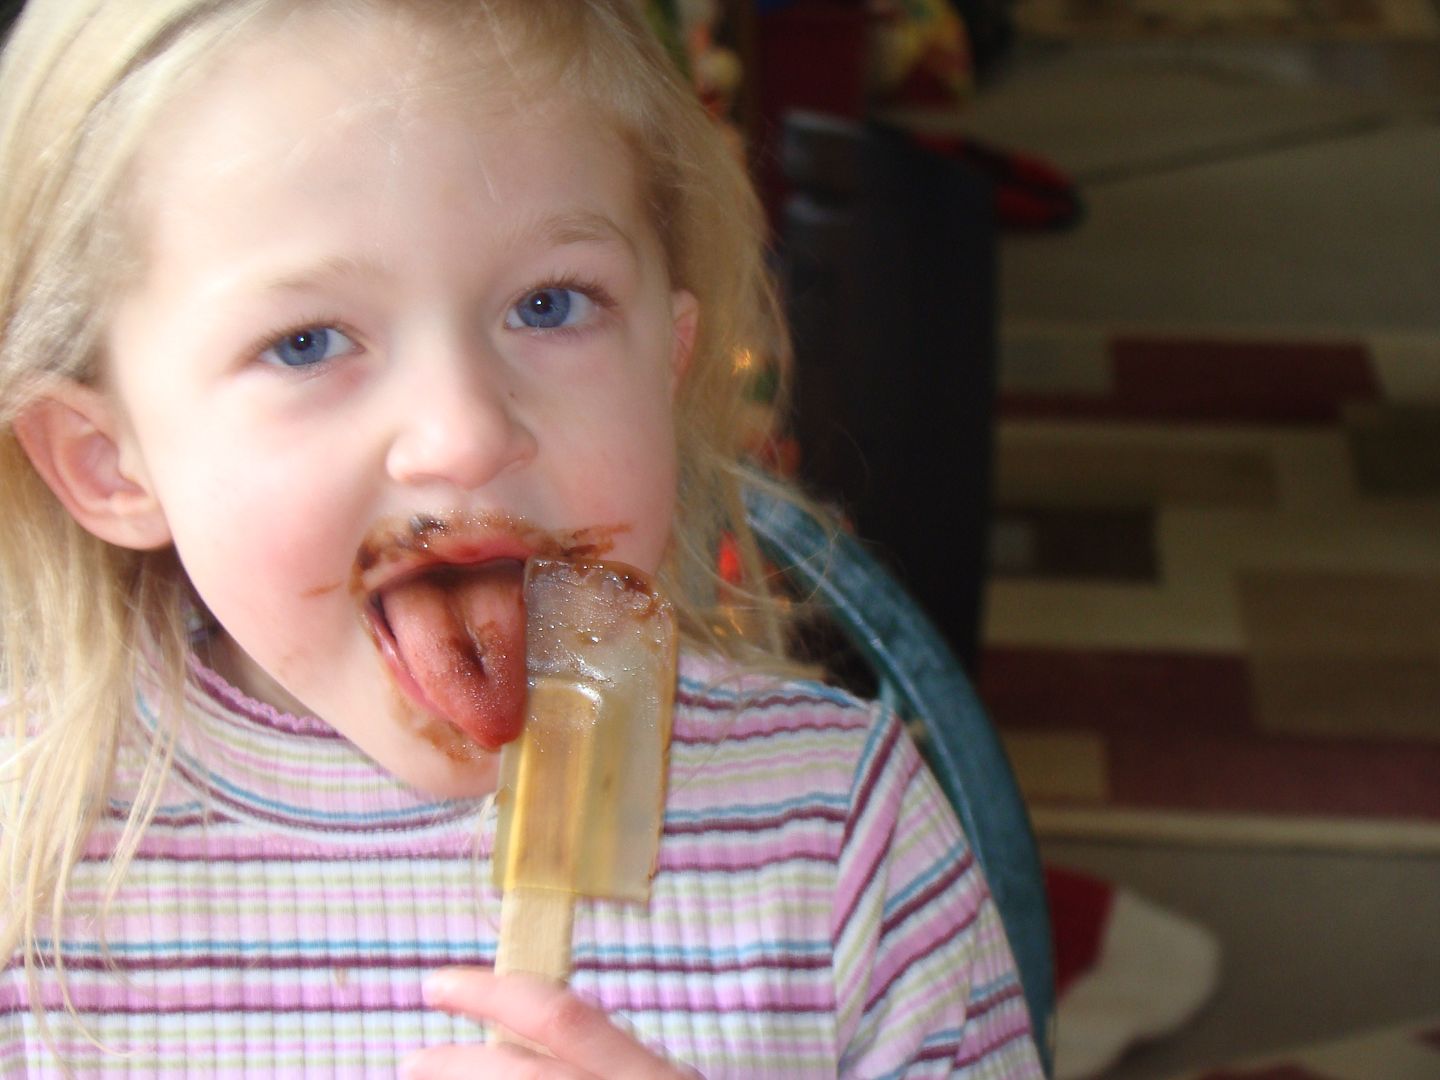
And after I let Adrian lick the spatula ;)
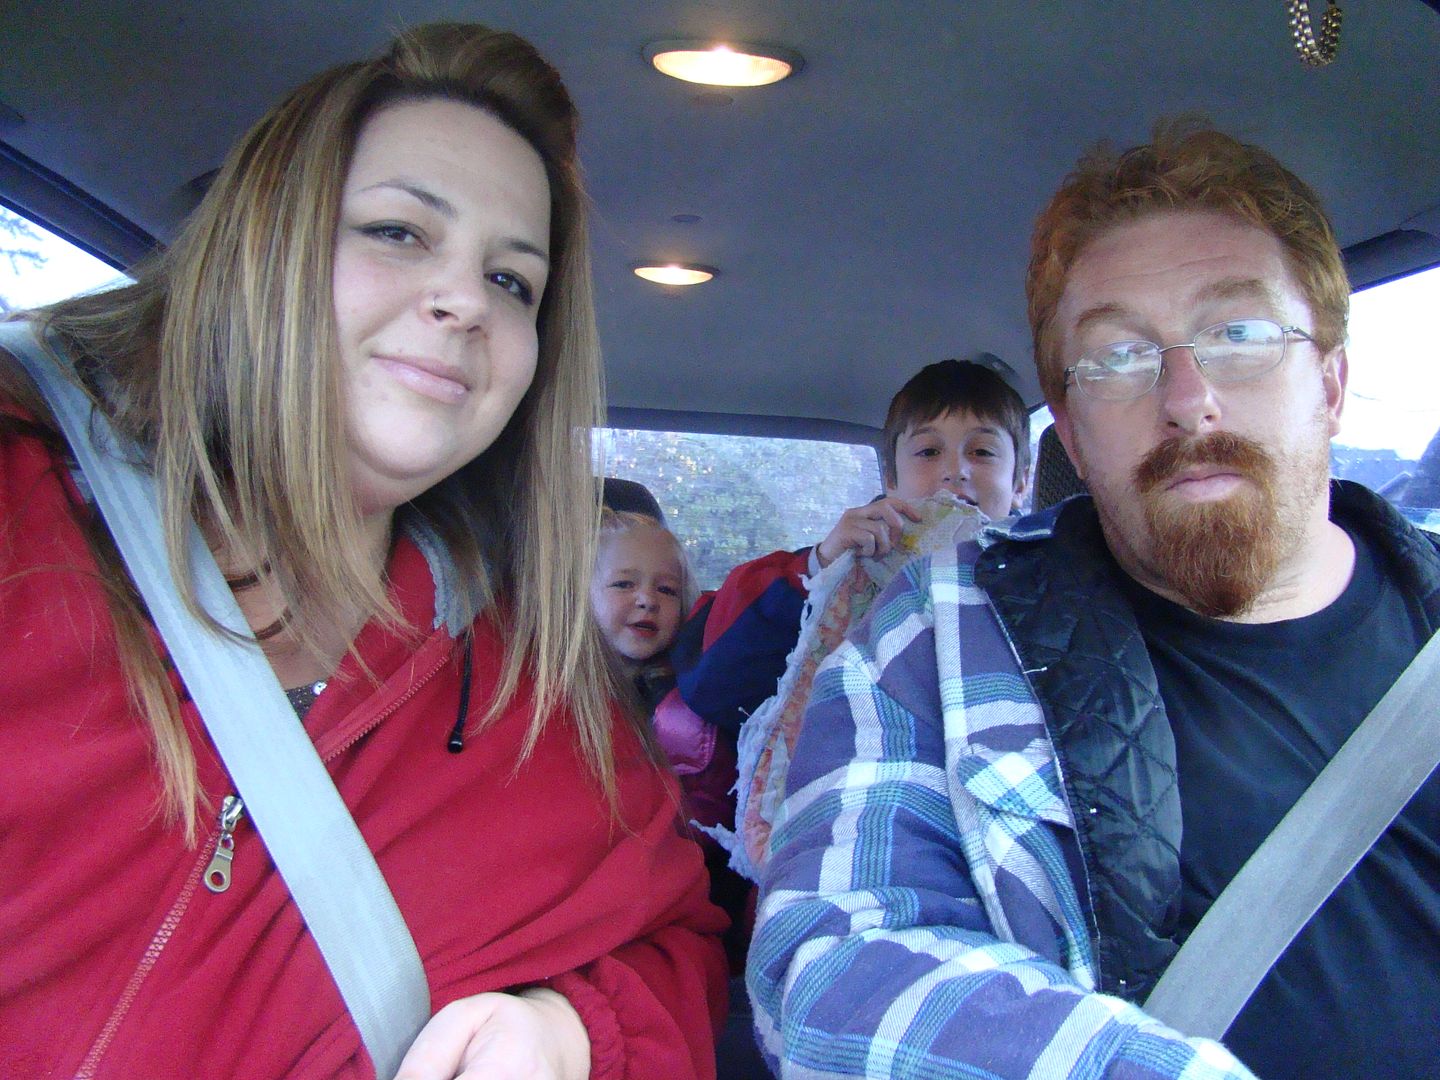
Here we are on the way to our first turkey dinner on Thanksgiving, to my husband's grandmother's house in Ferndale. Then we went to another at my dad's house in the evening! It seems like I can never get a picture of the four of us together on the actual holidays, and this is the second year in a row our Thanksgiving picture has been in the car, lol!
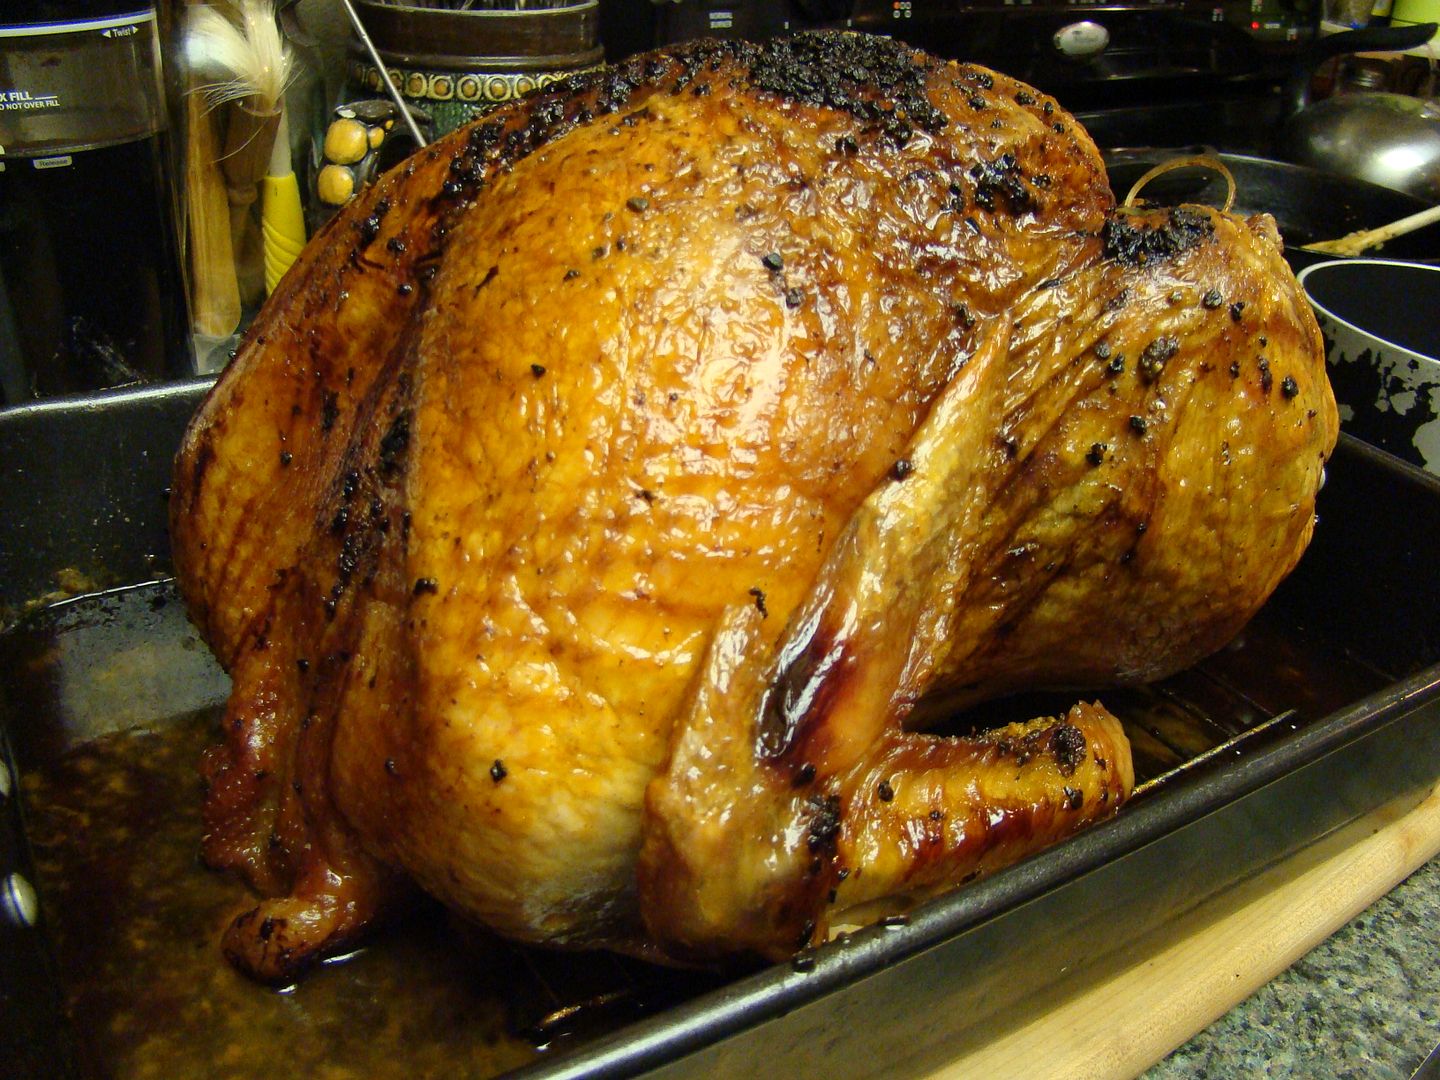
Remember the Turkey Lentil Chili I made the other day? This is the bird my husband cooked, and I used the leftovers in that recipe. A 20 pounder!!
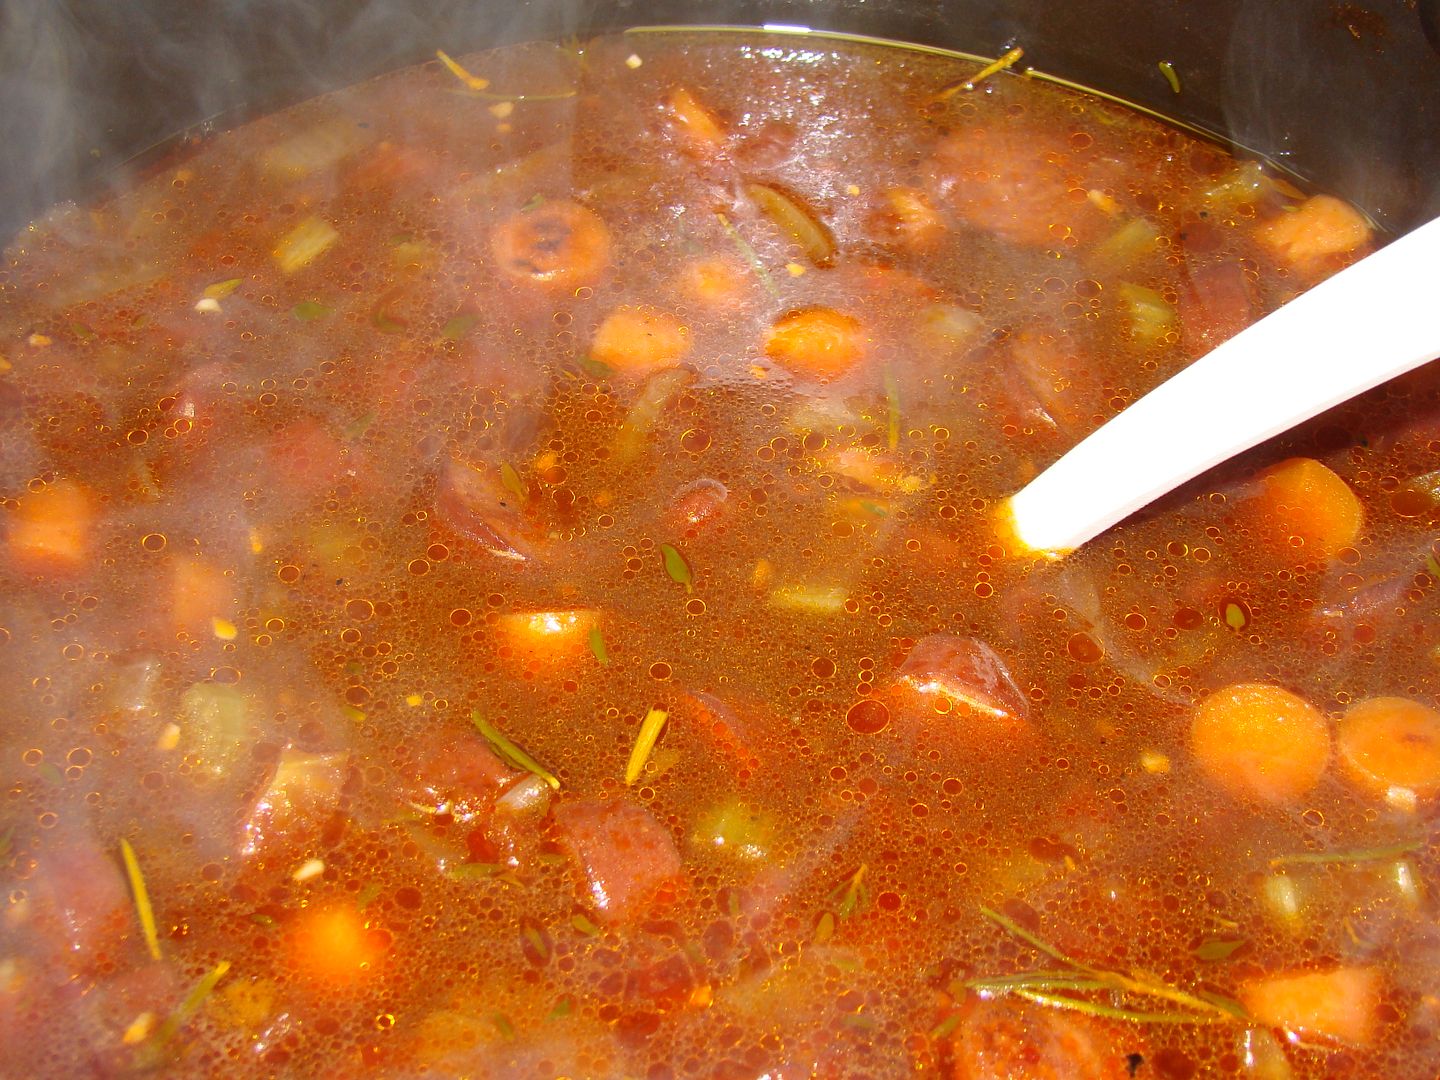
Today's yummy soup, Thanks Gayle!
So I changed it up a tiny bit to fit what I had in my pantry, but not much. SO YUMMY!
Italian Sausage Soup
Brown 1 package of sausage in a soup pot (I didn't have spicy sausage, so used plain smoked sausage)
Add 2 cans beef broth (None in my pantry, so I used 6 cups water and beef bullion to taste)
1 quart stewed tomatoes ( I used 2 cans, one with green chiles, one without, plus the juice)
Veggies - onions, carrots, and celery, chopped and sauteed first, plus chopped garlic
Add 2 cans red wine (I am not a huge fan, so used only one can, but was pleasantly suprised!)
Let simmer . 10 minutes before serving - add your favorite kind of noodles (I used macaroni)
Since I didn't have spicy sausage, I added some chipotle flavored Tobasco sauce, plus a few sprigs of fresh Thyme and Rosemary.
This was soooo good!
Friday, December 11, 2009
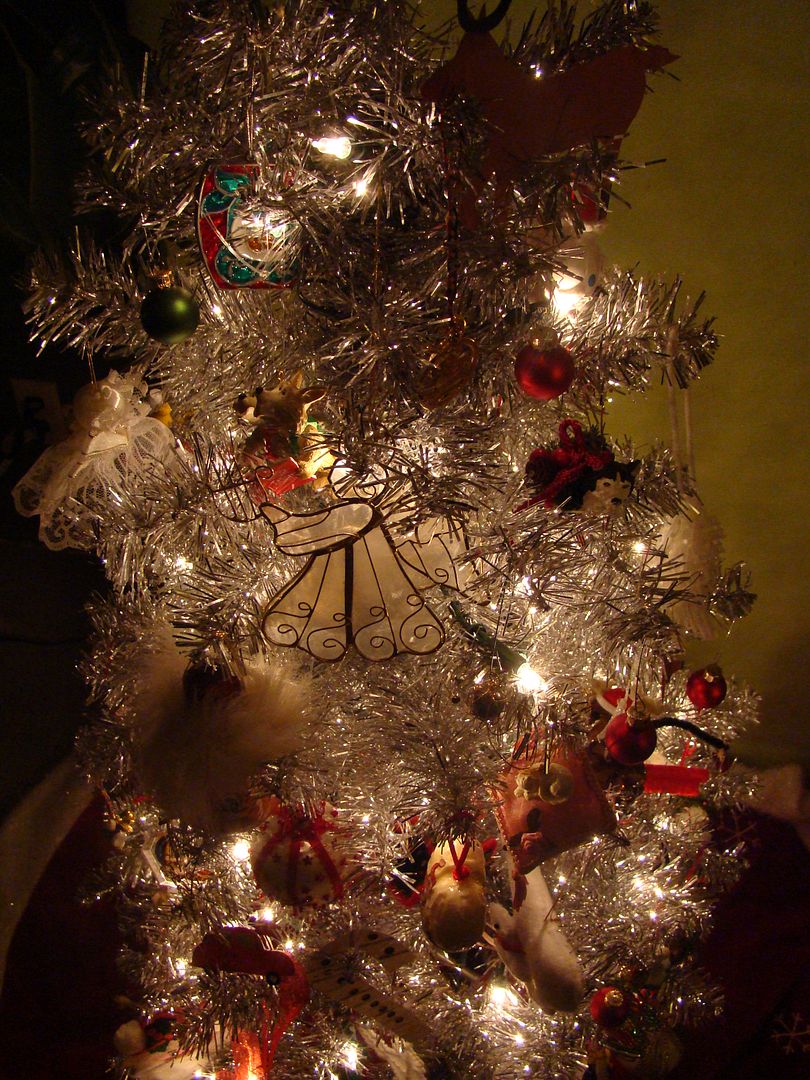
Oh Christmas Tree!
So funny story... The Christmas before last I decided to buy an artificial tree right after the holidays, when I could find a really good deal. I found one at Joann's and grabbed the box and went home. As soon as I got there, I asked my husband to put it in the attic and never thought about it again until last Christmas.
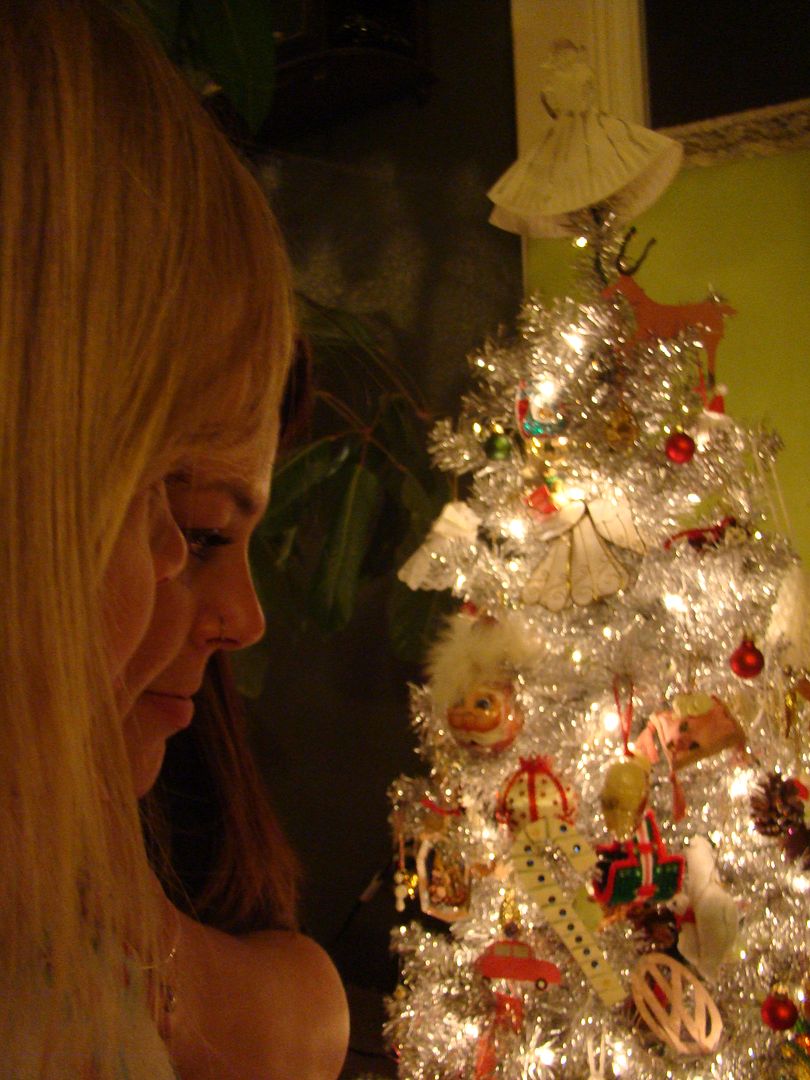
I was getting ready to go to work about a year ago, and asked him to get the tree out of the attic so we could decorate it when I got home. Well, when I got home, I found this tree waiting for me... And I thought it was hideous, LOL! Unbeknownst to me, I had selected a silver tree, not a green one. But since it had been hanging out in my attic for a year, there was not much I could do about it. And I have to say, once we decorated it, it wasn't so bad. I actually kind of like it now ;)
Plus, this tacky tree goes with our tacky ornaments! The hubs and I have been together long enough that this will be our 17th Christmas together, and the first few were pretty bare. We were both working full-time at crappy jobs and going to school full-time, and making ends meet was a little more difficult.
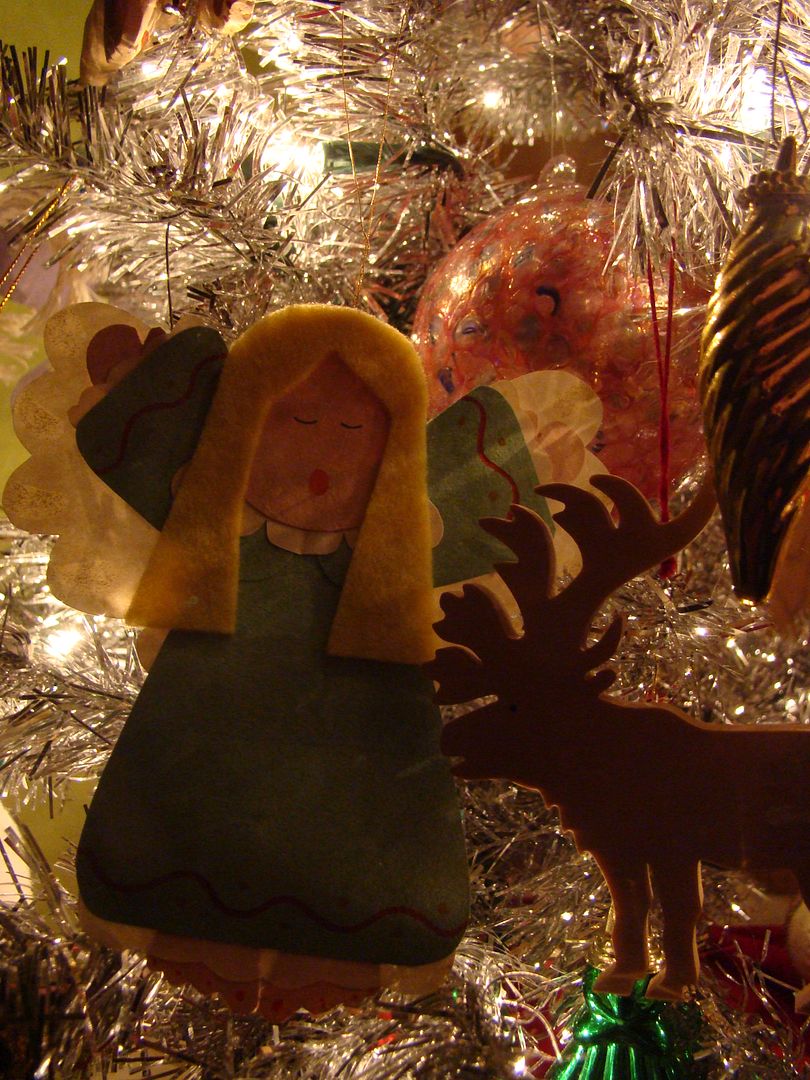
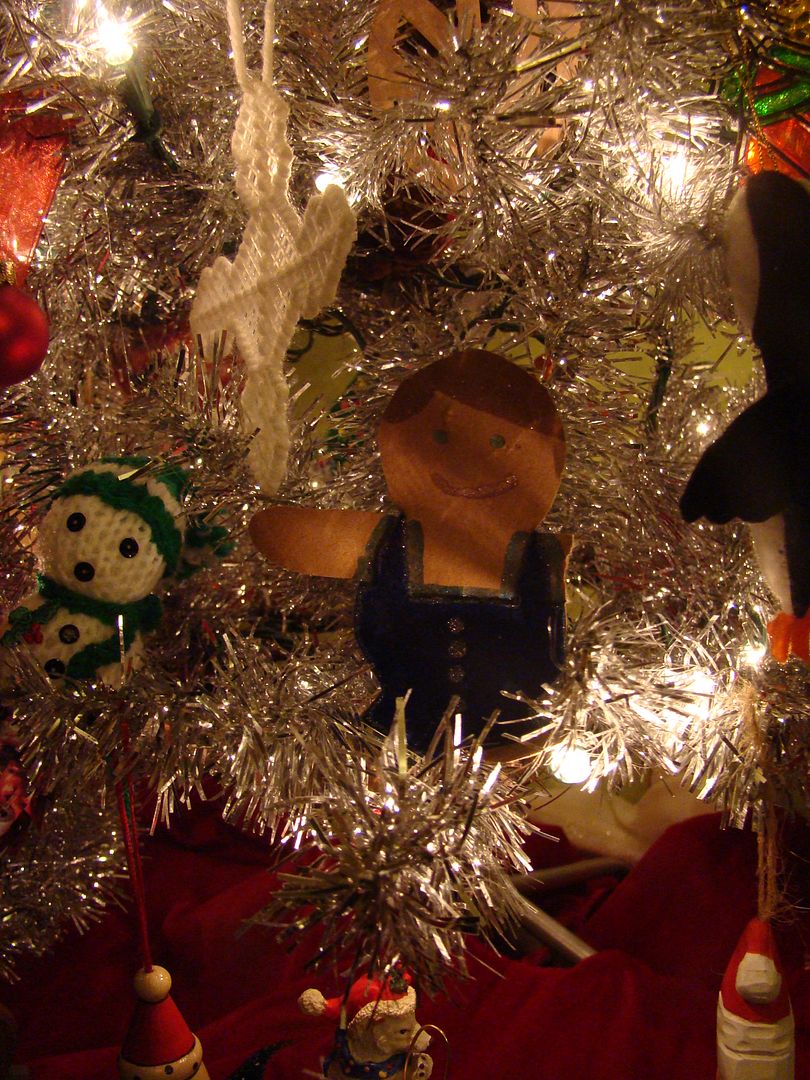
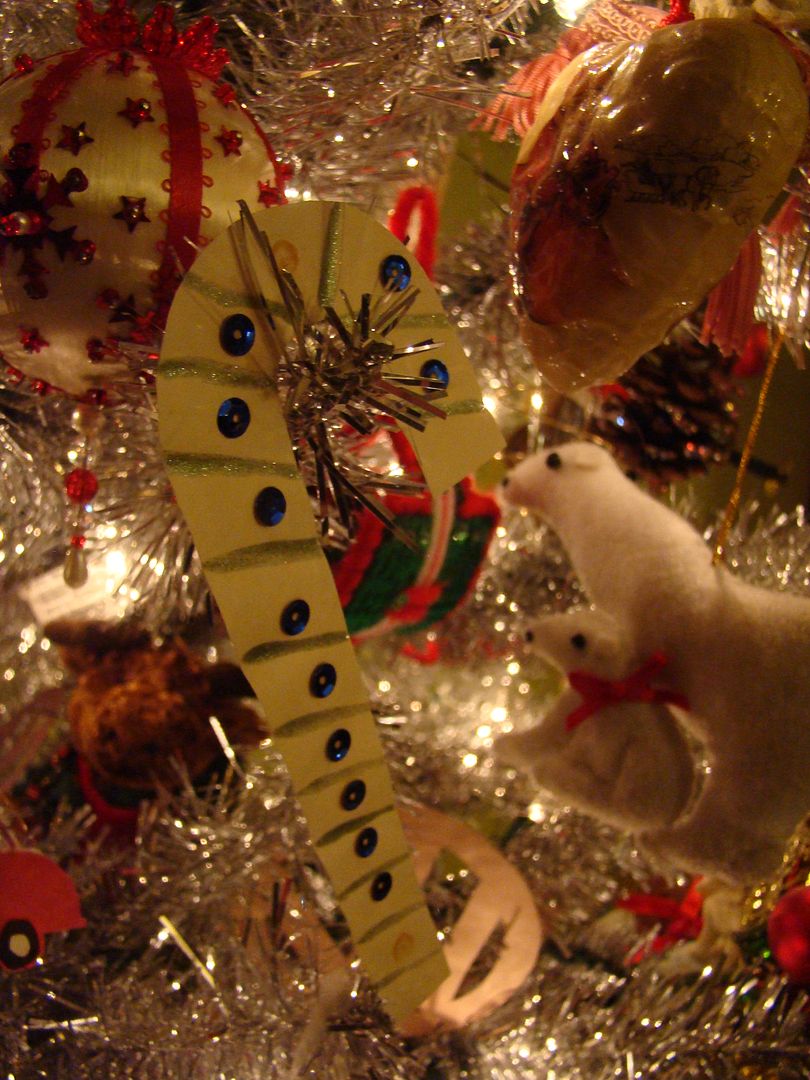
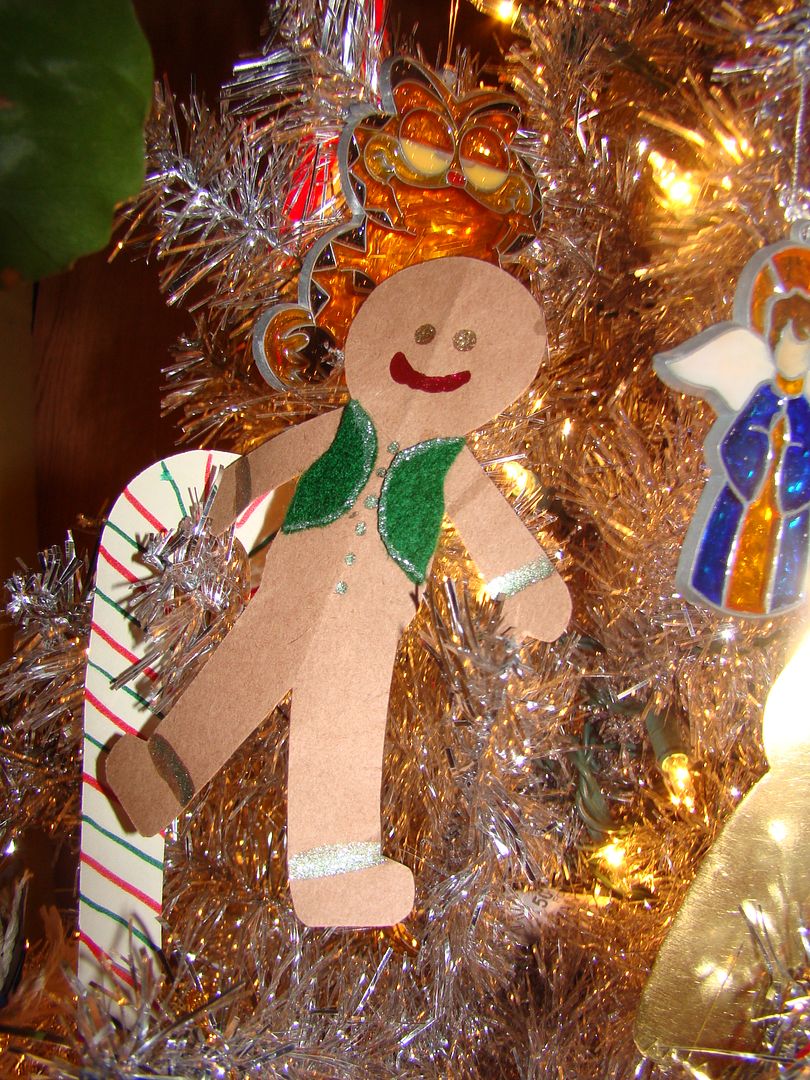
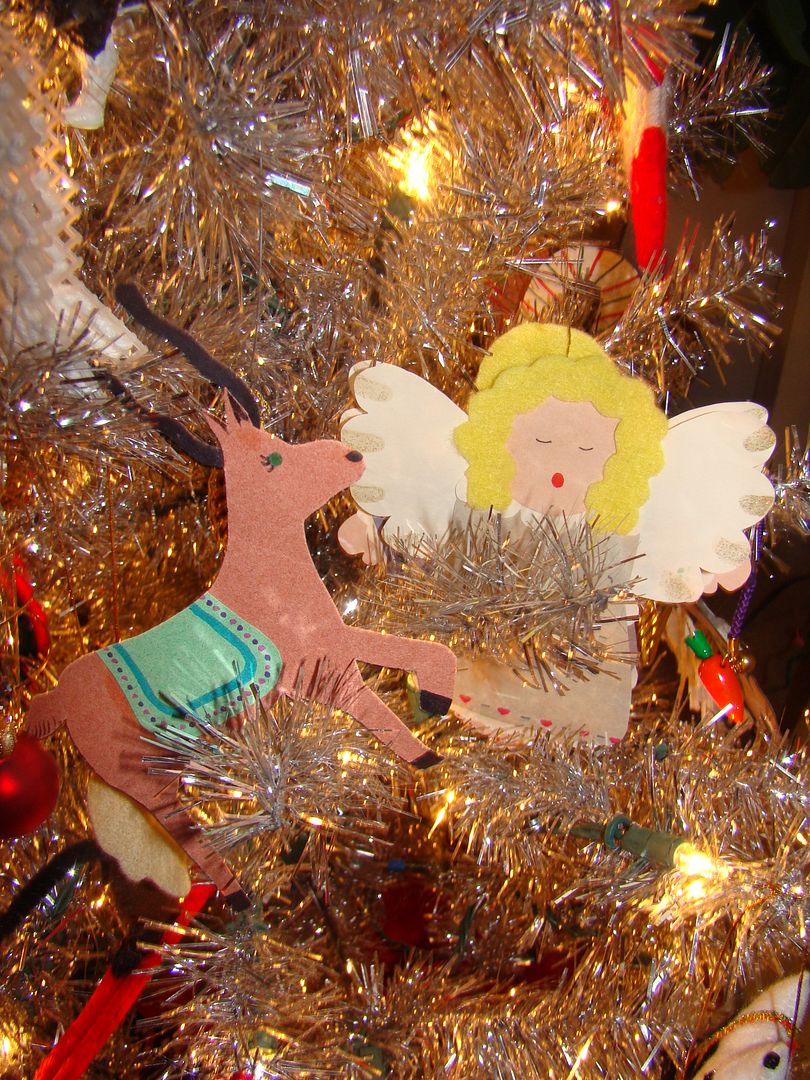
Our first Christmas we didn't really do much, and by the time our second one came around in 1994 we wanted to decorate a bit more... And I have always been crafty ;) So I busted out the scissors, glitter, felt, googley eyes and glue, and we made a bunch of totally cheesy ornaments, and they are still my favorite ones to put on our tree!
This gingerbread guy is missing an arm now, so we have to be gentle!
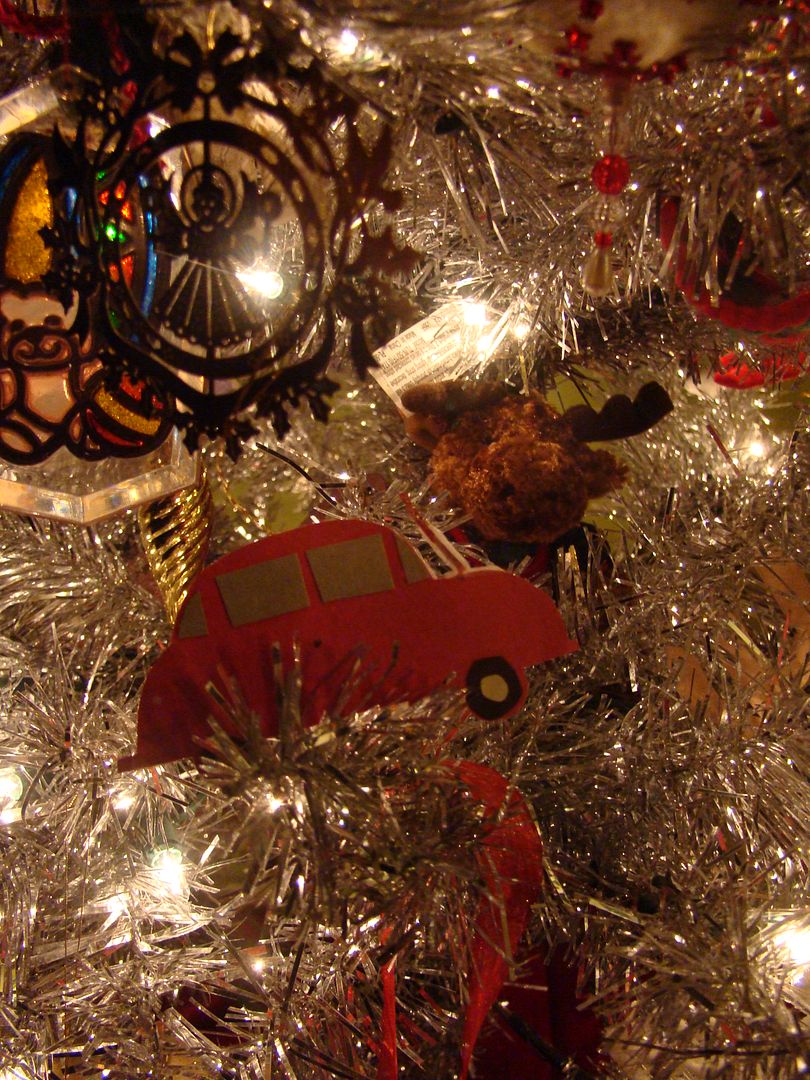
My hubs is a VW guy ;)
Aaron wasn't interested in helping us decorate, so Adrian and I did it together.
I love those beautiful trees where everything matches and has pretty ribbons. They are so nice to look at, but so not my style. Our tree is not one of those fancy ones. The ornaments don't match, or even go together, but I like it ;) All of our ornaments have been handmade, or given to us by family that had too many. I think soon we're going to have to invest in a new tree because we weren't able to fit them all on it this year! This little silver tree is only about 4 feet tall, so it's not very big.
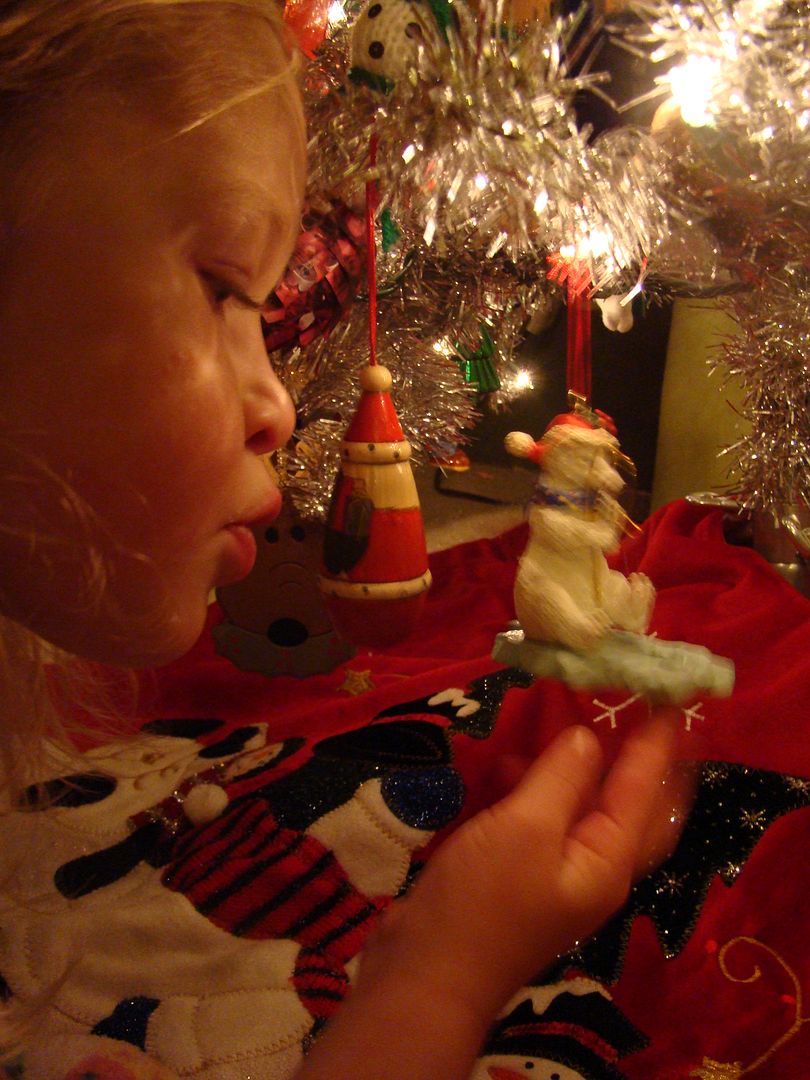
This particular ornaments is a polar bear that is fishing. The bear has a hook and there is a fish dangling on the line that hangs through a hole in the 'ice' on the bottom, and Adrian was fascinated with it!
Thanks for looking at our lovely tree ;)
Thursday, December 10, 2009
A story about a blanket named "Bah-jee"
My son has this blanket, or should I say the blanket. I got it before he was born as a set for his crib, and he adopted it as his special blanket. He took it everywhere, and he even named it. He wanted to take it to school on the first day of Kindergarten. When he started talking, he called it his "Bah-jee." We have no idea why, or where the name came from, or what it means, it just is. He is 8 1/2 now, it is still his favorite and he still calls it that! Adrian calls it that, we all call it that ;)
Now this blanket is almost 9 years old, and has been dragged everywhere and washed a bazillion times. Think of your favorite shirt, or an outfit, whatever. After 8 years, it gets a little tattered and holey. Bah-jee has gone through a few renovations, and it is about time for another one. The first one was just a few patches here and there, and mending a few holes. The second one was a major overhaul. I dreaded it because I thought for sure Aaron would freak out, and once we did it there would be no going back!
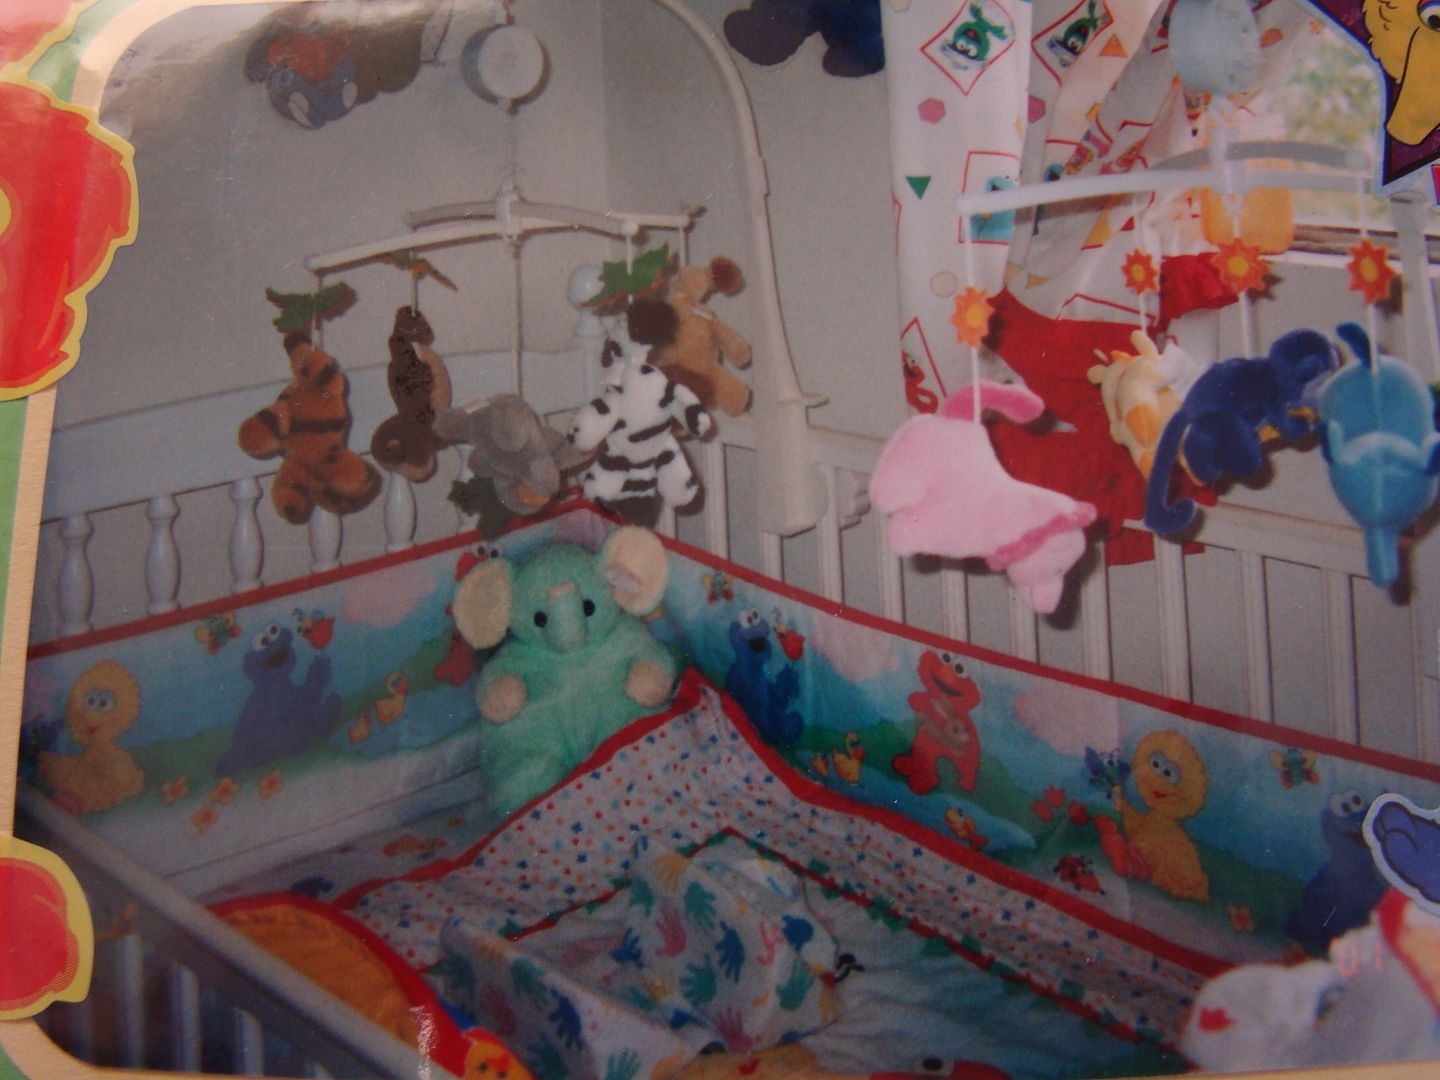
Here is a photo (of a photo, before I had digital!) of Aaron's room before he arrived in 2001. The blanket with the red border and polka-dots around the edges, that's Bah-jee when he was new.
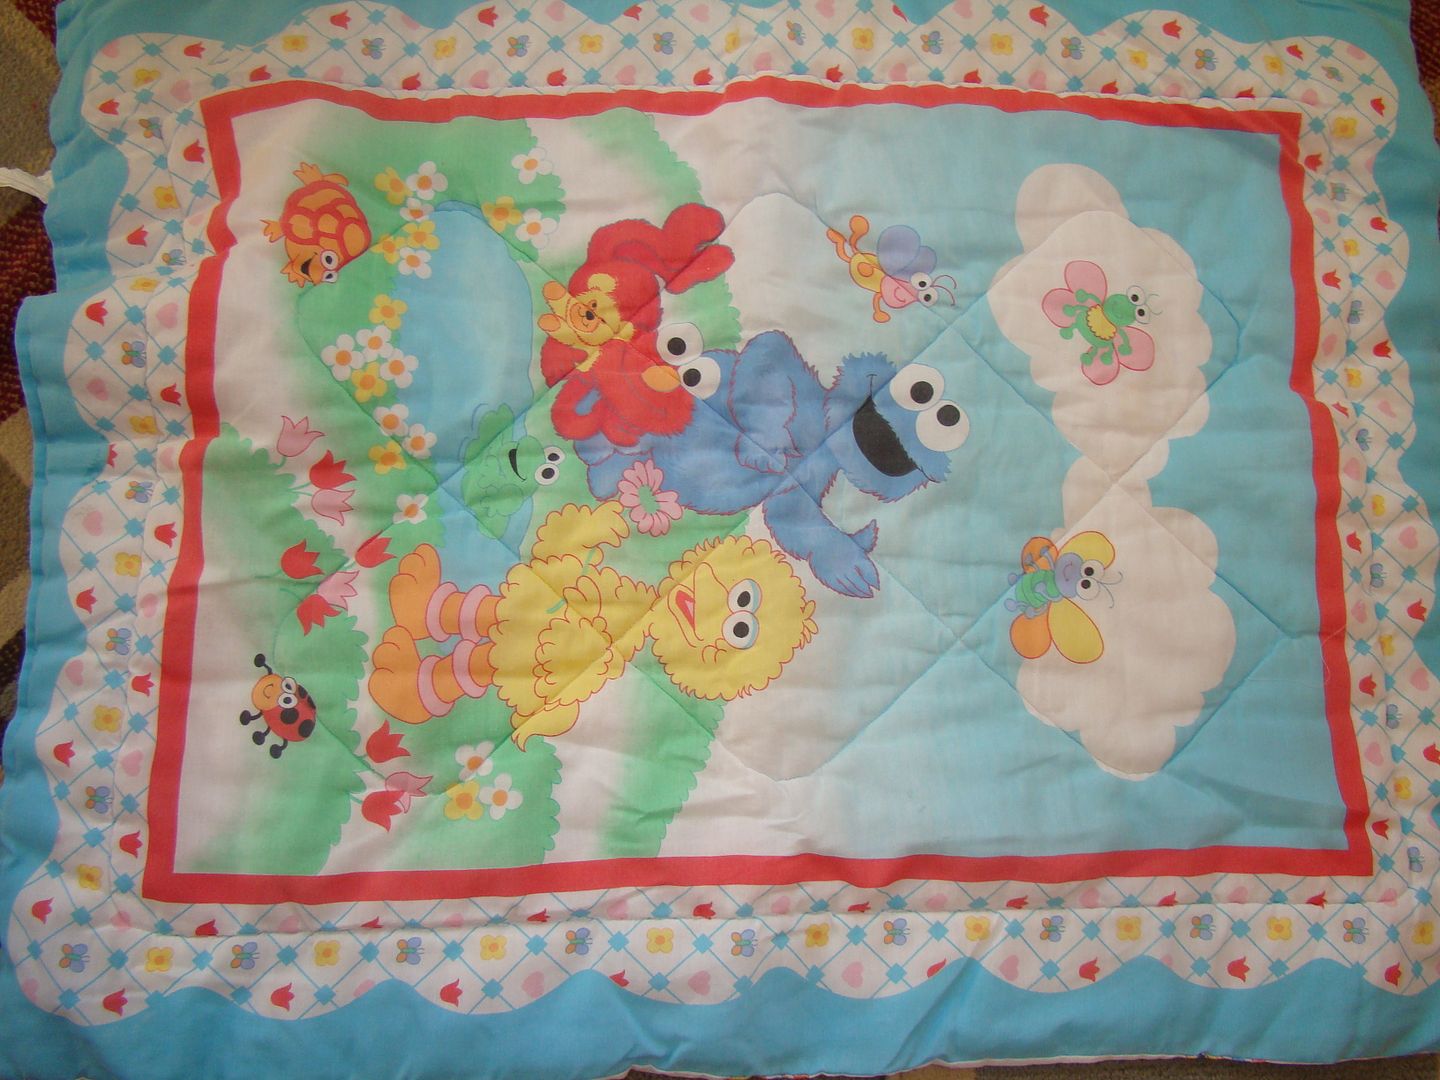
When Aaron was around 1 year old and Bah-jee was starting to get a little dingy, we looked around for another blanket like it so we could have a spare. Ha. This is the blanket we found, similar, but not the same. And he knew, he knew it wasn't the same! I actually just took this pic a few minutes ago, so this blanket is practically pristine compared to the real Bah-jee, lol.
I remember when Aaron was about 1 1/2, he stayed the night at my dad's house for the first time by himself. The house I grew up in is in Maple Falls, about a 40 minute drive from here, and when my dad brought Aaron home the next day... He had forgotten Bah-jee. He said "I'll be right back" and got in the car. He drove all the way back home, picked up Bah-jee and drove back to our house. And then drove home again. He knew the wrath of a particular 1 1/2 year old if we tried to tell him there was no Bah-jee, and none of us were ready for that!
This is Aaron with his Bah-jee when he was about 3 years old (2004), right before Adrian was born, and my friend's daughter Josette. You can see the patches on Bah-jee that I had sewn on to try and salvage the corners that were starting to go. I even ordered this Sesame Street fabric off of Ebay!
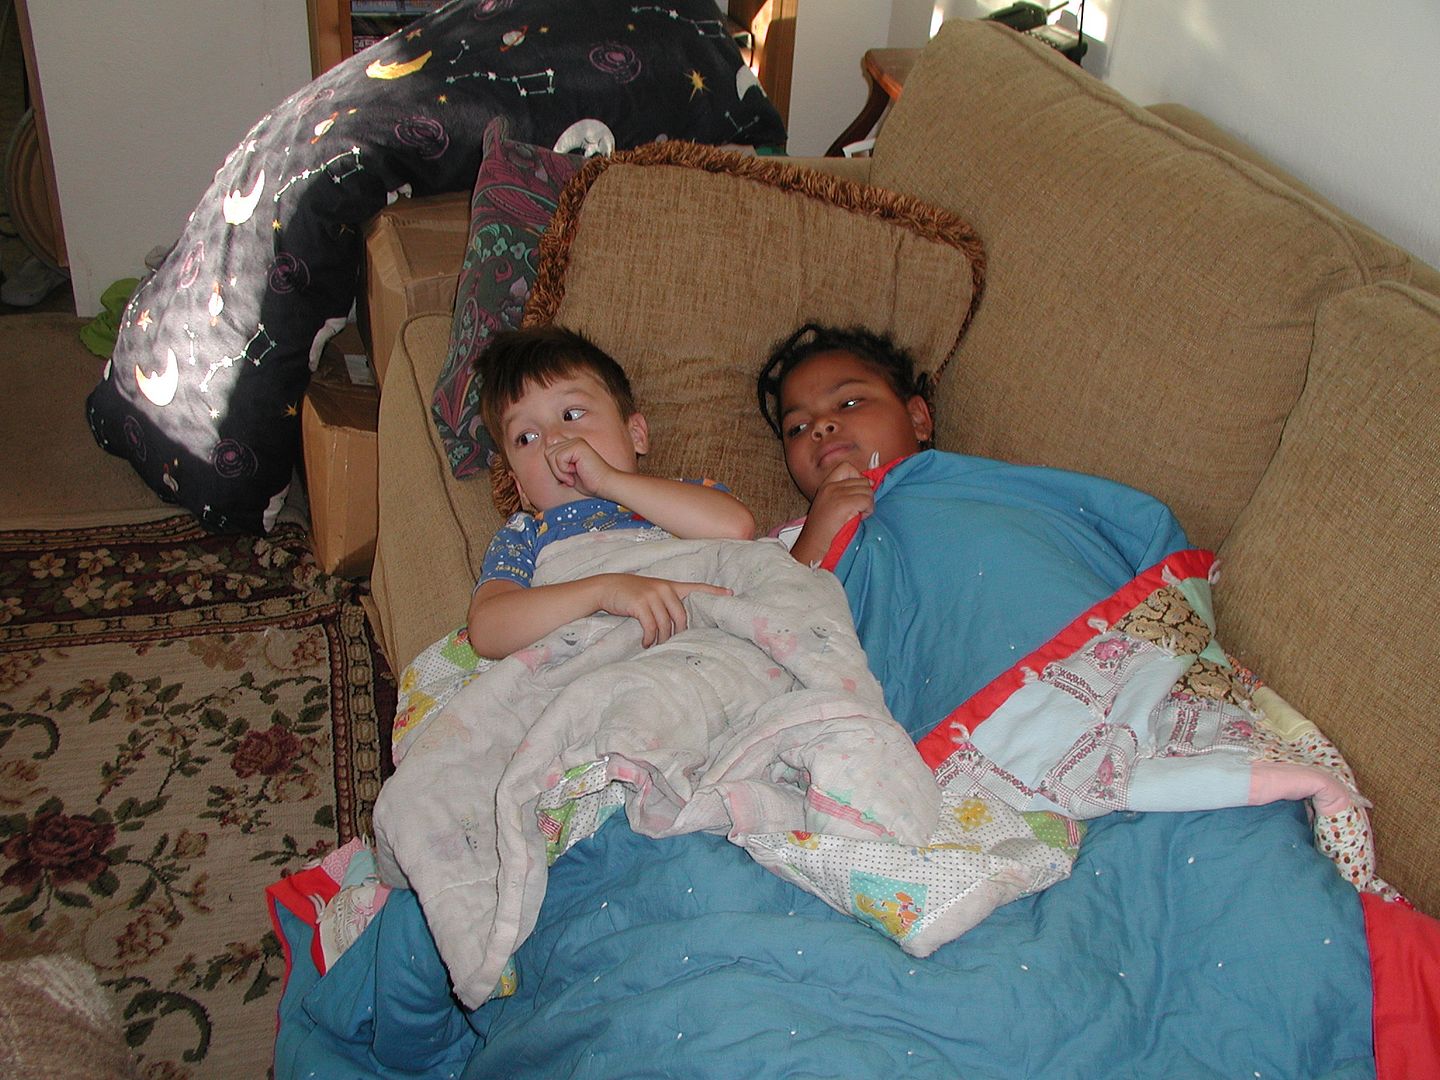
Here's Kasoma with Aaron and Bah-jee after Adrian joined our family, in 2005.
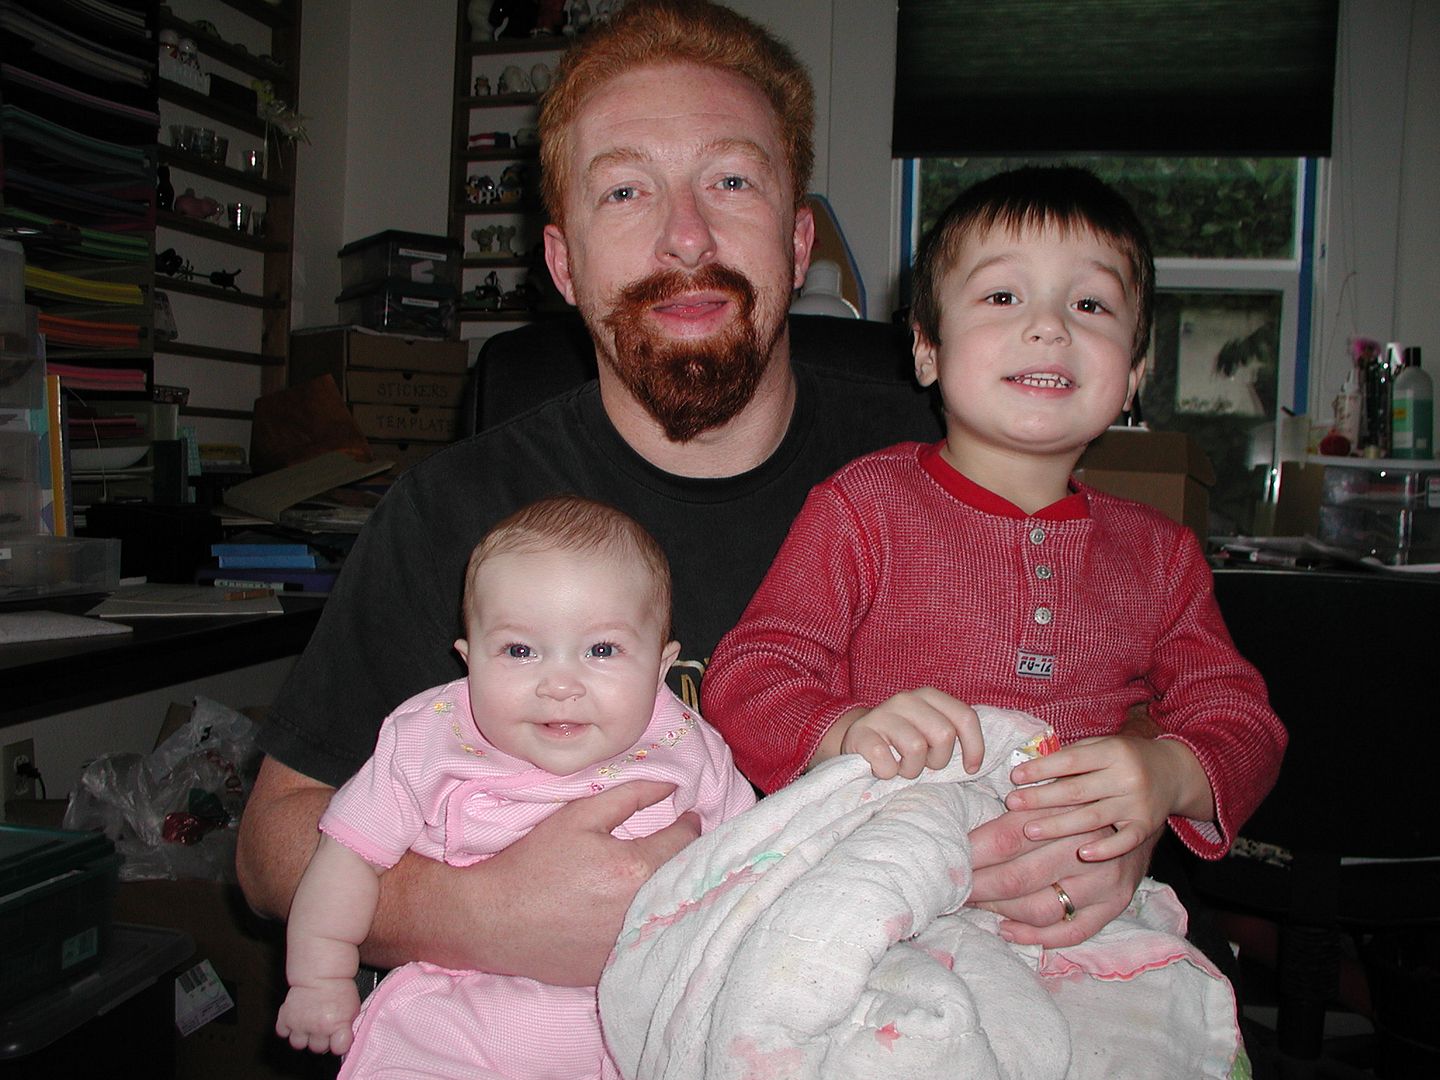
Here's another from 2005, and Bah-jee is definitely getting dingy and grey.
We had been preparing Aaron for awhile, letting him know that we had to fix his Bah-jee by getting Bah-jee some "new clothes." In theory, Aaron was ok with this, but putting it in practice was an entirely different matter...
So we went to the fabric store, and I let him pick out a few different things, and I made a front and back cover for Bah-jee. He picked out some Dora fabric, Blues Clues, Sesame Street and Spongebob stuff too. We washed them, and he played with them for probably a month before I did the actual sewing onto Bah-jee. I was terrified!
Then the day came and we couldn't wait any longer, and Aaron was actually asking me when we were going to put new clothes onto Bah-jee. So here I layed it all out on the floor and started pinning the layers together.
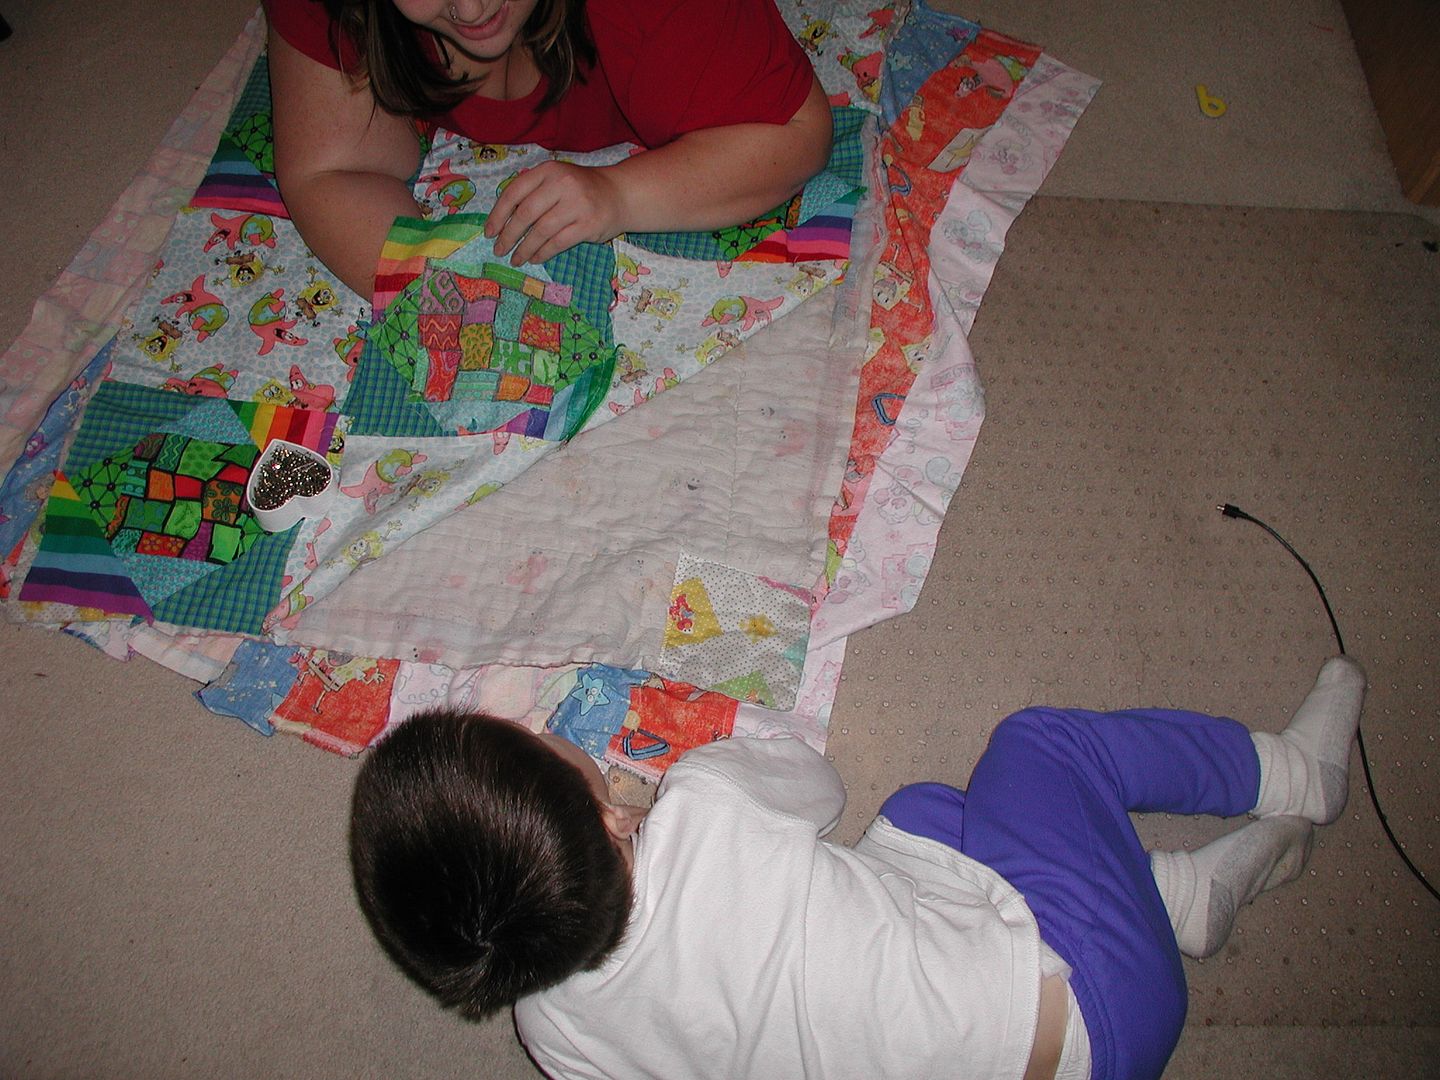
And started sewing...
The plan was to sew a front and back onto Bah-jee and make a sandwhich. Then the yellow Spongebob fabric was going to be the binding around the edges. I decided at the last minute to not completely sew the binding closed so Aaron would still be able to see bits of Bah-jee around the sides, and that is how he stayed.
And amazingly, Aaron was ok with the new Bah-jee. Completely ok, and I was so relieved! He still took him everywhere and the world still revolved around the sun, and it was OK!
I didn't get to take pics right after I was done, but here are a few from a little later. We drove to Federal Way to visit some friends and the kids were in the back. Aaron has Bah-jee on his lap in the first pic.
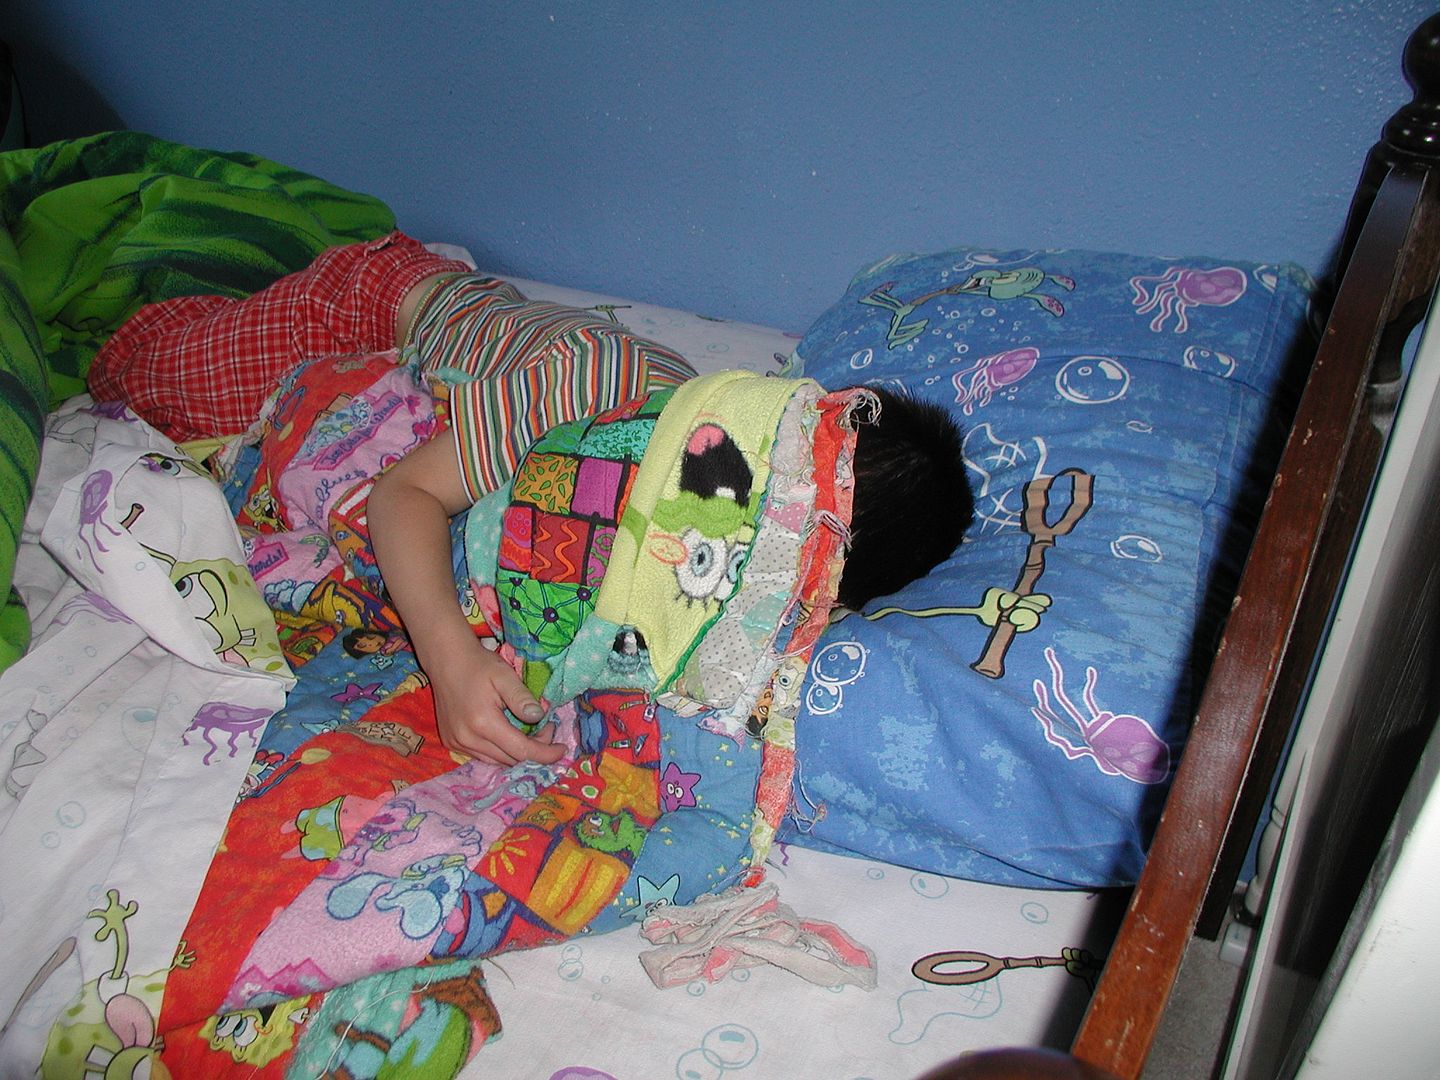
And here's a few from June 2005 of Aaron taking a nap with Bah-jee. I used to find him like this all the time, and when I would lift the banket off of his sweaty head he would pull it right back over again.
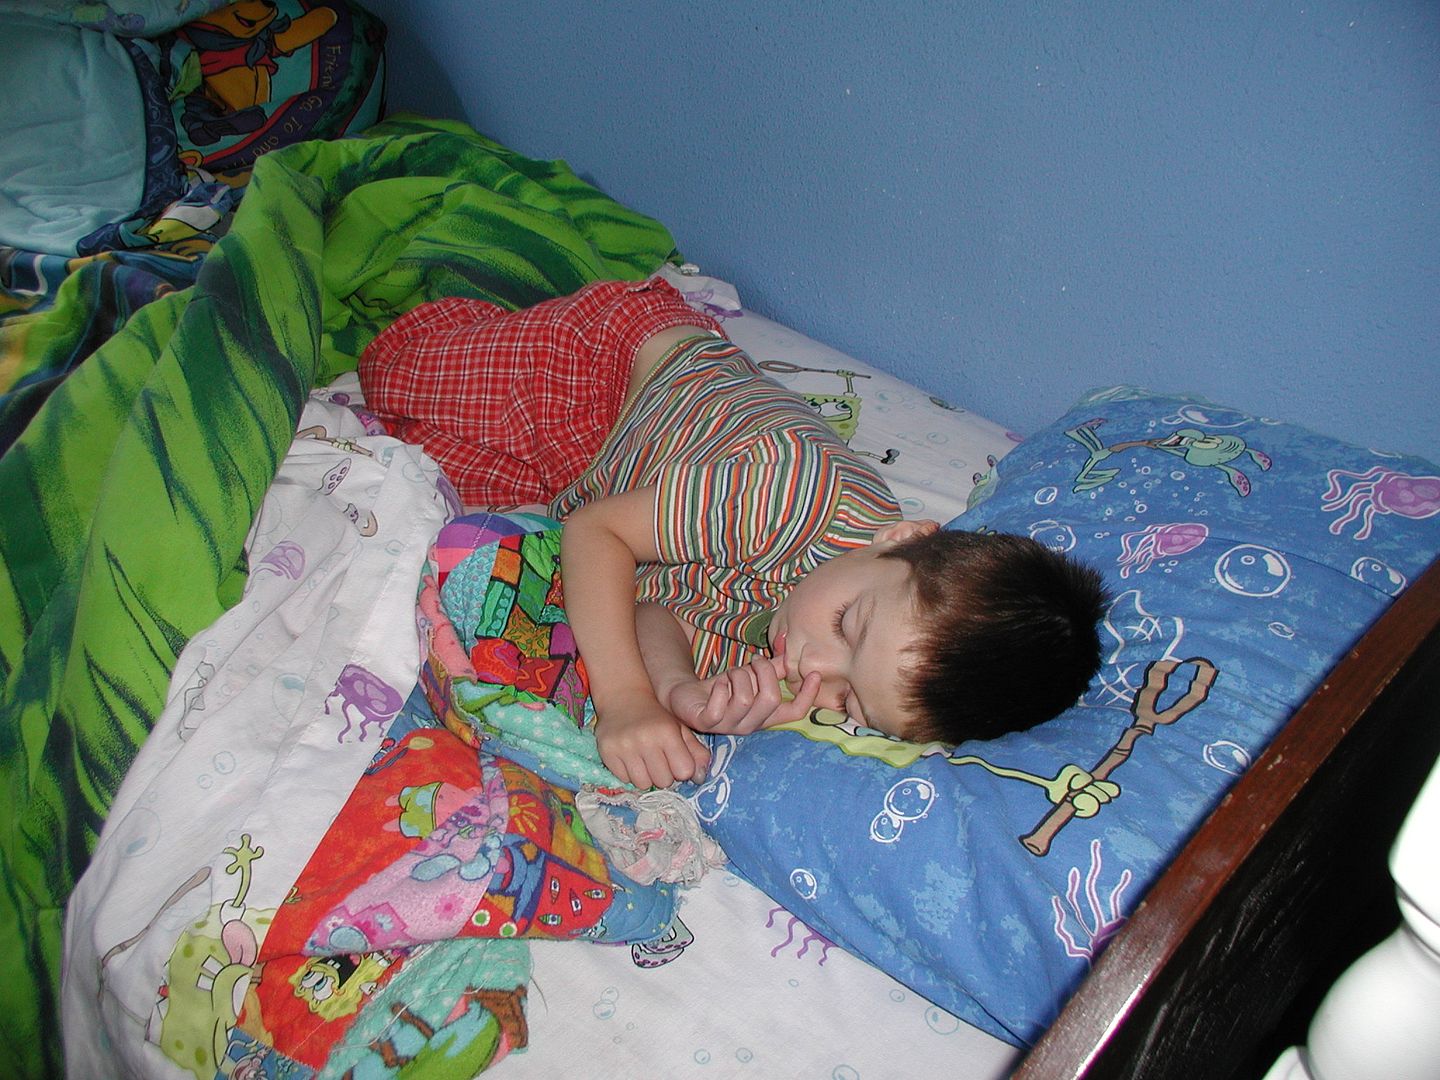
There is even a piece of it hanging off the edge, where the old blanket is peaking through.
Ok, so here is what Bah-jee looks like today in all his glory... This first pic was about a month ago or so. Bah-jee is that lump of decaying fabric under their heads, lol!
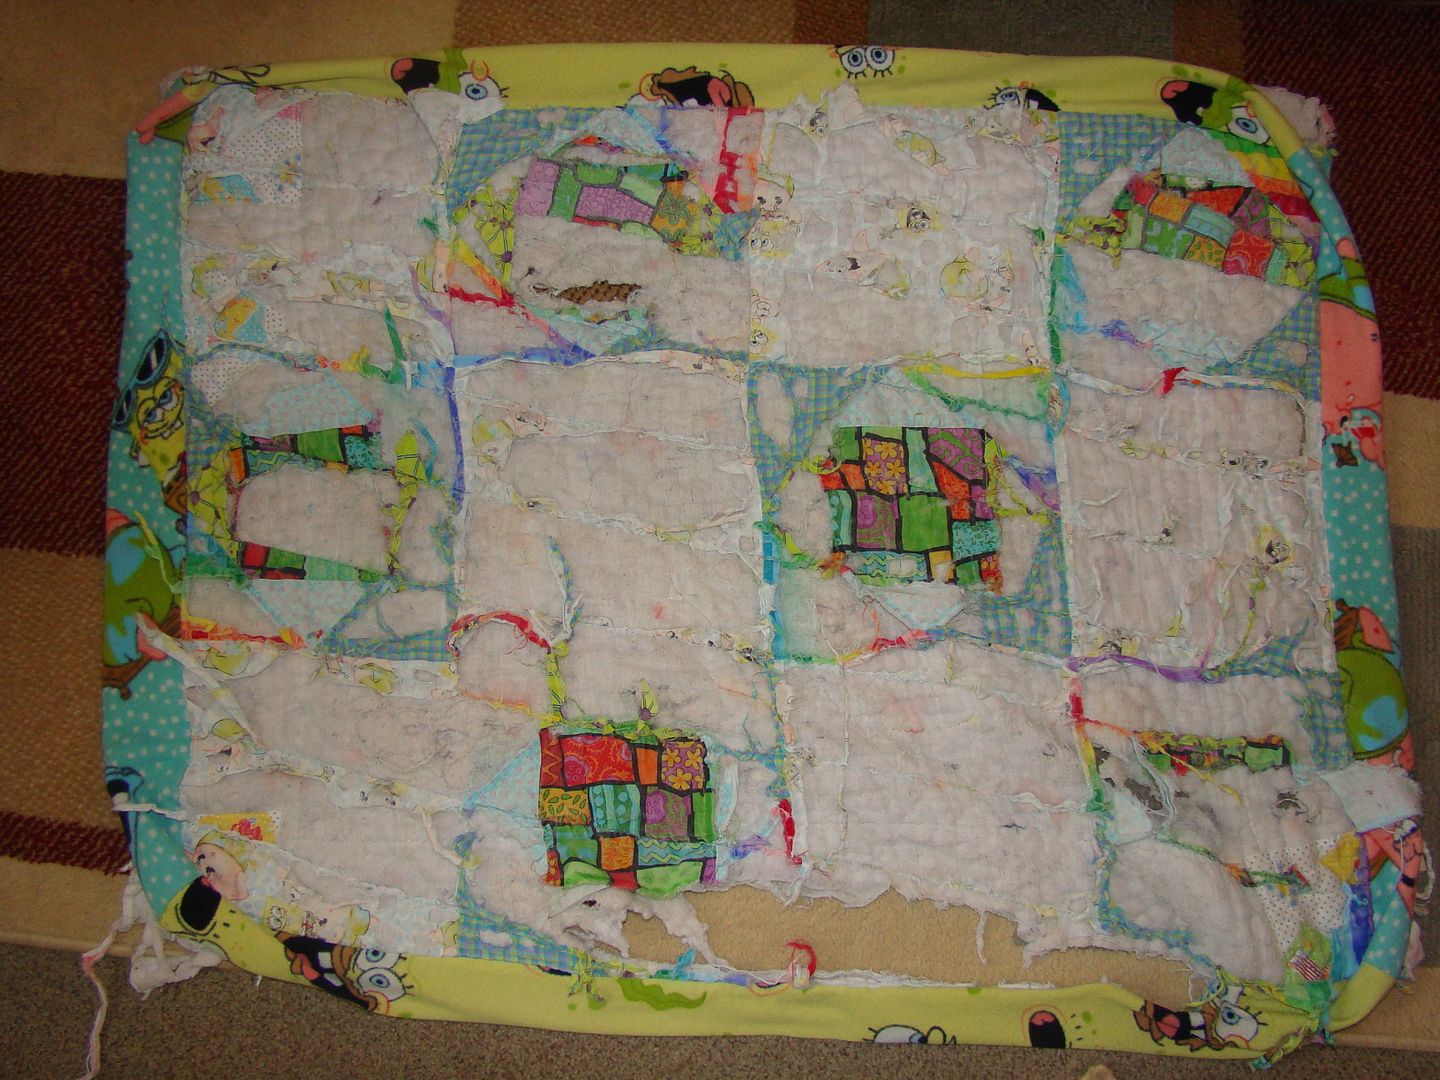
And this one is from today, and I just took him out of the dryer and he is still warm!
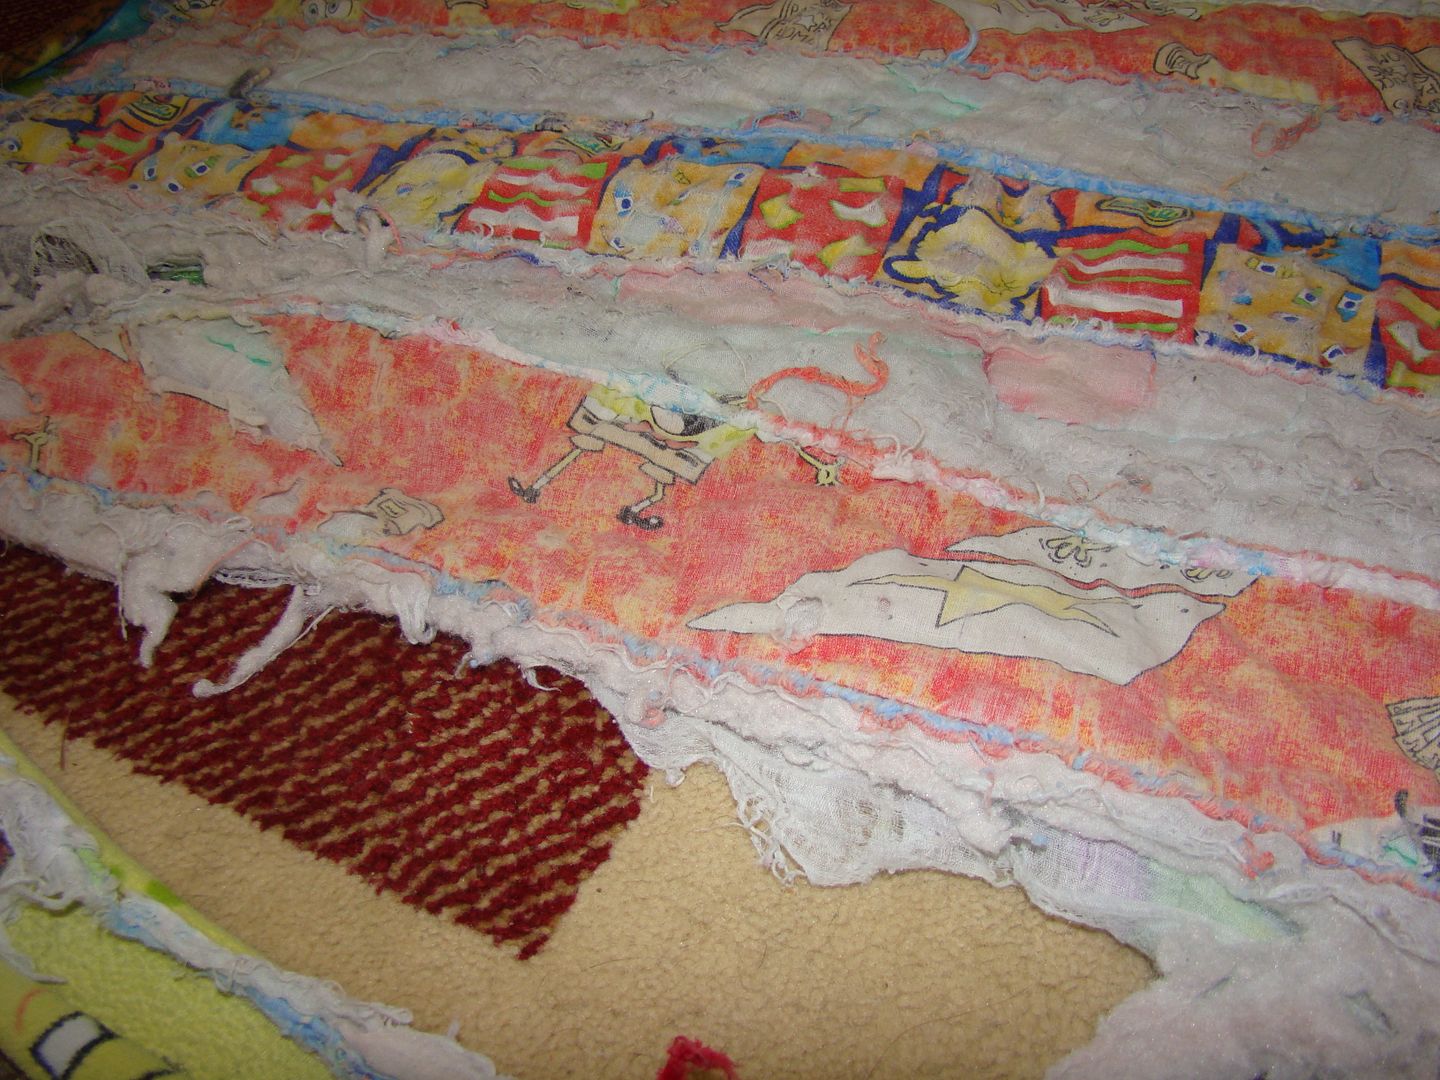
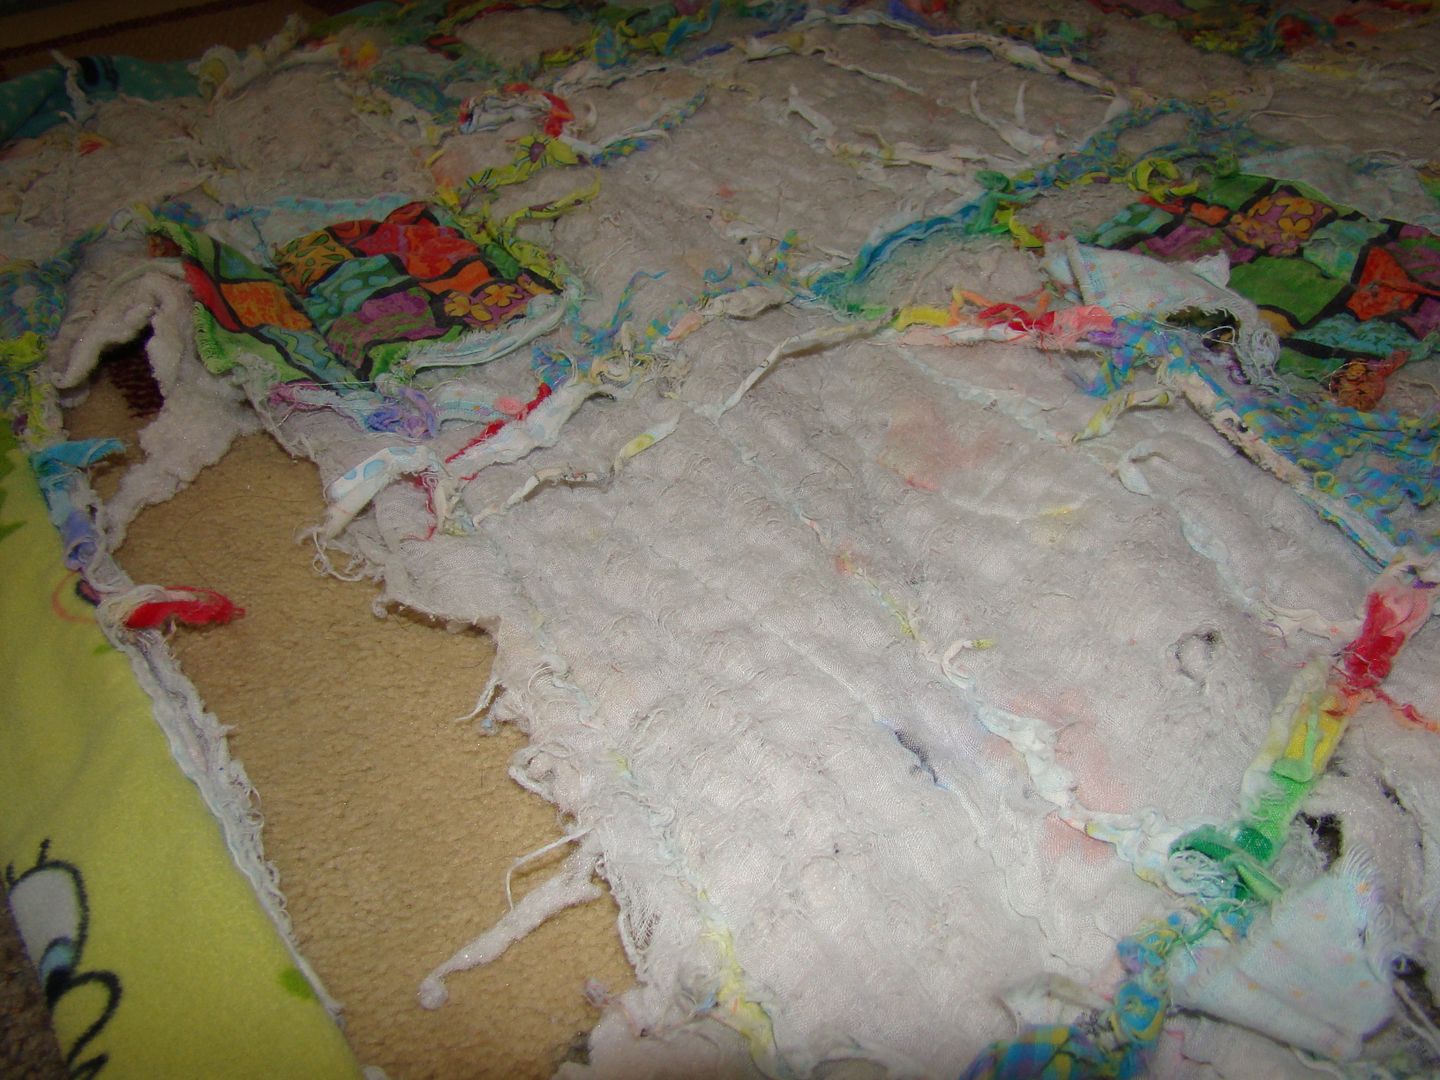
Yep, that's a big giant hole that you can see the carpet through!
Yikes. And Bah-jee is shedding. We find pieces of him everywhere, and for while Aaron wouldn't let me throw the pieces away. So now it is time for yet another overhaul. We bought some Diego fabric a few months ago and it has been washed and mixed in with the other blankets for a while, so hopefully this remodel will go as smoothly as the other one!
I will post more pics in a few days when I am finished and let ya know how it goes ;) Wish me luck!
Now this blanket is almost 9 years old, and has been dragged everywhere and washed a bazillion times. Think of your favorite shirt, or an outfit, whatever. After 8 years, it gets a little tattered and holey. Bah-jee has gone through a few renovations, and it is about time for another one. The first one was just a few patches here and there, and mending a few holes. The second one was a major overhaul. I dreaded it because I thought for sure Aaron would freak out, and once we did it there would be no going back!
Here is a photo (of a photo, before I had digital!) of Aaron's room before he arrived in 2001. The blanket with the red border and polka-dots around the edges, that's Bah-jee when he was new.
When Aaron was around 1 year old and Bah-jee was starting to get a little dingy, we looked around for another blanket like it so we could have a spare. Ha. This is the blanket we found, similar, but not the same. And he knew, he knew it wasn't the same! I actually just took this pic a few minutes ago, so this blanket is practically pristine compared to the real Bah-jee, lol.
I remember when Aaron was about 1 1/2, he stayed the night at my dad's house for the first time by himself. The house I grew up in is in Maple Falls, about a 40 minute drive from here, and when my dad brought Aaron home the next day... He had forgotten Bah-jee. He said "I'll be right back" and got in the car. He drove all the way back home, picked up Bah-jee and drove back to our house. And then drove home again. He knew the wrath of a particular 1 1/2 year old if we tried to tell him there was no Bah-jee, and none of us were ready for that!
This is Aaron with his Bah-jee when he was about 3 years old (2004), right before Adrian was born, and my friend's daughter Josette. You can see the patches on Bah-jee that I had sewn on to try and salvage the corners that were starting to go. I even ordered this Sesame Street fabric off of Ebay!
Here's Kasoma with Aaron and Bah-jee after Adrian joined our family, in 2005.
Here's another from 2005, and Bah-jee is definitely getting dingy and grey.
We had been preparing Aaron for awhile, letting him know that we had to fix his Bah-jee by getting Bah-jee some "new clothes." In theory, Aaron was ok with this, but putting it in practice was an entirely different matter...
So we went to the fabric store, and I let him pick out a few different things, and I made a front and back cover for Bah-jee. He picked out some Dora fabric, Blues Clues, Sesame Street and Spongebob stuff too. We washed them, and he played with them for probably a month before I did the actual sewing onto Bah-jee. I was terrified!
Then the day came and we couldn't wait any longer, and Aaron was actually asking me when we were going to put new clothes onto Bah-jee. So here I layed it all out on the floor and started pinning the layers together.
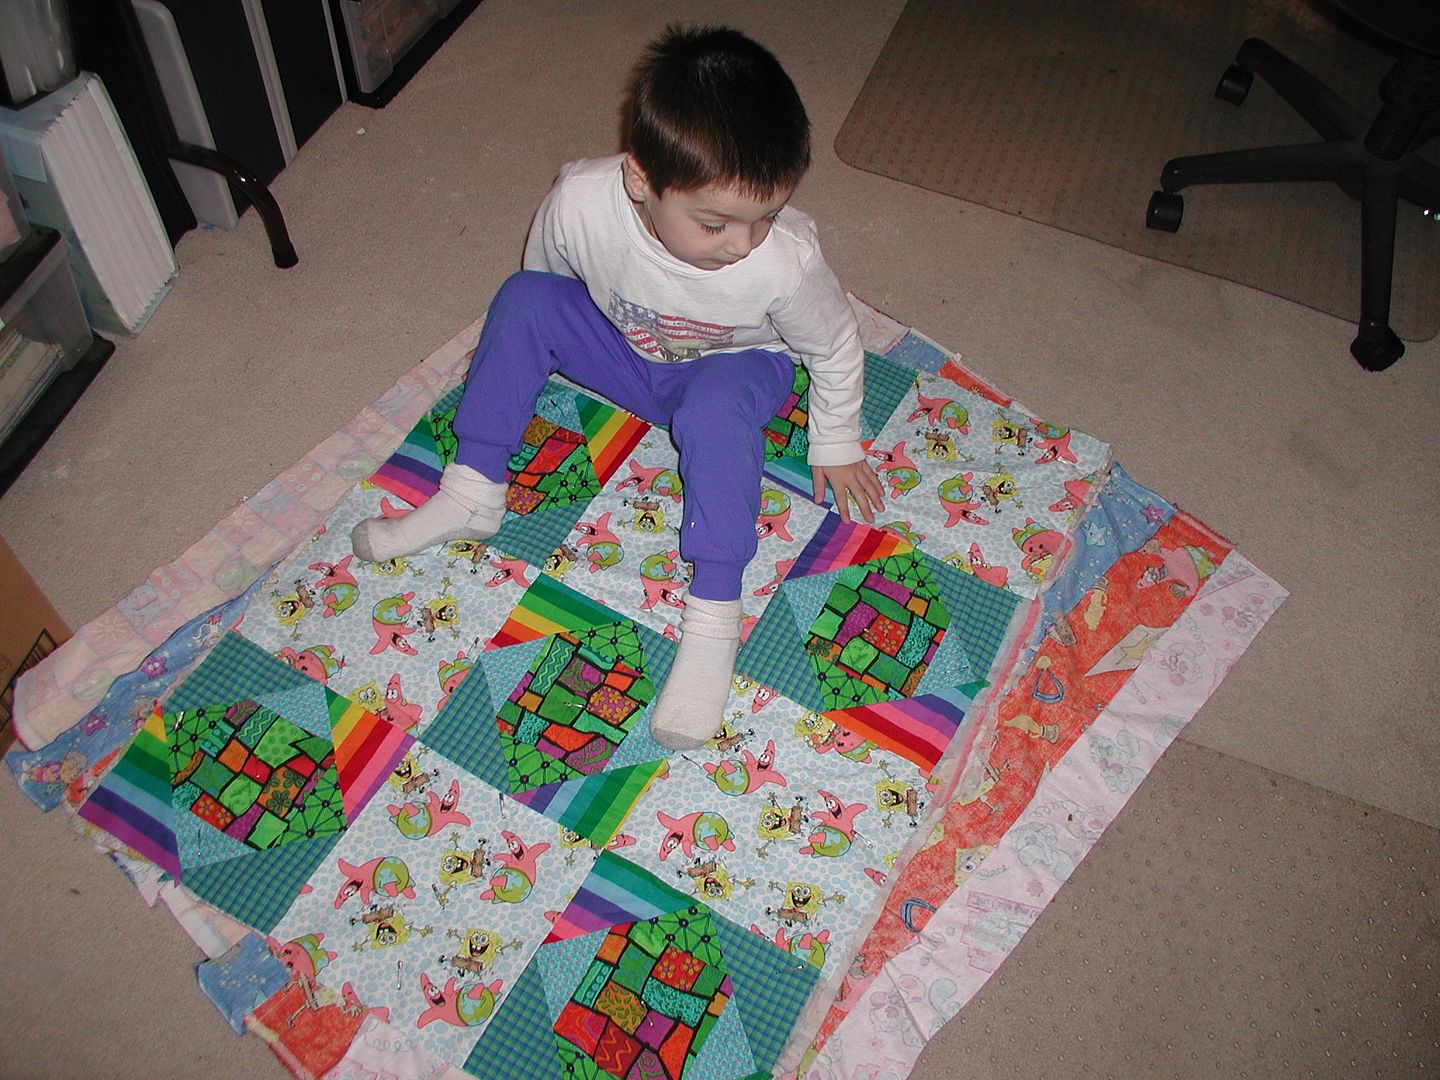
And started sewing...
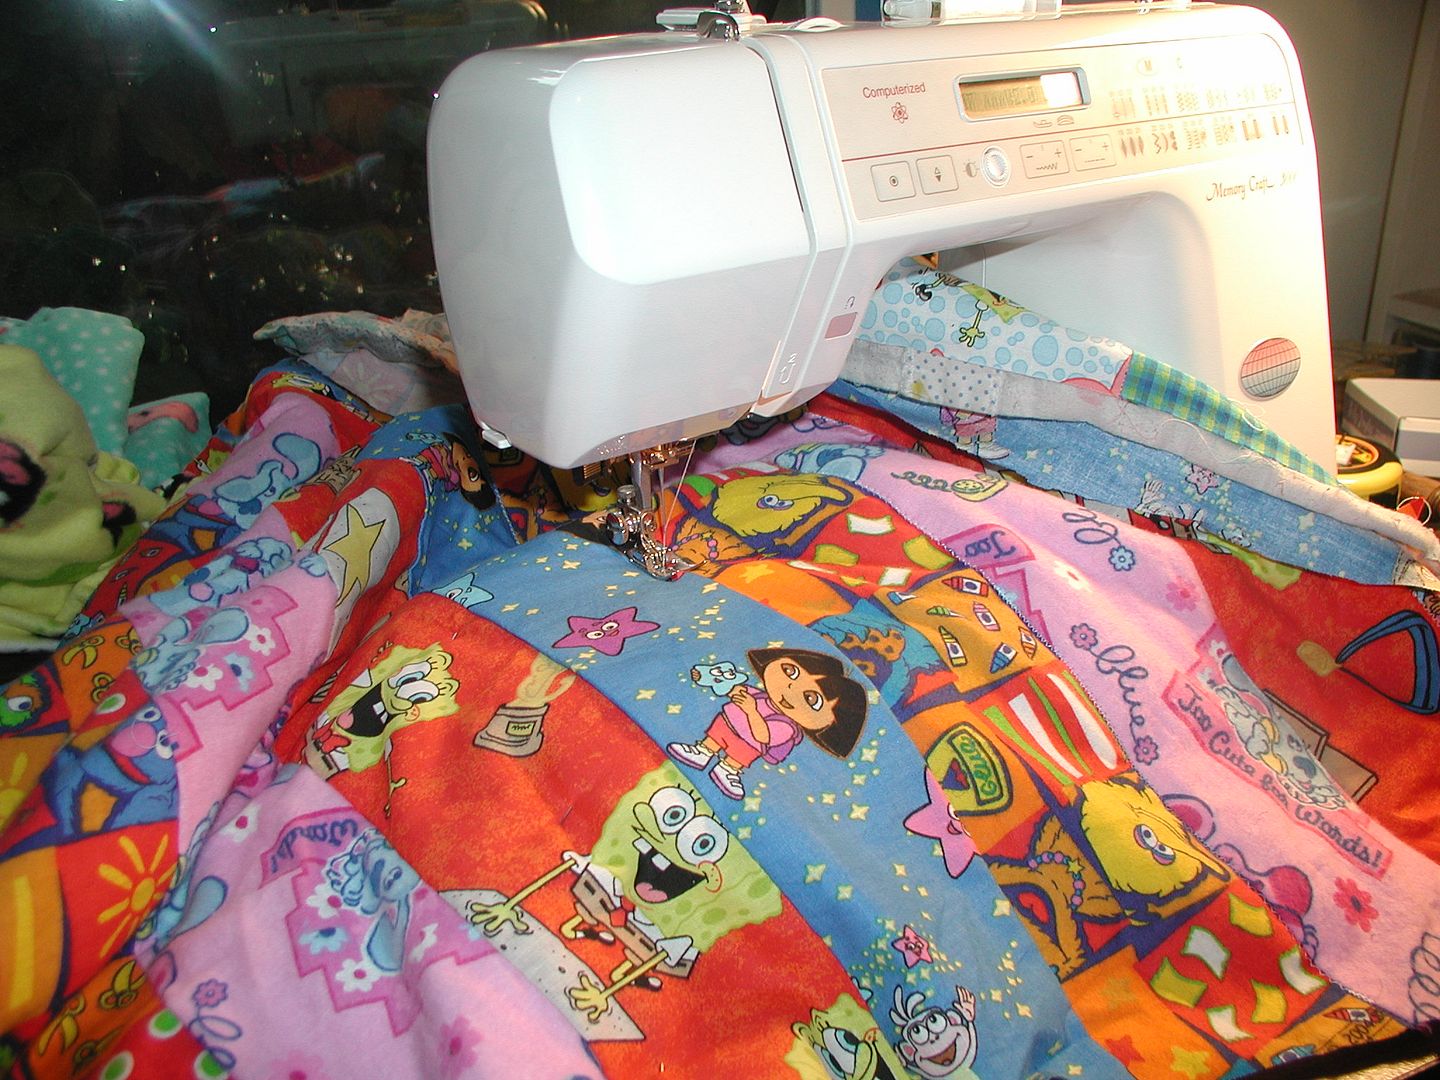
The plan was to sew a front and back onto Bah-jee and make a sandwhich. Then the yellow Spongebob fabric was going to be the binding around the edges. I decided at the last minute to not completely sew the binding closed so Aaron would still be able to see bits of Bah-jee around the sides, and that is how he stayed.
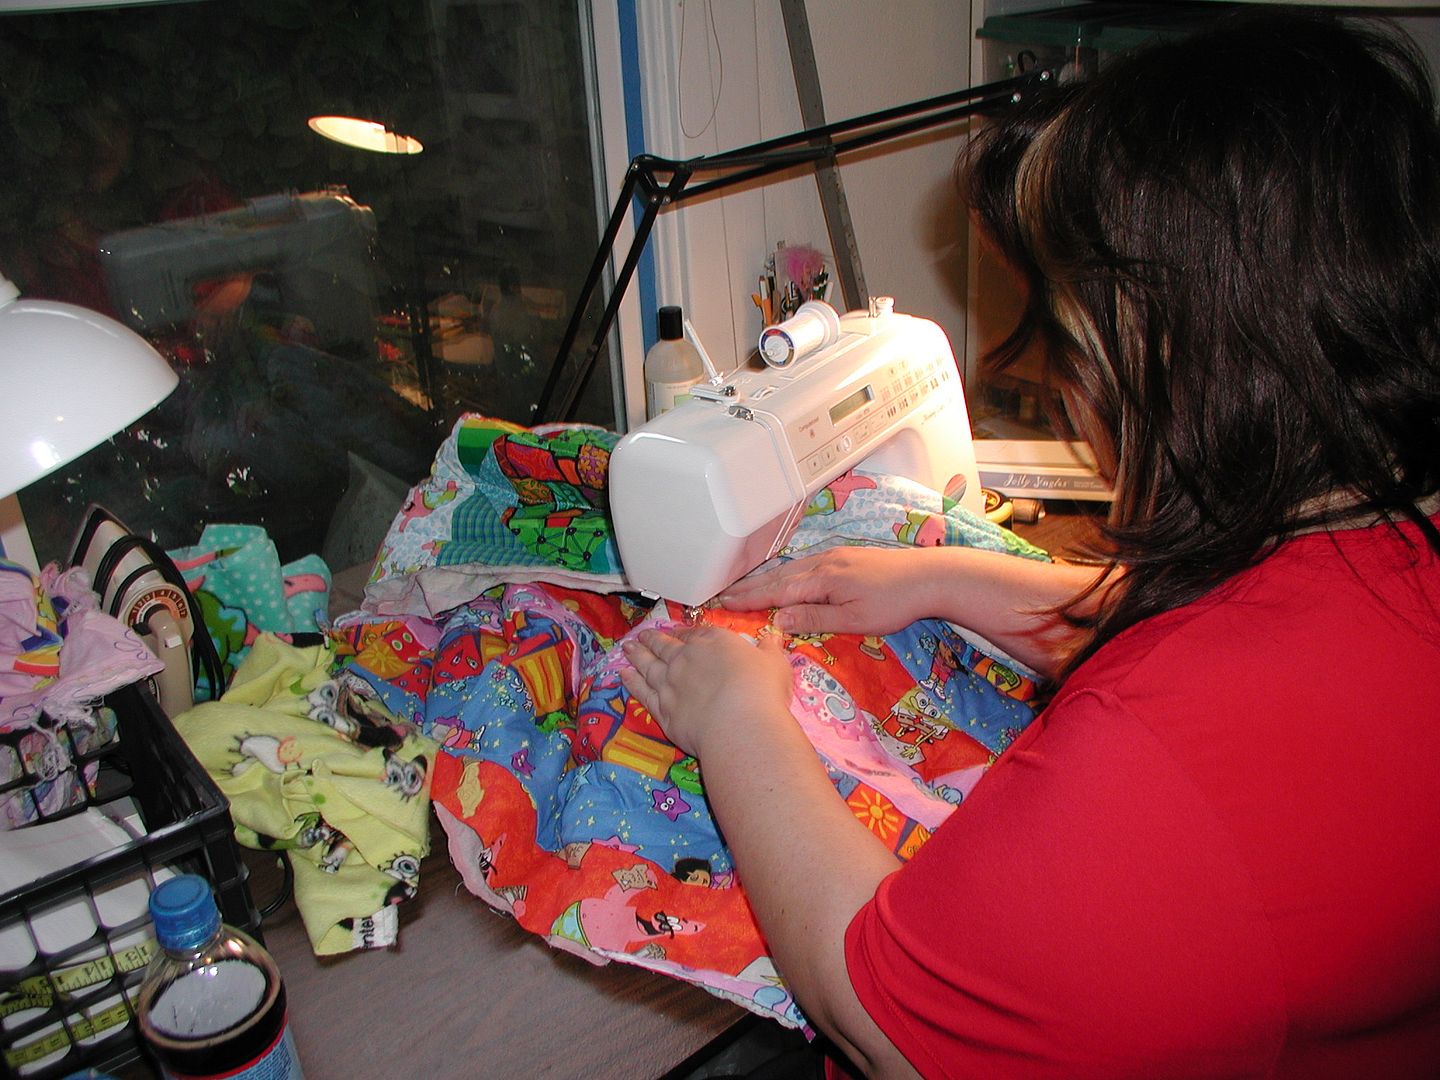
And amazingly, Aaron was ok with the new Bah-jee. Completely ok, and I was so relieved! He still took him everywhere and the world still revolved around the sun, and it was OK!
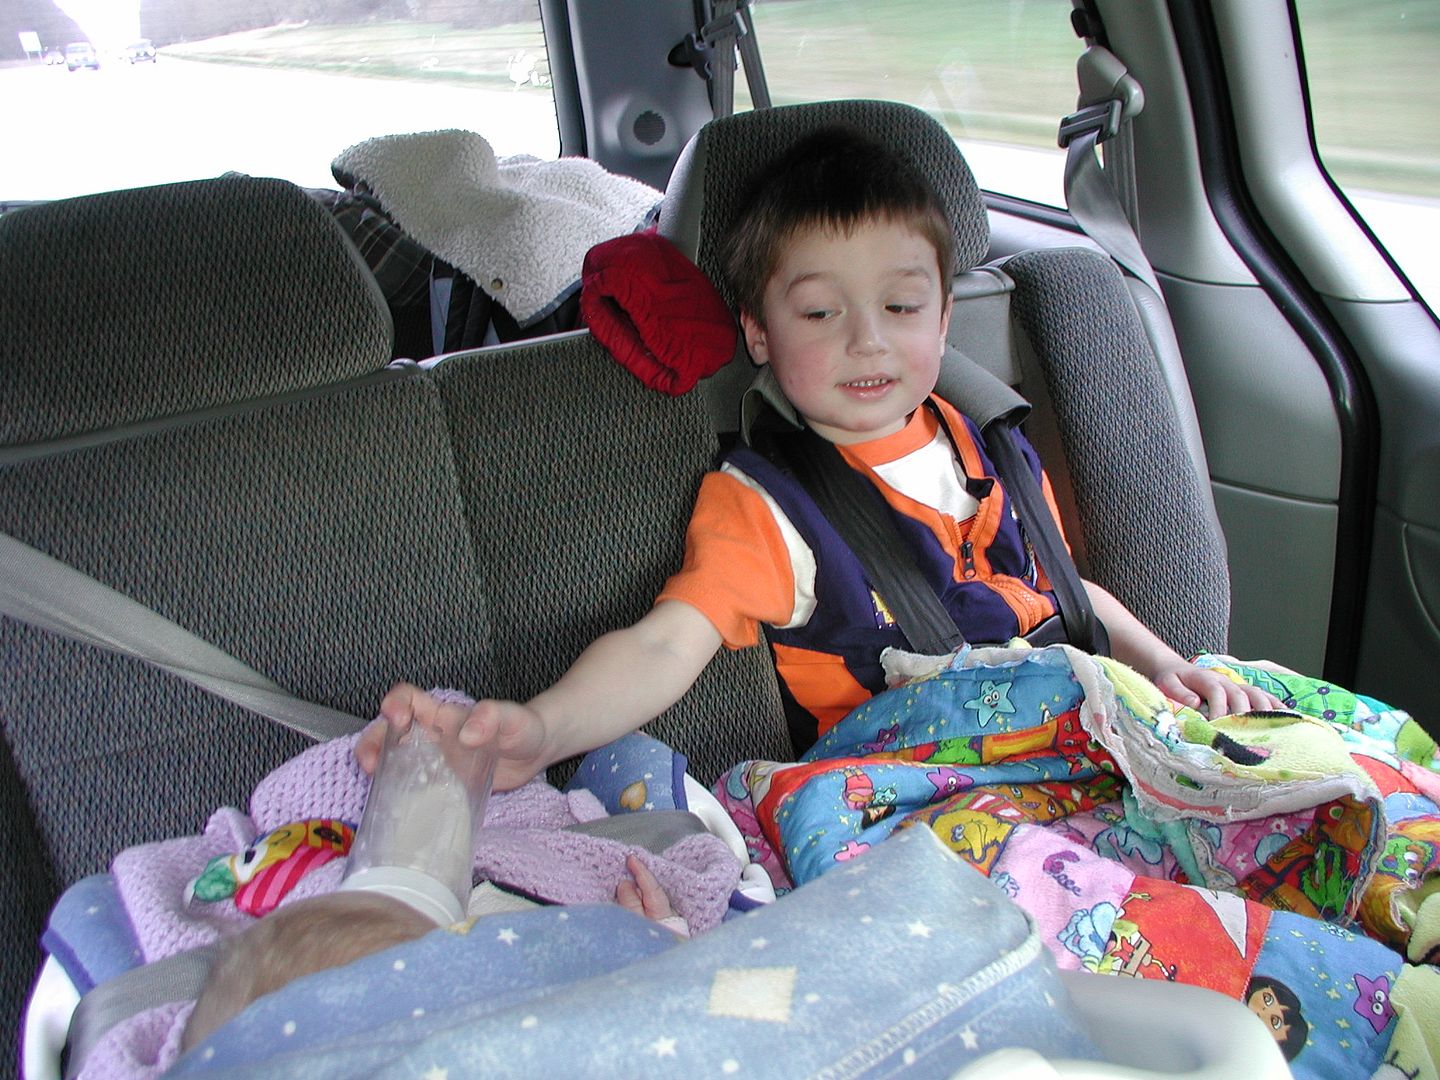
I didn't get to take pics right after I was done, but here are a few from a little later. We drove to Federal Way to visit some friends and the kids were in the back. Aaron has Bah-jee on his lap in the first pic.
And here's a few from June 2005 of Aaron taking a nap with Bah-jee. I used to find him like this all the time, and when I would lift the banket off of his sweaty head he would pull it right back over again.
There is even a piece of it hanging off the edge, where the old blanket is peaking through.
Ok, so here is what Bah-jee looks like today in all his glory... This first pic was about a month ago or so. Bah-jee is that lump of decaying fabric under their heads, lol!
And this one is from today, and I just took him out of the dryer and he is still warm!
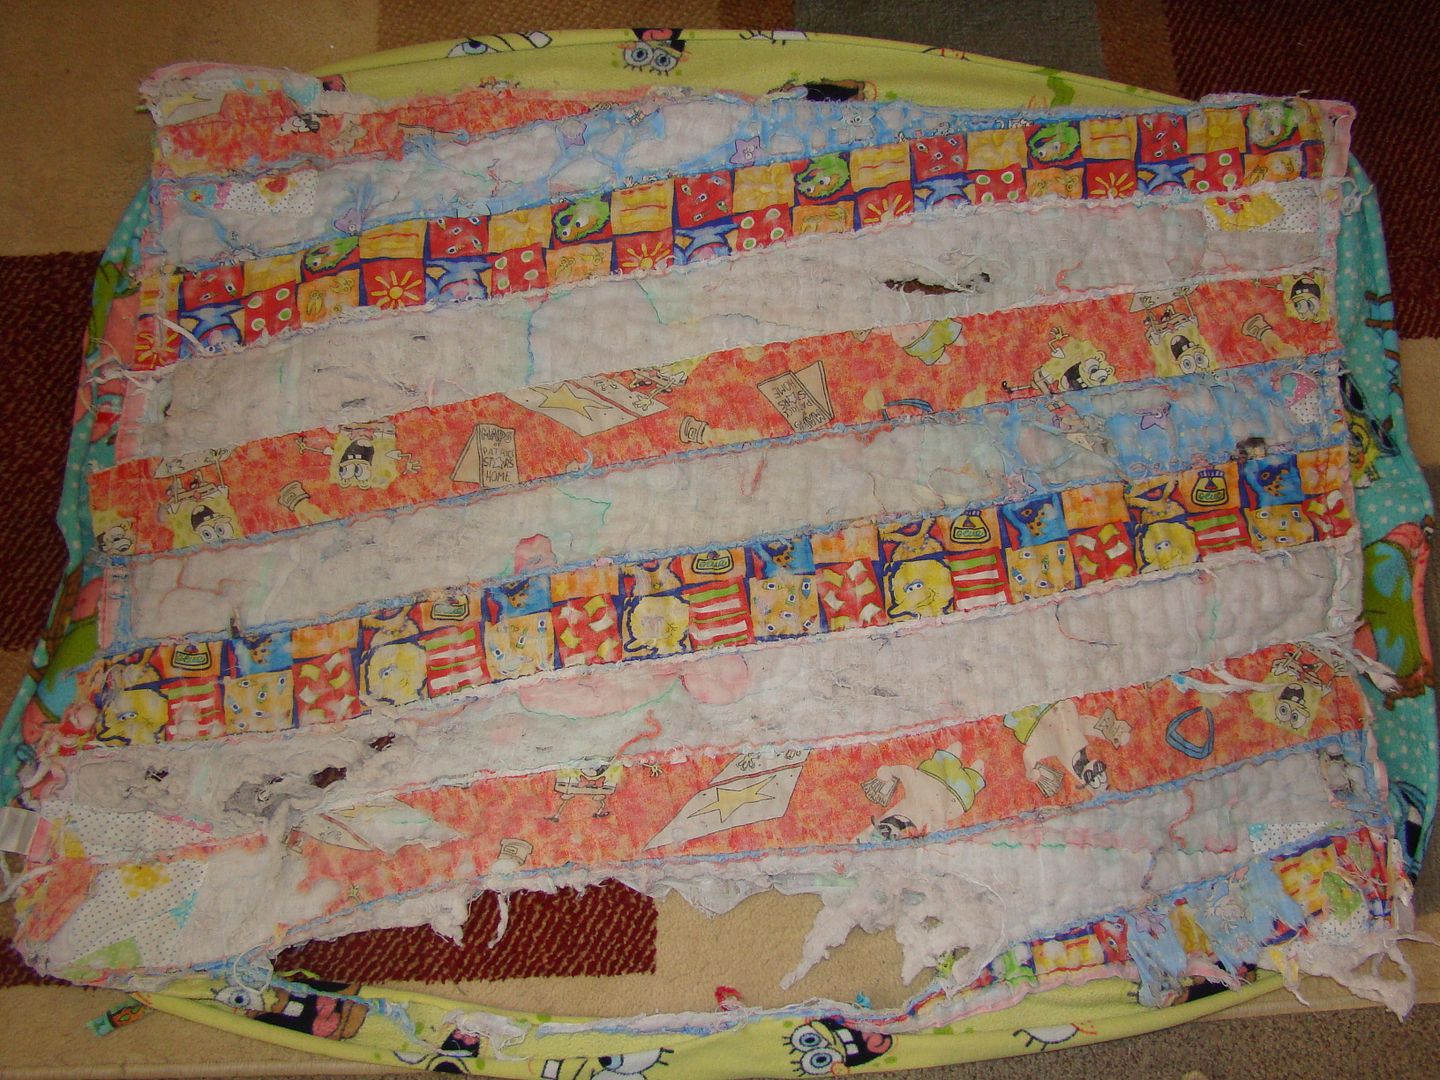
Yep, that's a big giant hole that you can see the carpet through!
Yikes. And Bah-jee is shedding. We find pieces of him everywhere, and for while Aaron wouldn't let me throw the pieces away. So now it is time for yet another overhaul. We bought some Diego fabric a few months ago and it has been washed and mixed in with the other blankets for a while, so hopefully this remodel will go as smoothly as the other one!
I will post more pics in a few days when I am finished and let ya know how it goes ;) Wish me luck!
Tuesday, December 8, 2009
I am making chili...
And my house smells amazing right now! We still had a bunch of turkey to used up and I wanted to make a pot of something hot in this cold COLD weather. I started browsing my favorite recipe site, allrecipes.com and found this one for Turkey Lentil Chili, which sounds so yummy. After reading the reviews and a few other recipes, I made a few changes...
Ingredients
2 cups dry lentils (I used a whole bag, not sure if it was more than two cups)
2 quarts vegetable broth (I used 3 quarts of homemade turkey stock)
2 tablespoons extra-virgin olive oil (I substituted bacon drippings)
4 cloves garlic, minced
1 large onion, chopped
2 stalks celery, chopped ( used what I had in the fridge, about 6 stalks)
1 pound turkey sausage (substituted a LOT of chopped turkey, white and dark meat)
2 tomatoes, peeled, seeded, and chopped (used one can of diced tomatoes and the juice)
1 teaspoon ground turmeric
1 teaspoon ground cumin (I used 2 tsp)
1/2 teaspoon dried thyme leaves
1 pinch crushed red pepper flakes
sea salt to taste
1 (8 ounce) container plain lowfat yogurt
1/4 cup chopped fresh parsley for garnish
**Here's what I added that wasn't in the recipe**
1 can of black beans, rinsed and drained
1 1/2 tsp chipotle Tobasco sauce
1 1/2 tsp Worchesterchire sauce
1 tsp finely chopped jalepenos
1 tsp smoked paprika
1 tsp poultry seasoning
Directions
1.Bring lentils and vegetable broth to a boil in a large pot over high heat. Reduce heat to medium, and simmer for 10 minutes.
2.Meanwhile, heat the olive oil in a large skillet over medium-high heat. Stir in the garlic, onion, celery, and sausage; cook and stir until the sausage is crumbly and no longer pink, about 10 minutes. Stir in tomatoes, turmeric, cumin, thyme, and red pepper flakes; cook 5 minutes more.
3.Stir the sausage mixture into the simmering lentils. Continue simmering until the lentils are tender, 20 to 30 minutes. Season to taste with salt. Garnish each serving with a dollop of yogurt and a sprinkle of chopped parsley to serve.
And here it is simmering on my stovetop, mmmmmmmmmmmm....
Subscribe to:
Posts (Atom)