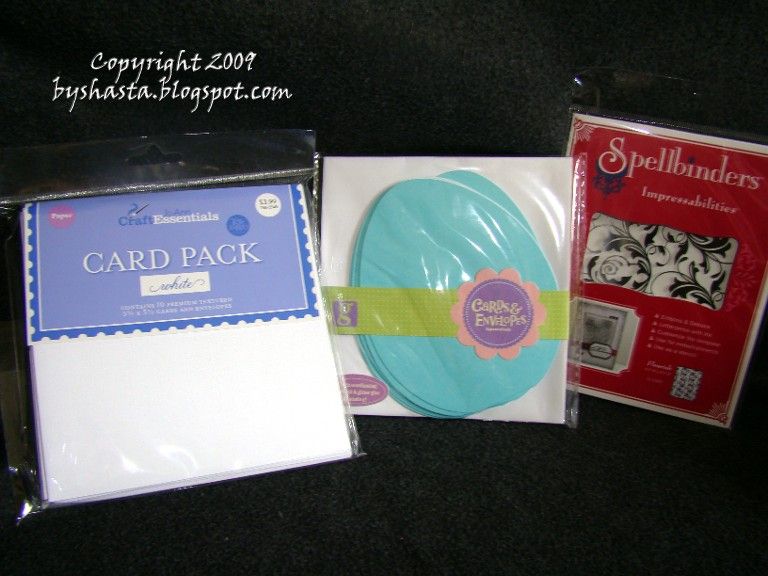
So I was visiting my friend Tammy in Everett this last weekend, and she happens to live by a Joanns. Like right by it... So I had to check it out ;) And wouldn't you know they had some stuff that my local store didn't, score!
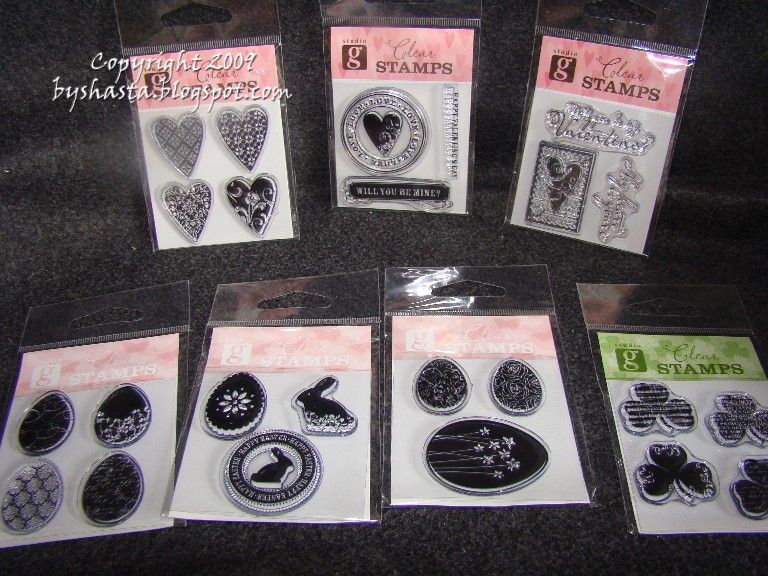
I swear I am addicted to these $1 clear stamp sets. I mean really, who can say no to a dollar??
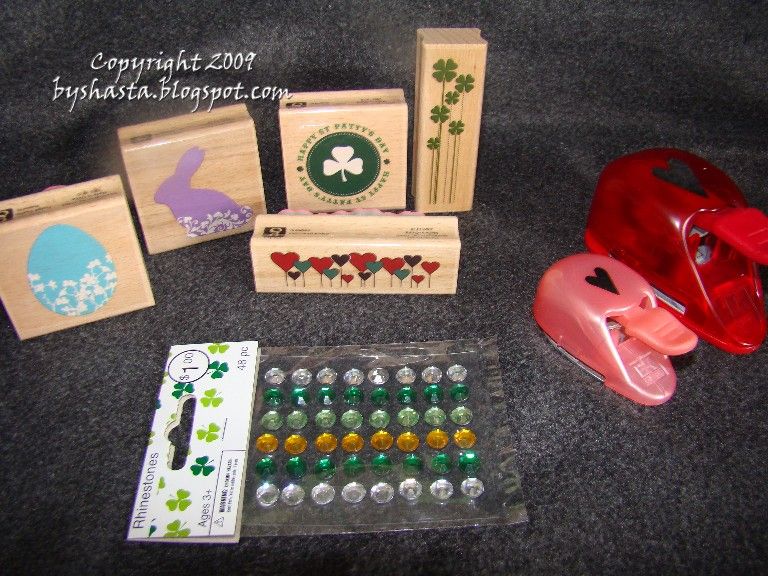
Then I found some more $1 goodies with these wood mounted stamps. Also all the paper crafts were 40% off this week, so great deal on the punches too!
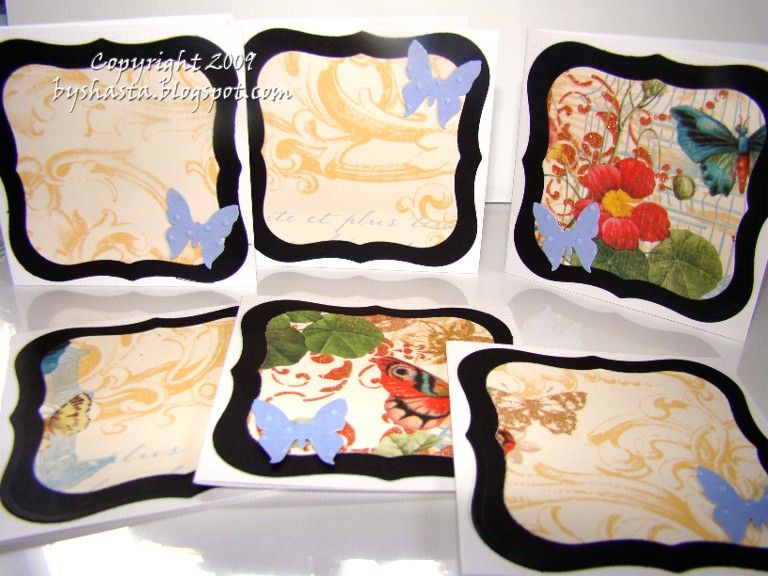
I have wanted to make some square cards, but I didn't want to spend $$$ on the envelopes since they are an odd shape. But lookie what I found, and for 40% off to boot! Plus, the easter cards were only $1, and the Spellbinders template, yeppers, 40% off baby!
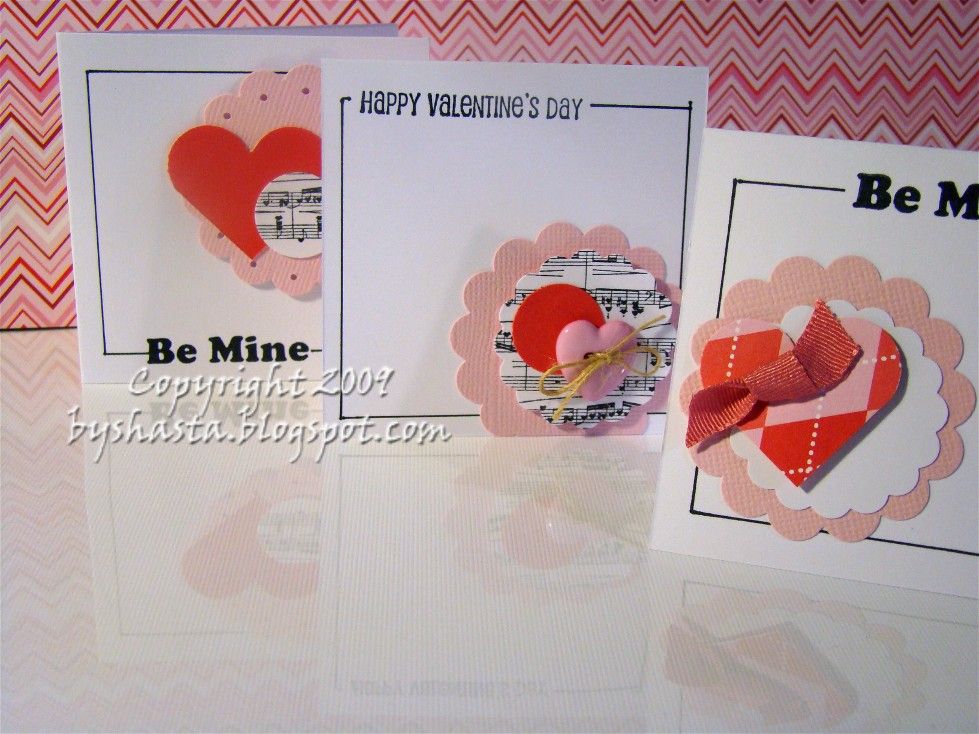
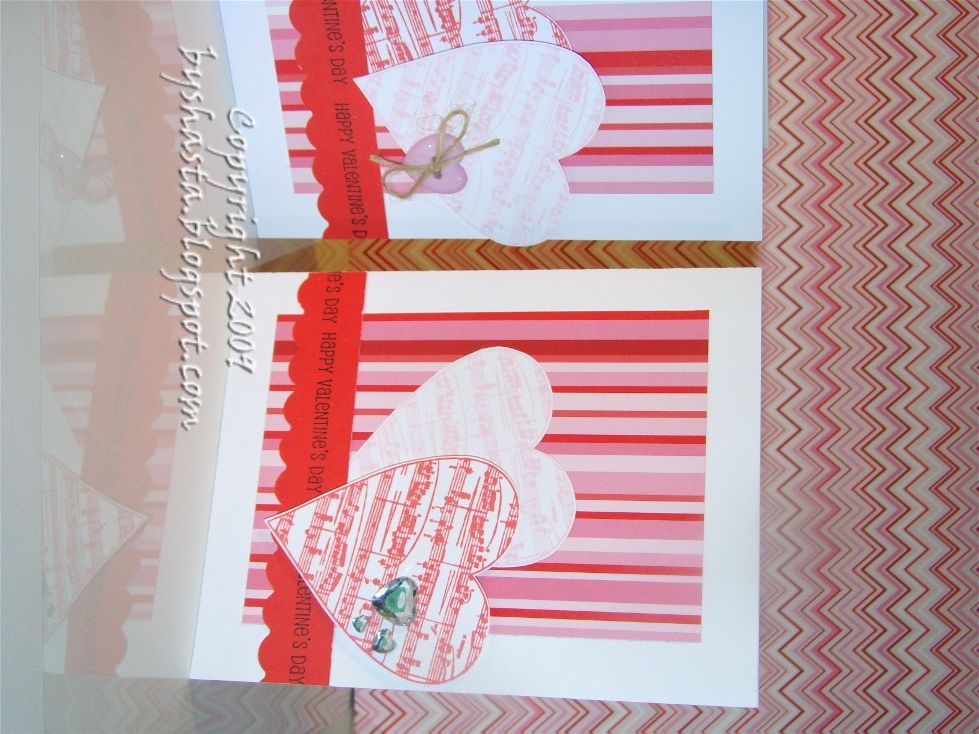
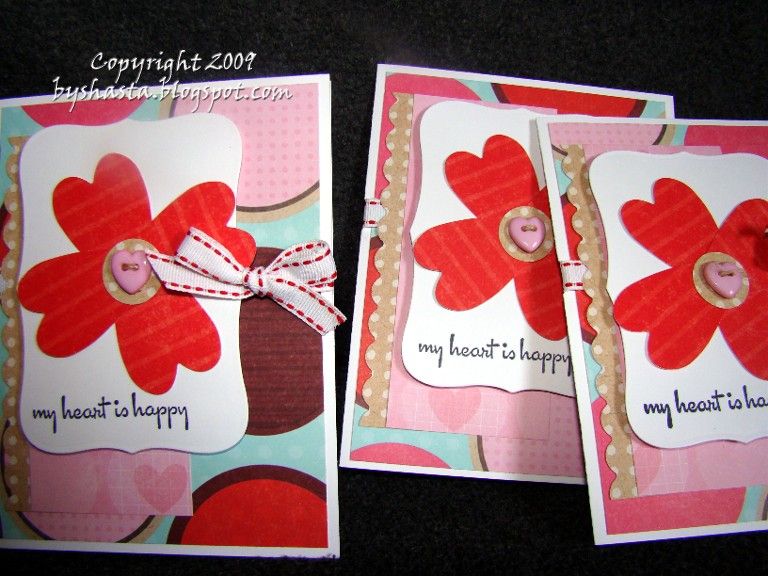
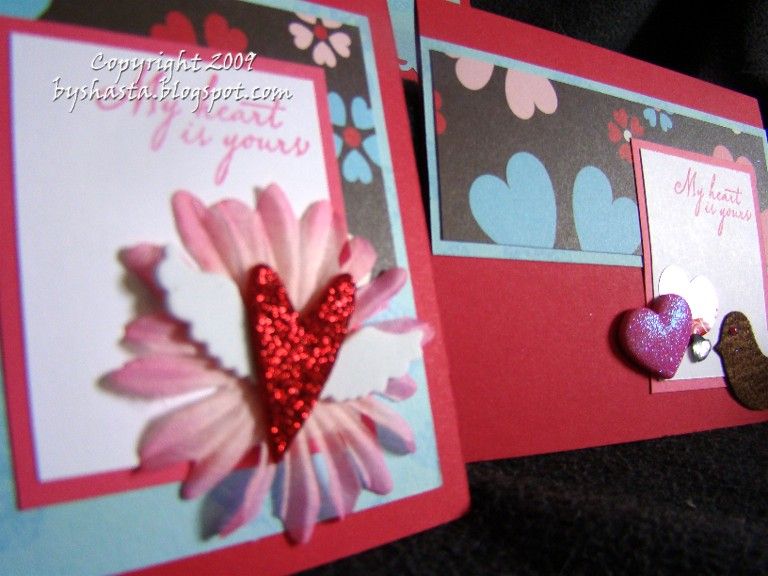
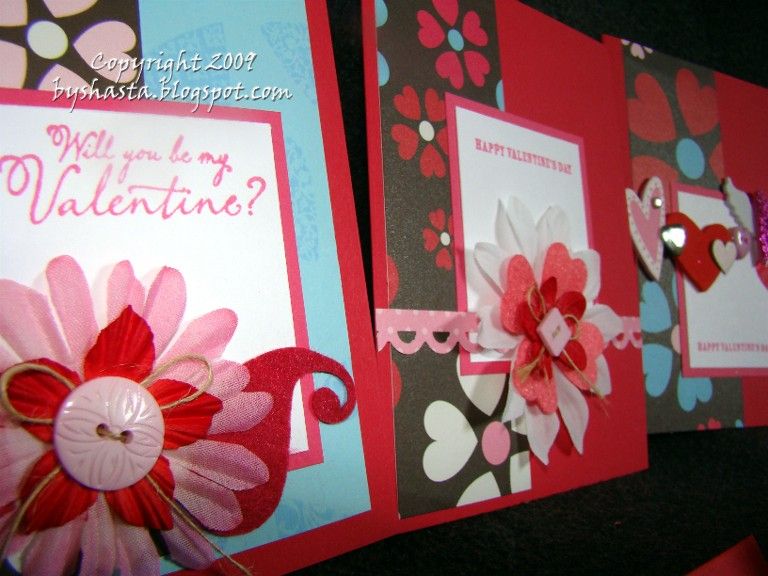
Moving right on to the Valentine's cards... I love this paper stack by K&Co, it is called Ka-Zoo Valentine, super cute! I got it at Michael's with my 40% off coupon ;) The sentiment stamp is another $1 set of course!
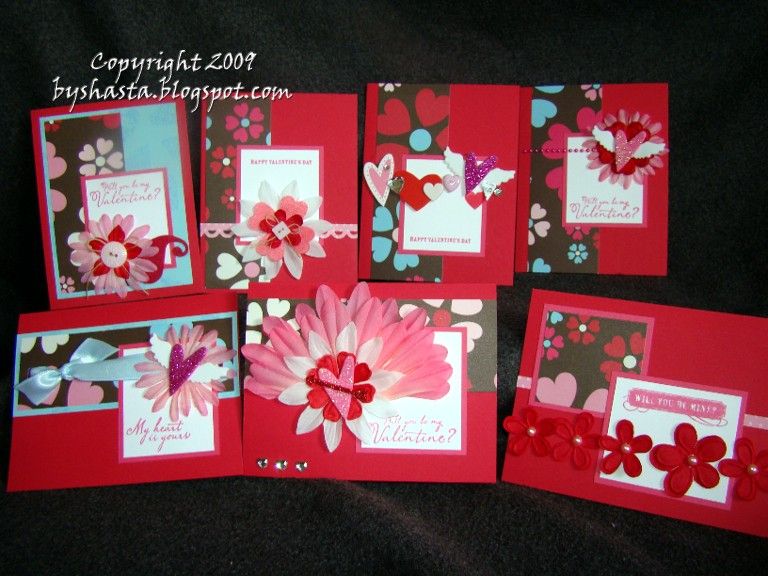
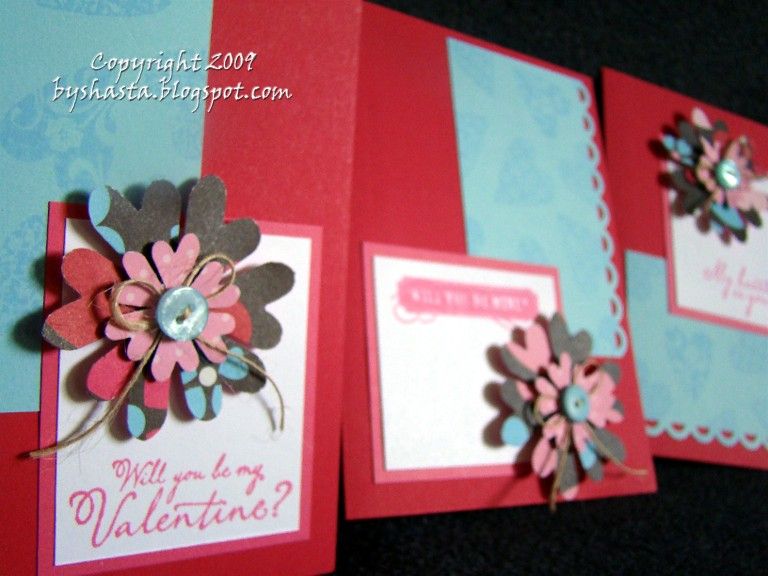
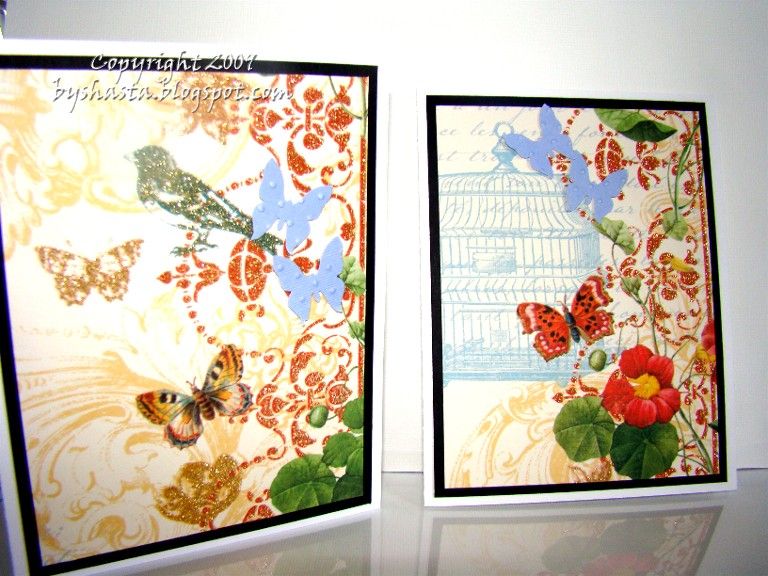
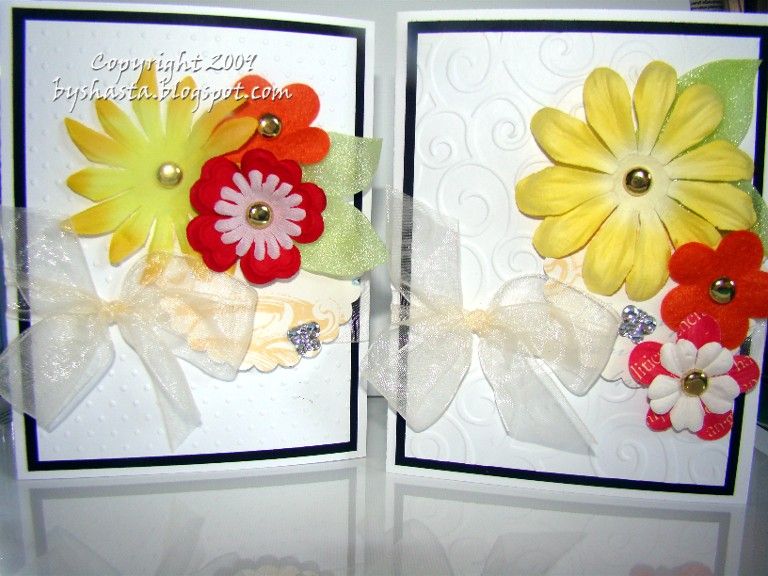
Have you heard of a "One Sheet Wonder"? I had a while ago, but never tried it out. Basically, you have a template to cut one sheet of 12x12 paper a certain way to make a variety of cards. So I decided to give this one a try, and it was fun! AND it made 16 cards! I have had this single sheet of SEI patterned paper for a few years, and decided to use it for this project. The basic guideline is pretty easy to follow, and then once I had them all assembled I embellished each one with flowers, bling, etc.
About Me
Wednesday, January 27, 2010
Friday, January 22, 2010
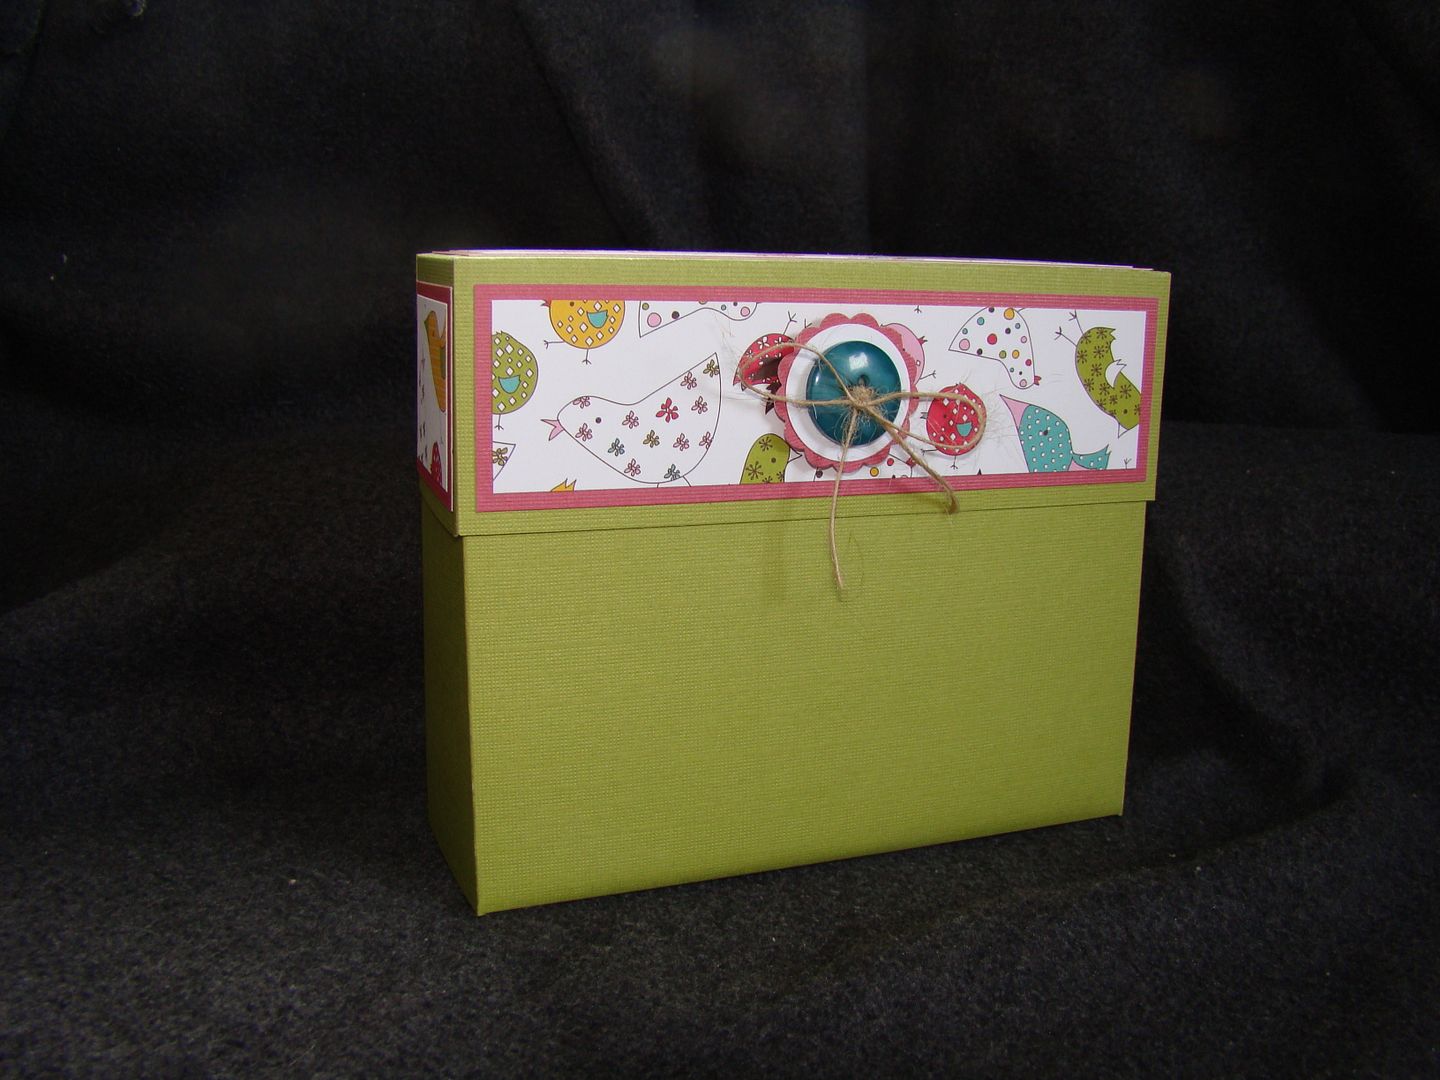
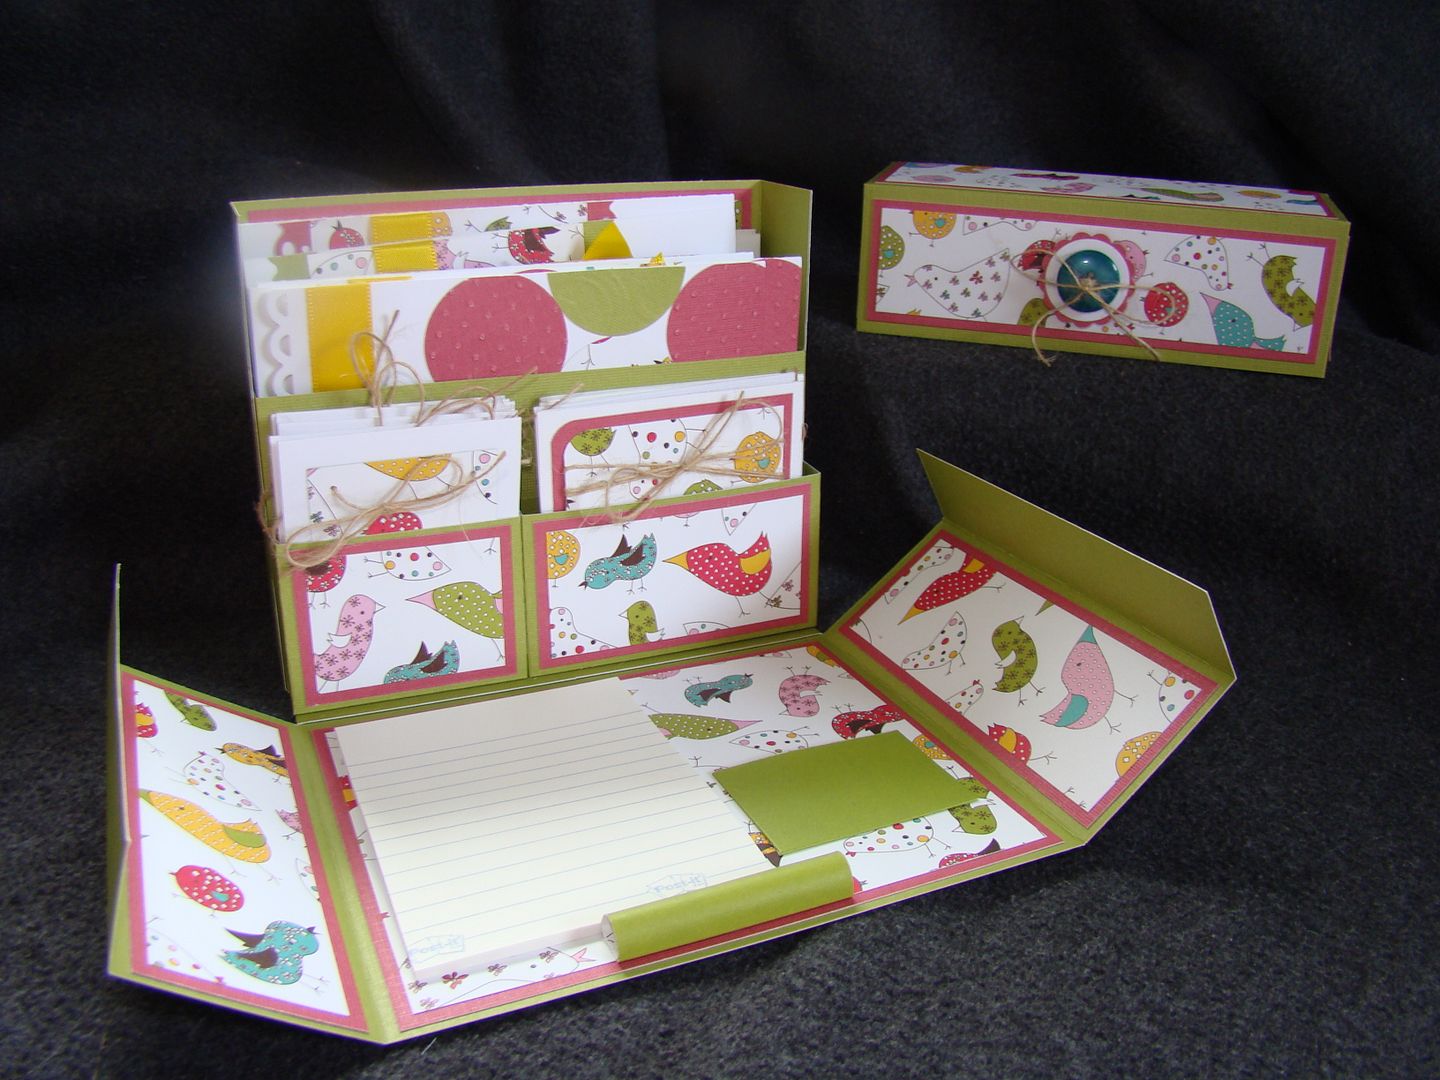
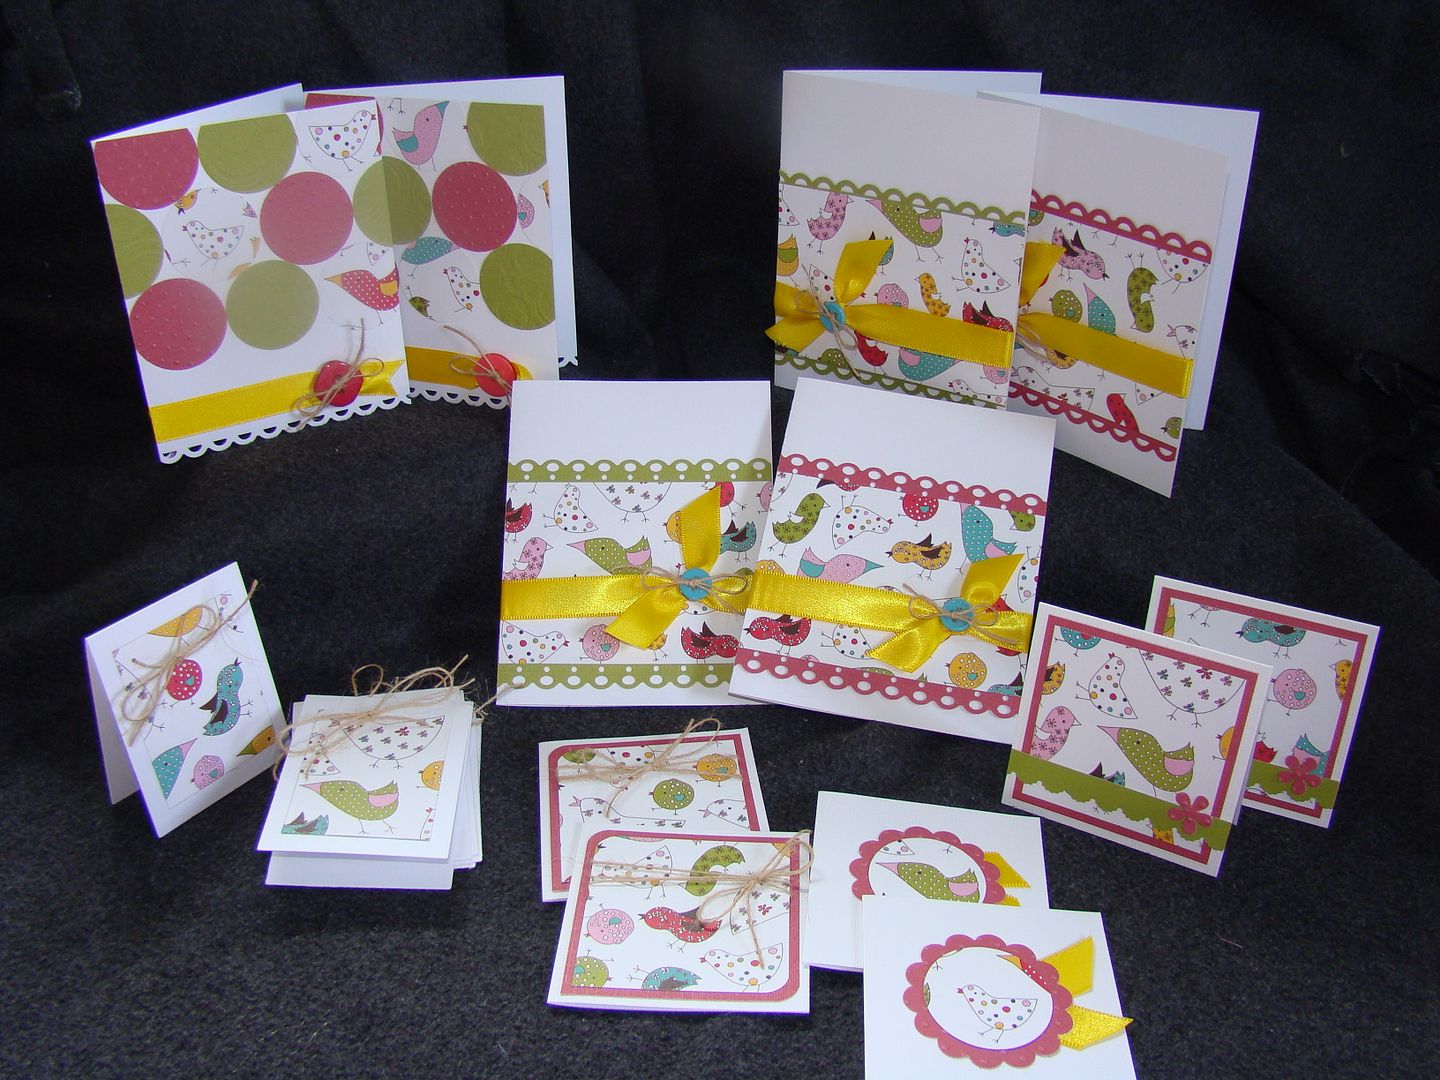
More boxes...
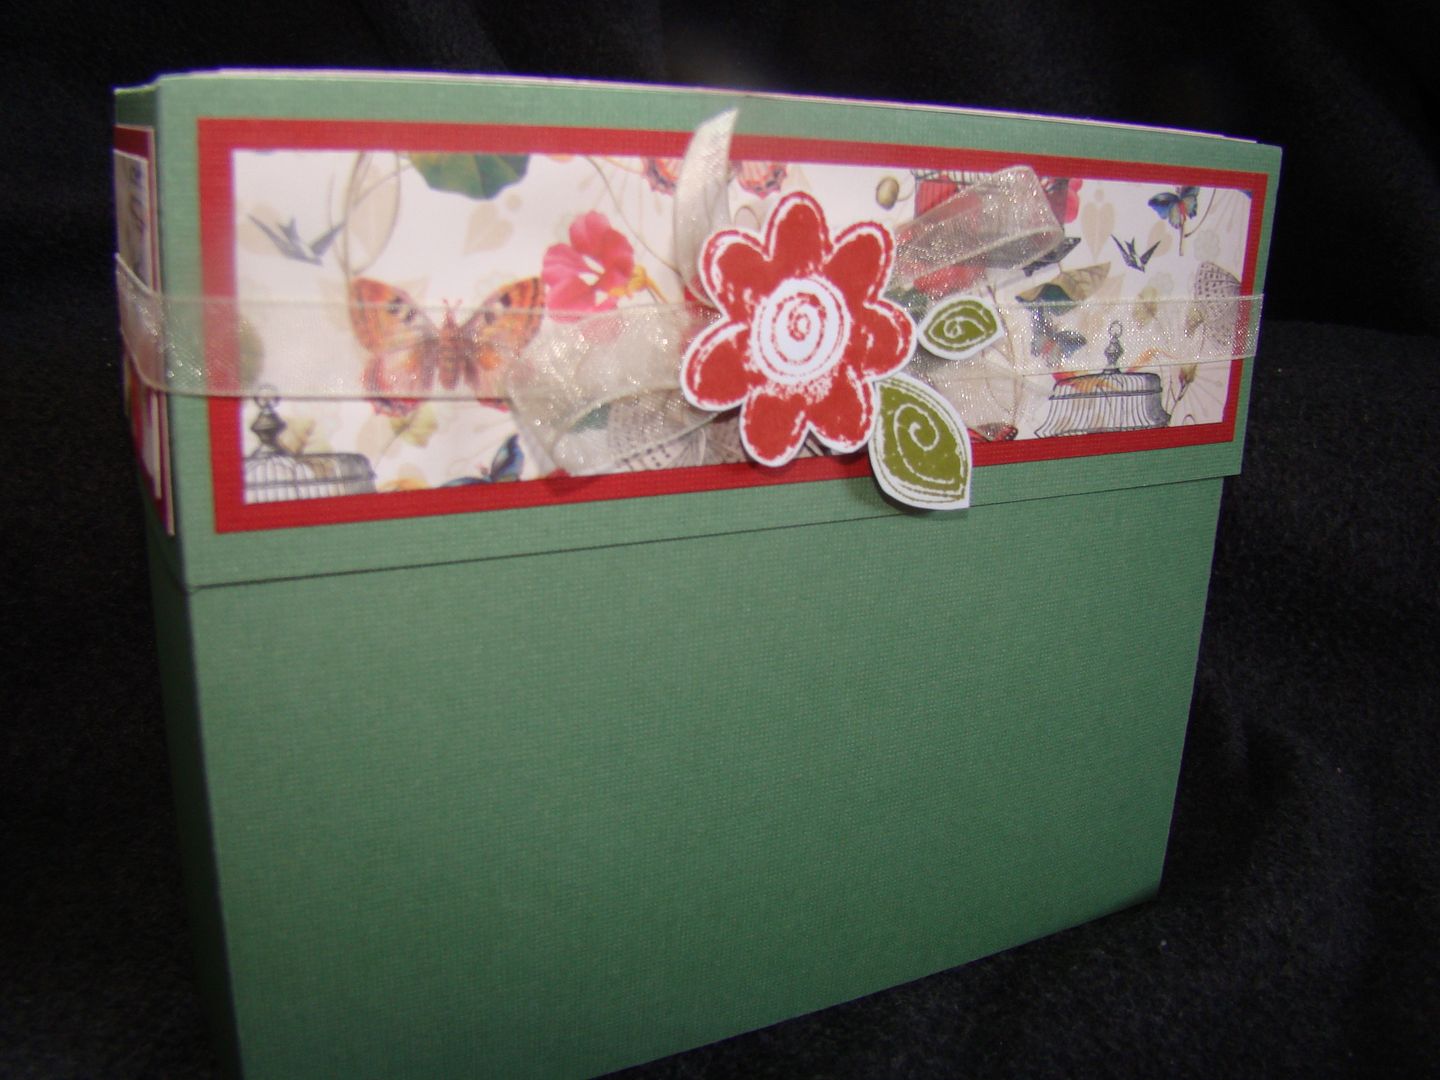
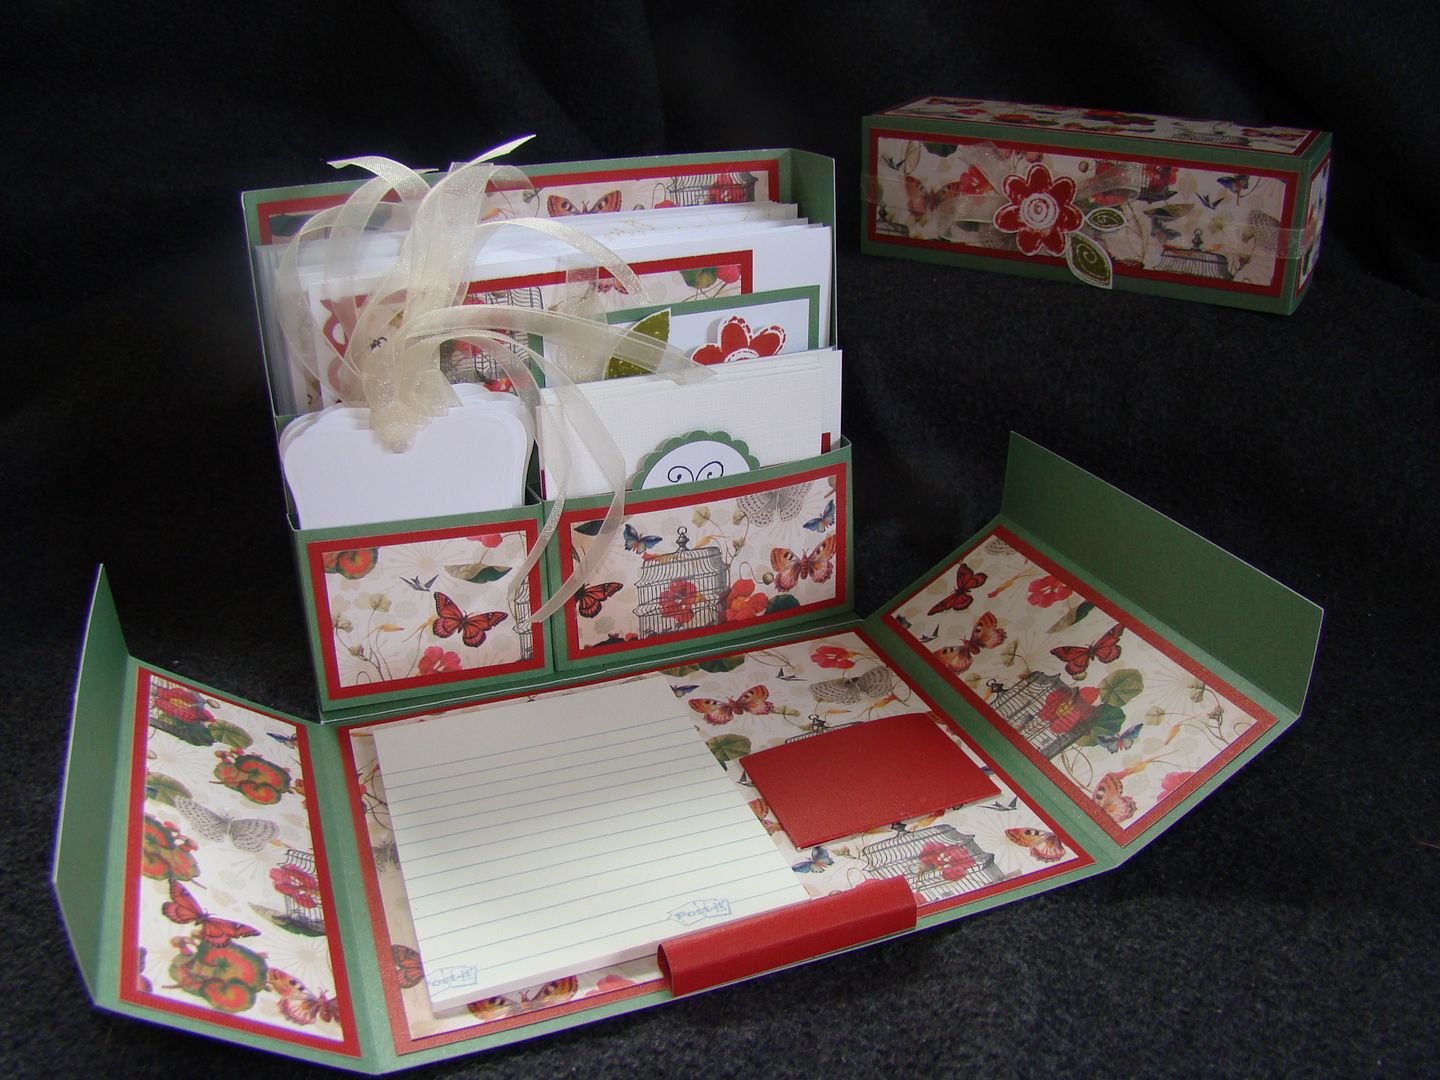
I am just loving the new Mariposa stack, the papers are so pretty :) I have to say though, 'sentiment-free' cards are really hard for me!! The tut for this box is here...
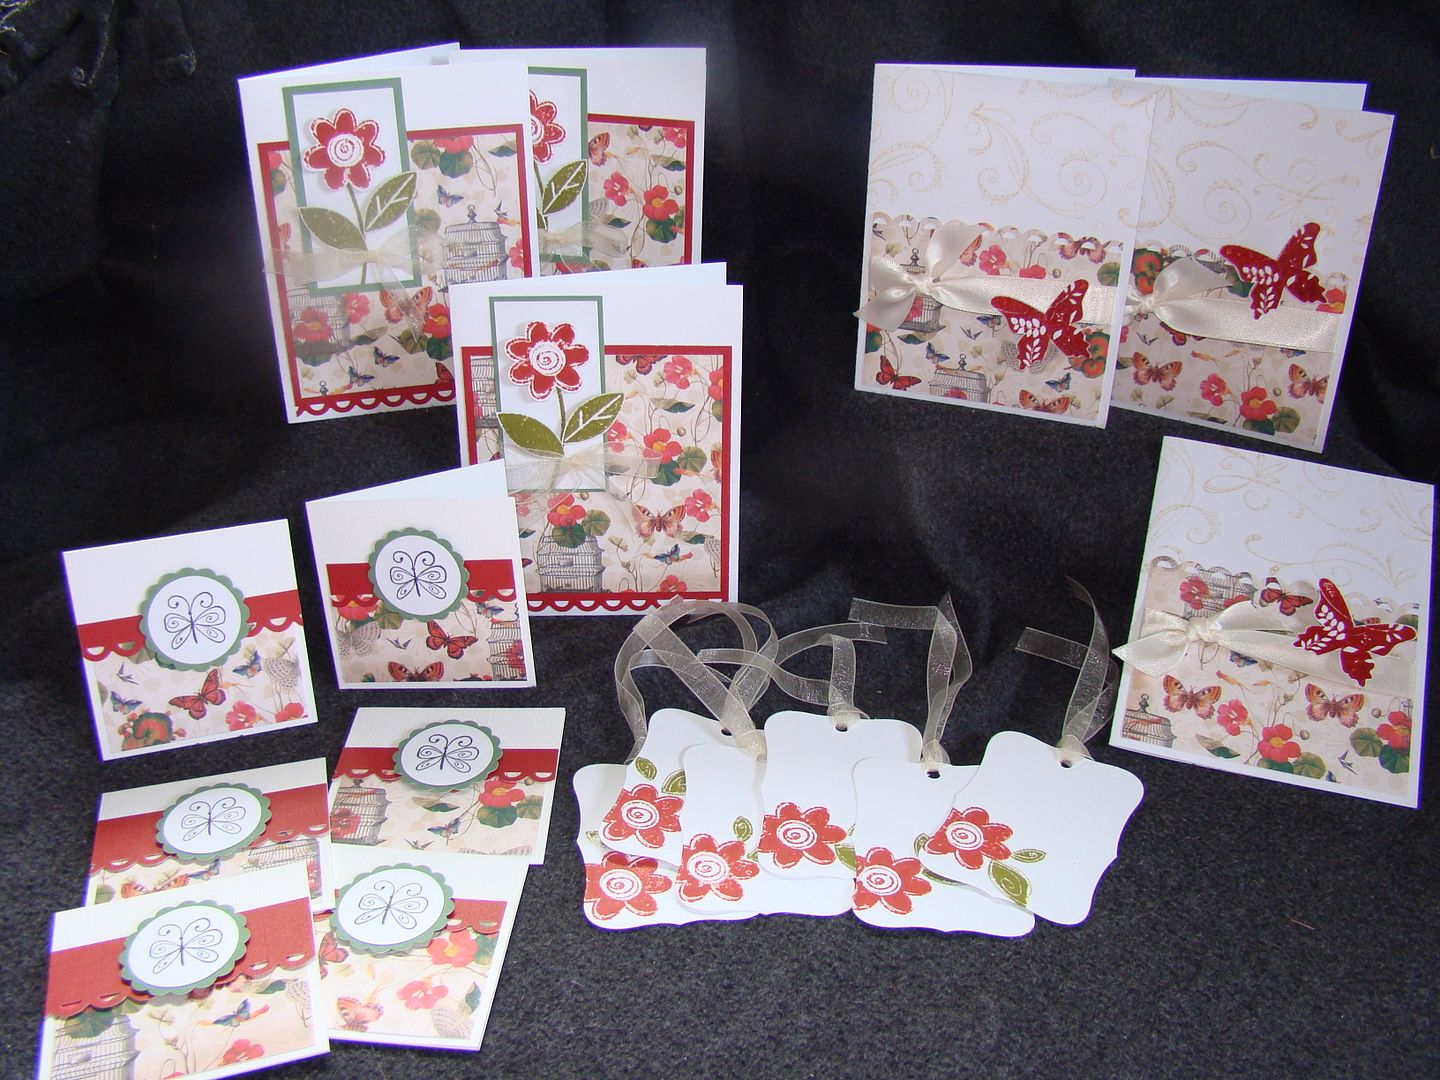
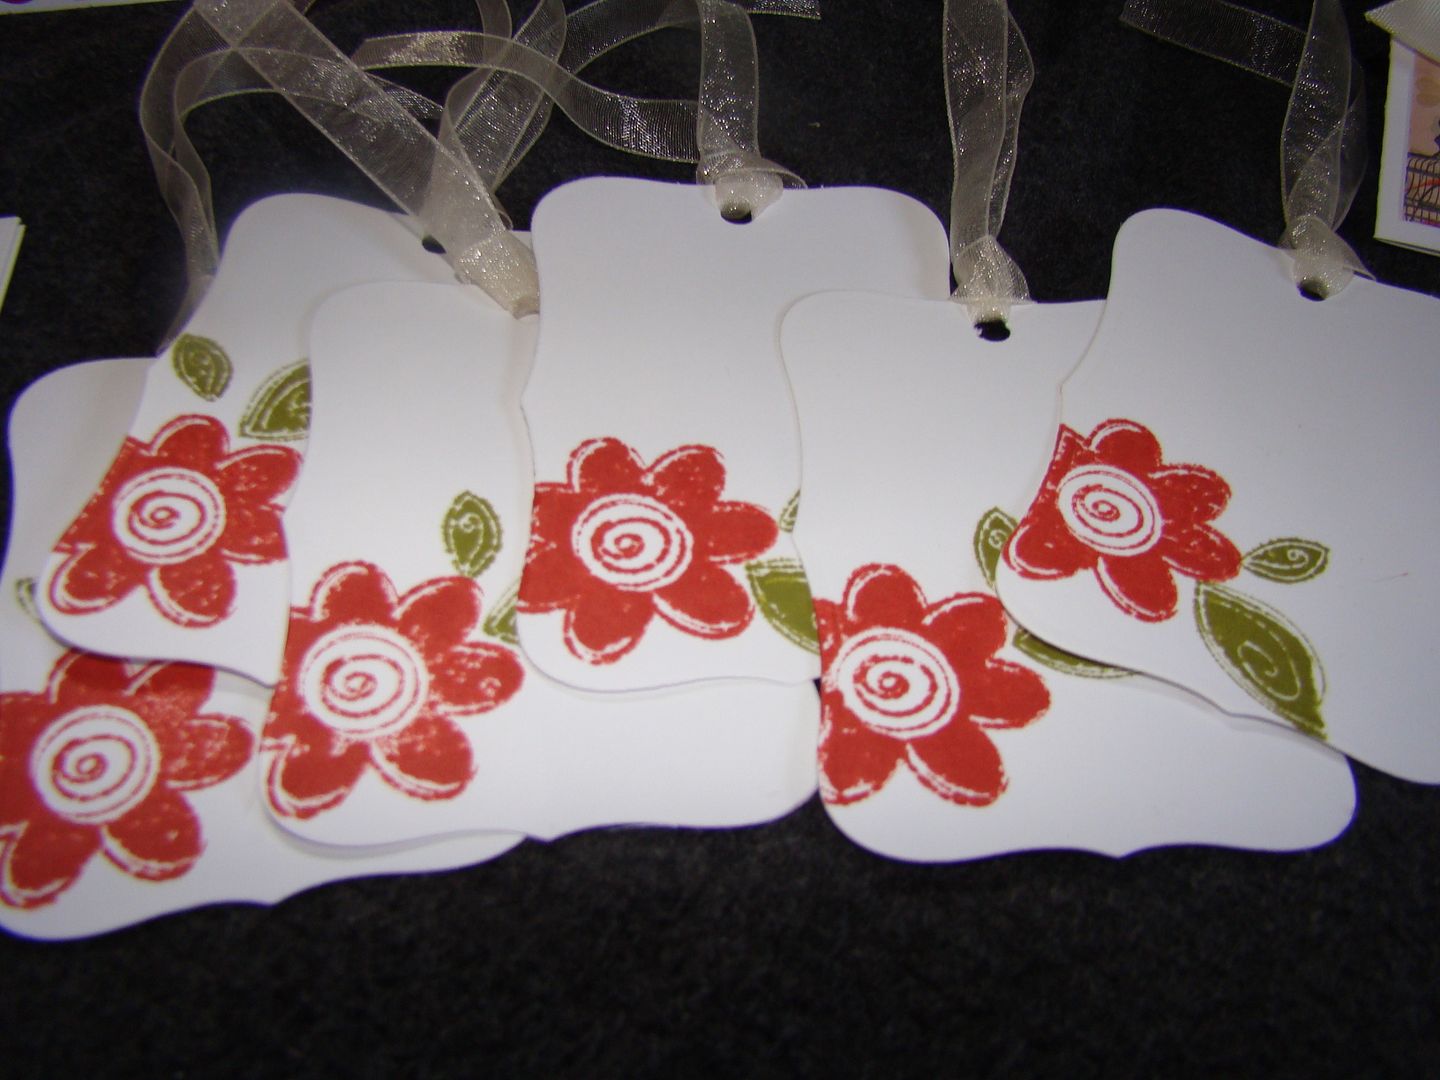
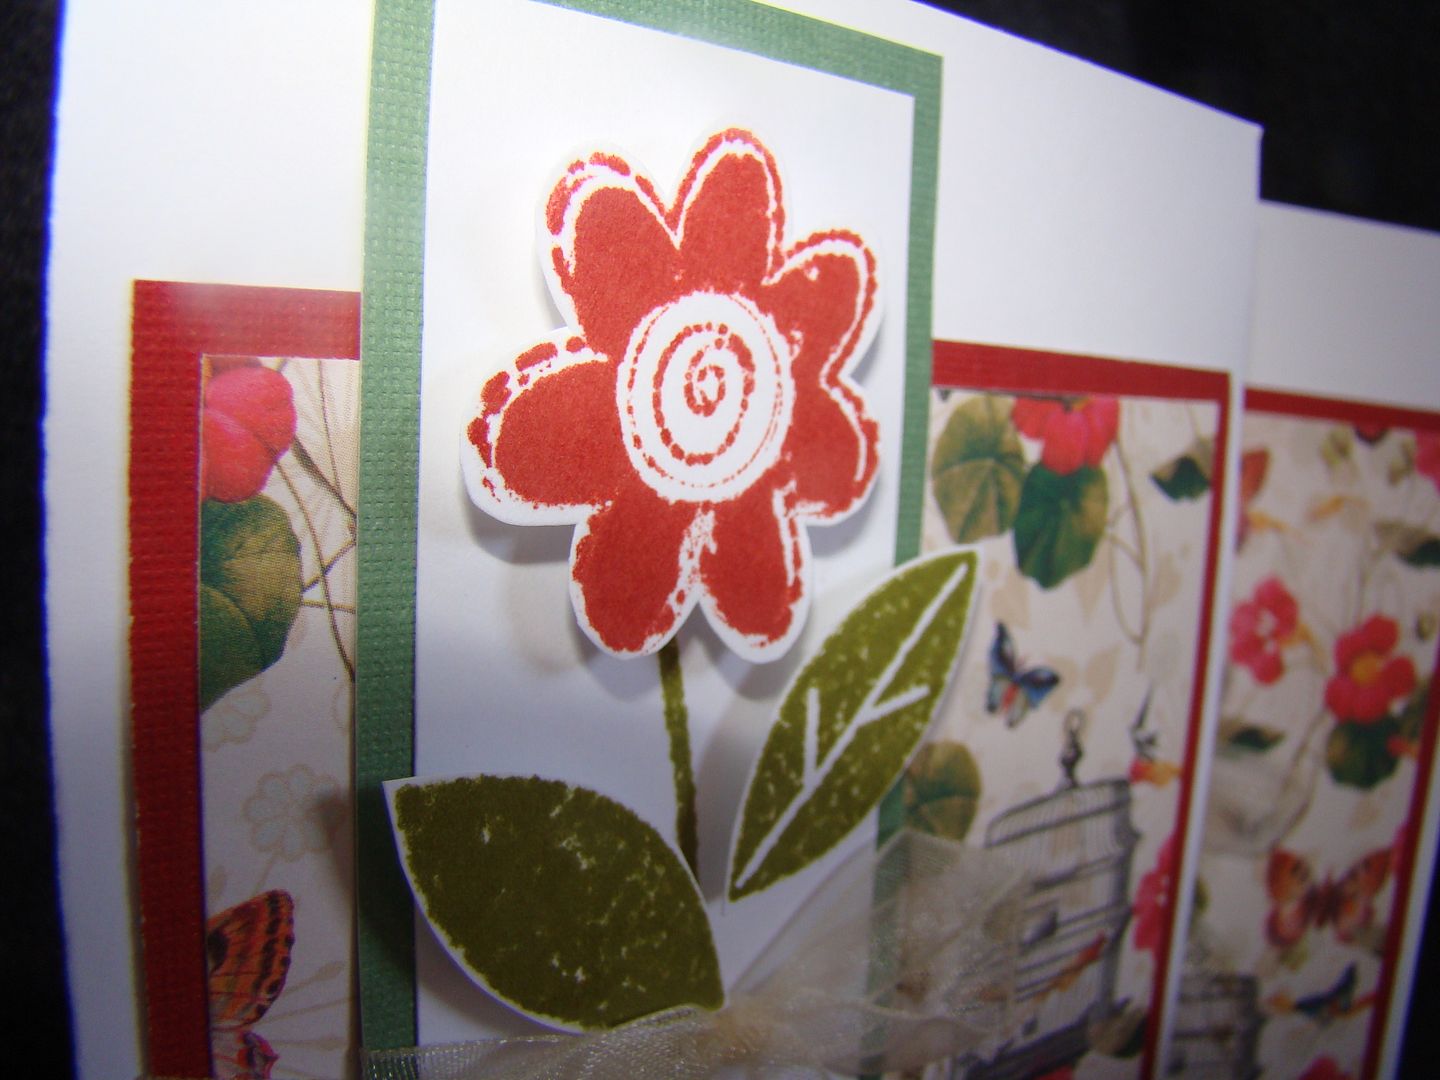
This flower stamp is a $1 one from M's and the leaves are from an Autumn Leaves set called Build a Flower.
I used my Nesties for these!
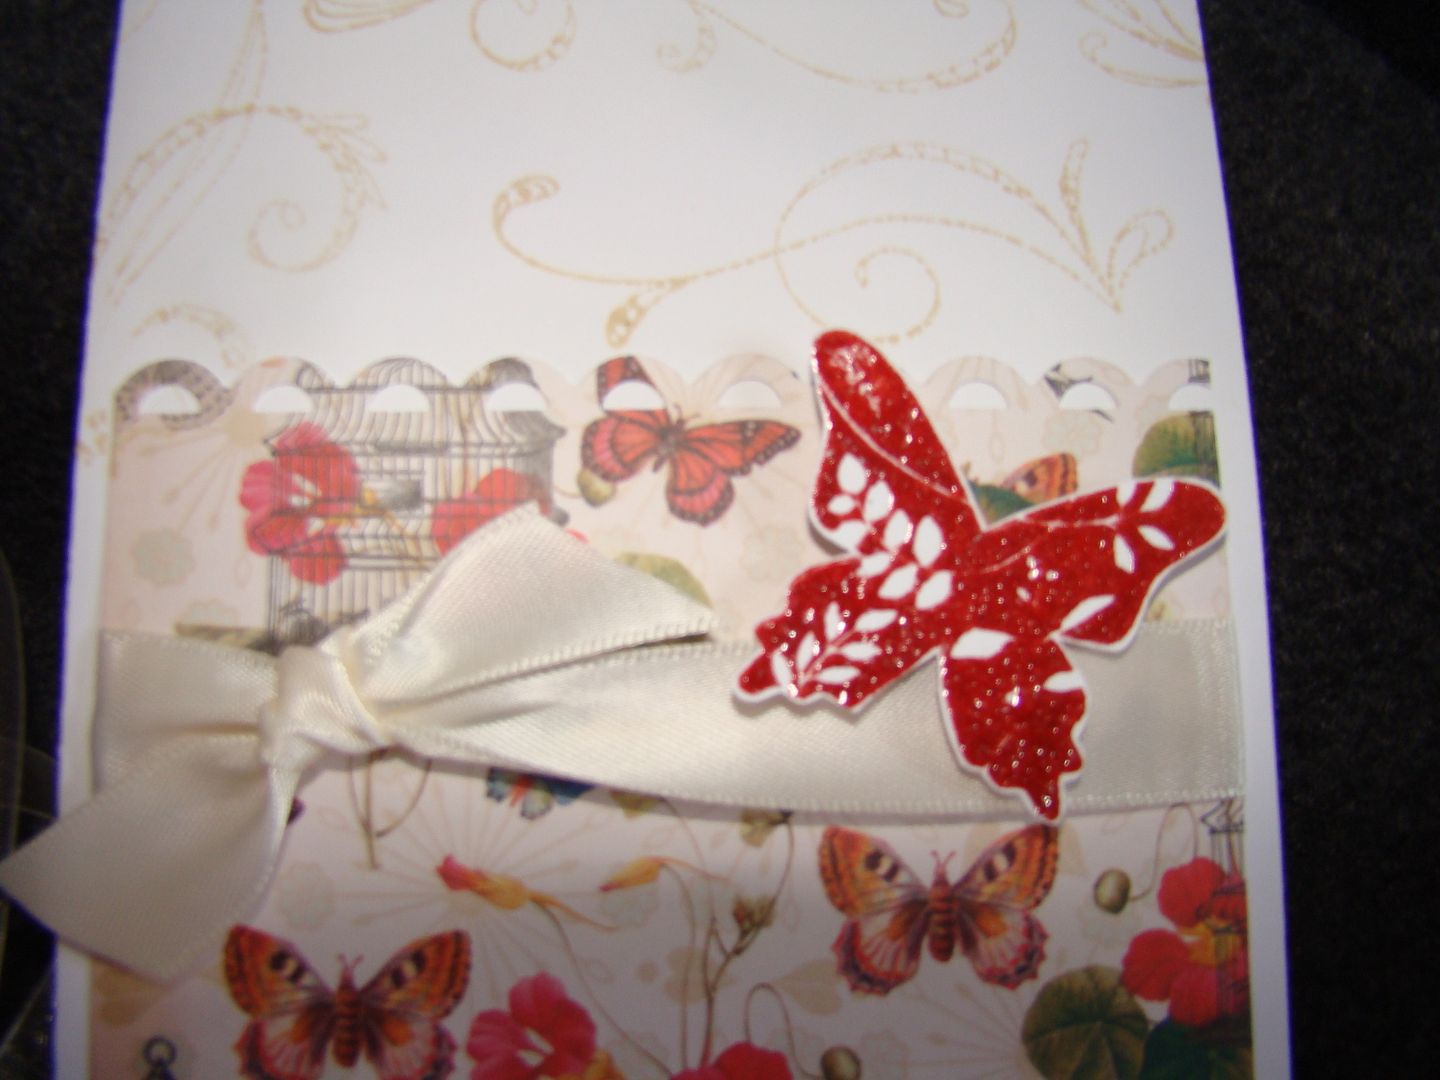
This butterfly is a Stampin Up! stamp, thanks Renee!
This paper is from American Carfts, and I am SERIOUSLY addicted to this tiny little twine from May Arts!
This flower stamp is a $1 one from M's and the leaves are from an Autumn Leaves set called Build a Flower.
I used my Nesties for these!
This butterfly is a Stampin Up! stamp, thanks Renee!
This paper is from American Carfts, and I am SERIOUSLY addicted to this tiny little twine from May Arts!
Notecards and Valentines...
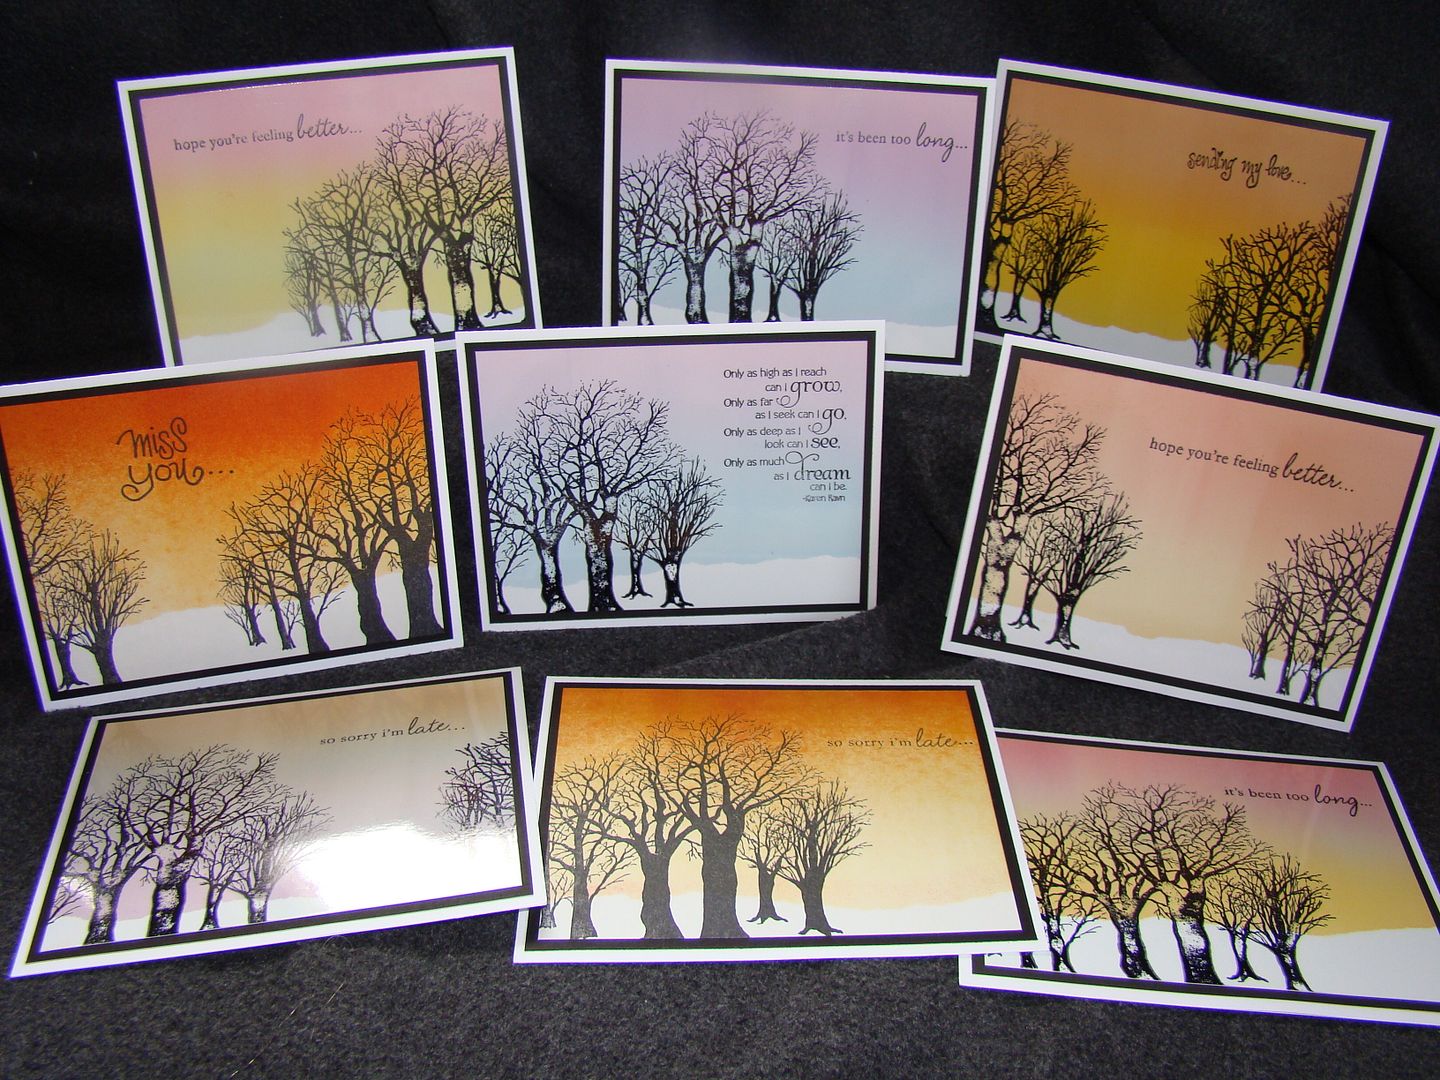
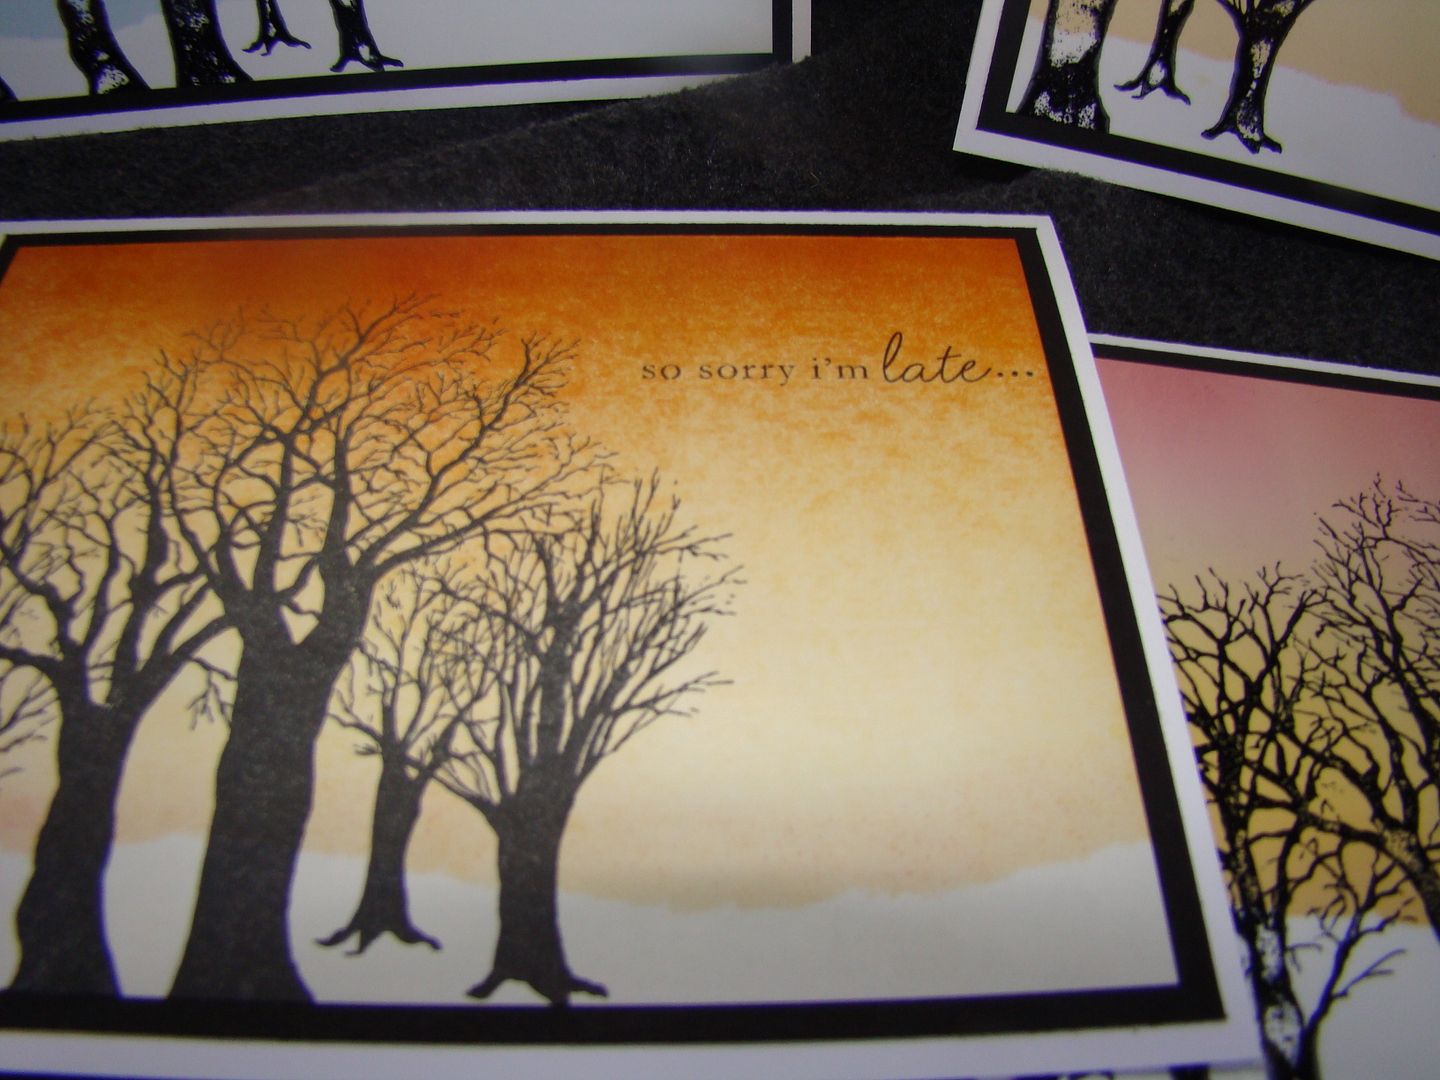
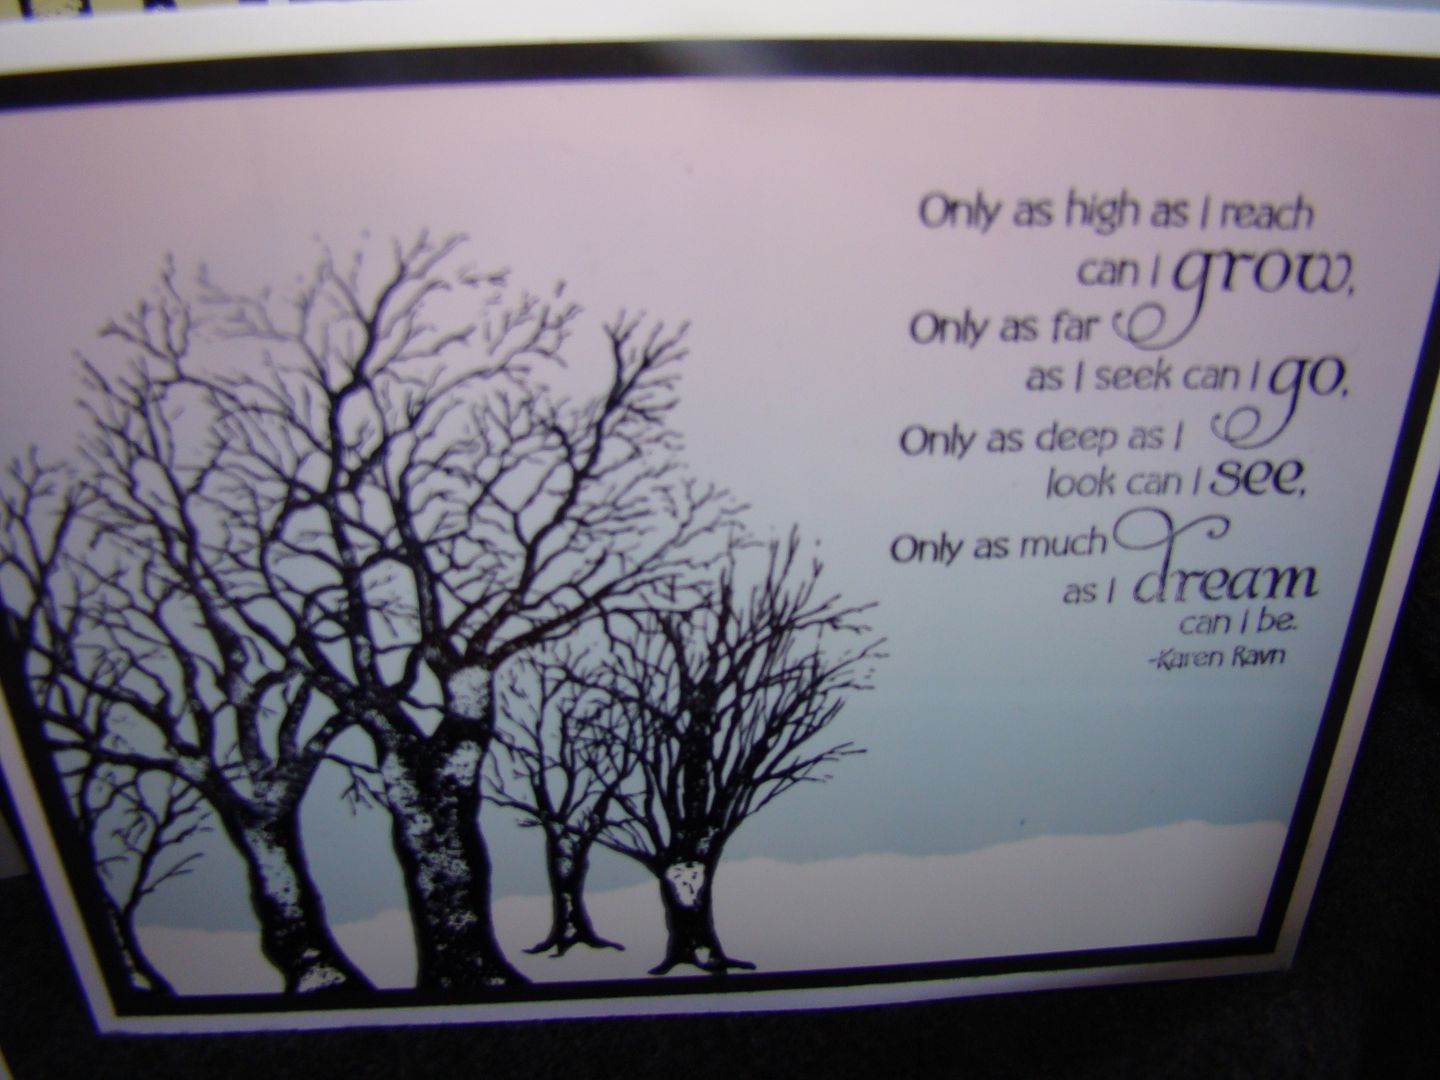
I made these blanks a while back, in October I think. I was inspired by this card, and wanted to give it a try. I finally mounted them on the cards and added the sentiments this last week. Some sentiments are PTI, $1 ones from M's or others from my stash.
I found a good tutorial for these here and here
This more matte finish one is done on regular white cardstock
And the shiny ones are done on regular old photo paper. I haven't tried it on the clay coated paper yet, but I want to get some and see how it works.
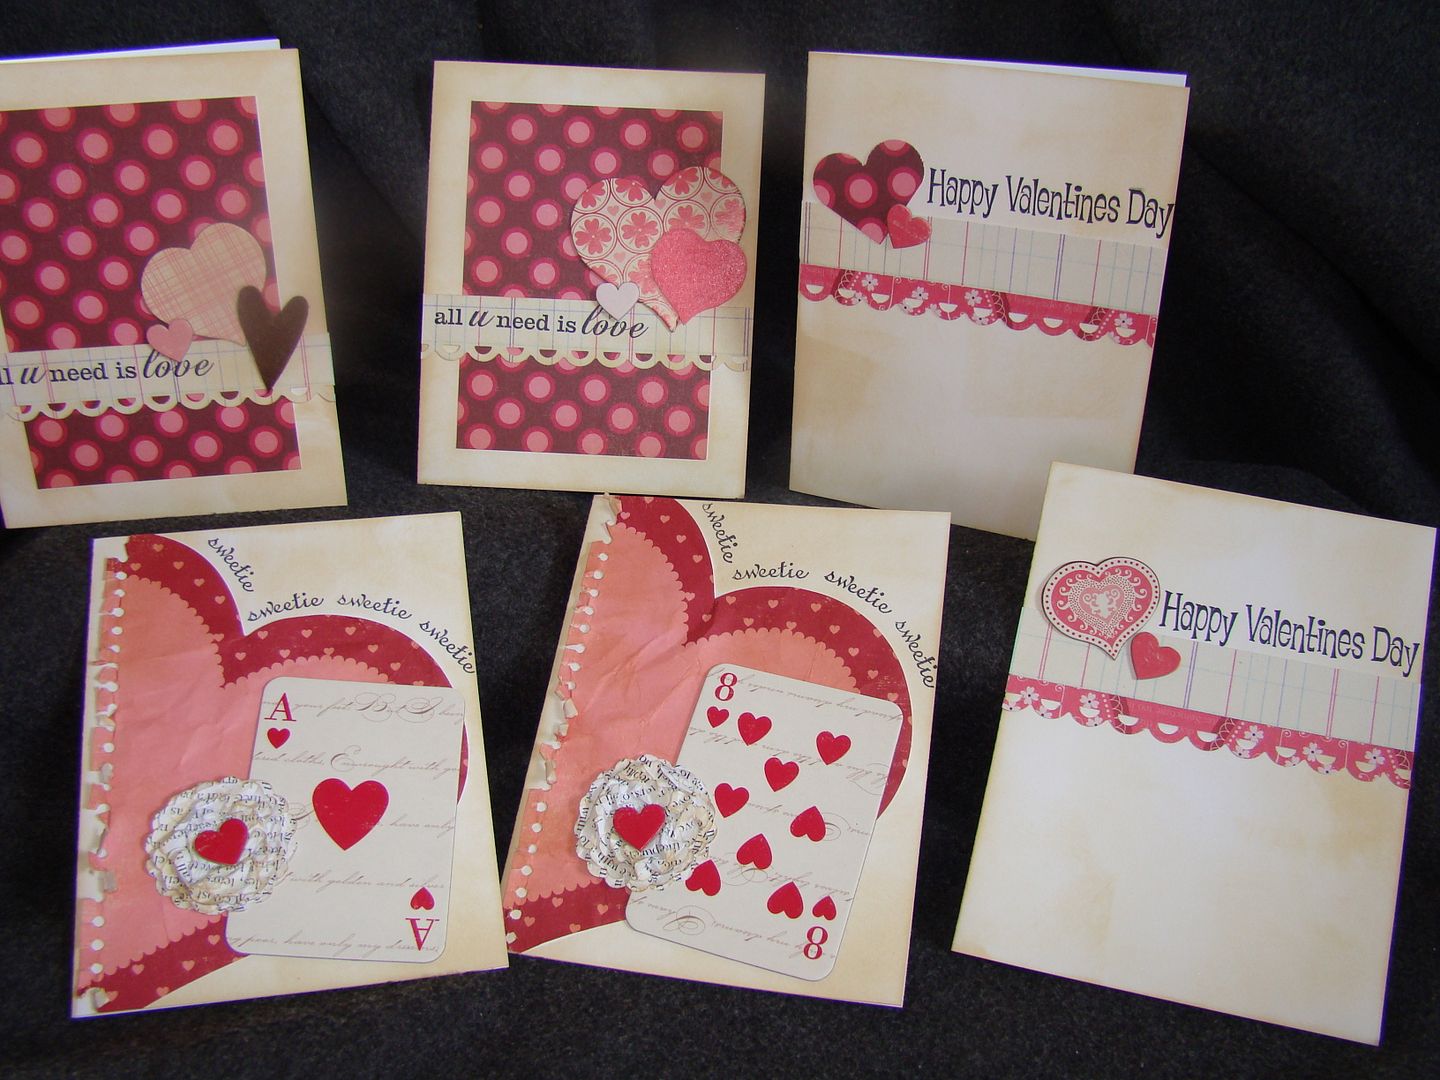
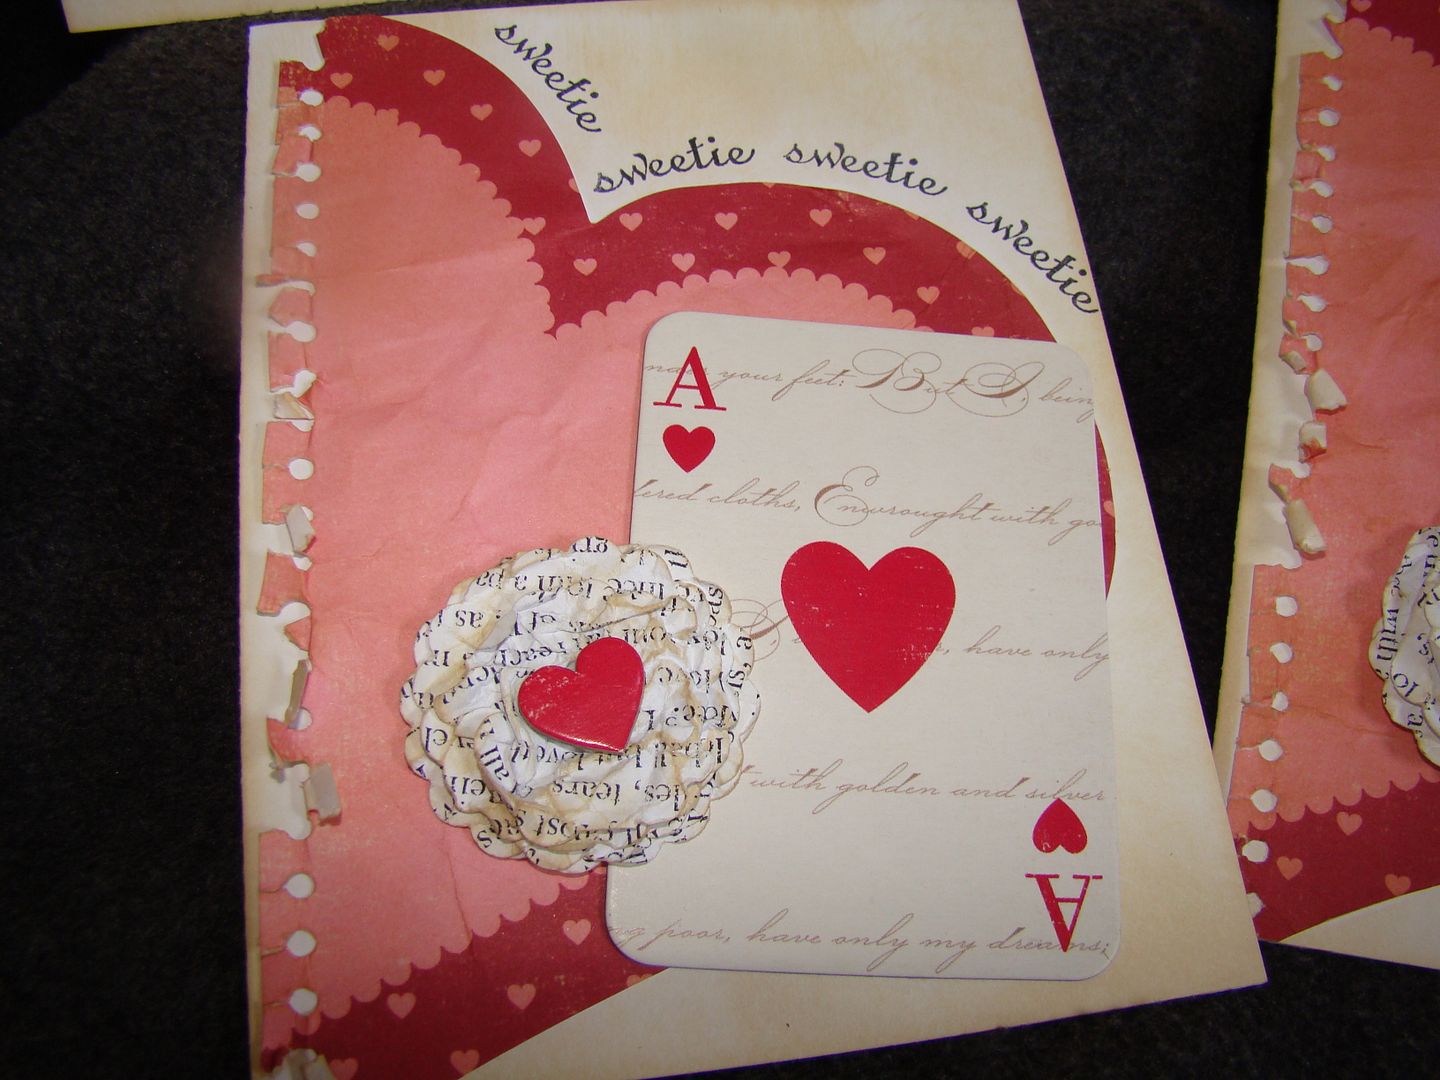
These Valentine cards were made with bits and pieces of the new Making Memories Love Notes stuff, so cute! The stamps are a couple $1 wood mounted ones from M's. And my new fun emebellishment?? Those little ruffly flowers, LOVE them! Found them HERE, lover her stuff too!
The 'sweetie' stamp is a clear $1 set from M's, just used a few times around the curve. I also grunged these up a bit with Tim Holtz Antique Linen distress ink.
Thursday, January 21, 2010
Ouch...
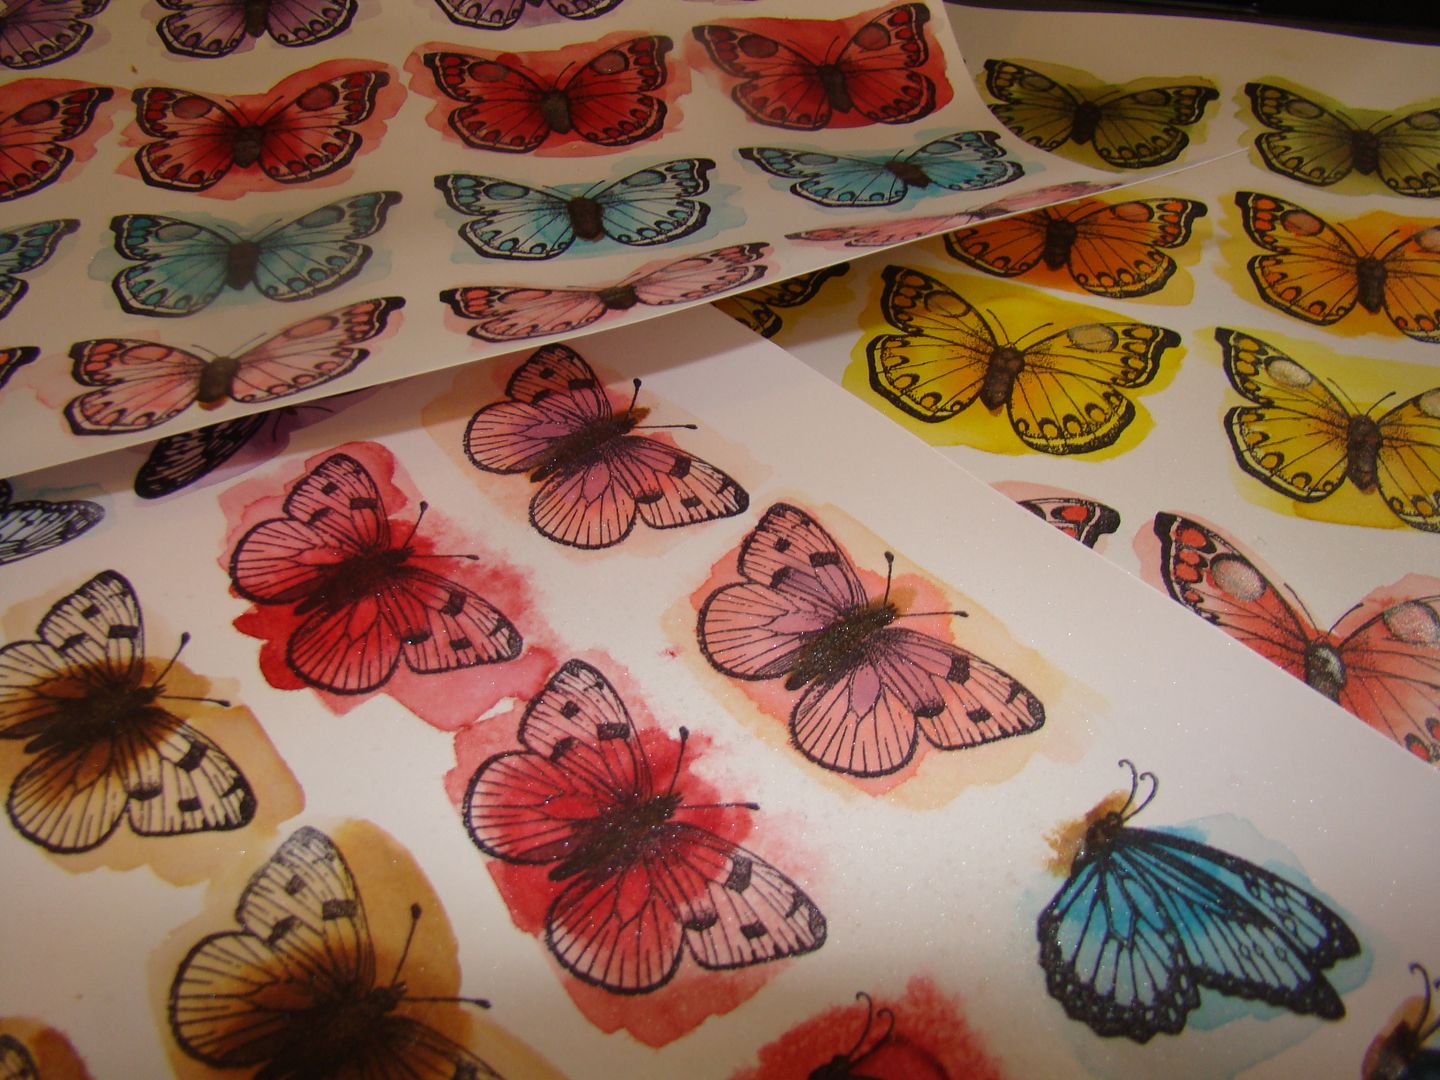
...My fingers already hurt from all the cutting, but it will be worth it!! I finally found this stamp set at my LSS yesterday and couldn't wait to make some of these!! I {heart} Jennifer McGuire :)
So I stamped out a ton with Staz-On black ink, and colored them all in with Tim Holtz distress inks, a paintbrush, and water. I want some Copics soooo bad, but have not yet been able to splurge on them. I was able to get a similar effect with the inks, so it's all good! I put some ink on my craft sheet and spritzed with water, and painted all the butterflies. Then I gave them all another spritz with Perfect Pearls and water for some shimmer ;)
Now back to more cutting...!
....update...
I am finished, yay!
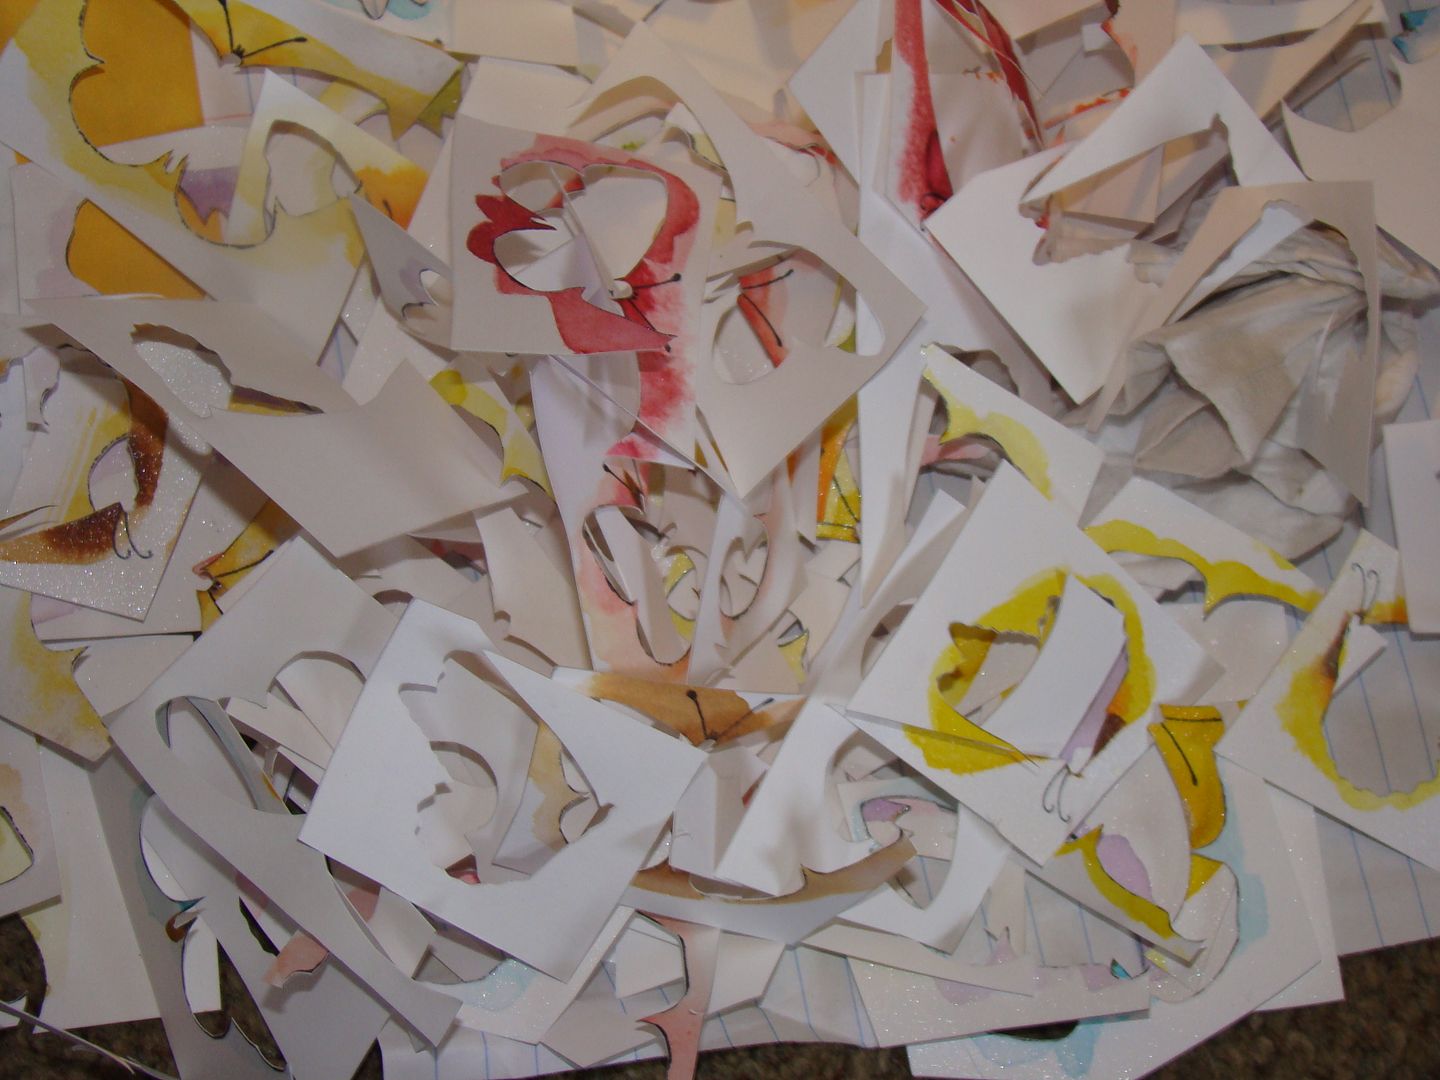
Here's the aftermath of destruction lol
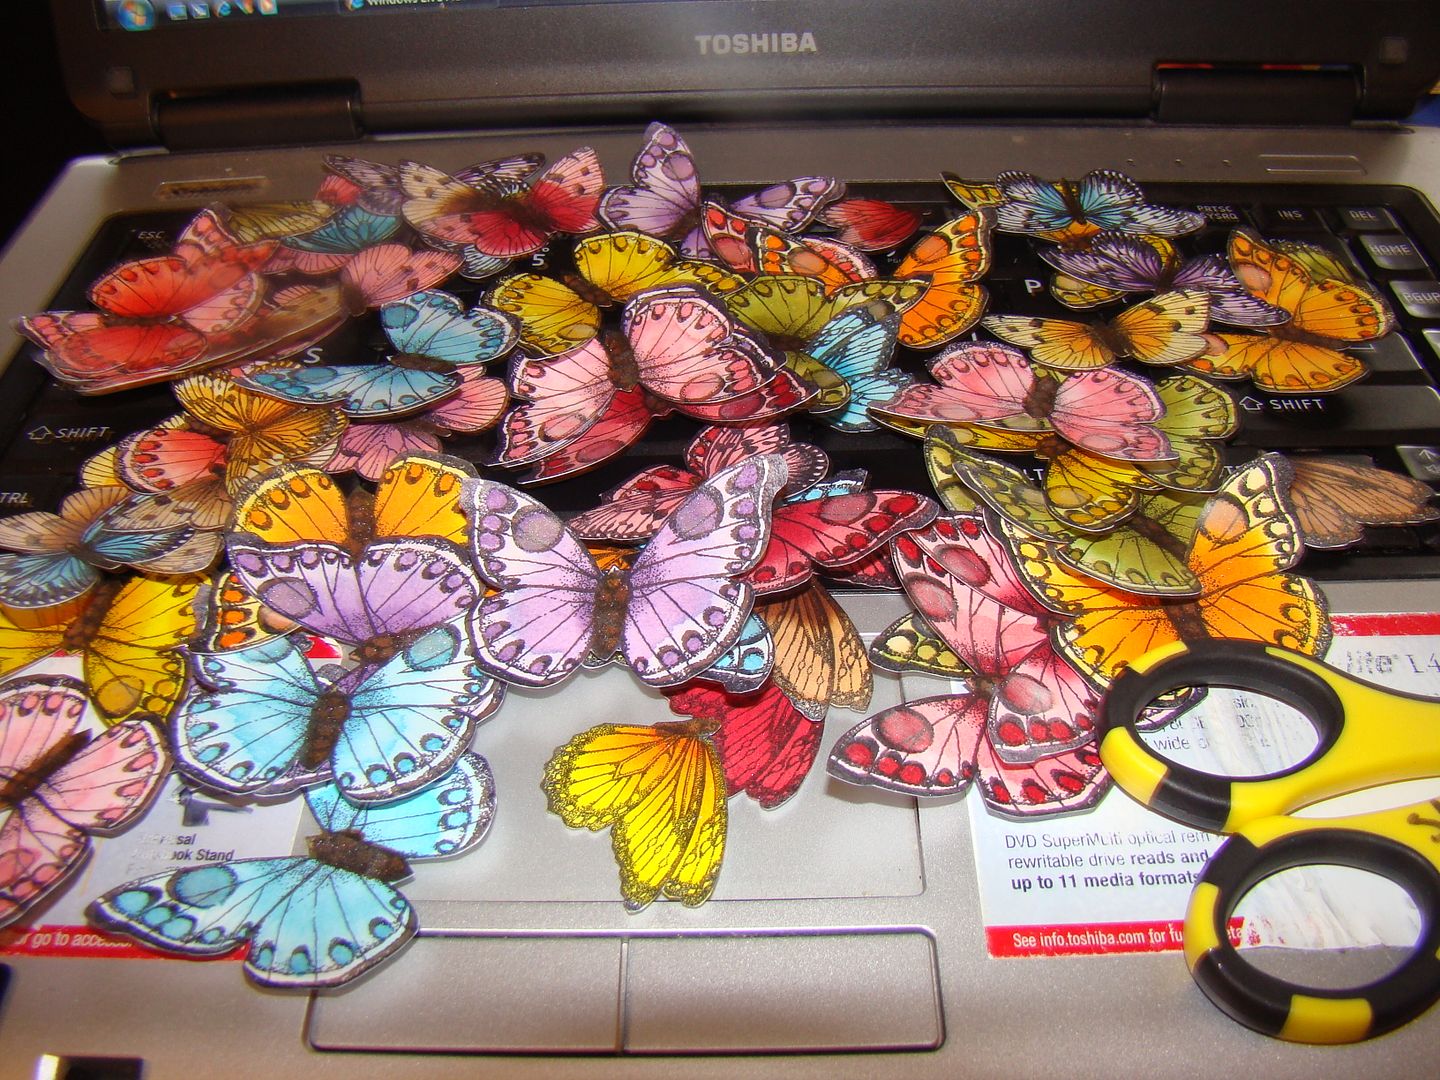
And the pretty part! Look at all those beauties!
Tuesday, January 19, 2010
Lynden Skateway!
We went to the Lynden Skateway yesterday, it was lots of fun! I was talking to my husband and I think the last time we went there was right around the time we started dating, in 1992 or 1993!
We took one of Aaron's friends with us too!
It was actually Aaron's idea to go skating. He originally wanted to go ice skating, but Kasoma quickly shot that idea down! The last time we went ice skating, he hurt his wrist when he fell and he was willing to chance that again, lol. So he suggested roller skating instead, and that made everybody happy ;)
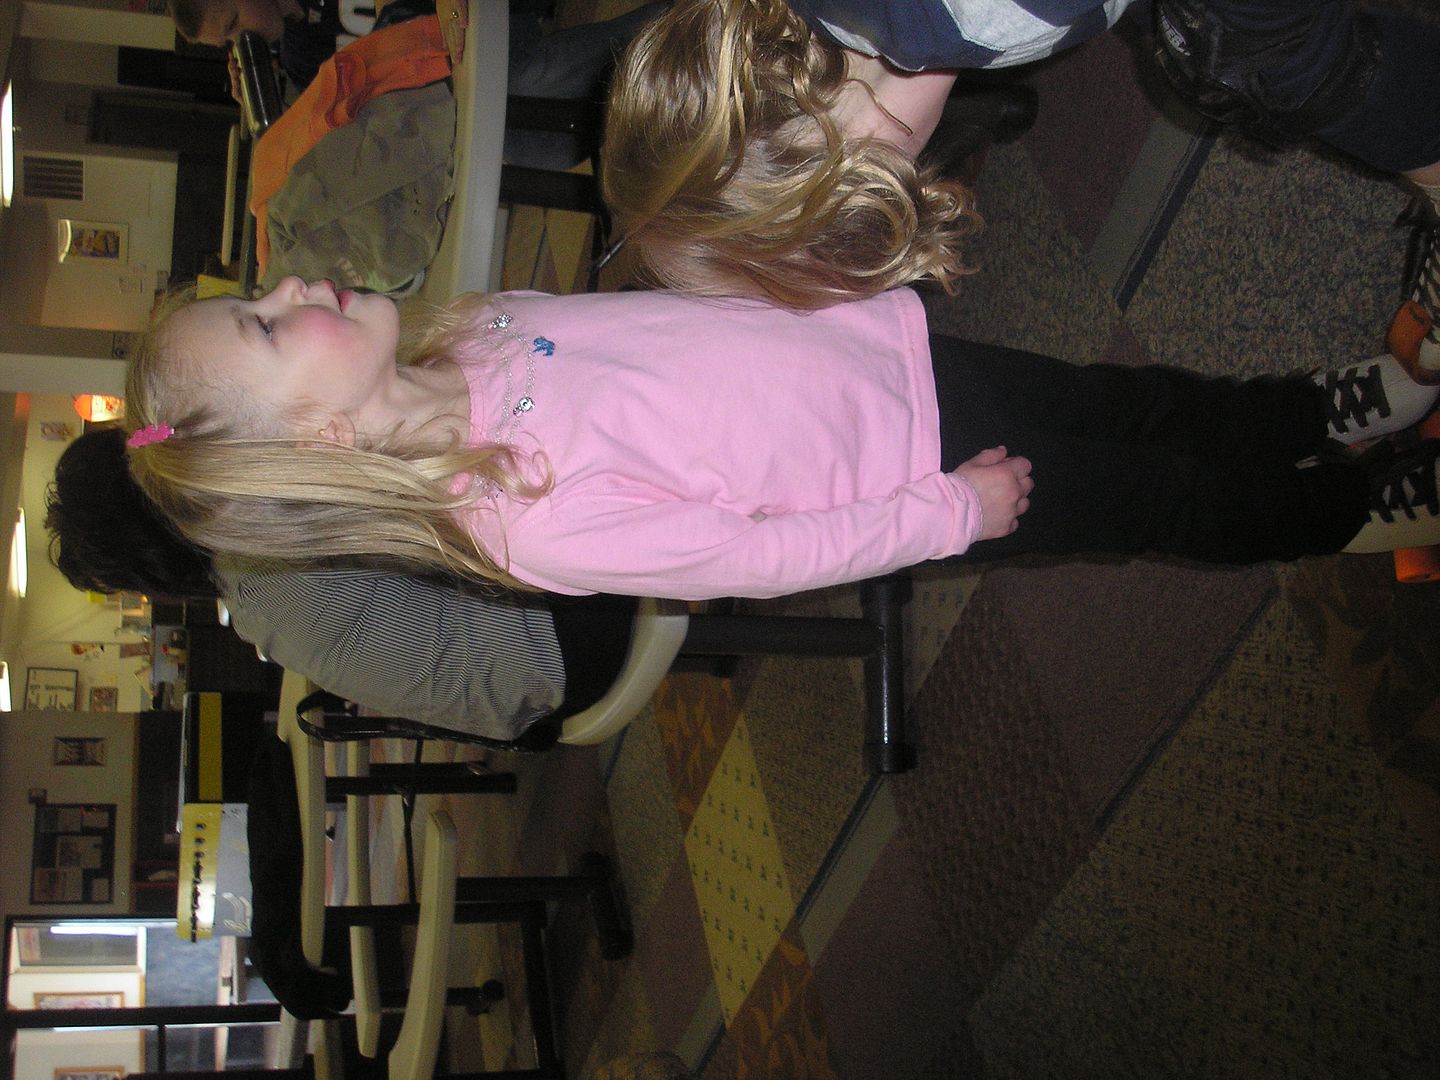
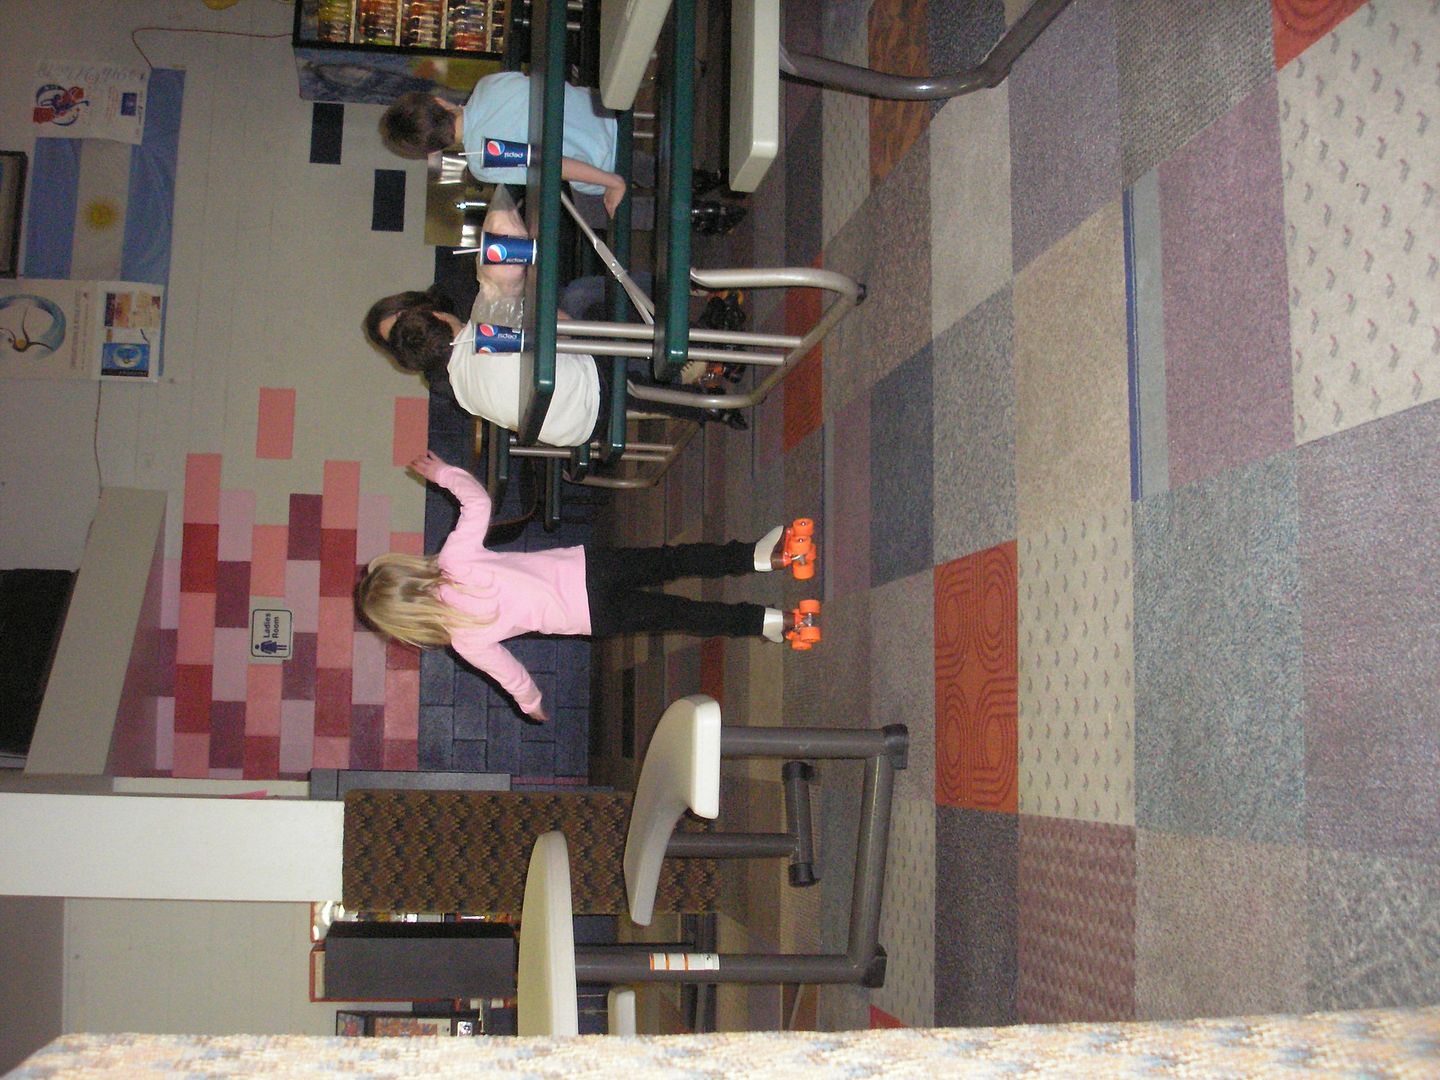
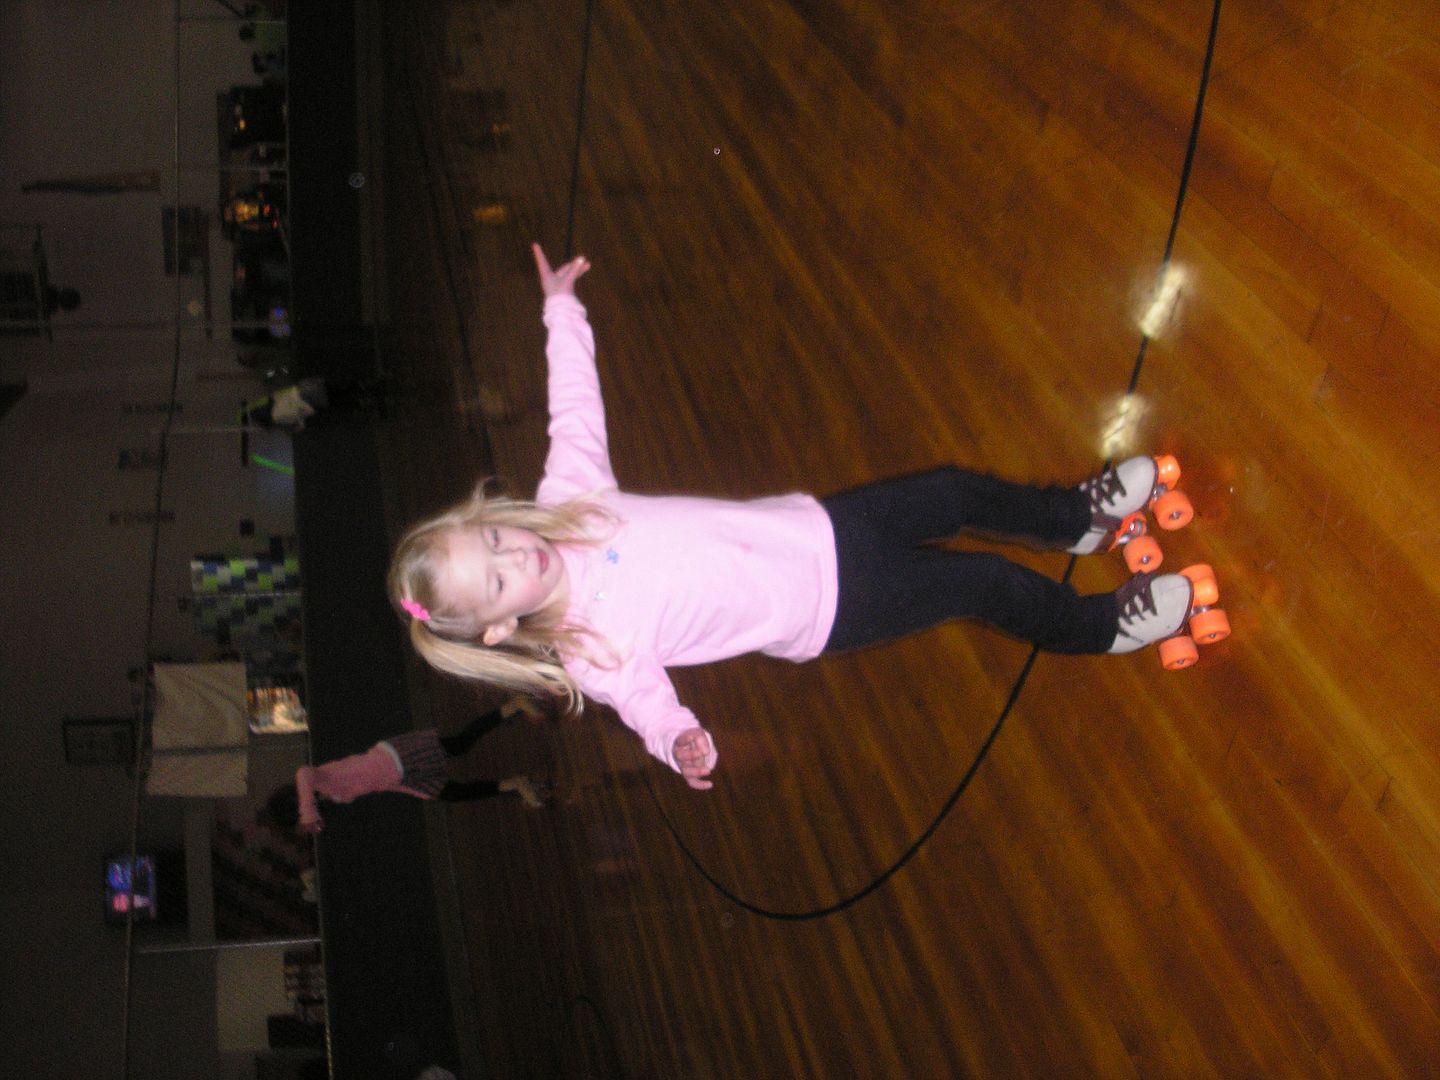
Adrian was excited to go but had never been on wheels before, so she didn't want to take a single step without a death grip on my hand.
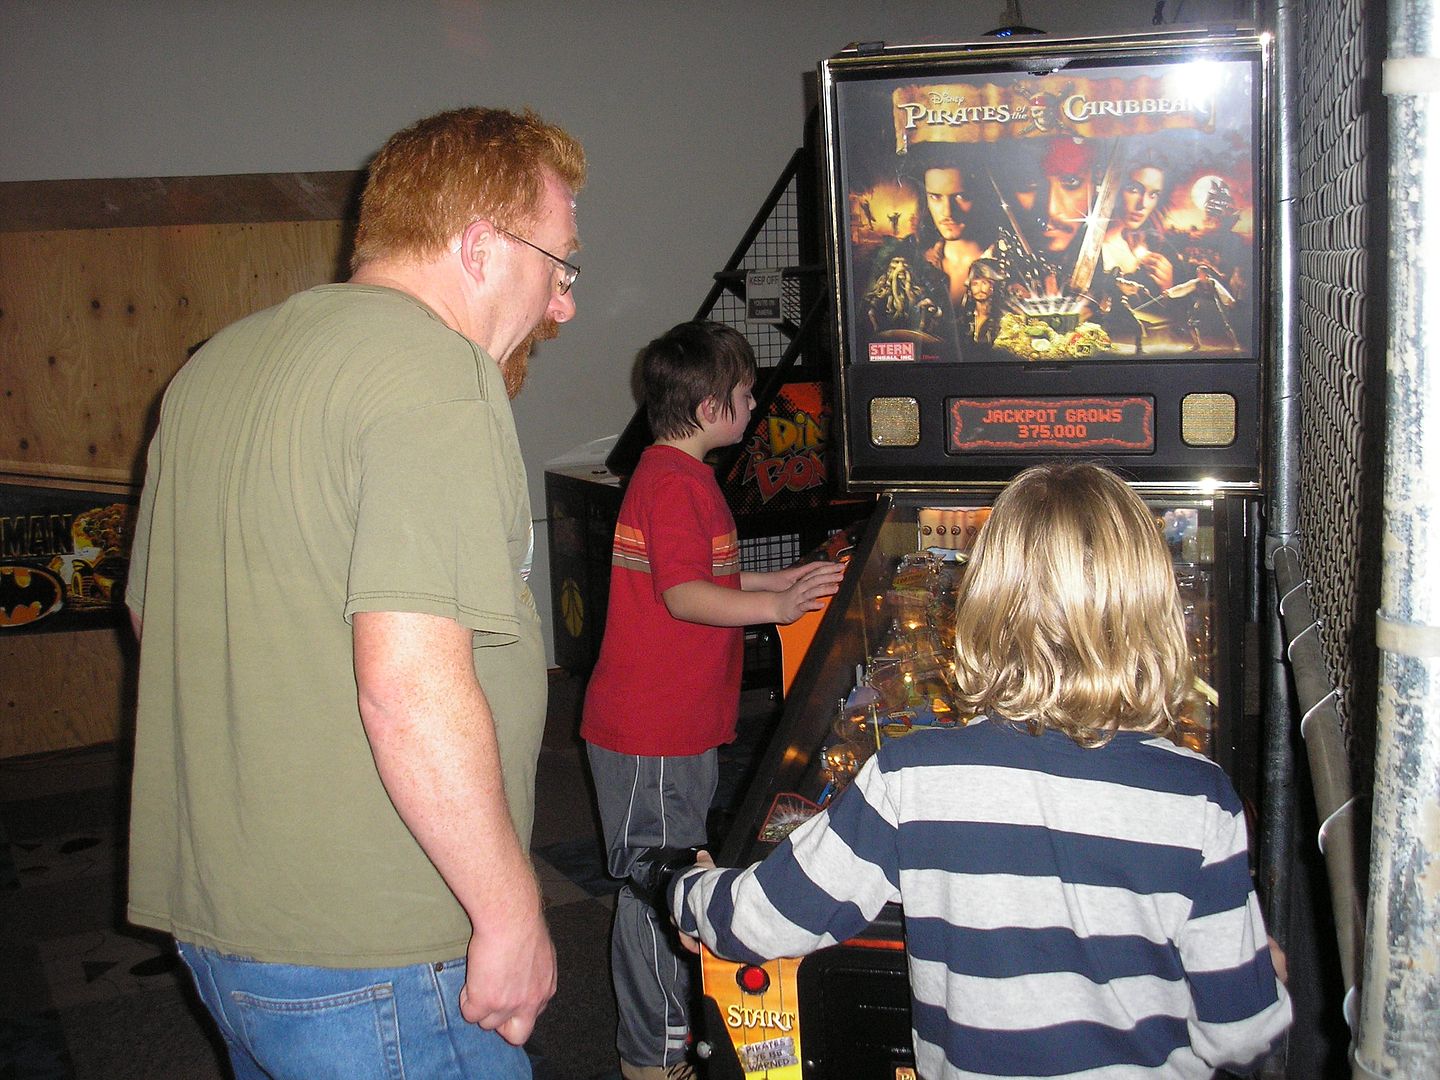
The boys skated for awhile but then got side-tracked for a little while by the video games and air hockey!
My friend Dyona also met us there and her daughter Senna too!
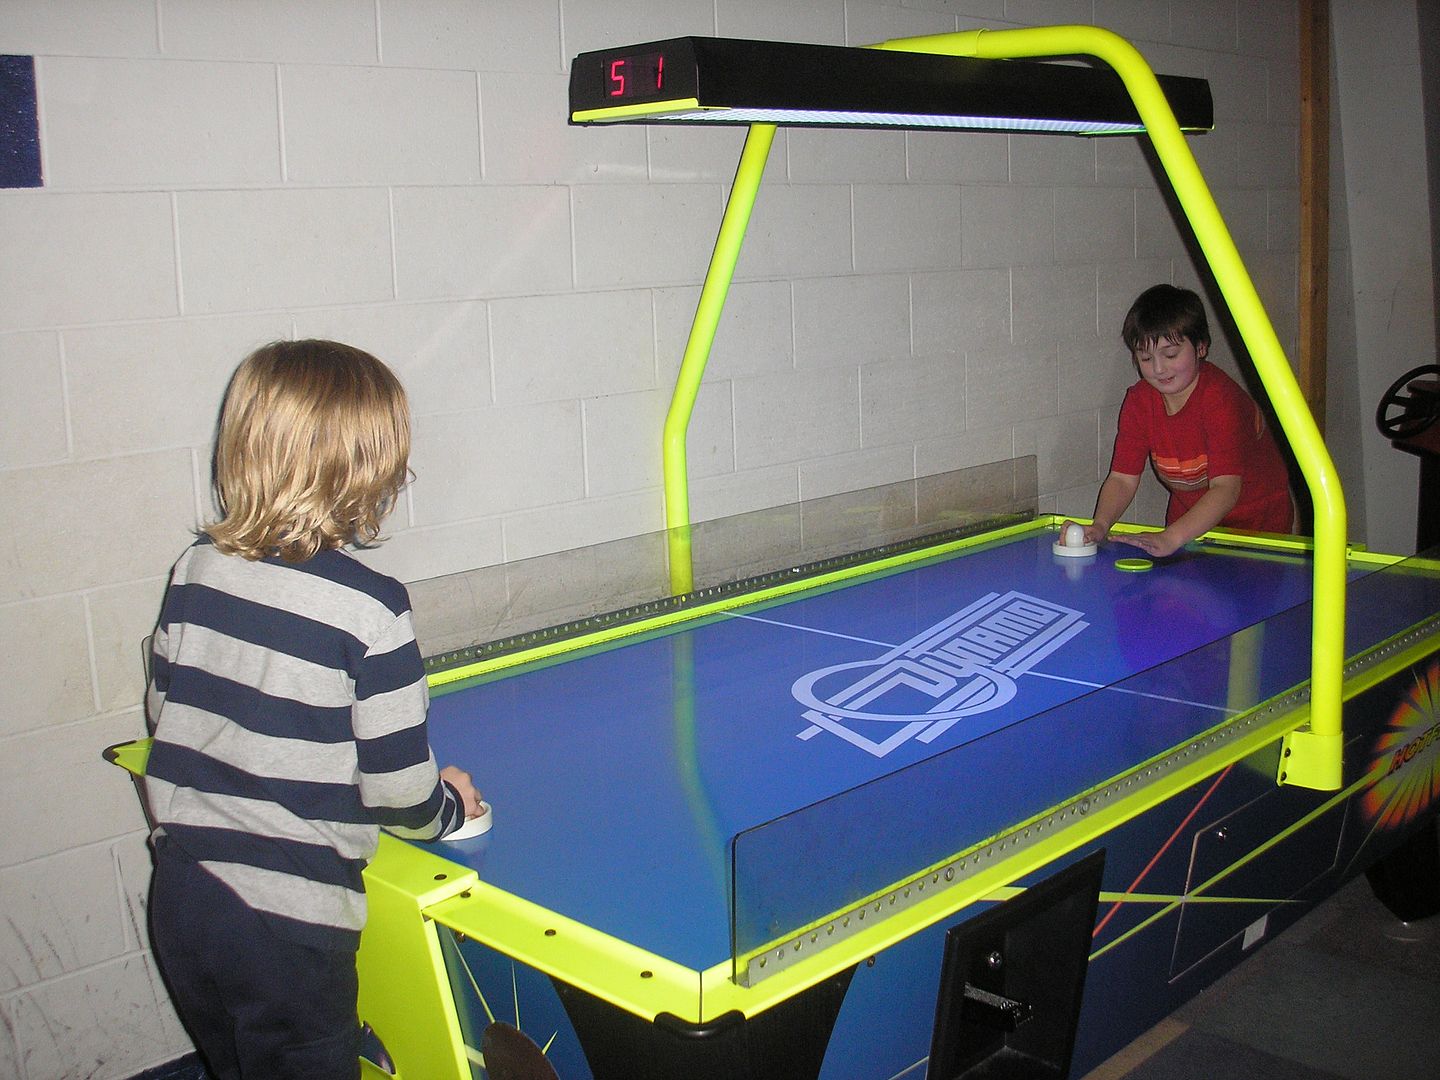
Aaron and his friend playing air hockey...
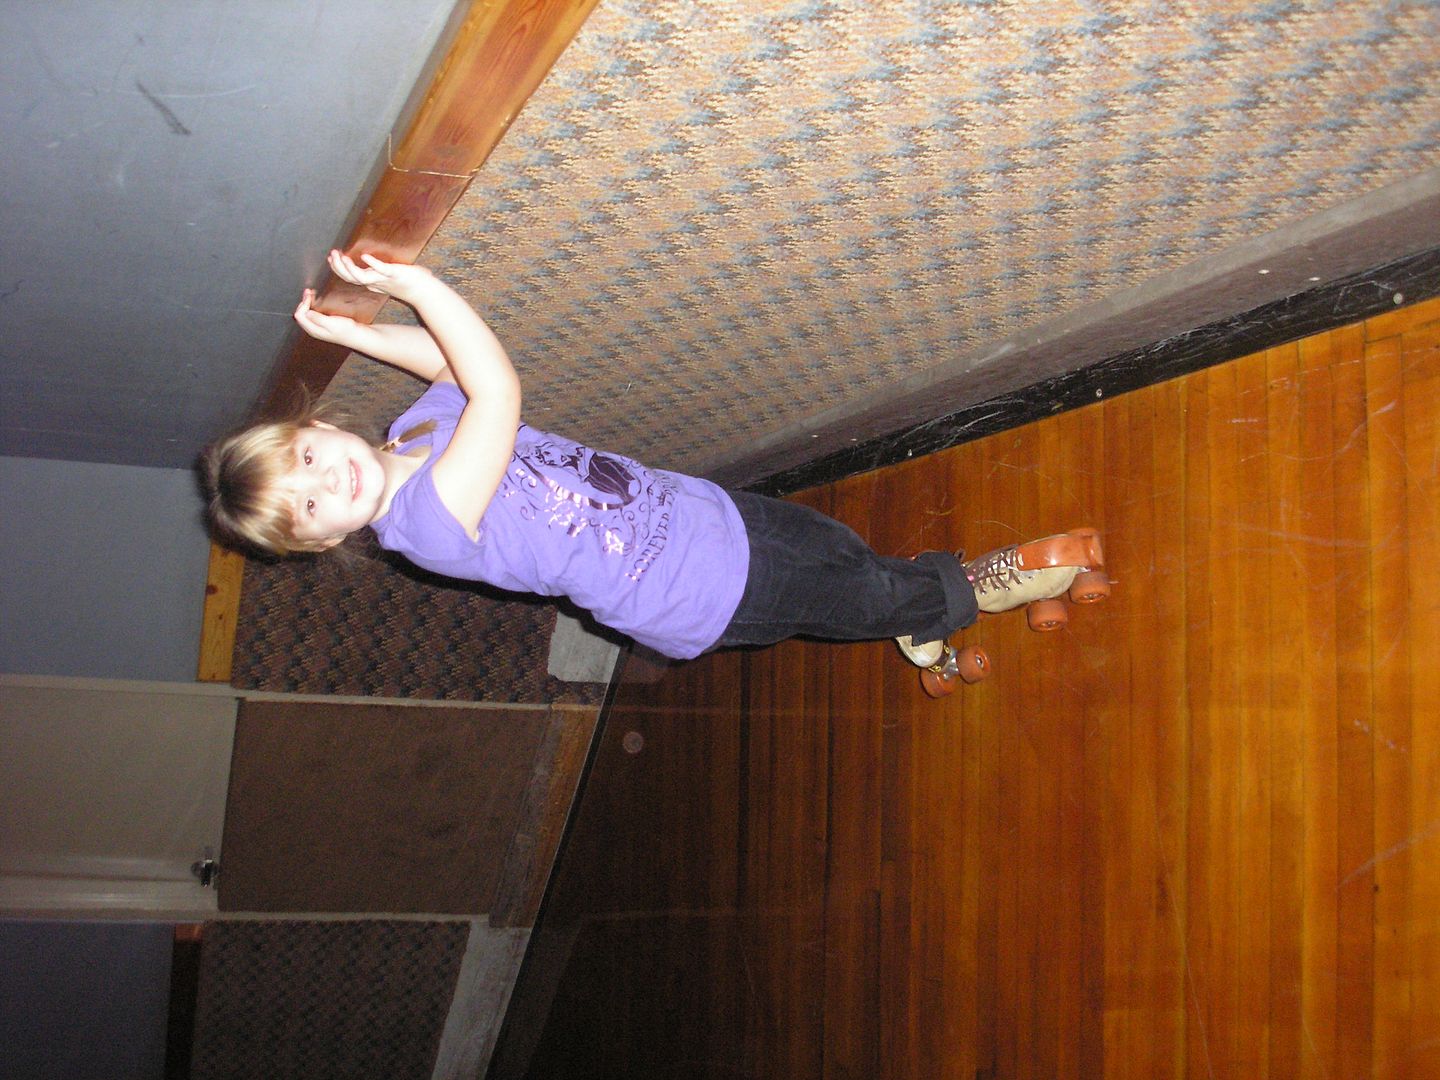
The only time Adrian let go of me was when she was 'skating' on the carpet. She got the hang of it a bit better and after that she didn't want me to help her!
"I can do it myself Mom!"
We were there for about 2 1/2 hours, and the kids were pooped!
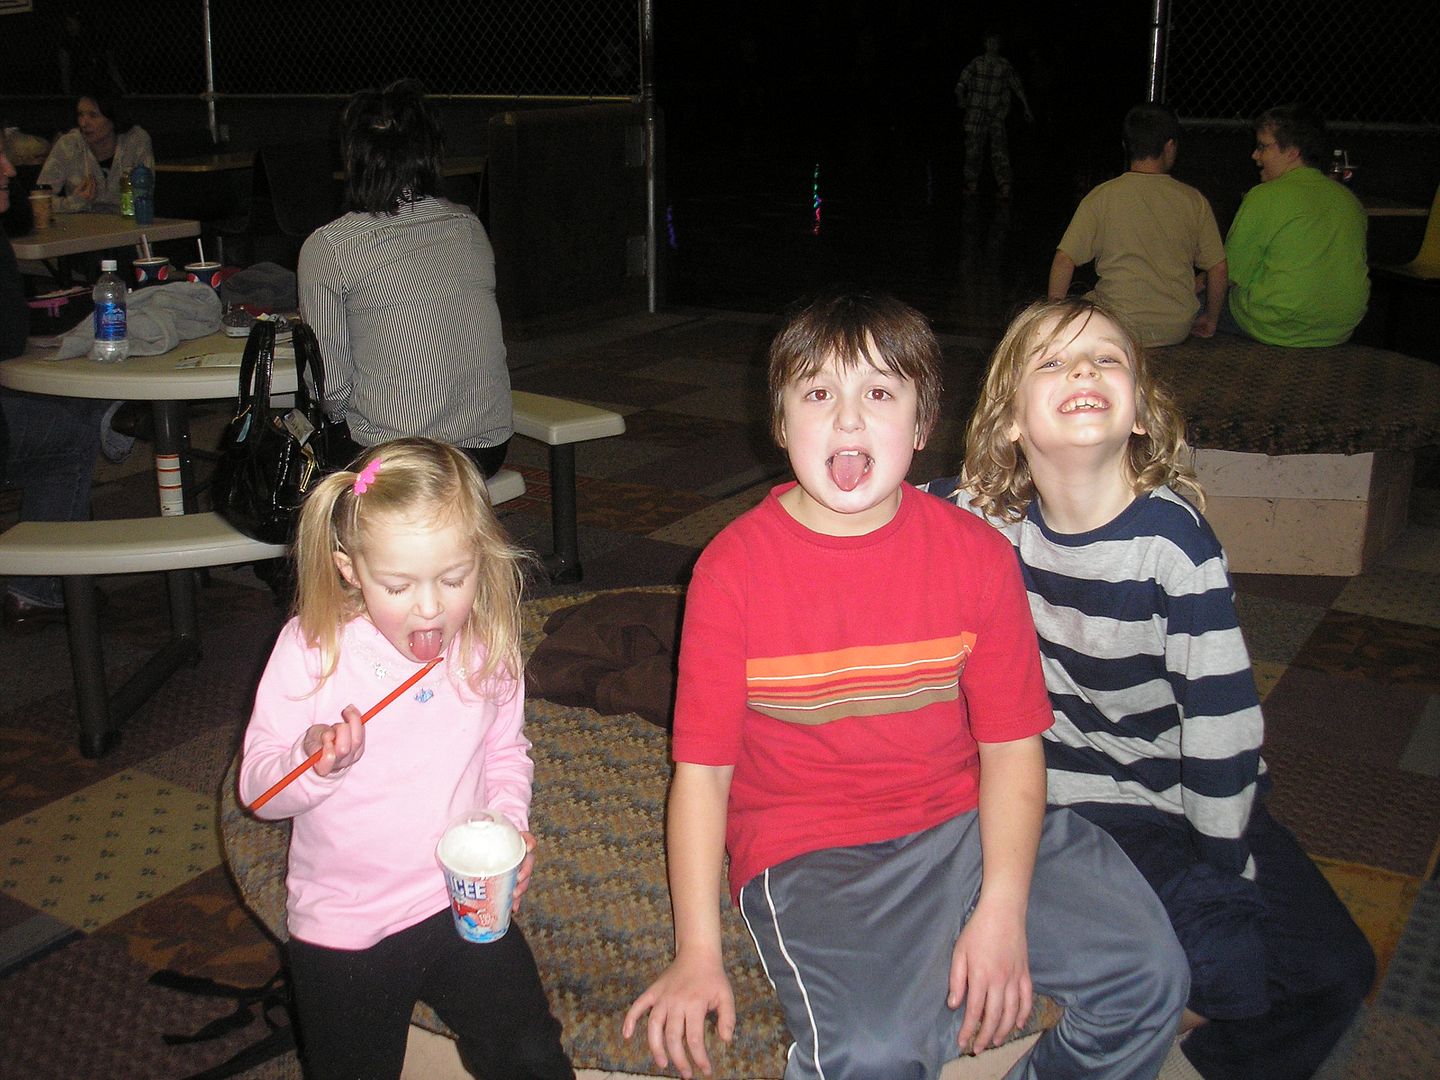
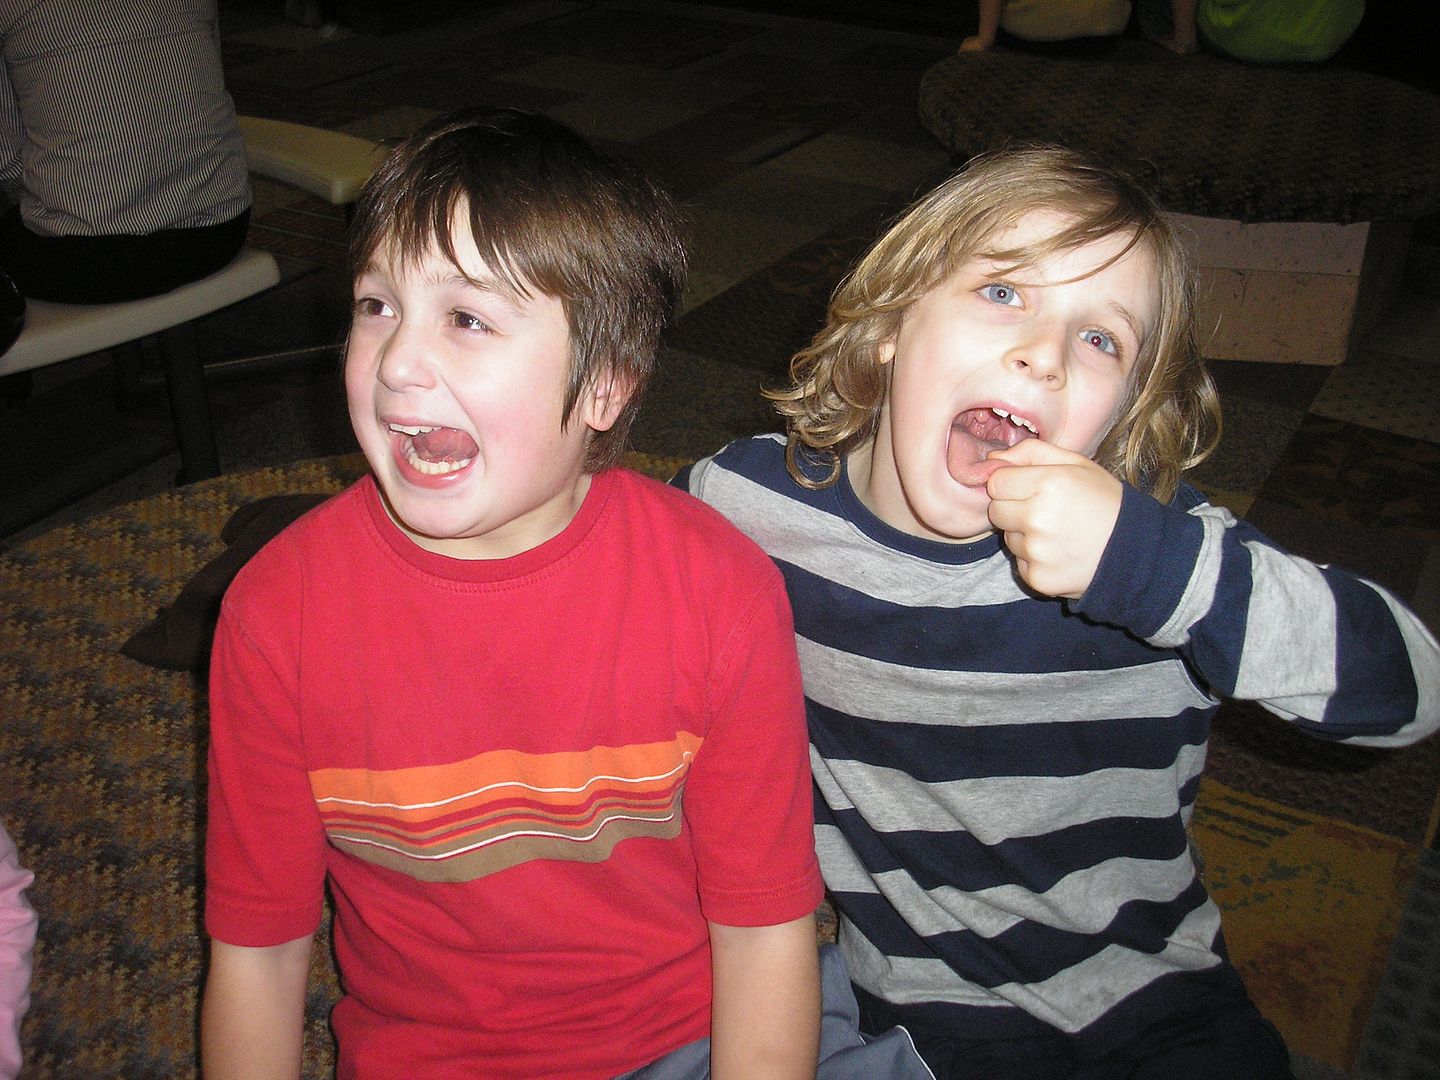
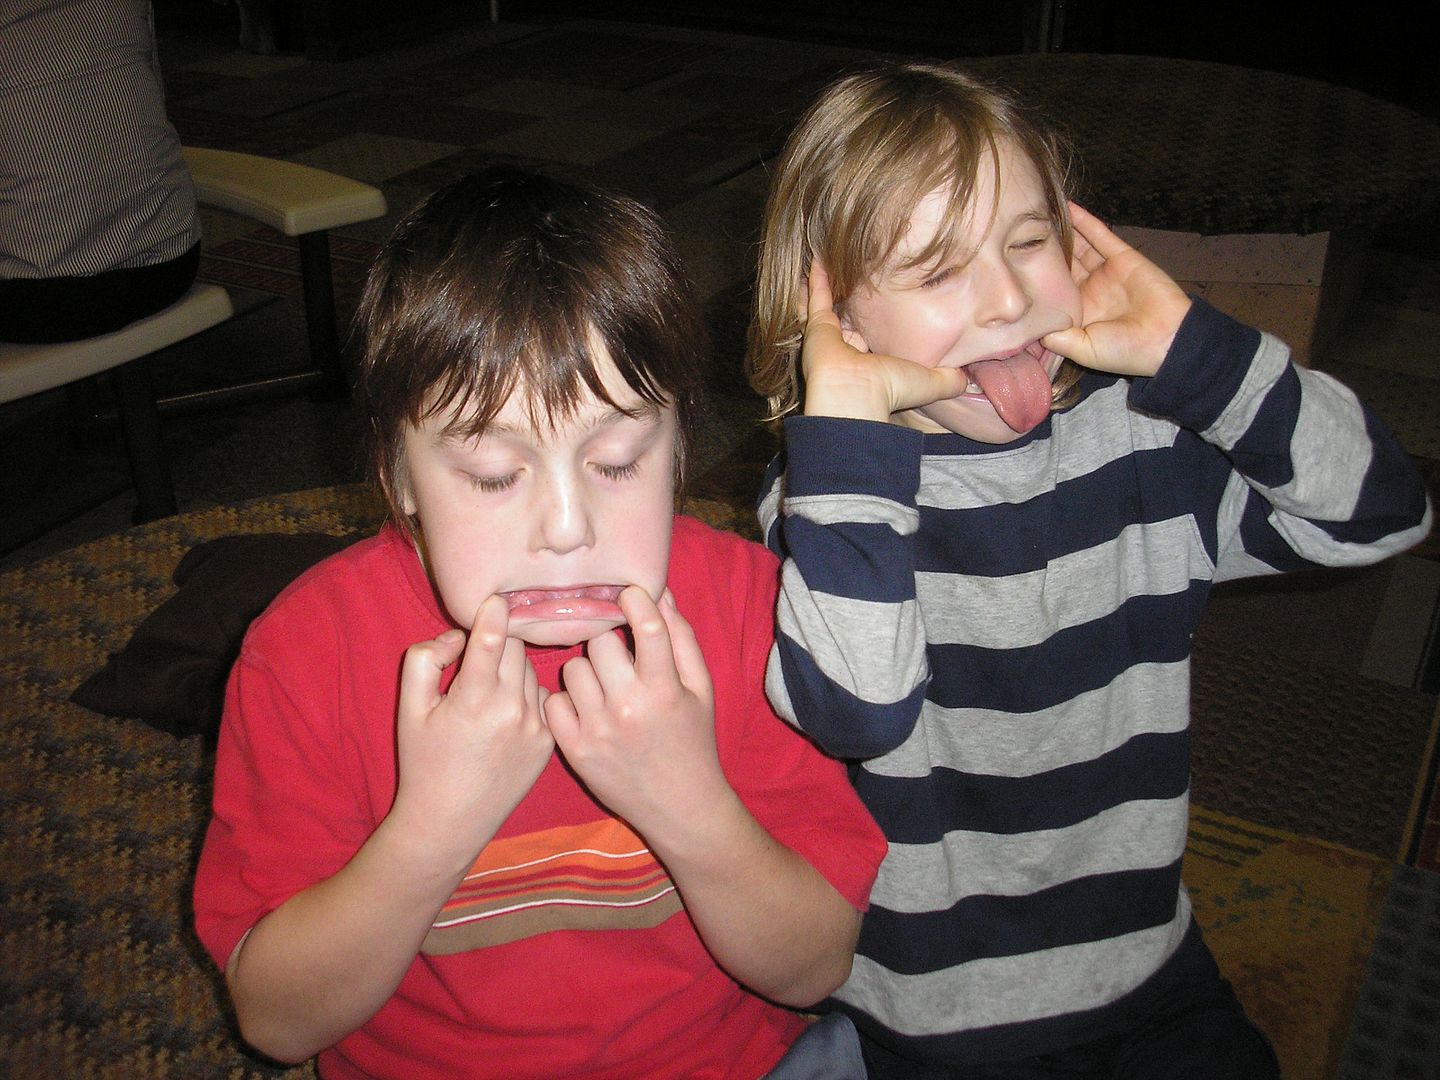
Funny faces!
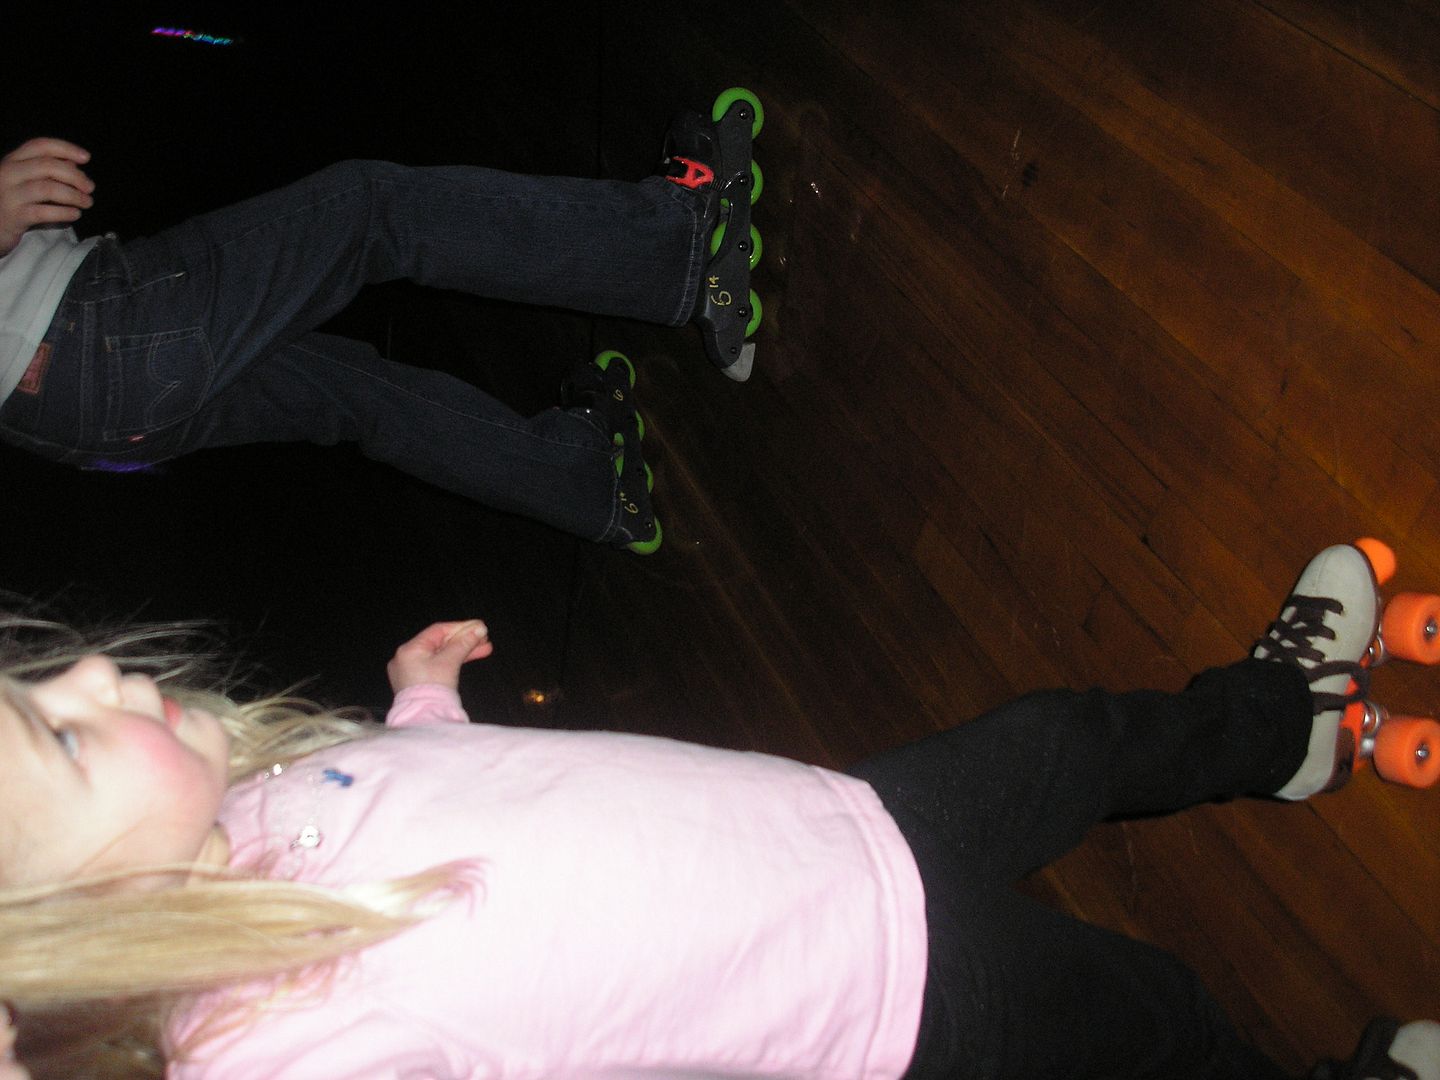
I took this video of Adrian, but forgot my camera was sideways, oops!
Sunday, January 17, 2010
I am avoiding this...
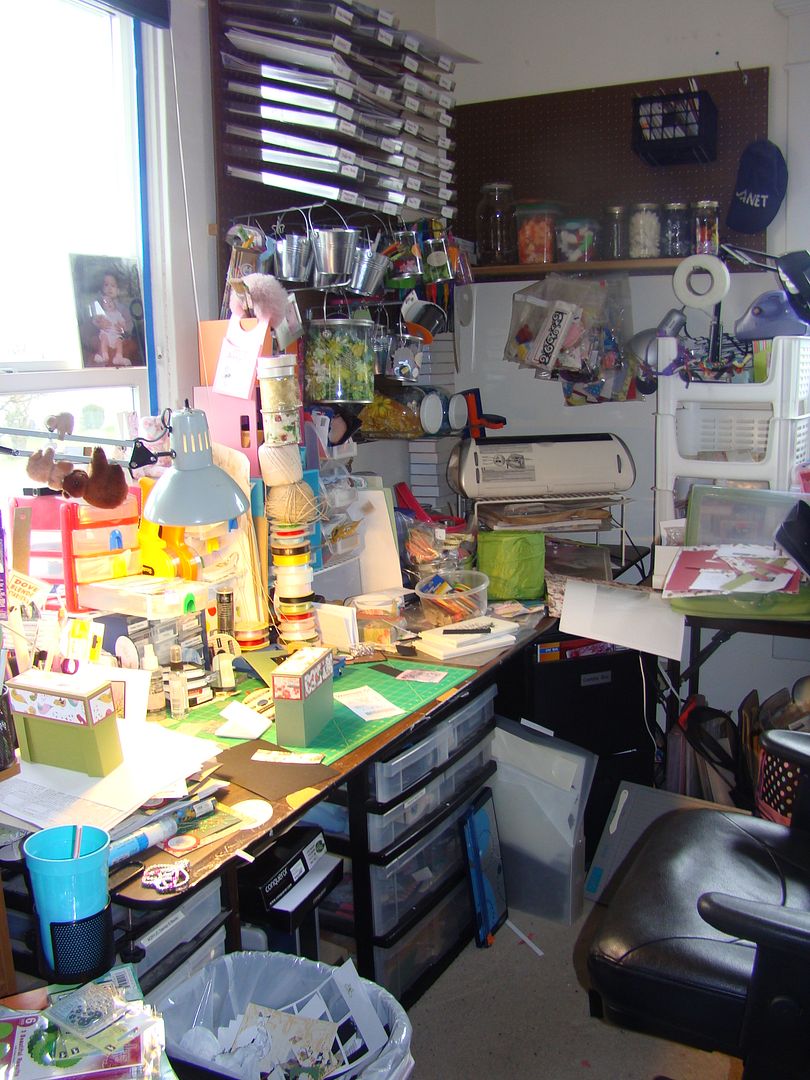
...My MESSY space, and I am posting a pic in hopes that it will get me motivated to clean! I am the type of crafter that gets into a project up to my eyeballs, and then all of a sudden I take a look around and how did this mess appear??? Yikes! Happens to me every time ;) Off to tidy up and will let you know how much progress I make...
Got my goodie box yesterday!
Thursday, January 14, 2010
Notecard box..
I made another one, this one is so pretty, but no sentiments so it can be used for anything. I used the new DCWV Mariposa papers, gorgeous!
These were made with my Nesties, label #1, love 'em!
These were Nesties too, the rectangles.
These were made with my Nesties, label #1, love 'em!
These were Nesties too, the rectangles.
Wednesday, January 13, 2010
One thing...
So I went to Joann's yesterday with my handy-dandy 40% off coupon, and what should I find??? ALL papercrafting supplies are 40% off.... I knew I was in big trouble!! I went in for one specific thing. I wanted to get a Stampamajig, and I was so excited by what else I found that I paid for my other goodies and got out to the car and realized I had forgotten it!
What other goodies, might you ask?? Well, my local Joann's now has NESTABILITES, and they were 40% off, AND they had the new Mariposa stack from DCWV, it is so pretty!!
Tuesday, January 12, 2010
Valentine's box and some new goodies!
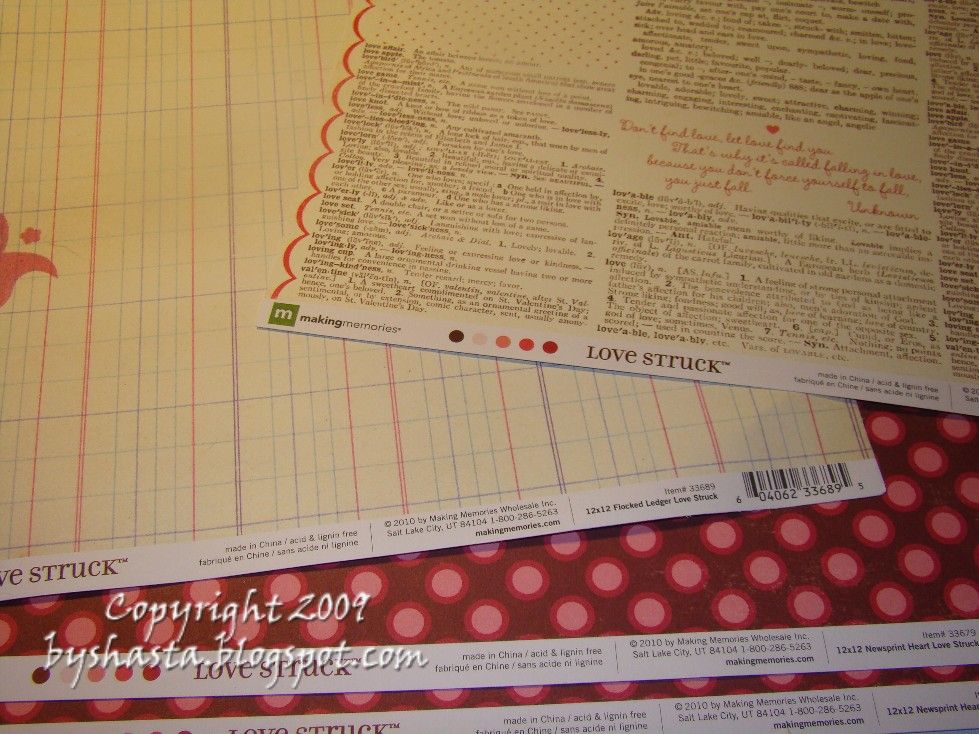
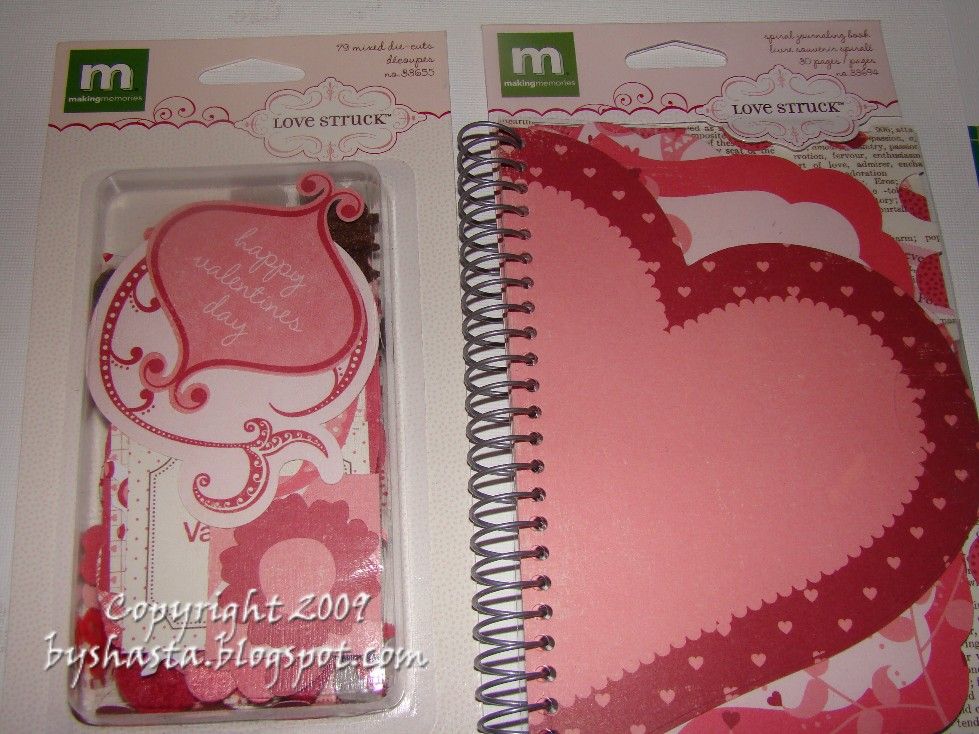
I had to get some new V-day goodies, so I went to PaperZone yesterday! I wanted to work on some cards but realized I had NO pink or red ink pads?? How that happened I have no idea...
I probably should have broken this into a few smaller posts, but I didn't, so FYI this is going to be long one!
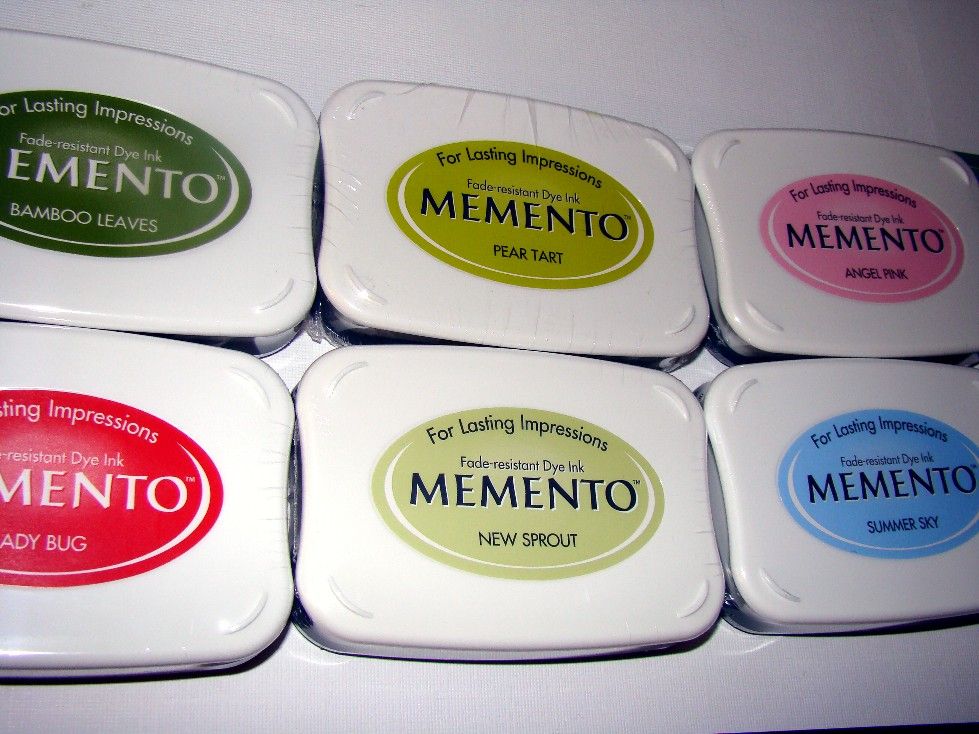
I found some ink pads... I realized when I was shopping that I have lots of bold, rich colors, but not a lot of softer ones. And I am sucker for anything GREEN, which I never seem to have just the right shade of, so picked up some of those too ;) These were really priced well too, only $4.99 each!
And some other stuff...
LOVE this new stamp!! I used it a bunch last night.
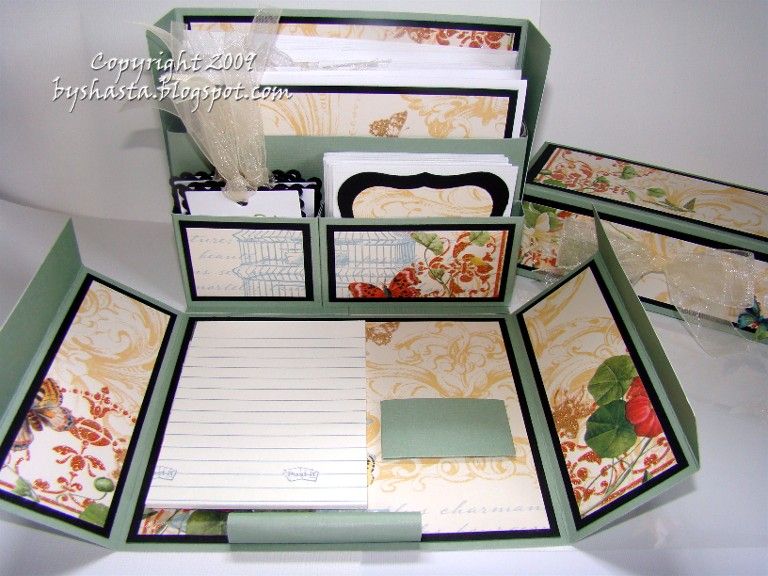
I found this box from HERE ages ago, and decided to make a Valentine's themed one. Here is the box all closed up. I am going to add a ribbon and some kind of goodie to the front, but haven't decided what yet. The lighting wasn't the best today so the colors look funny, and my camera battery was dying, ugh...
When you lift off the lid, the front comes down and reveals what's inside ;) I changed it slightly, to a stack of sticky notes instead of an address book. The loop in the front is for a pen, and the pocket on the left is for stamps.
Here are the 3x3 notecards. I used M's $1 clear stamps for the sentiments and buttons from M's also. I realized I had no heart punches (GASP!!), so more on that in a sec!
These 3x3 note cards were inspired from HERE
these cards inspired from HERE, love her stuff..
This smoochie stamp was from M's $1 wood mounted section, cute!
Flowers from HERE also... They were fun and super easy! I have yet to find some vintage book print, so I found a copy of the poem "How do I love thee" by Elizabeth Barrett Browning. I printed it out in a classic font, then punched it out.
And lastly, the tags. I cut these on my Cricut using the George cart. I used the tag shape cut at 3 3/4" and 3 1/4" for the smaller ones. The shadow layer, then the regular layer in white. The heart stamp is another wood mounted $1 from M's, and the SWAK one is a clear $1 one, love them ;)
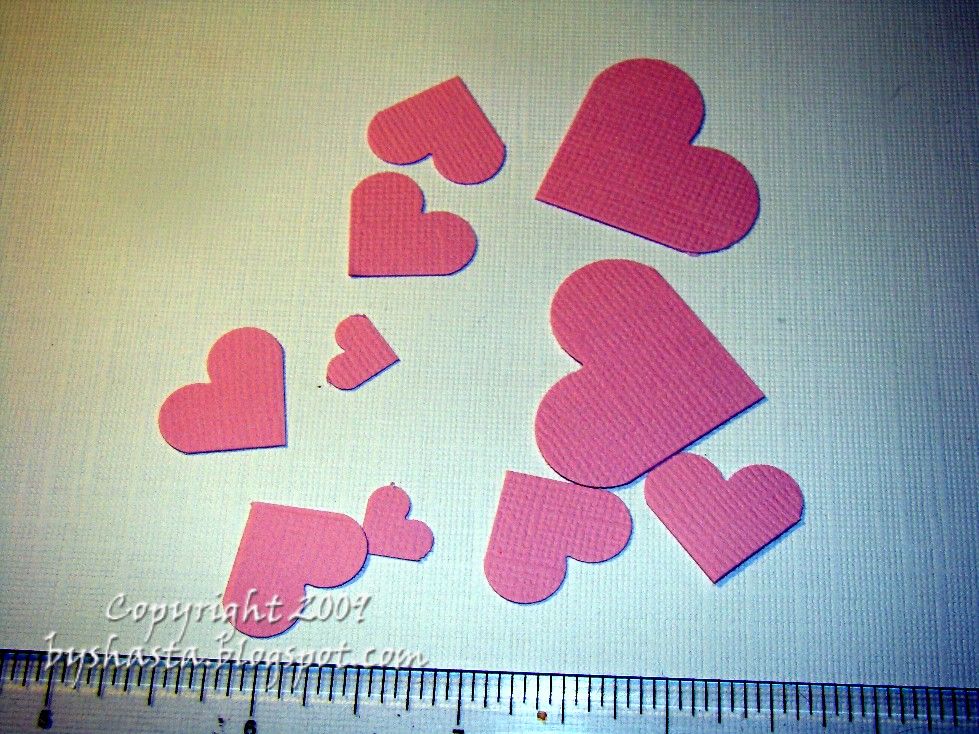
Phew, ok... Now for some other misc stuff! Remember how I said I had no heart punches? Well I have these.... And I recall you can punch them out and cut them apart, blah, blah, blah. Well, I did something slightly different and got some hearts!
I used my scraps from the box like this..
To get these little guys!
AND THEN, in the middle of all this creating, I had another idea that couldn't wait, lol! Actually, I have been wanting to do this for ages and just couldn't put it off... Especially since I had just bought MORE ink pads.
I have all my ink pads organized by brand.. All my Tim Holtz in one drawer, Staz-On in another, etc... So if I am looking for the perfect shade of green, I have a few drawers to dig through. PLUS, I am impatient and hate to stamp on a scrap to see if I have the right color. ...And I can't tell you how many times that has come back to haunt me!
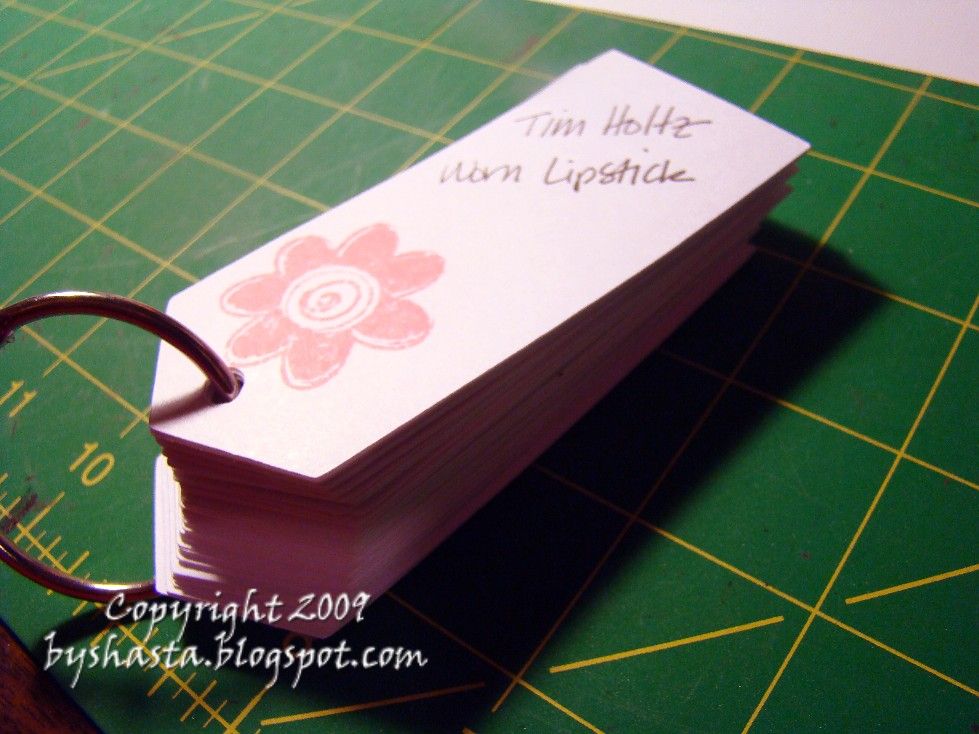
Which brings to me to the project I did last night while watching CSI Miami with the hubs. I cut out a ton of tags, also from the George cart. I picked a fairly small stamp that had a mostly solid image to I could see the color well. I stamped each color, and then wrote what brand and the name of the color on each one. Once I had all the supplies in front of me, it didn't take all that long.
Then I put them on a loose-leaf ring, and voila! Now I can easily go through this and then know which color and in which drawer, phew! On a side note, I think I am developing an ink obsession! When I had these all stacked up, I realized how many ink pads I have accumulated ;)
On another side note.... When I was putting these ink pads away I noticed a feature that I really like! They are labeled on the side also, and this is how I store them and this makes searching them super handy. I have used my label maker to mark my other ink pads just this way. And I REALLY like this brand (which I have never used before yesterday), and think I may have to get more..! ;)
I probably should have broken this into a few smaller posts, but I didn't, so FYI this is going to be long one!
I found some ink pads... I realized when I was shopping that I have lots of bold, rich colors, but not a lot of softer ones. And I am sucker for anything GREEN, which I never seem to have just the right shade of, so picked up some of those too ;) These were really priced well too, only $4.99 each!
And some other stuff...
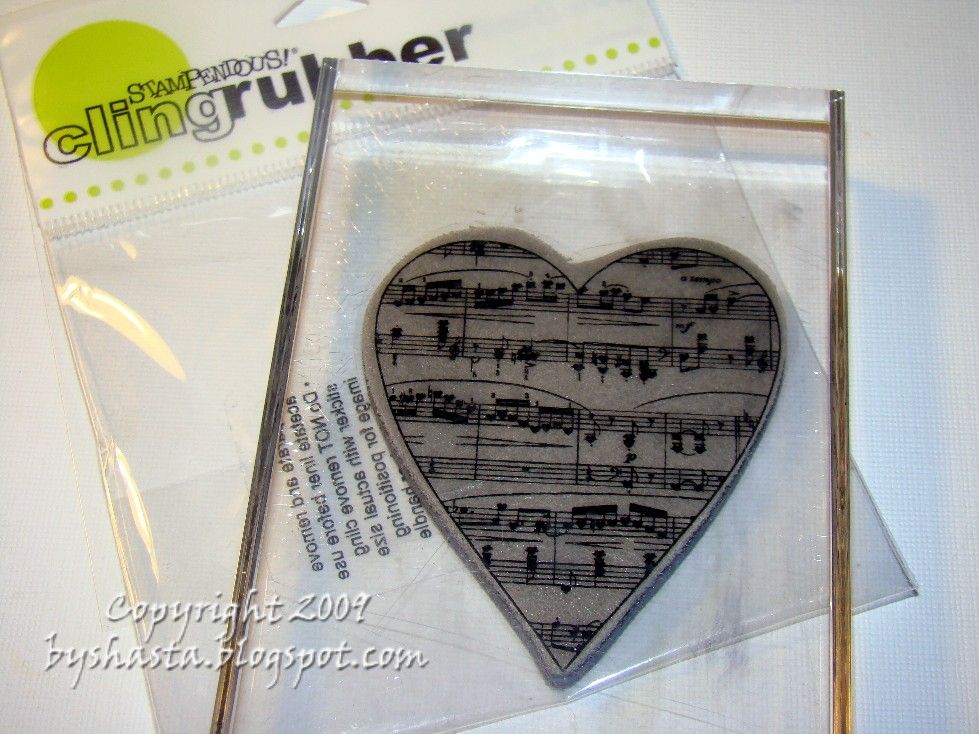
LOVE this new stamp!! I used it a bunch last night.
I found this box from HERE ages ago, and decided to make a Valentine's themed one. Here is the box all closed up. I am going to add a ribbon and some kind of goodie to the front, but haven't decided what yet. The lighting wasn't the best today so the colors look funny, and my camera battery was dying, ugh...
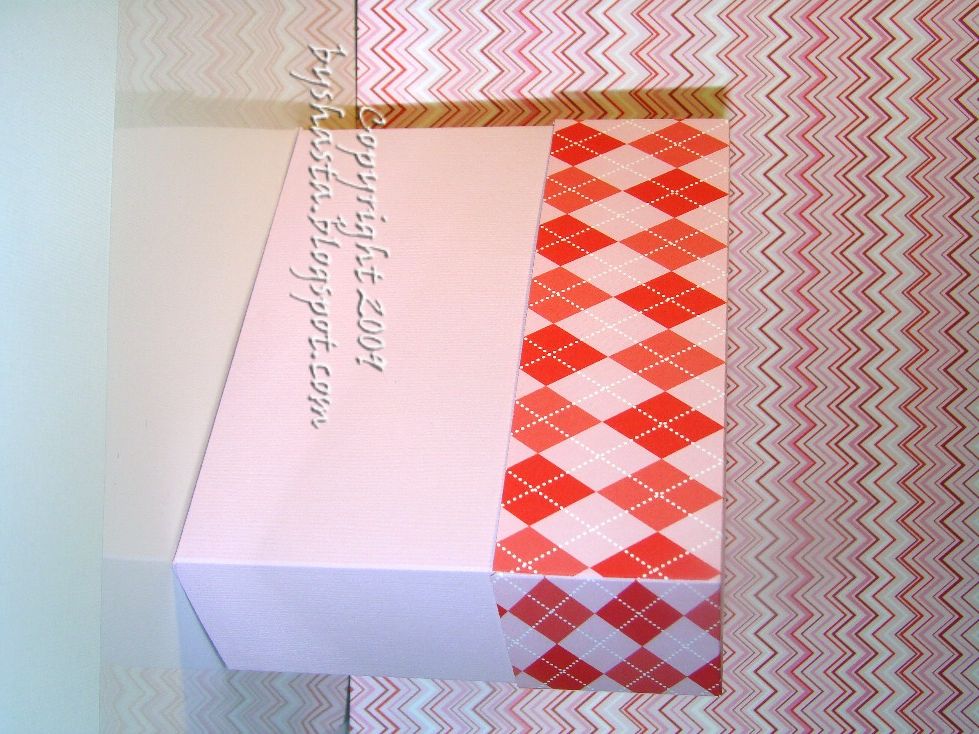
When you lift off the lid, the front comes down and reveals what's inside ;) I changed it slightly, to a stack of sticky notes instead of an address book. The loop in the front is for a pen, and the pocket on the left is for stamps.
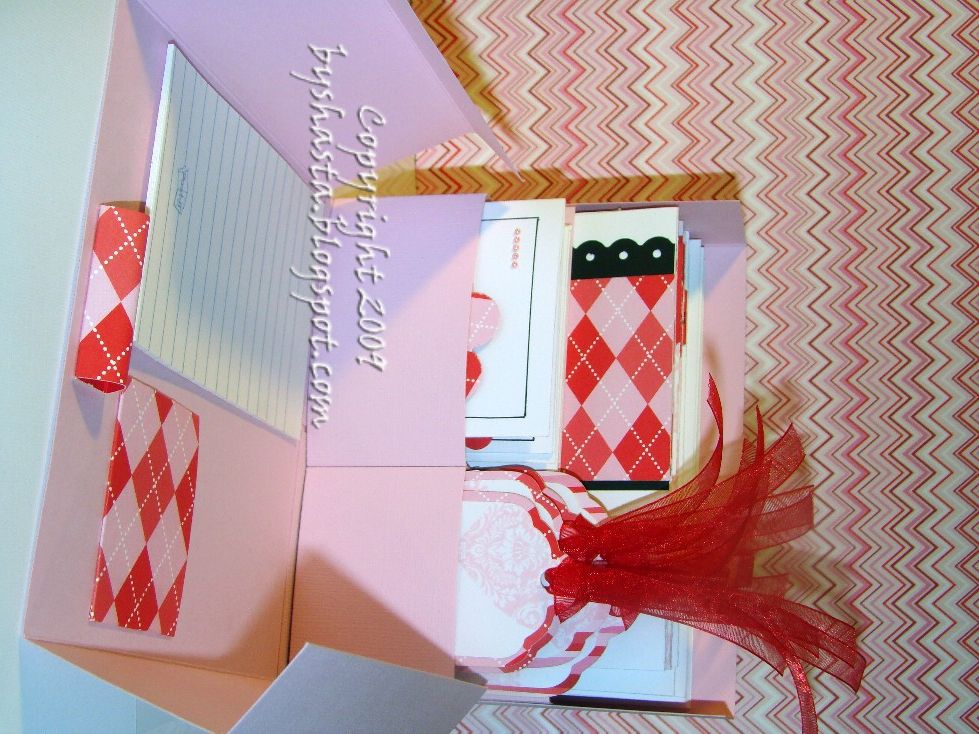
Here are the 3x3 notecards. I used M's $1 clear stamps for the sentiments and buttons from M's also. I realized I had no heart punches (GASP!!), so more on that in a sec!
These 3x3 note cards were inspired from HERE
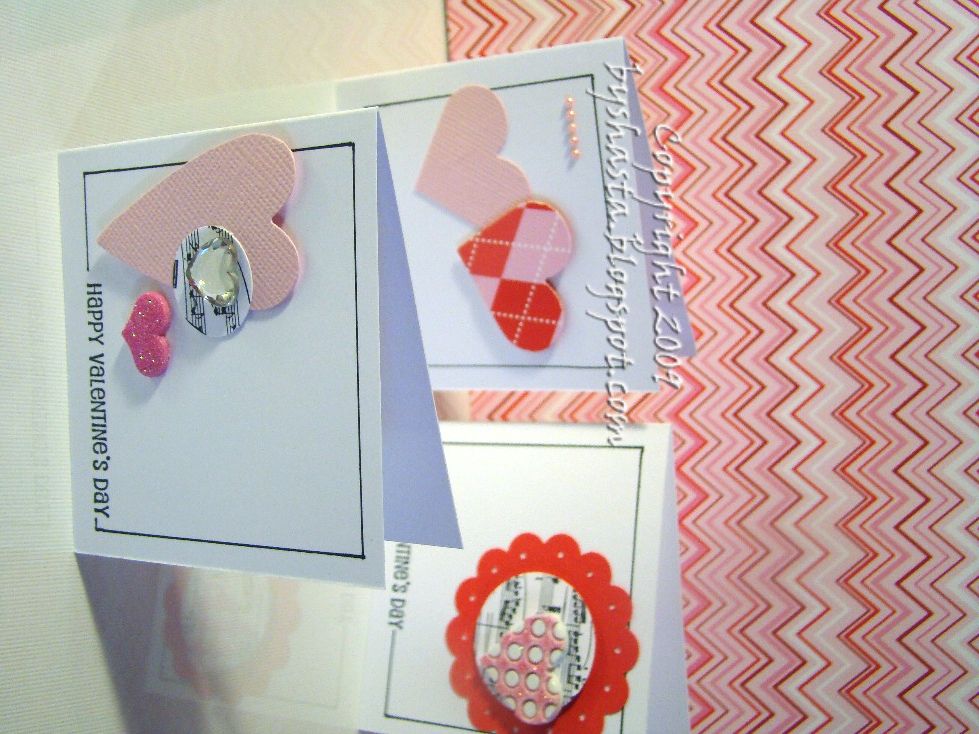
these cards inspired from HERE, love her stuff..
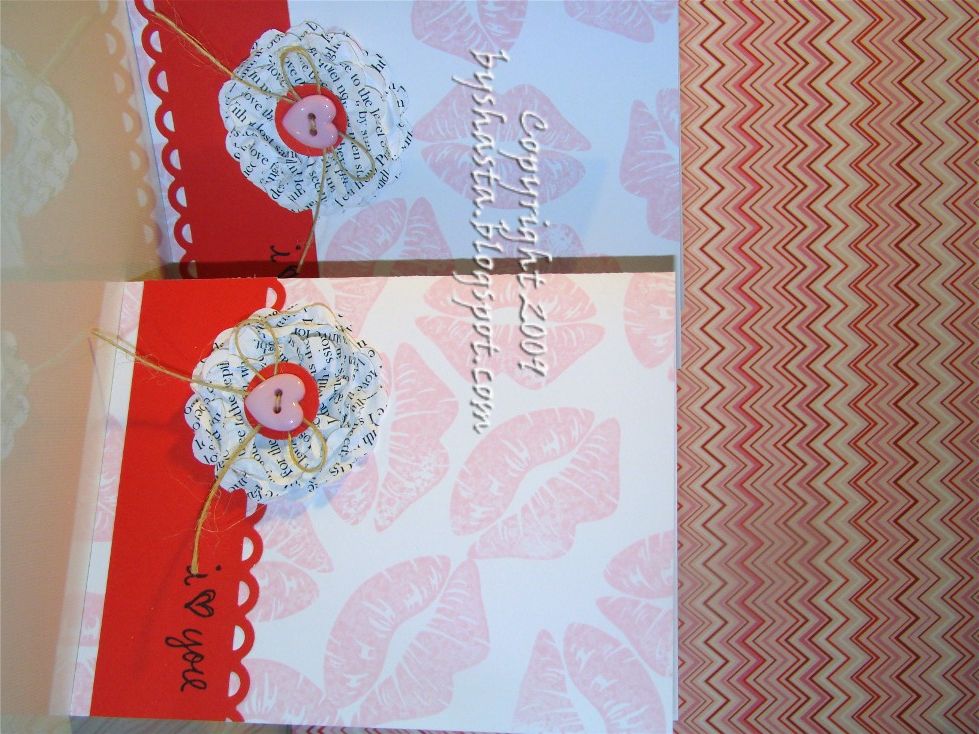
This smoochie stamp was from M's $1 wood mounted section, cute!
Flowers from HERE also... They were fun and super easy! I have yet to find some vintage book print, so I found a copy of the poem "How do I love thee" by Elizabeth Barrett Browning. I printed it out in a classic font, then punched it out.
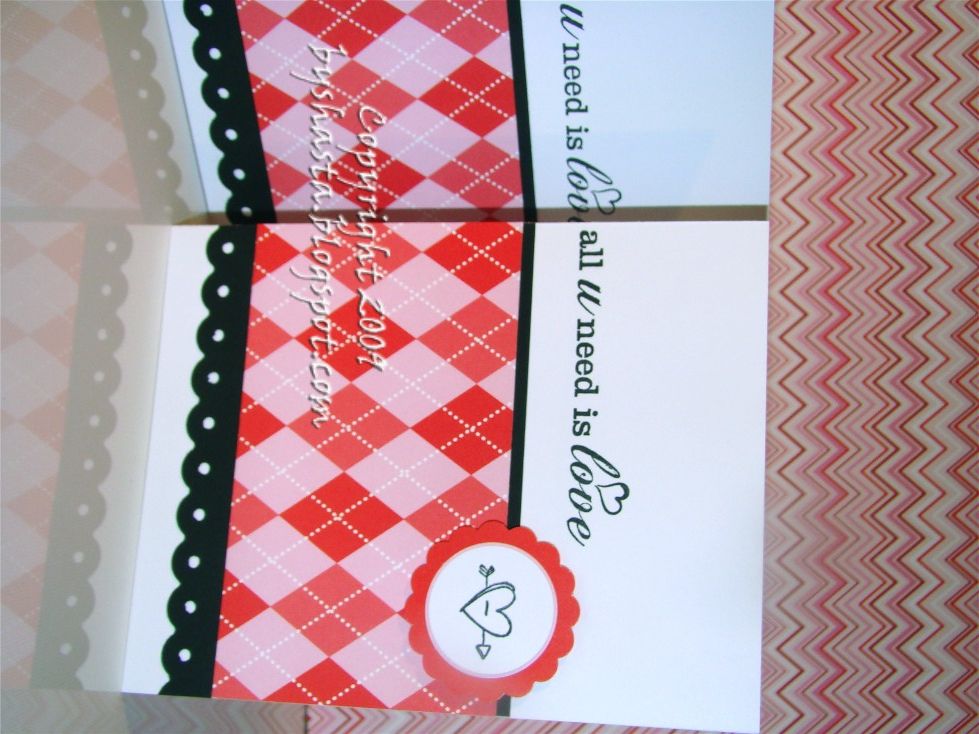
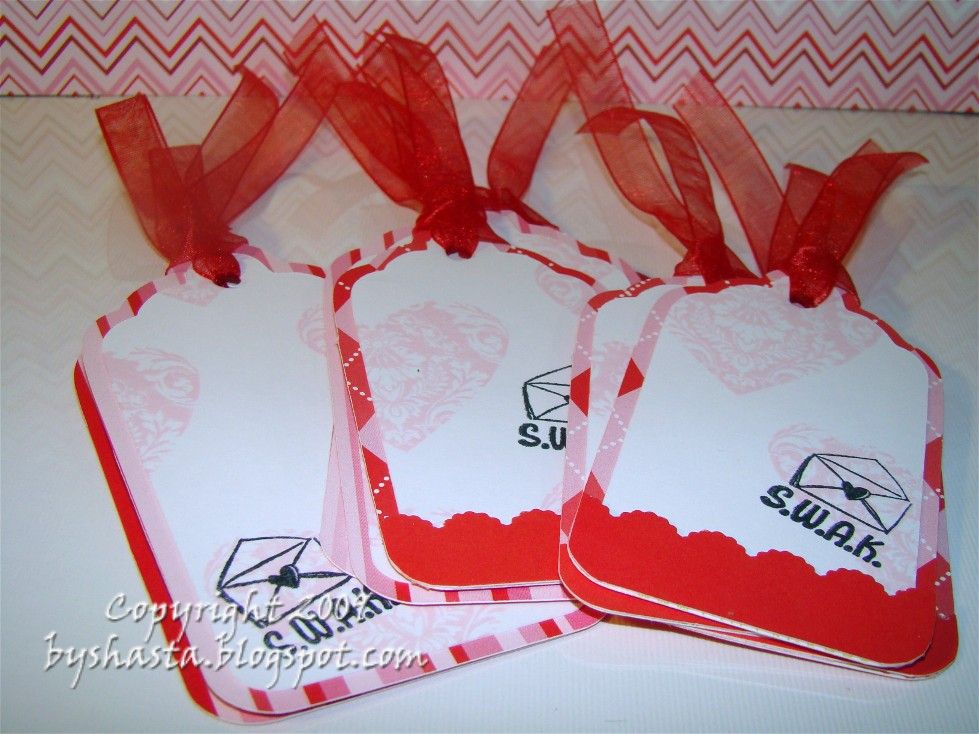
And lastly, the tags. I cut these on my Cricut using the George cart. I used the tag shape cut at 3 3/4" and 3 1/4" for the smaller ones. The shadow layer, then the regular layer in white. The heart stamp is another wood mounted $1 from M's, and the SWAK one is a clear $1 one, love them ;)
Phew, ok... Now for some other misc stuff! Remember how I said I had no heart punches? Well I have these.... And I recall you can punch them out and cut them apart, blah, blah, blah. Well, I did something slightly different and got some hearts!
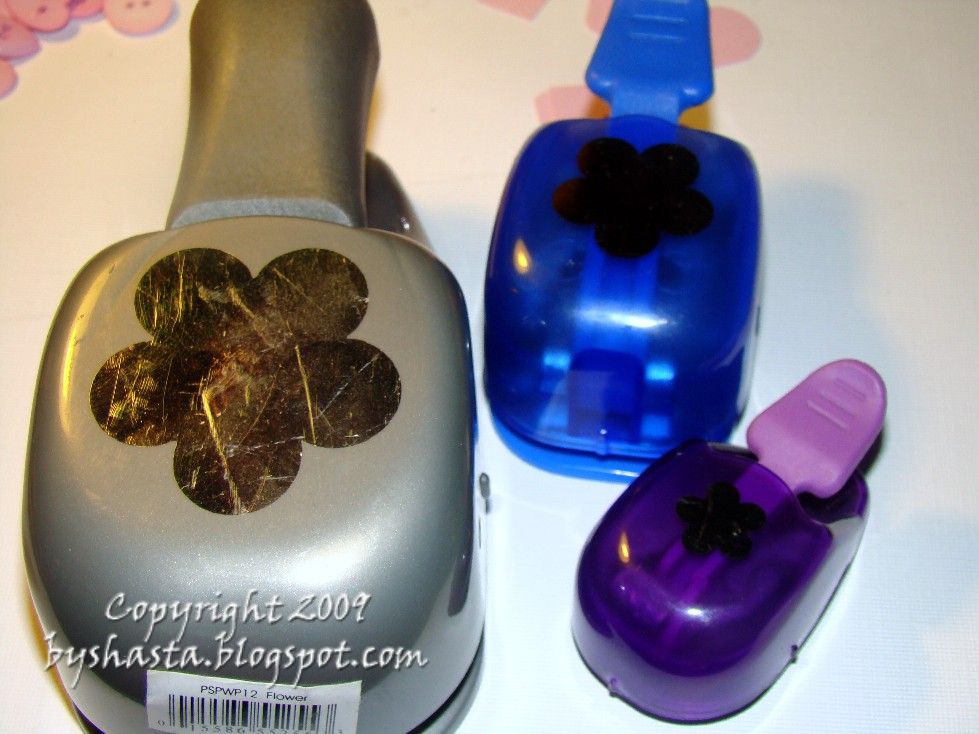
I used my scraps from the box like this..
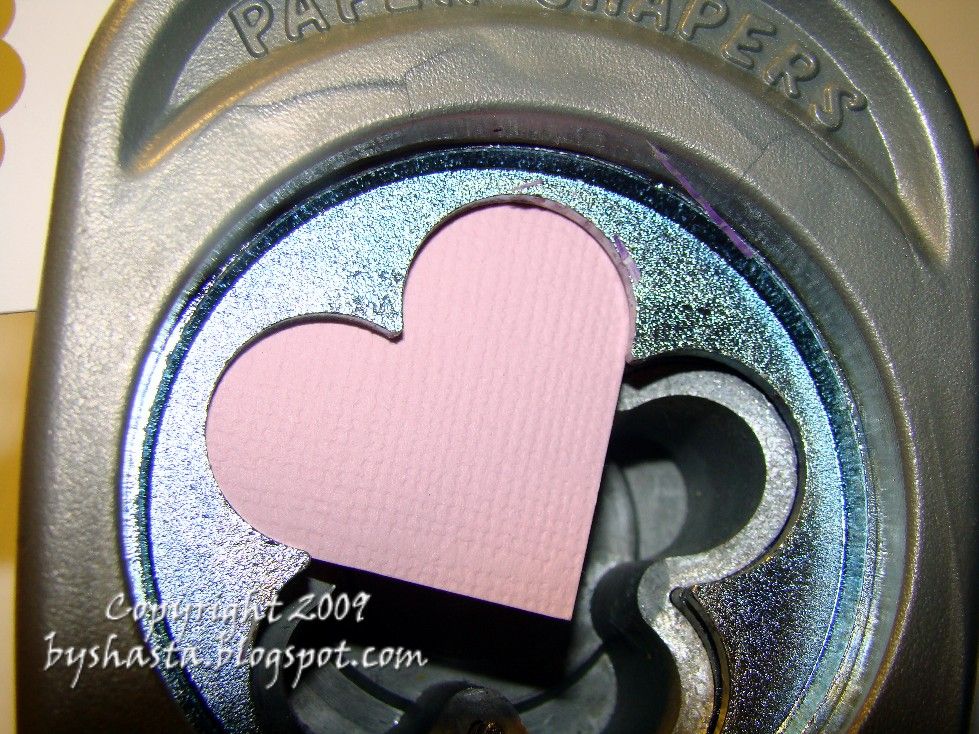
To get these little guys!
AND THEN, in the middle of all this creating, I had another idea that couldn't wait, lol! Actually, I have been wanting to do this for ages and just couldn't put it off... Especially since I had just bought MORE ink pads.
I have all my ink pads organized by brand.. All my Tim Holtz in one drawer, Staz-On in another, etc... So if I am looking for the perfect shade of green, I have a few drawers to dig through. PLUS, I am impatient and hate to stamp on a scrap to see if I have the right color. ...And I can't tell you how many times that has come back to haunt me!
Which brings to me to the project I did last night while watching CSI Miami with the hubs. I cut out a ton of tags, also from the George cart. I picked a fairly small stamp that had a mostly solid image to I could see the color well. I stamped each color, and then wrote what brand and the name of the color on each one. Once I had all the supplies in front of me, it didn't take all that long.
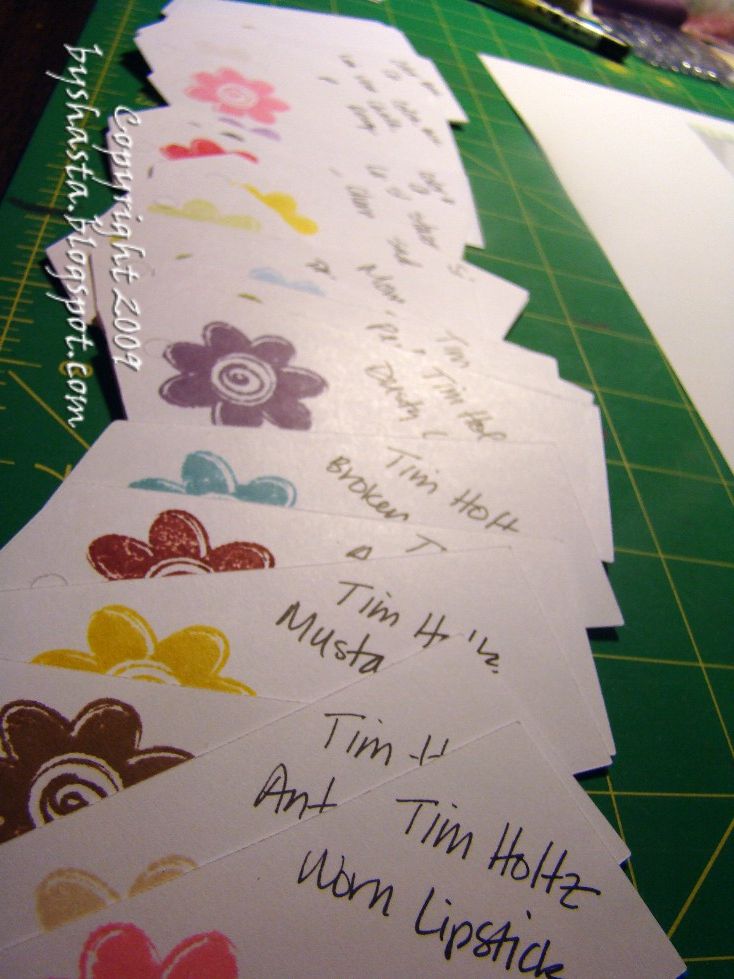
Then I put them on a loose-leaf ring, and voila! Now I can easily go through this and then know which color and in which drawer, phew! On a side note, I think I am developing an ink obsession! When I had these all stacked up, I realized how many ink pads I have accumulated ;)
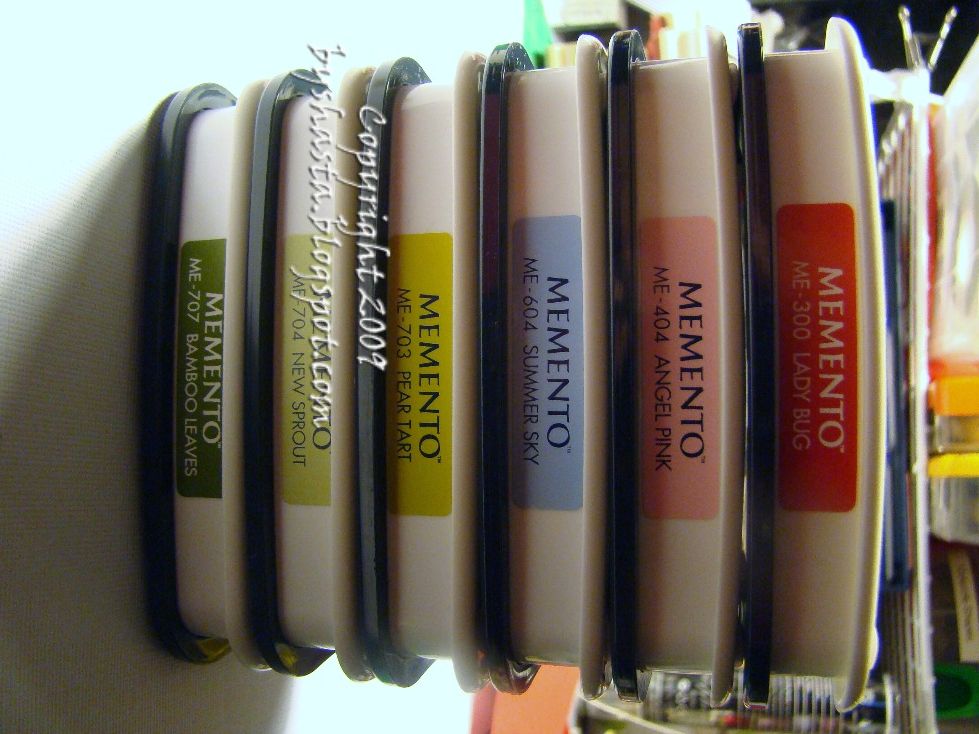
On another side note.... When I was putting these ink pads away I noticed a feature that I really like! They are labeled on the side also, and this is how I store them and this makes searching them super handy. I have used my label maker to mark my other ink pads just this way. And I REALLY like this brand (which I have never used before yesterday), and think I may have to get more..! ;)
Subscribe to:
Posts (Atom)