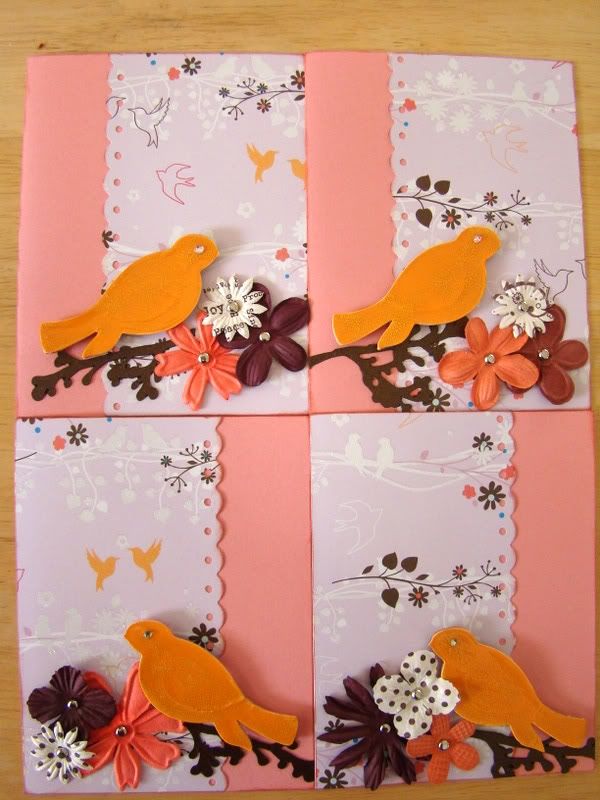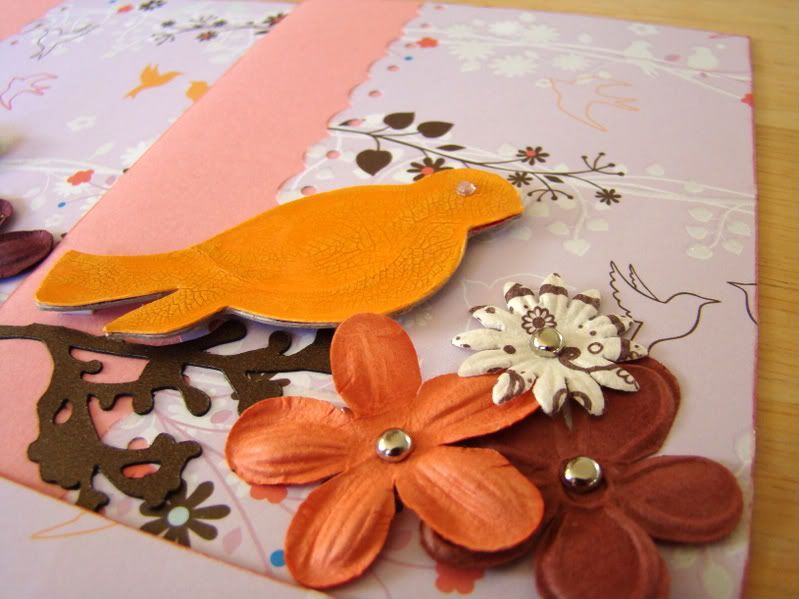

I cut the birds and branches using the Storybook cart. I cut them out of chipboard and then a piece of cardstock and glued them together. I was trying to figure out a way to give them some interesting texture, and then I remembered that my friend Mallory sent me some Tim Holtz crackle paints about a year ago, and I had never used them! And yes, Caitlin, another thing in my craft room I forgotten was there, LOL! I even had the right shade of yellow/orange for this card.
After it dried the birdies curled up a bit, so I flattened them out under a heavy stack of paper for a bit, and then added some Diamond Glaze on top to make sure the crackle paint didn't flake off. You can also use Glossy Accents or Crystal Lacquer. I like the Diamond Glaze for larger projects because the consistency is thinner and easier to spread out, and the Glossy Accents is thicker. The Crystal Lacquer has a fine needle tip applicator that is great for more detailed projects. Just go slow and steady when applying so you don't get air bubbles. You can pop them fairly easily with a pin but you have to get them out before it dries or they will dry in there. When I was done coating them all I went back and placed a rhinestone for the eye in them when they were still wet, so I didn't need to use another glue.
I decided I liked these birdies so much I went a little crazy yesterday and cut about 2 dozen and this time I skipped the paper layer. I painted the crackle paints directly on the chipboard and then glazed them all. I have about 6 different colors and I will give you a peak when I am all done!


Those look so awesome!!!
ReplyDeleteLove these!
ReplyDelete