skip to main |
skip to sidebar
I love this clean and simple design. I like things chock full of ink, lace, trims and buttons, but this was refreshing and super easy to do, not cluttered with a bunch of stuff. Plus the papers are super busy, so I thought that they needed to take center stage.
This album is for sale in my Etsy Shop!
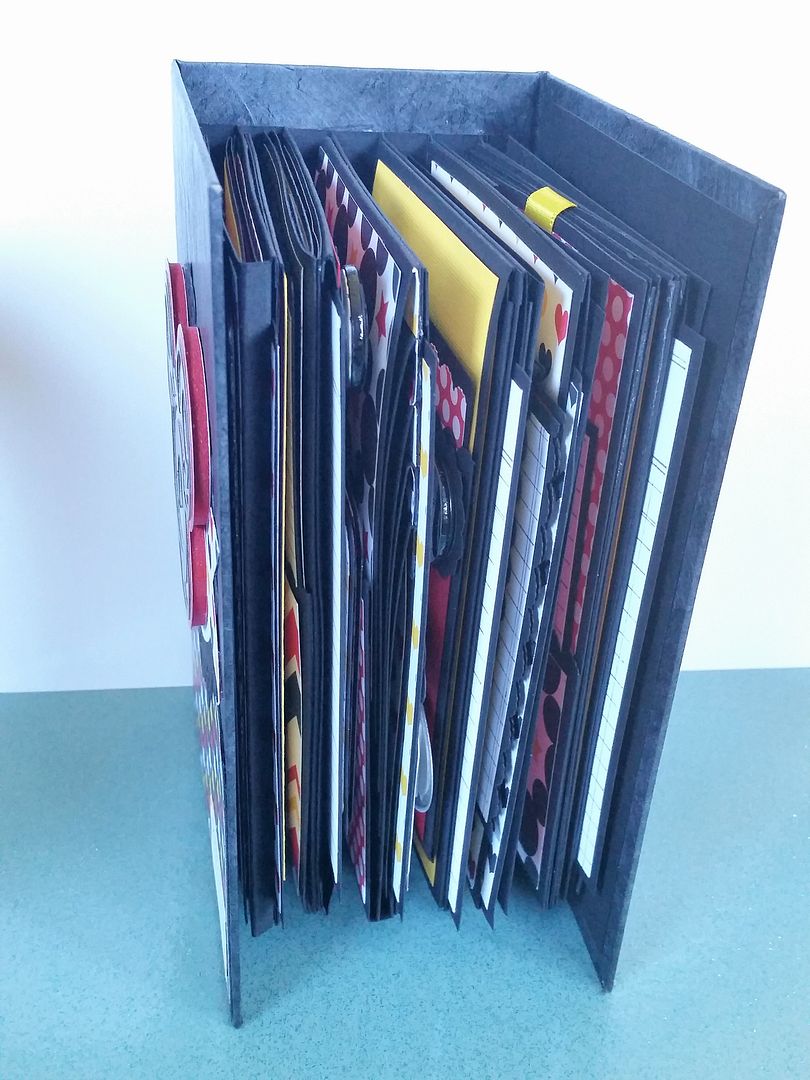
I used papers by Queen & Company, the Magic line, as well as yellow, red white and black card stock. There are only a few embellishments, since I wanted the papers to be the focus. The black base pages are 6 1/4" x 4 1/4" (there are 6) and all the layers are 4" x 6". Each page has a side pocket with an insert. I created this album in mind for smaller sized photos, like wallet, 3x4, 3x4, ect. You can most certainly use 4x6 photos, though most of the pretty papers will be completely covered up.
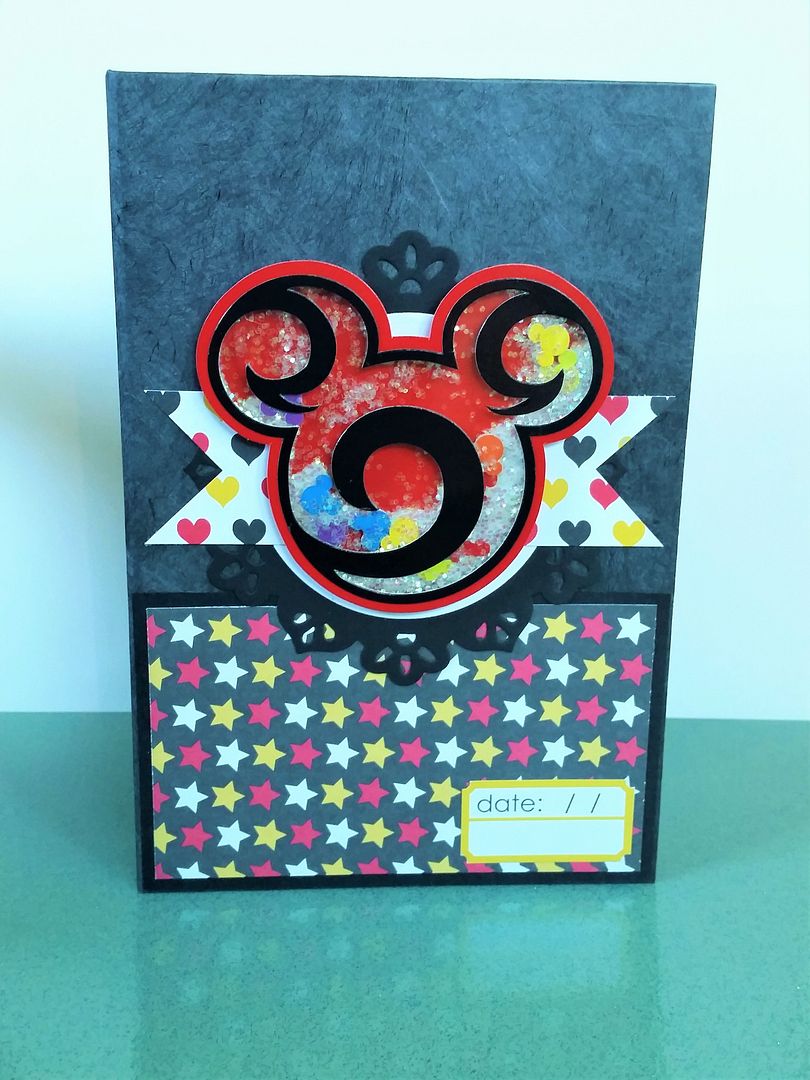
I tried something new and used Tyvek for the cover. It is a sturdy cloth that can't be easily torn and is very thin and flexible. The USPS makes mailers out of them, and it is also a construction material for buildings. It was white to begin with, but I used my black Staz-On ink to color it. It is slightly on the grey side and bot completely black, however it completes this project nicely.
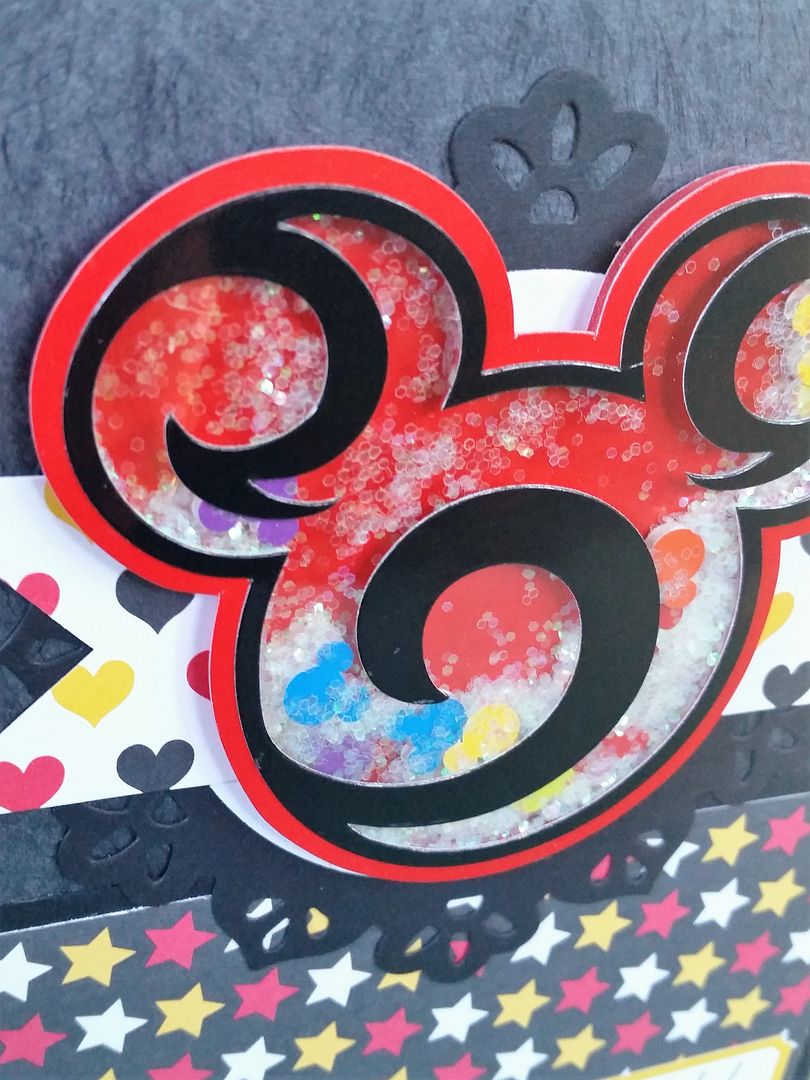
The cover has a shaker embellishment from EK Success, a Spellbinders Die and some of the papers from the collection. The little date ticket is from the papers as well. There are a few of them scattered throughout. I left the spine and back cover free of decorations.
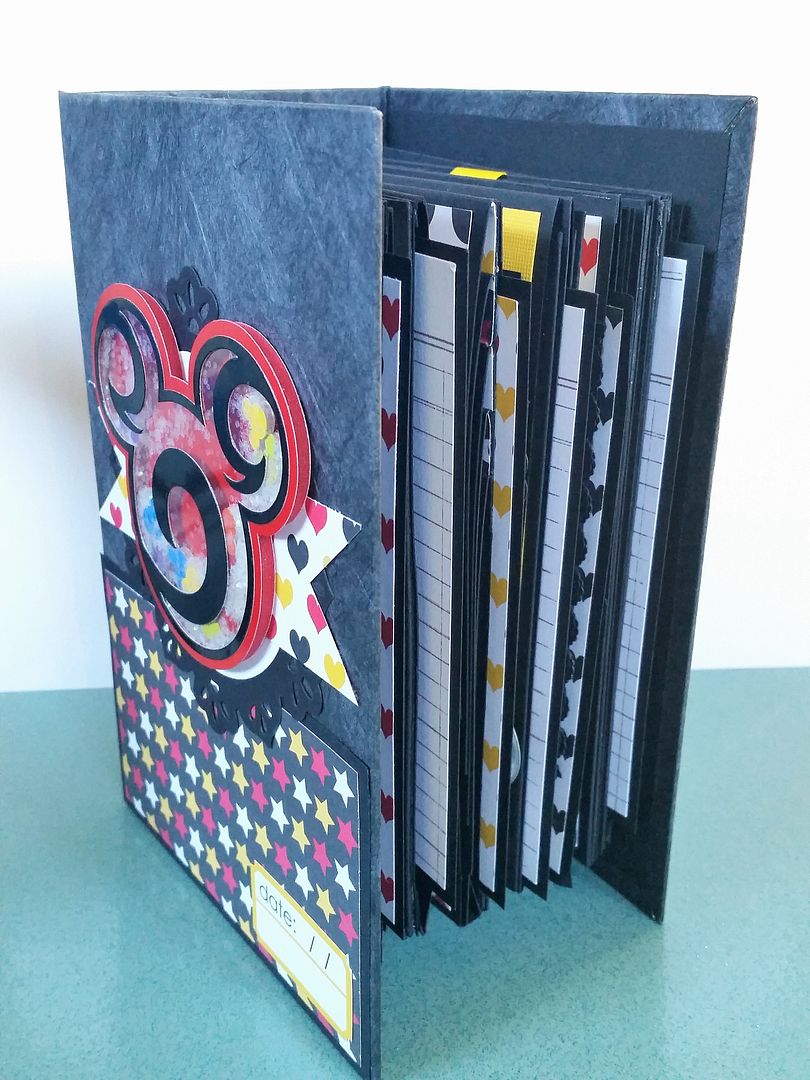
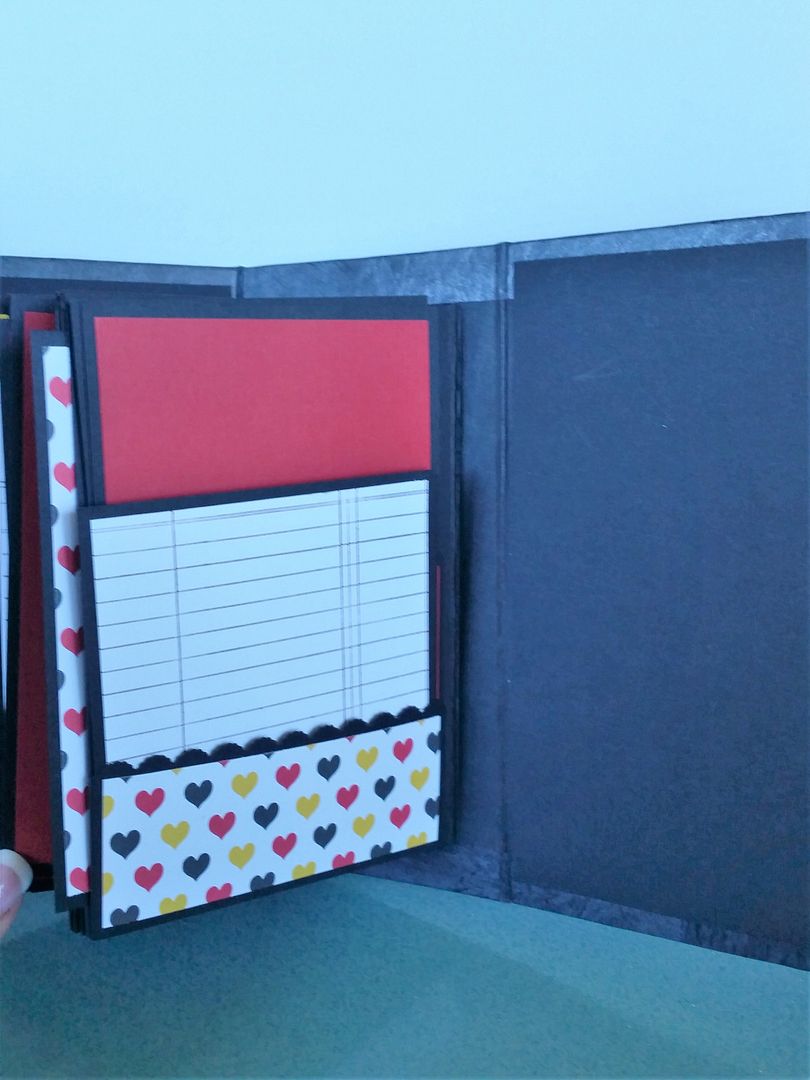
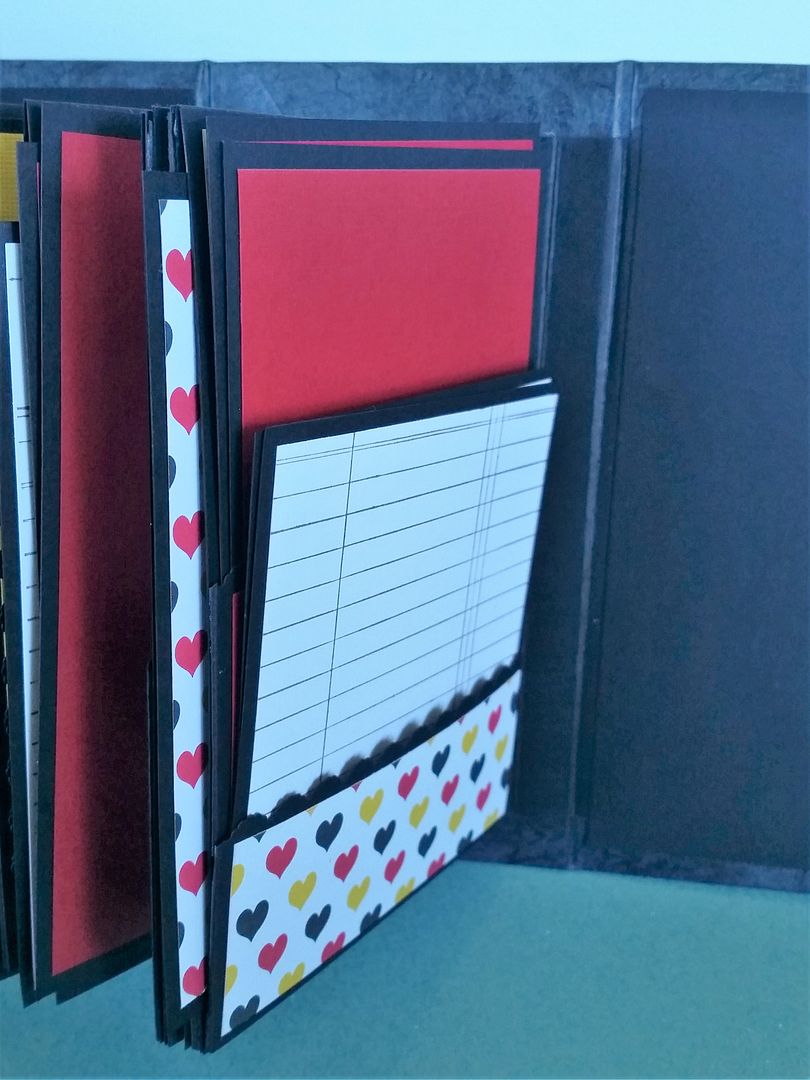
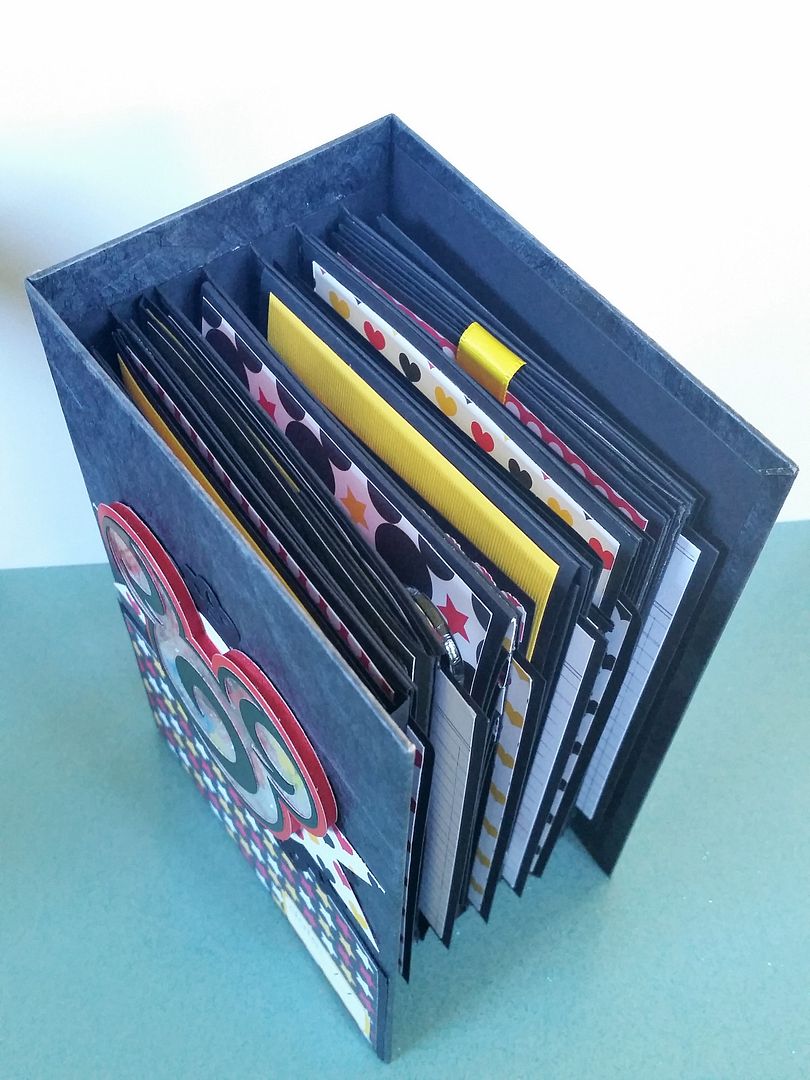 The first page is a simple pocket, with two inserts. For a lot of the inserts I used a ledger stamp for journaling. They can of course be used for photos as well.
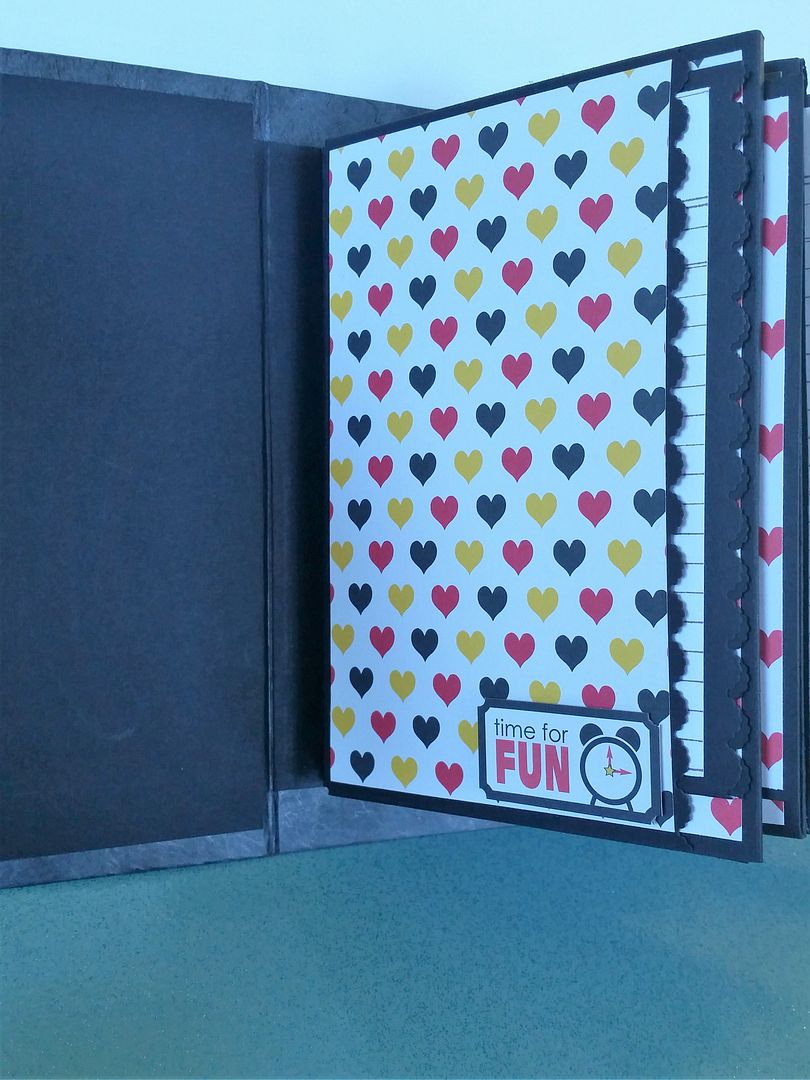
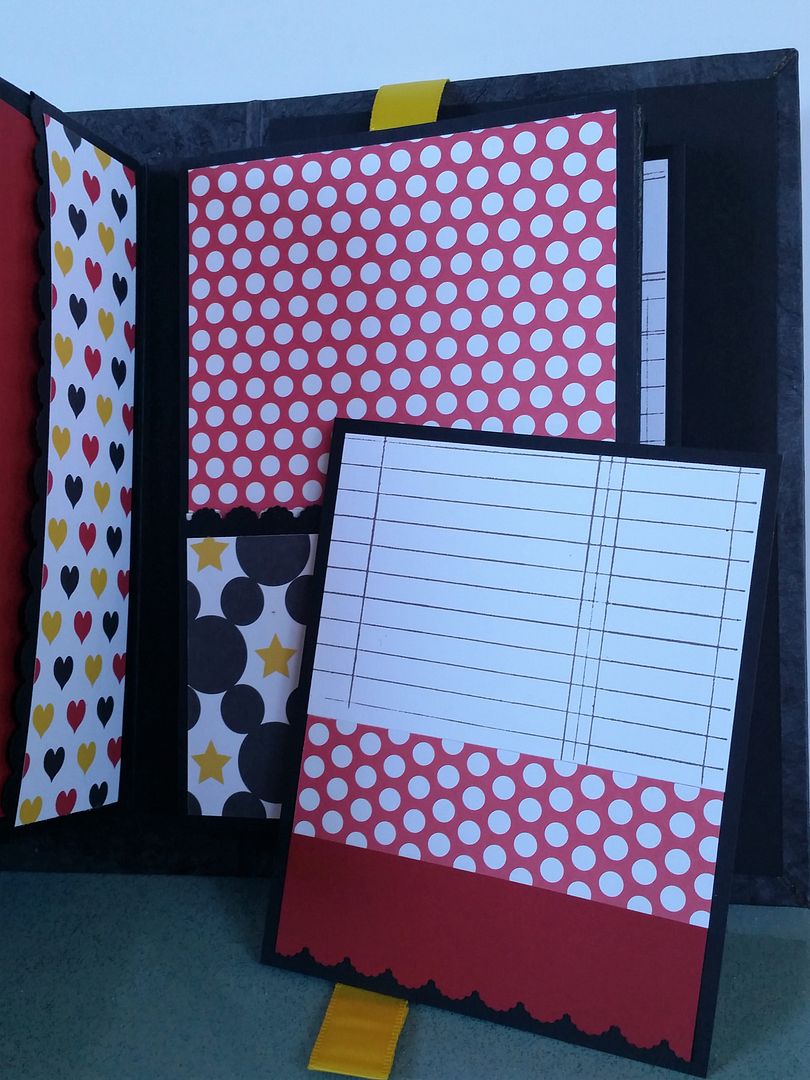
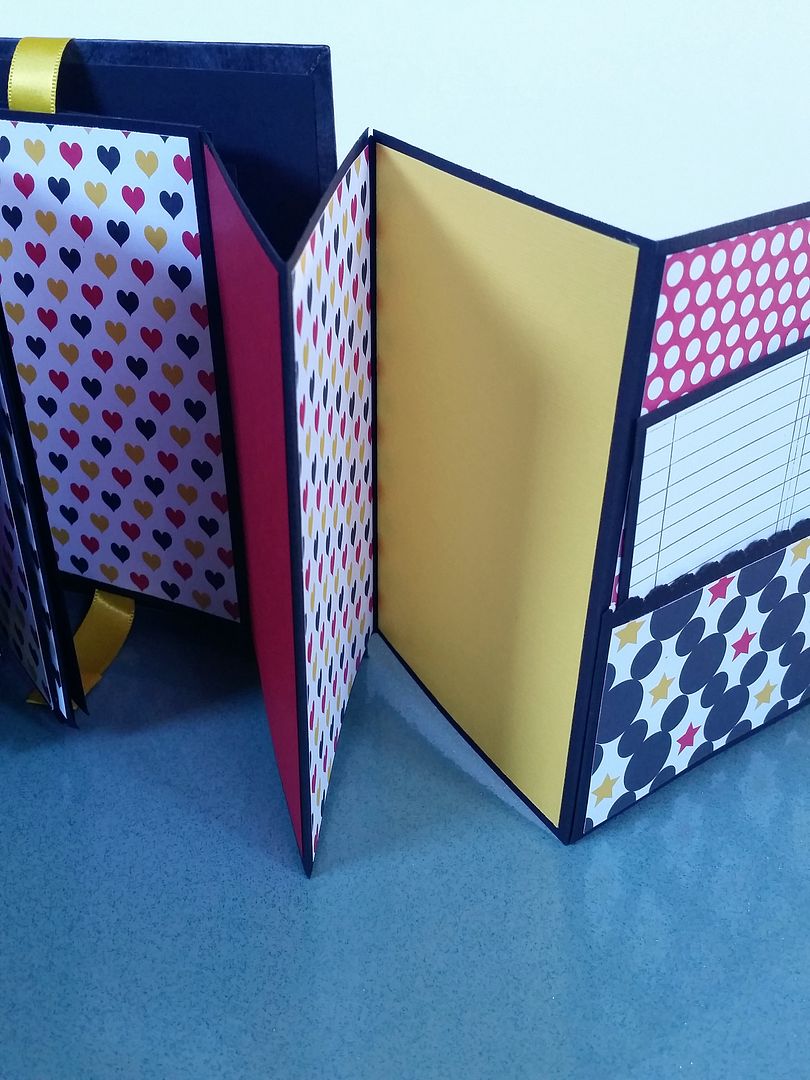
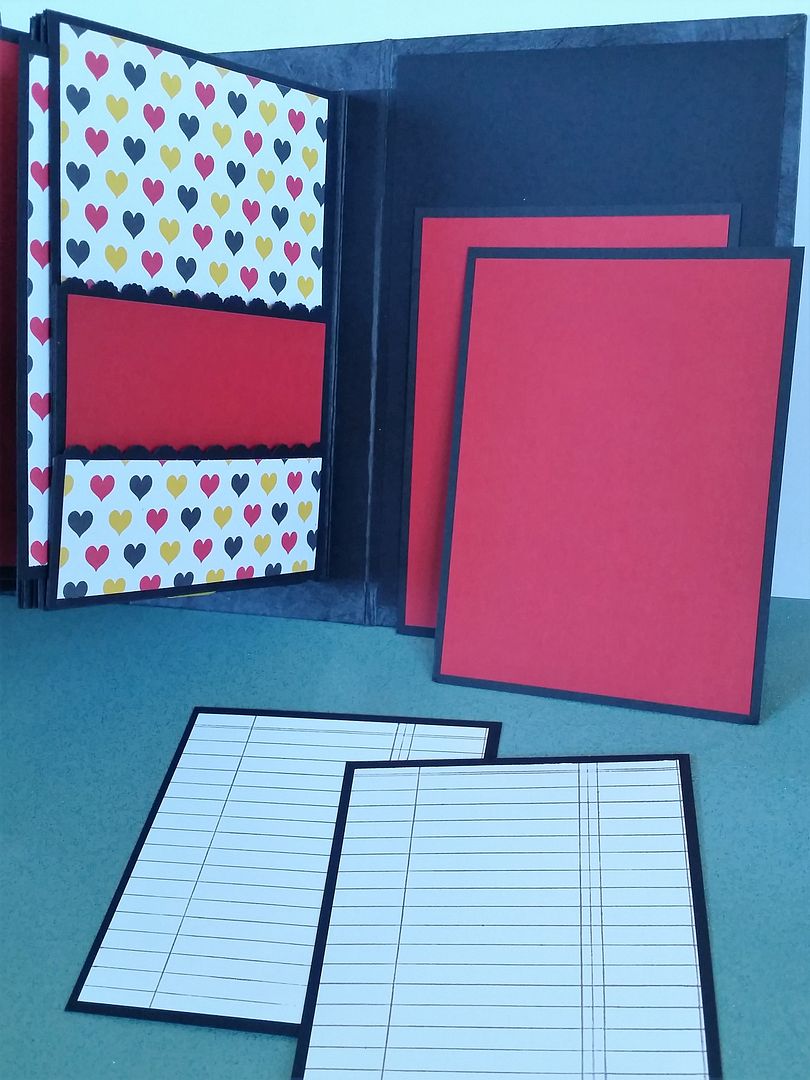
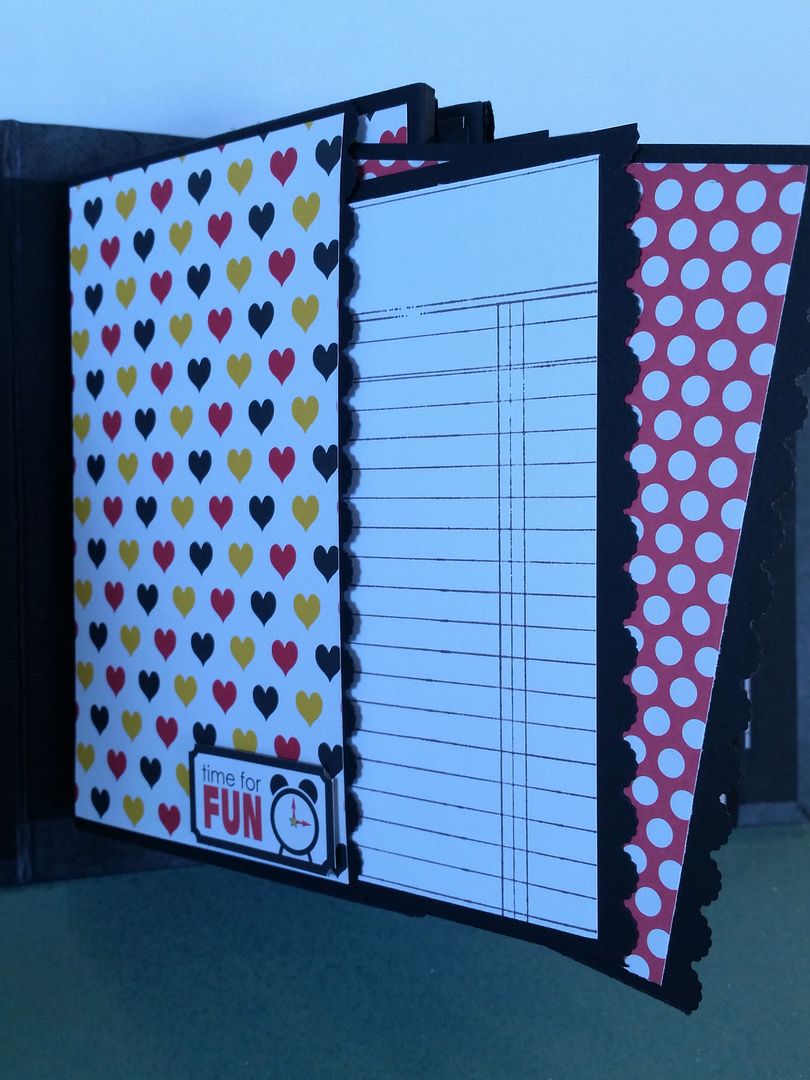 This shows the insert for the side pocket in each page. They are all the same, with this heart paper on one side and the ledger stamp on the other. I alternated which side faces up in each pocket.
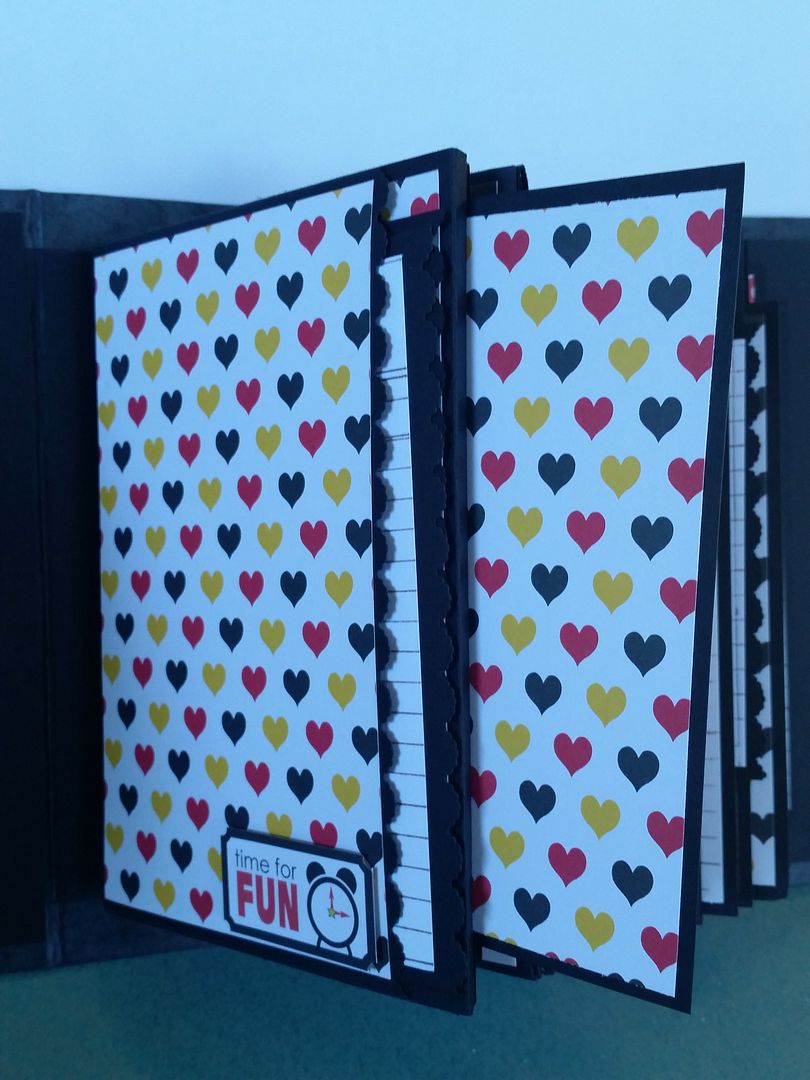 The left page has a metal embellishment from Creative Imaginations, there are 3 in this album.
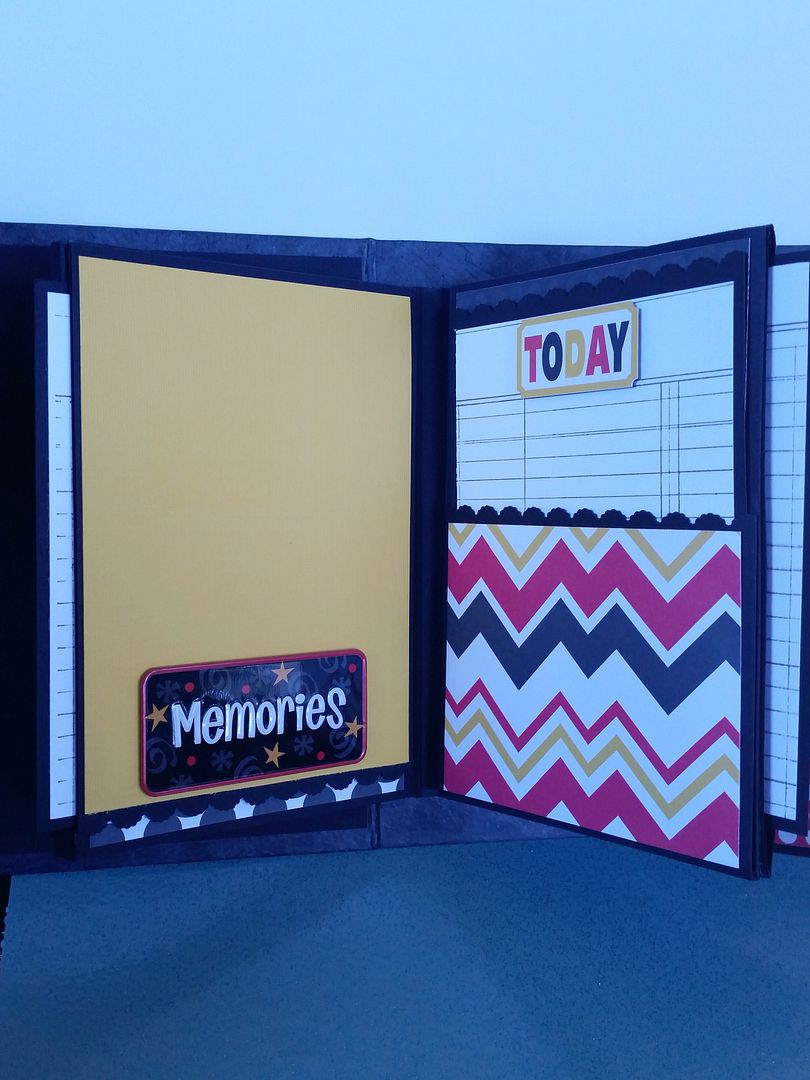
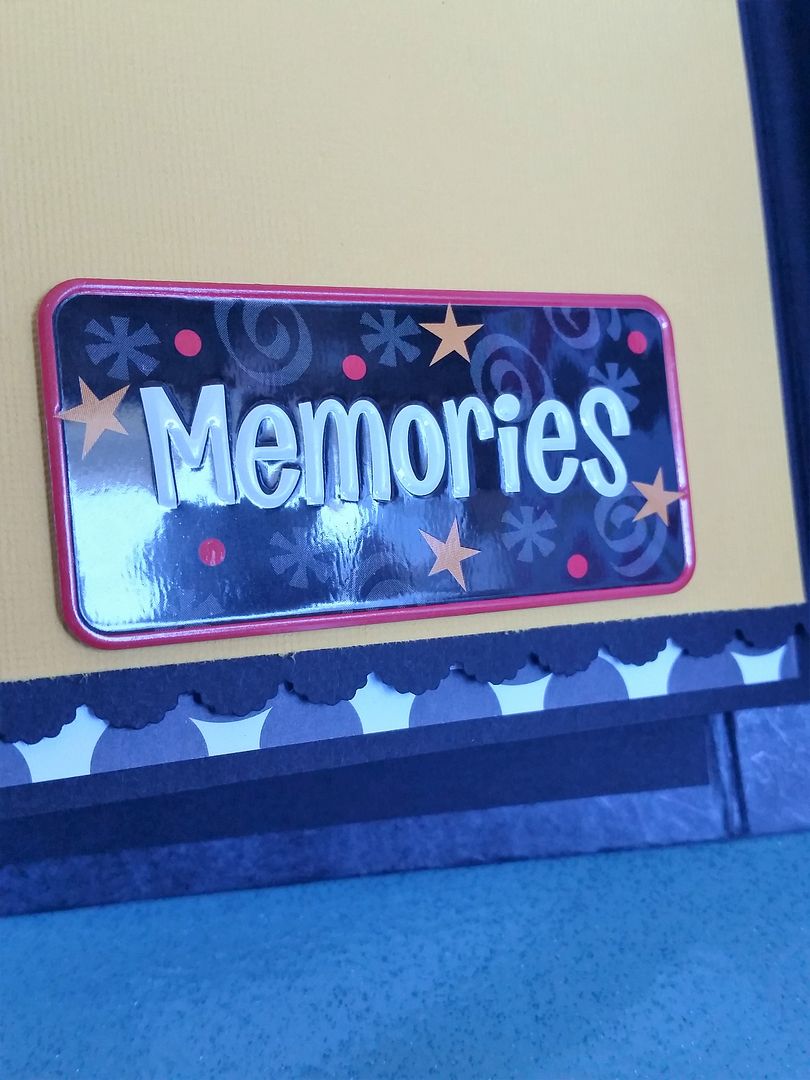 The page with the metal embellishment flips open to the top, and is held closed with a magnet.
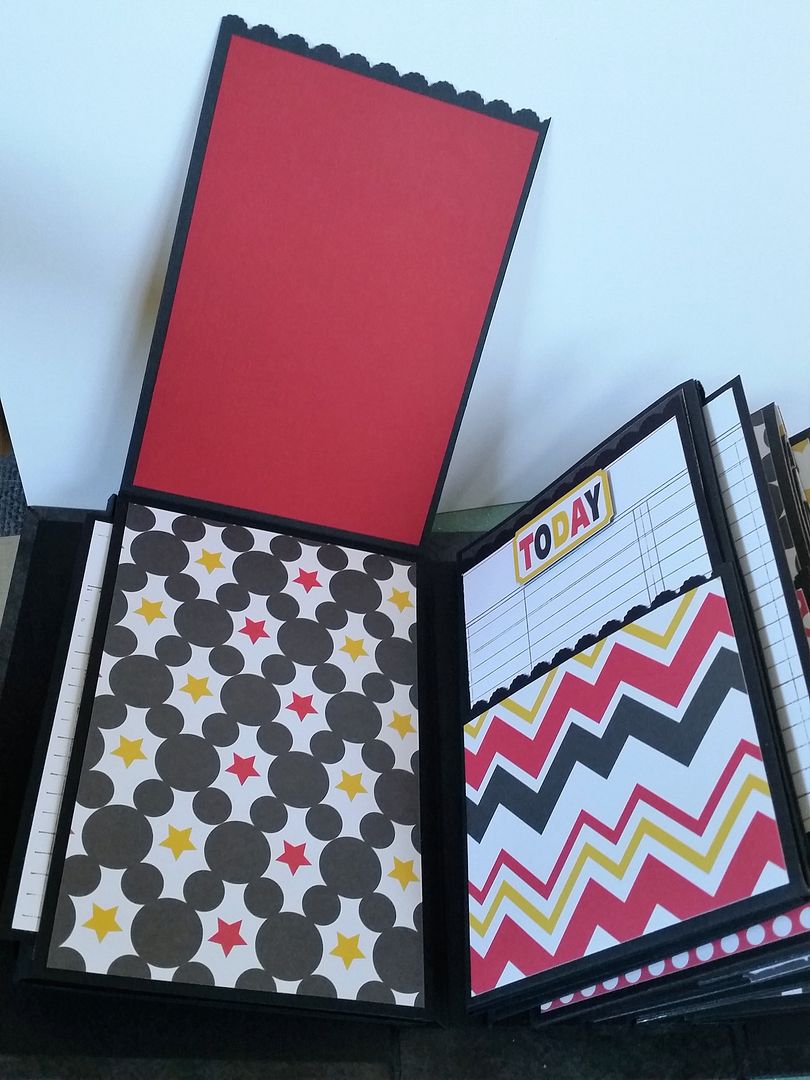 The right page is a pocket and tag. It opens to the right, with 2 more panels inside.
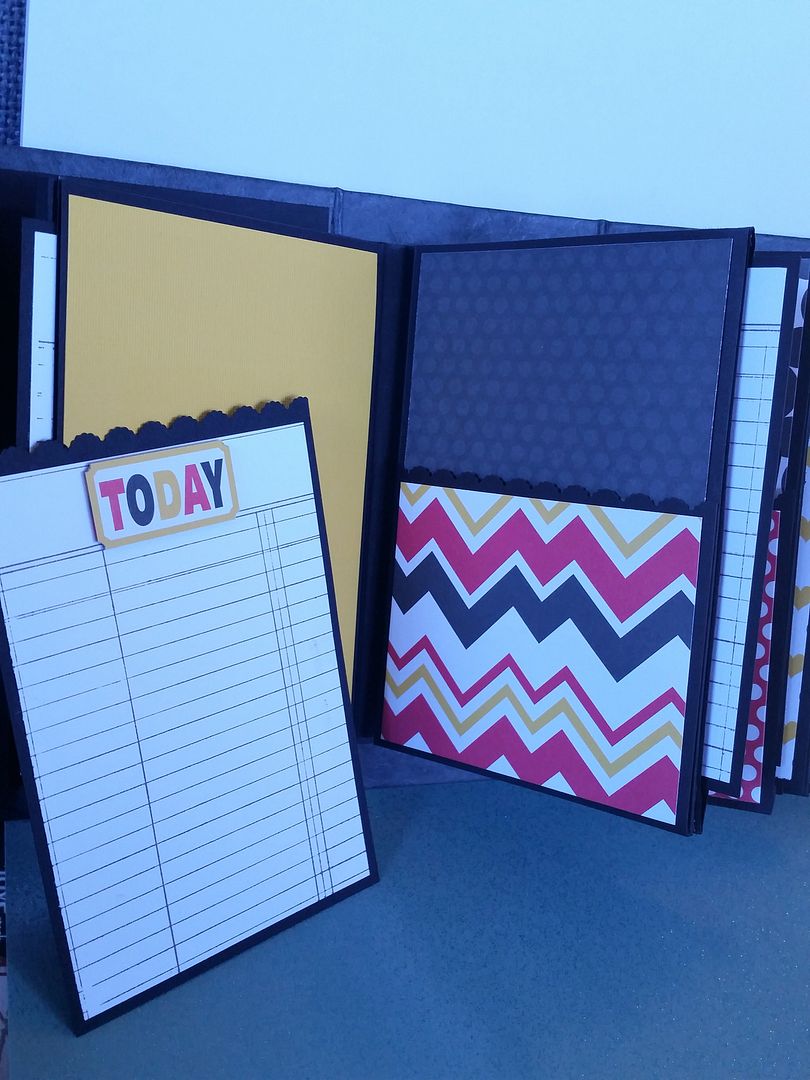
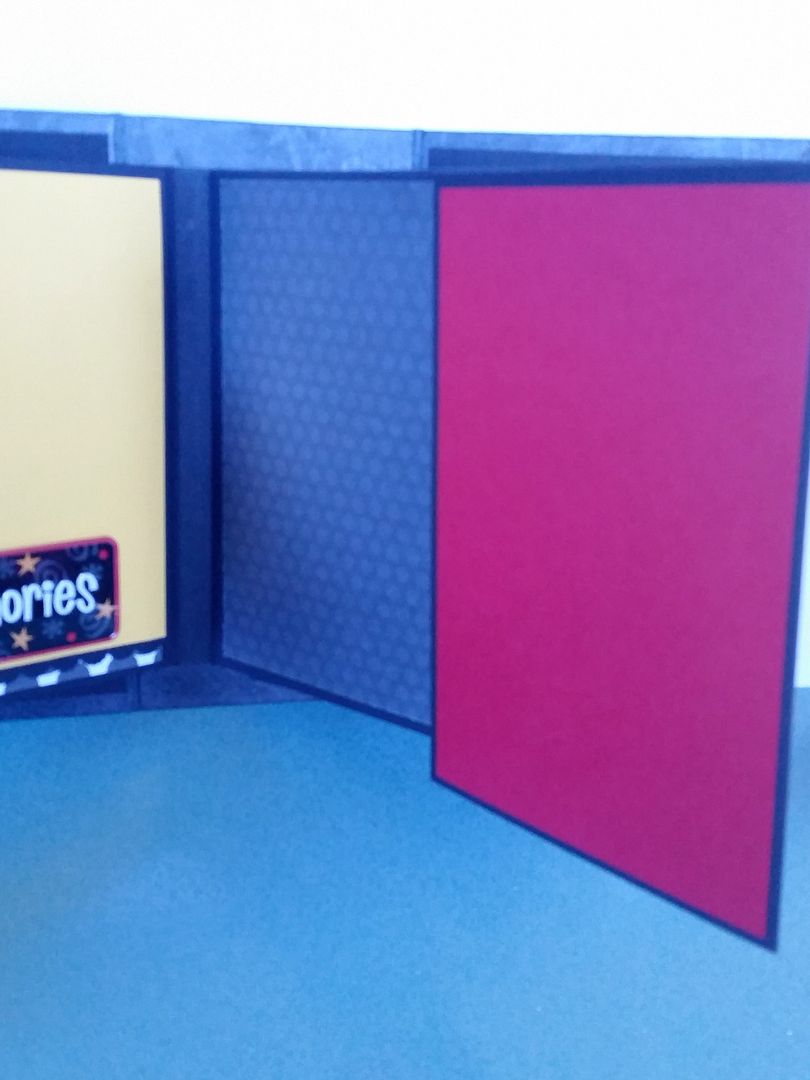
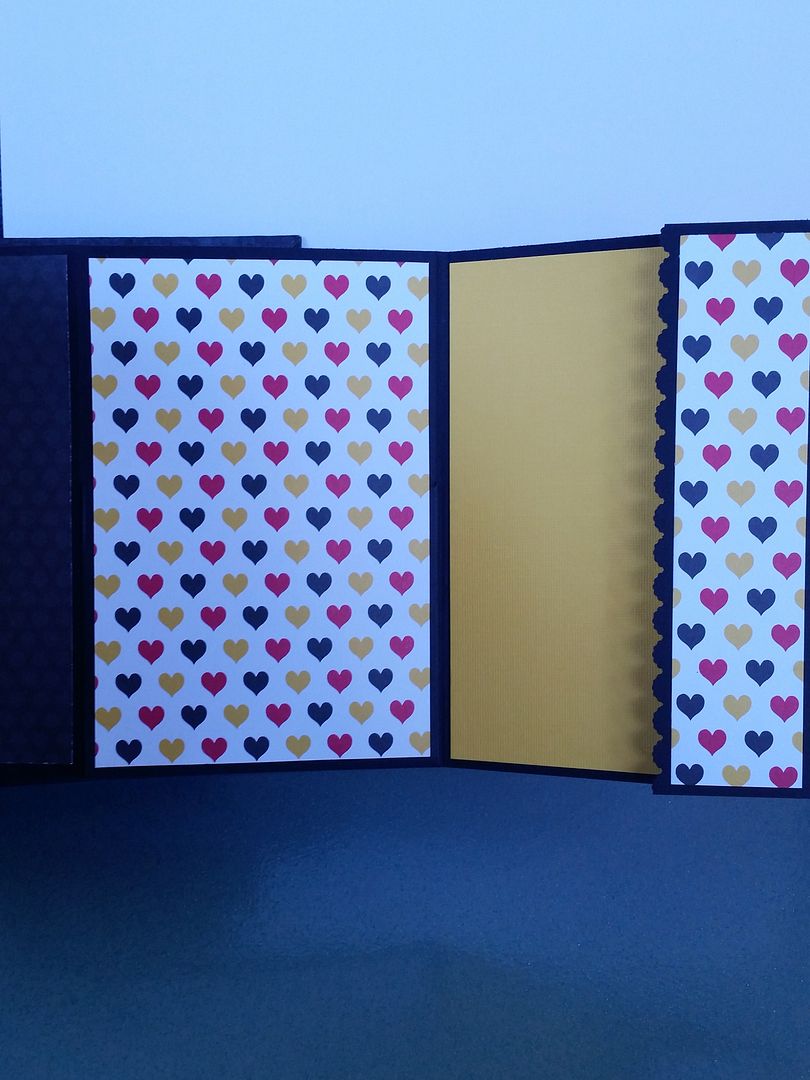 The left page has a flair button, also from Queen & Company. I mounted it on a piece of black paper, punched with a scallop shape. It is adhered only on the left, allowing for a photo to slide underneath. The pocket flap has two tags that come out, for journaling or pictures.
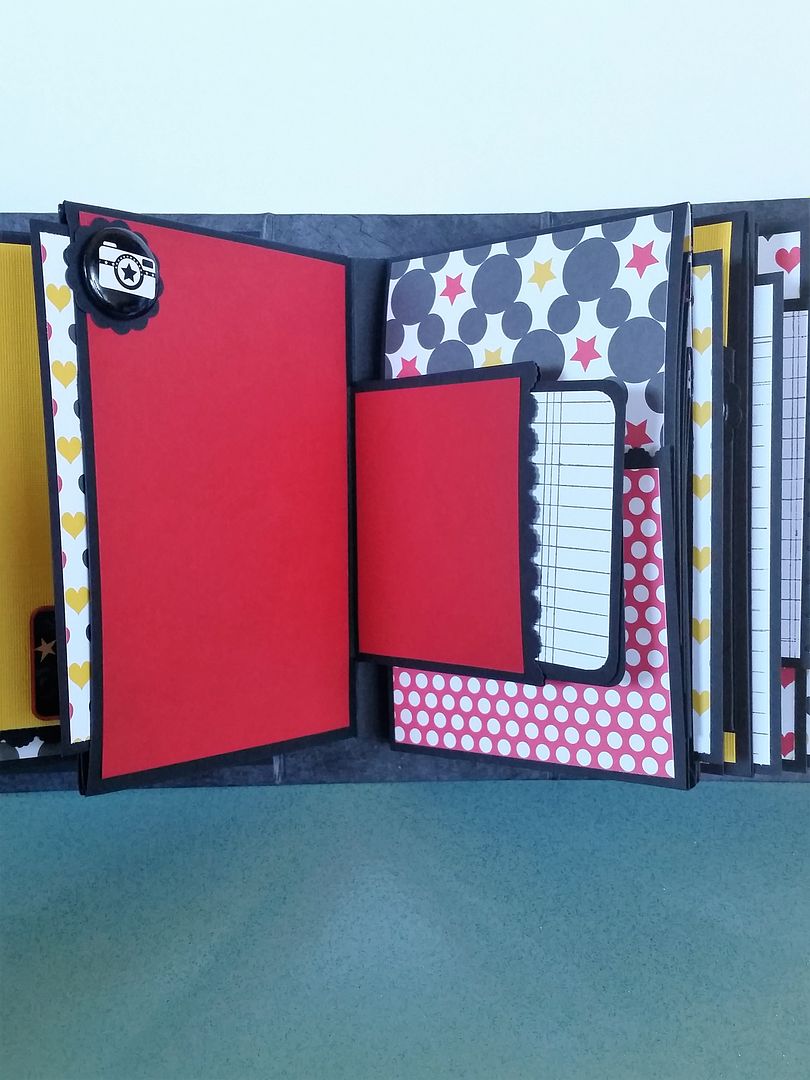 The right page has a flap closure on the bottom with magnet that flips to the bottom. Inside is a card stock water fall feature. I left the waterfall free of patterned paper, and they are sized to fit 4x4 pictures.
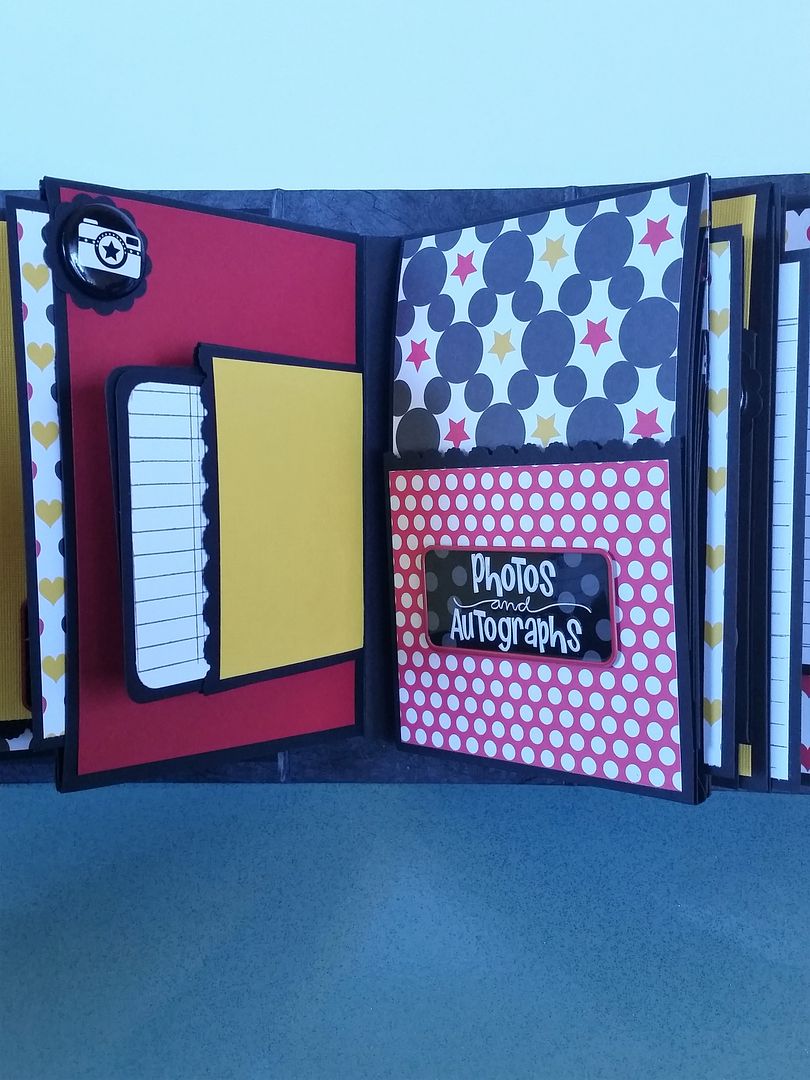
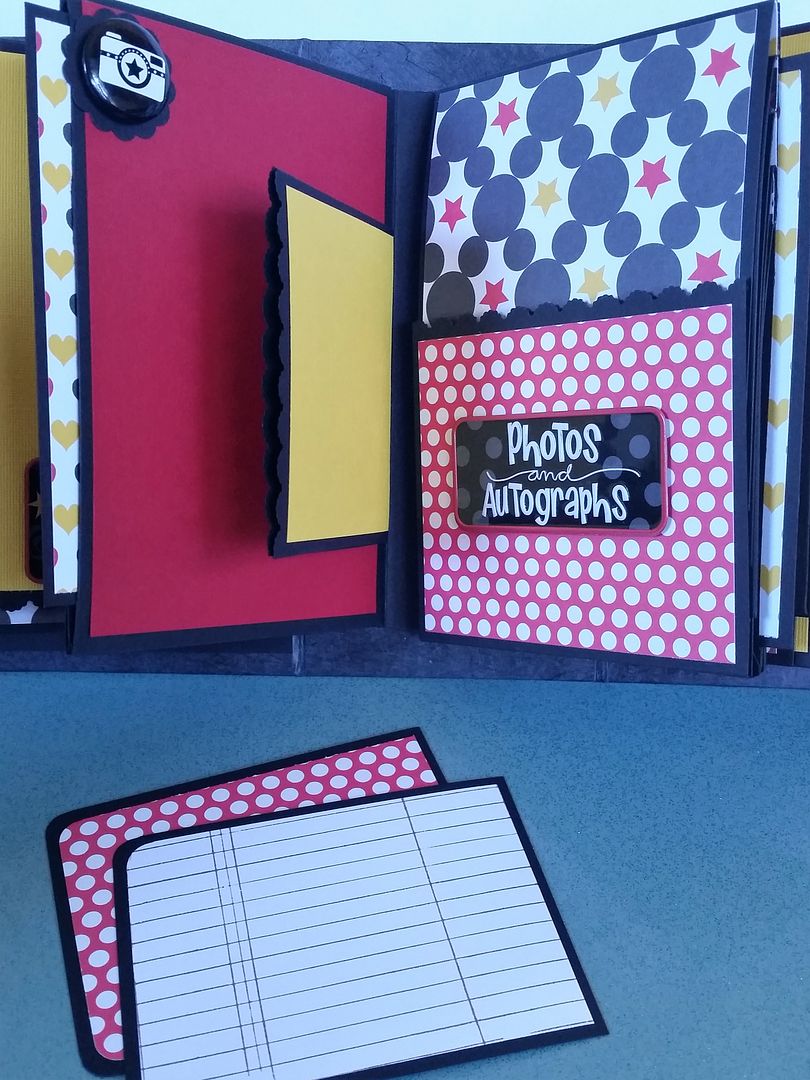
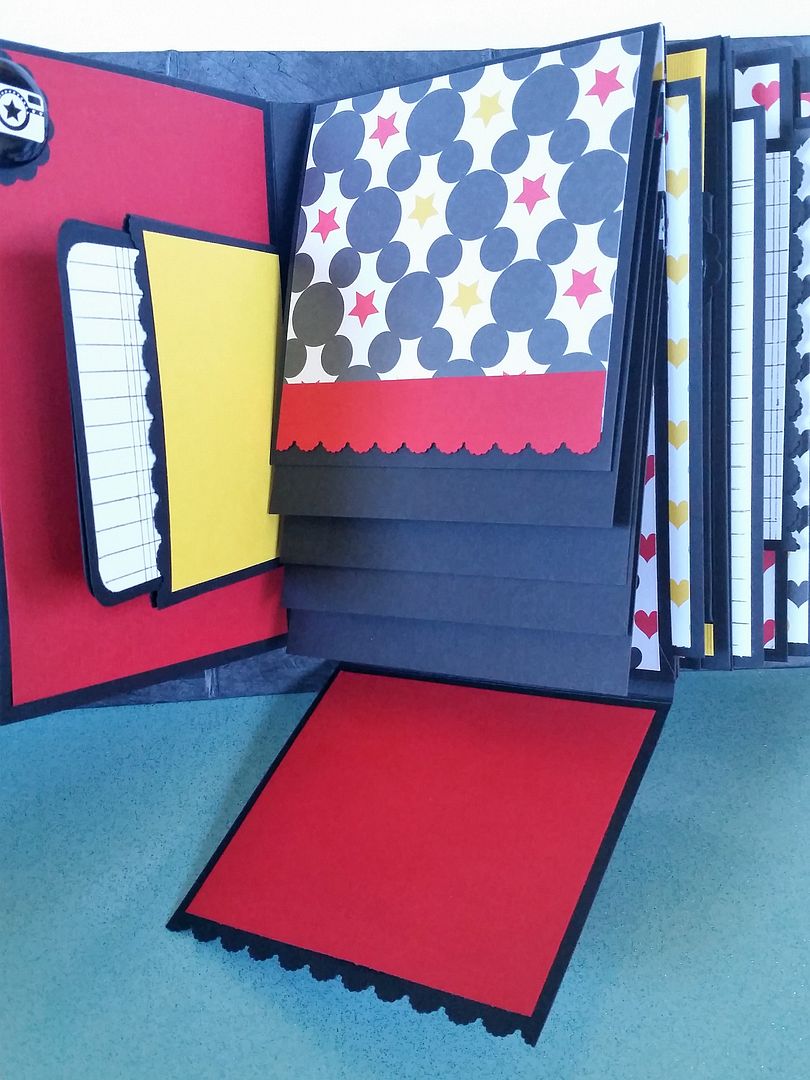
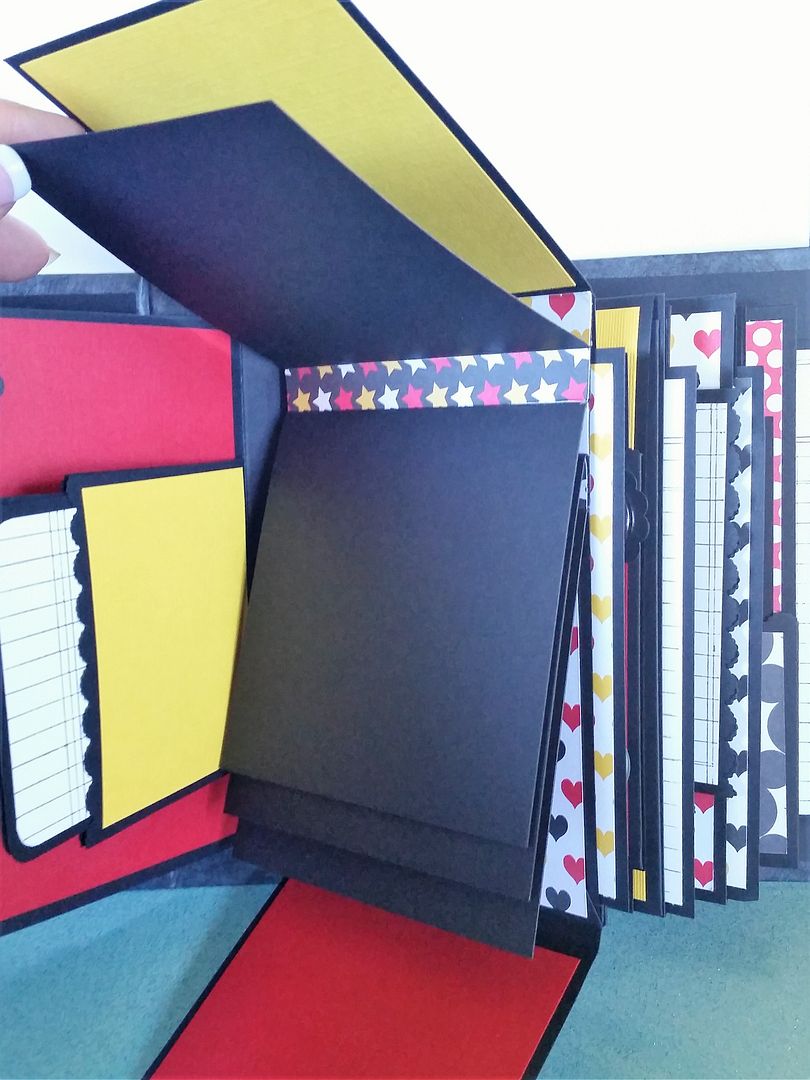
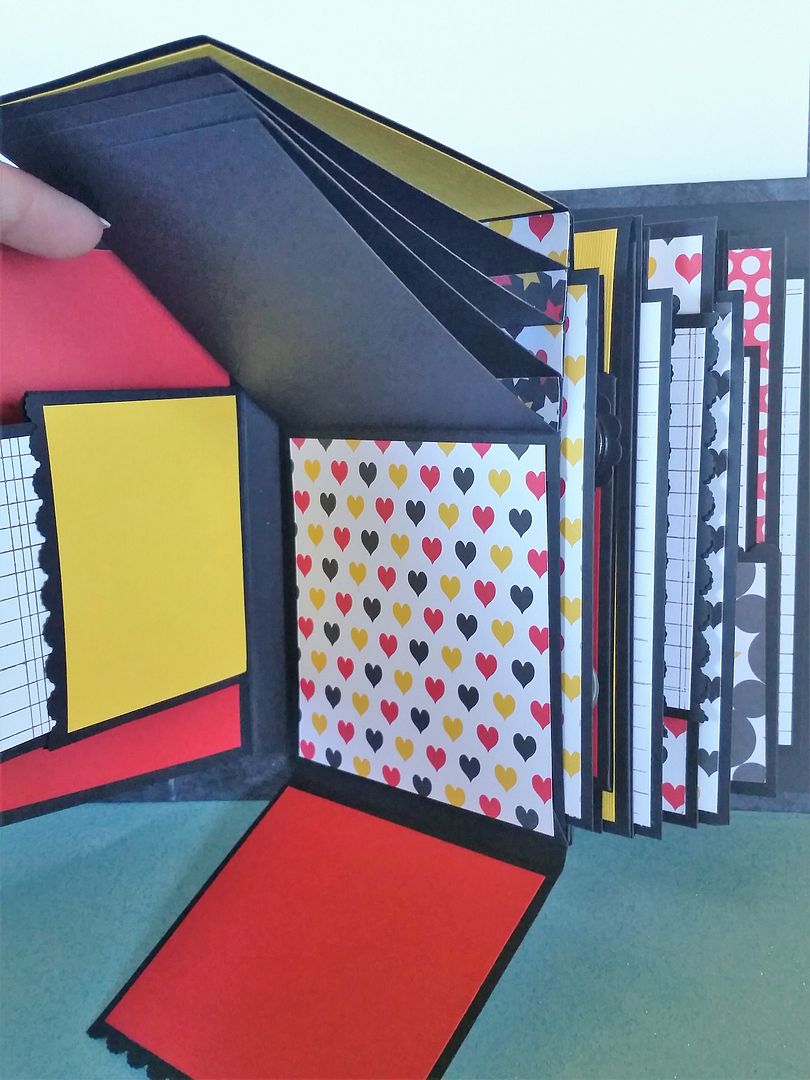 The left page has a corner pocket made with a Spellbinders die, and two journaling tags.
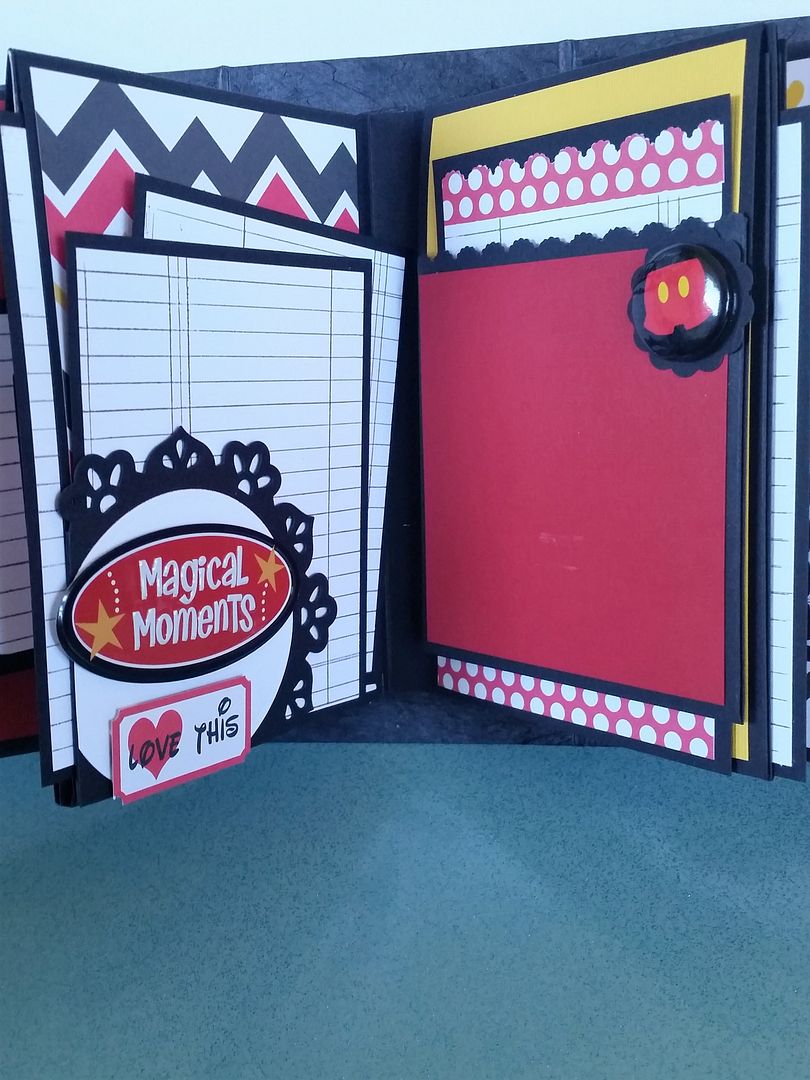
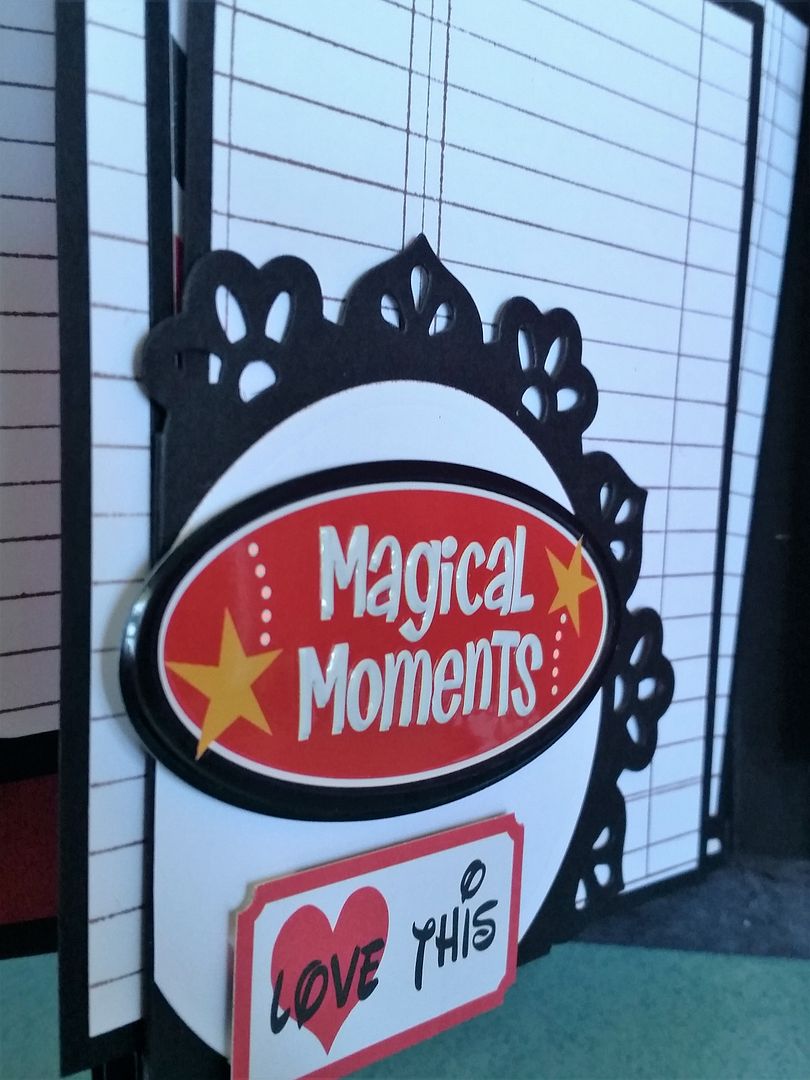
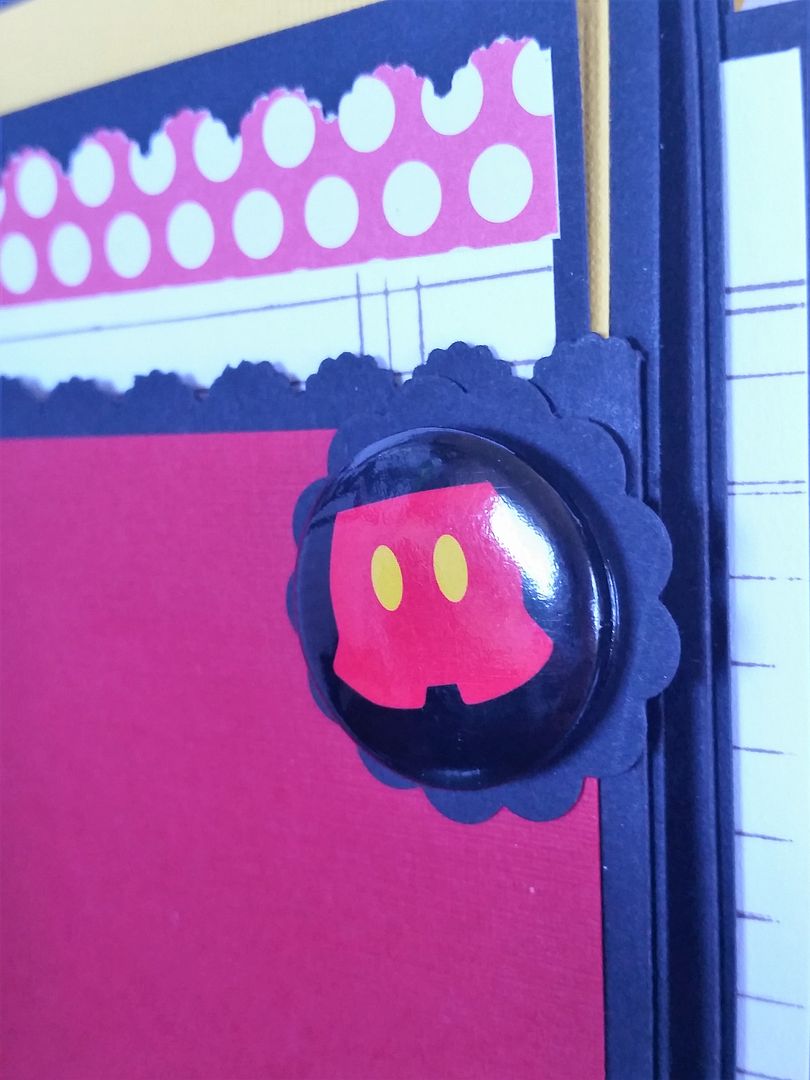
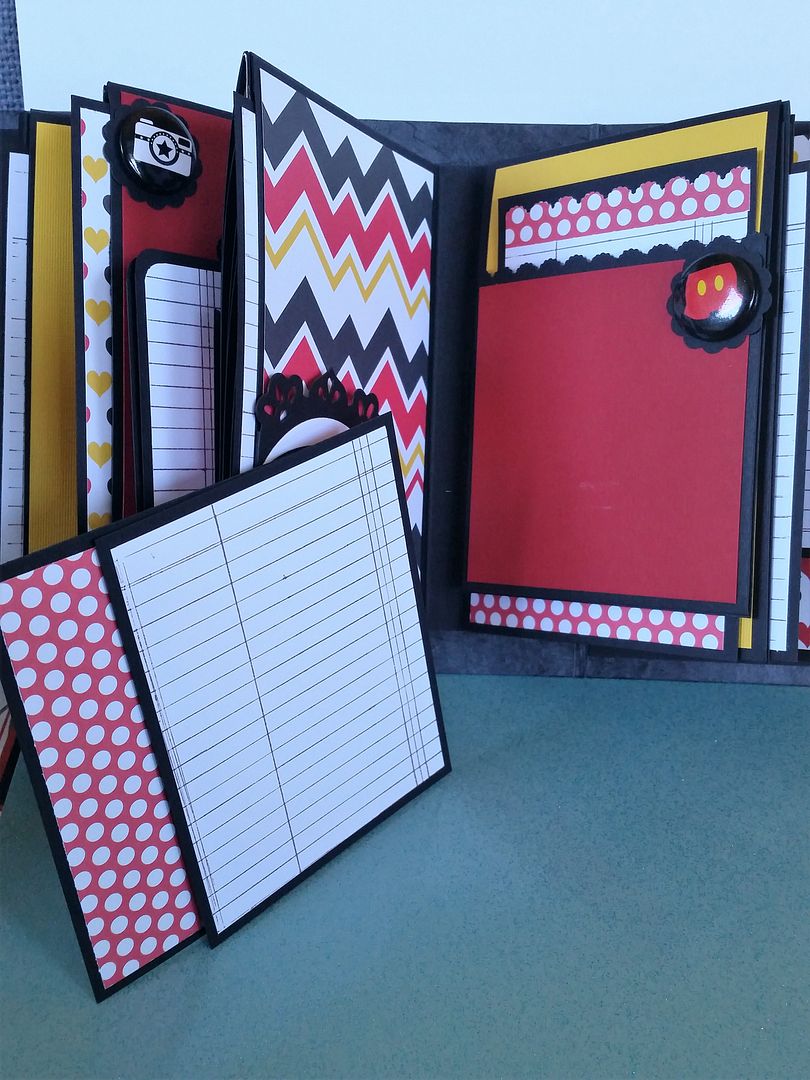 The right page has a pocket and tag on the front, also a flair button that is only adhered on the side. The pocket flips up and has a magnet closure.
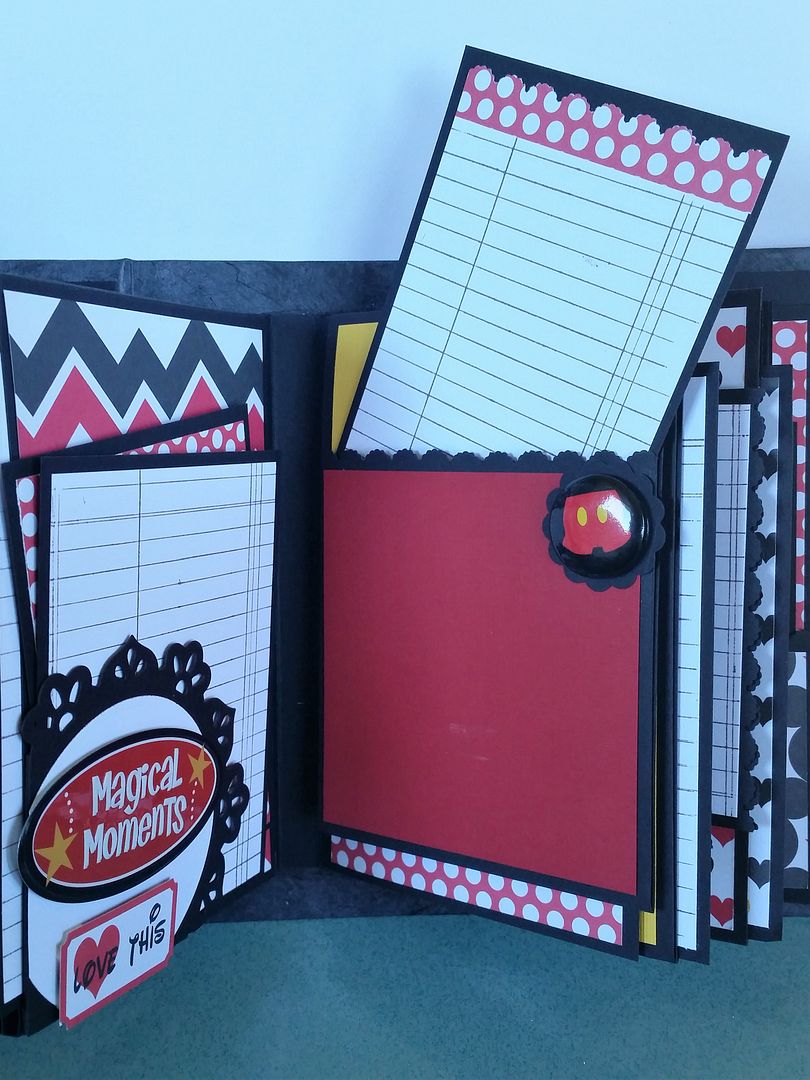 There are a few flaps inside that can hold lots more photos.
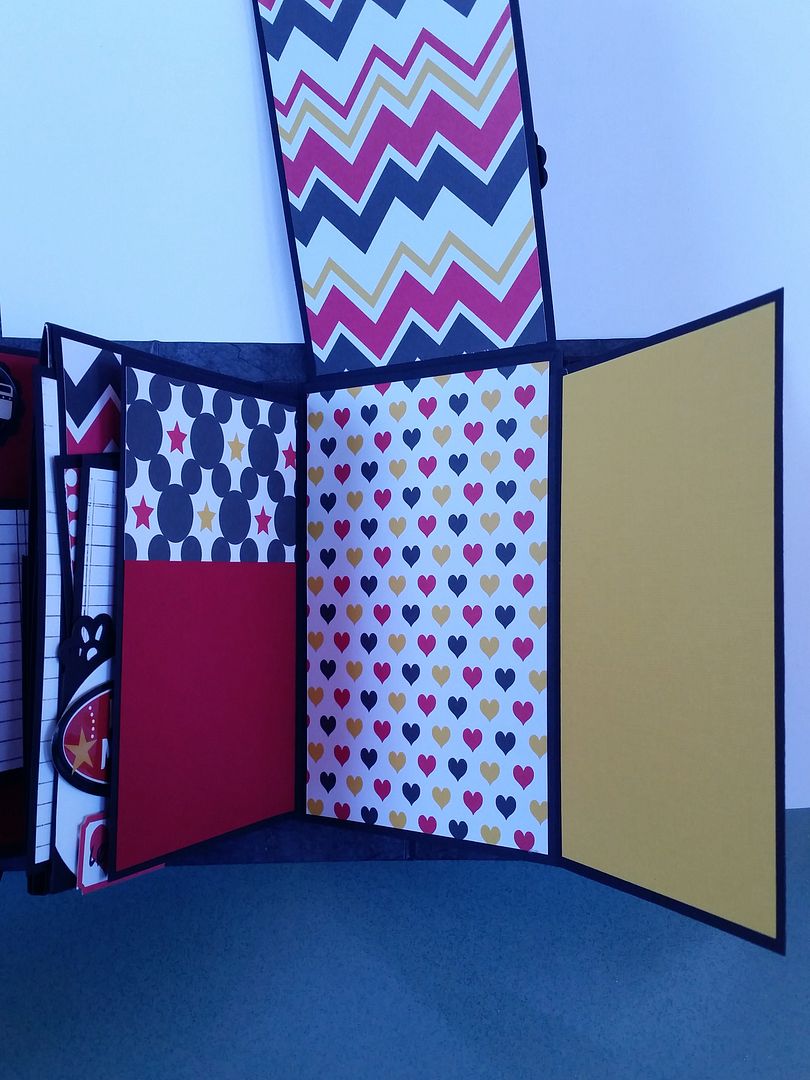 The left page has a magnet closure, and two flaps that open to the left.
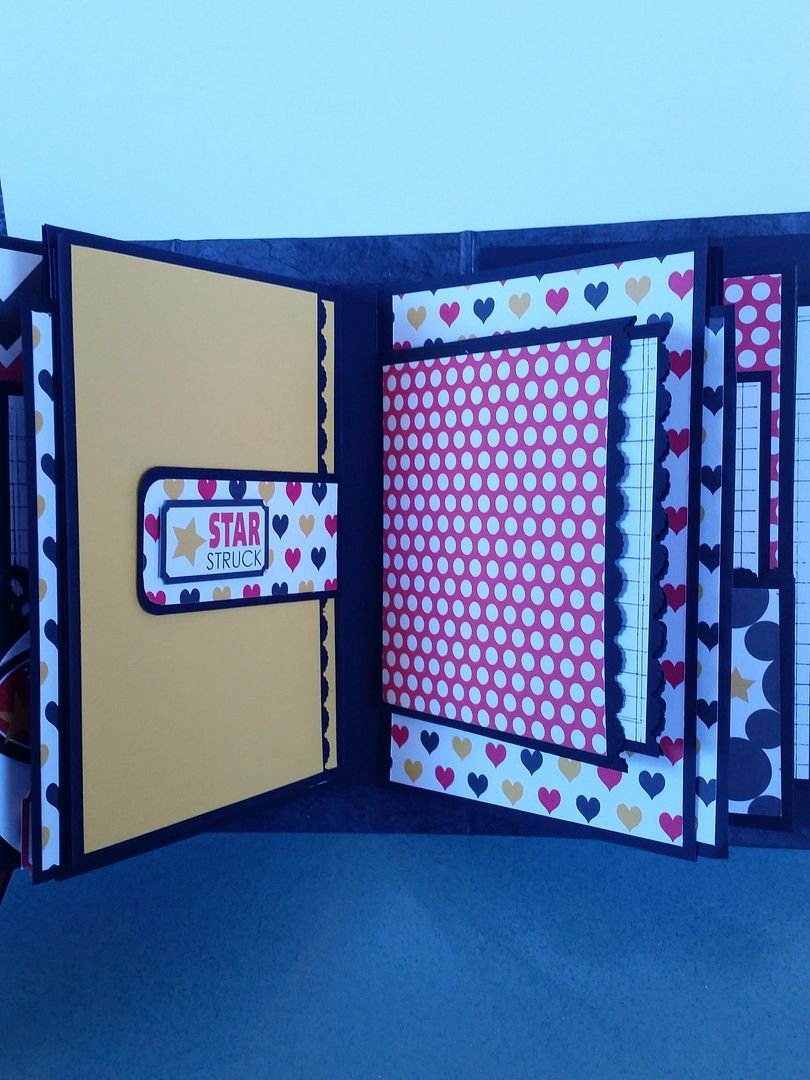
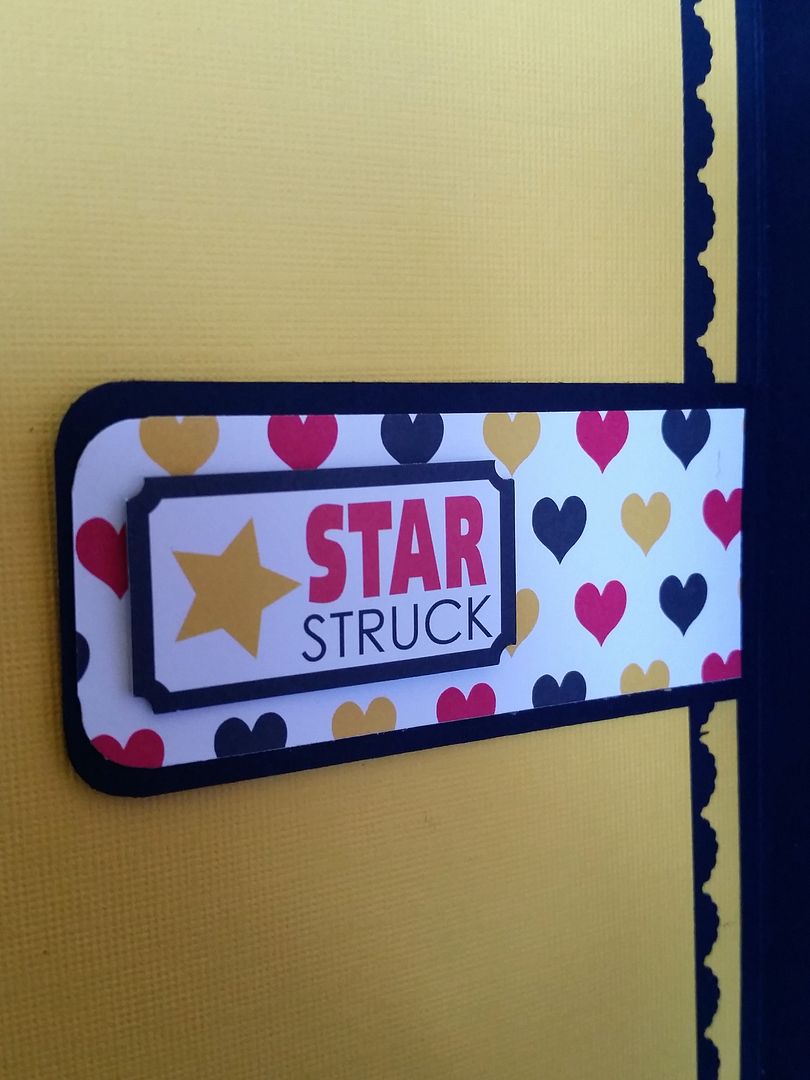
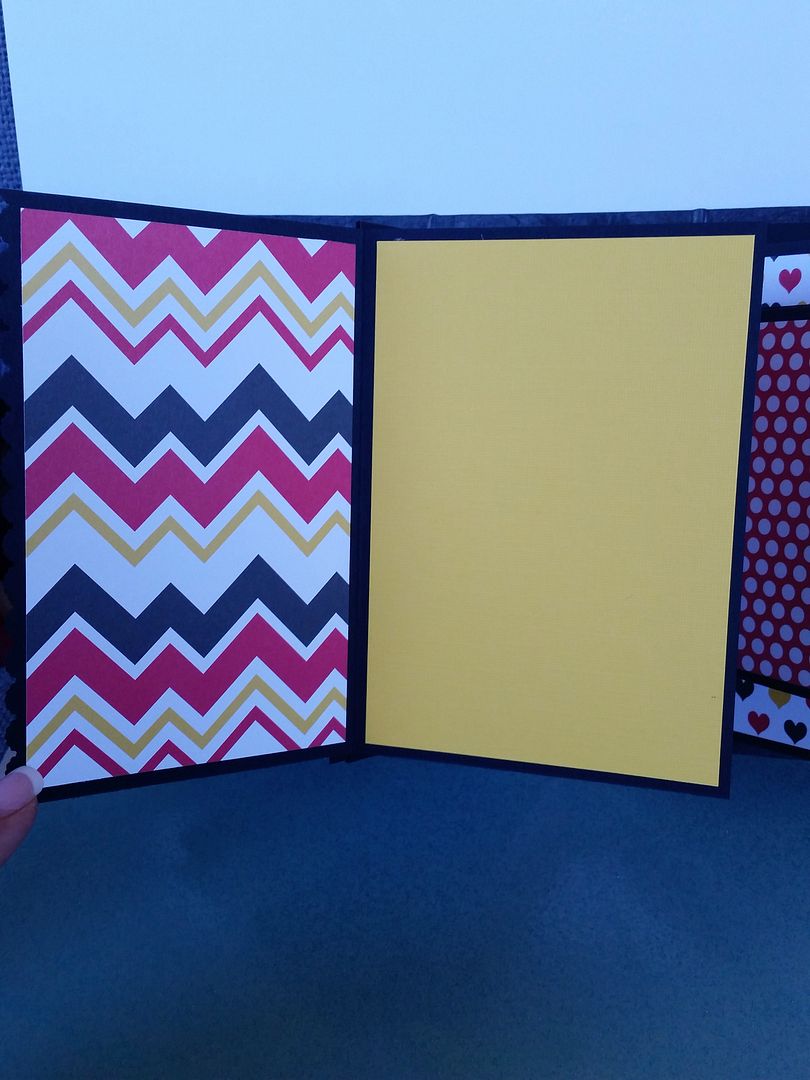
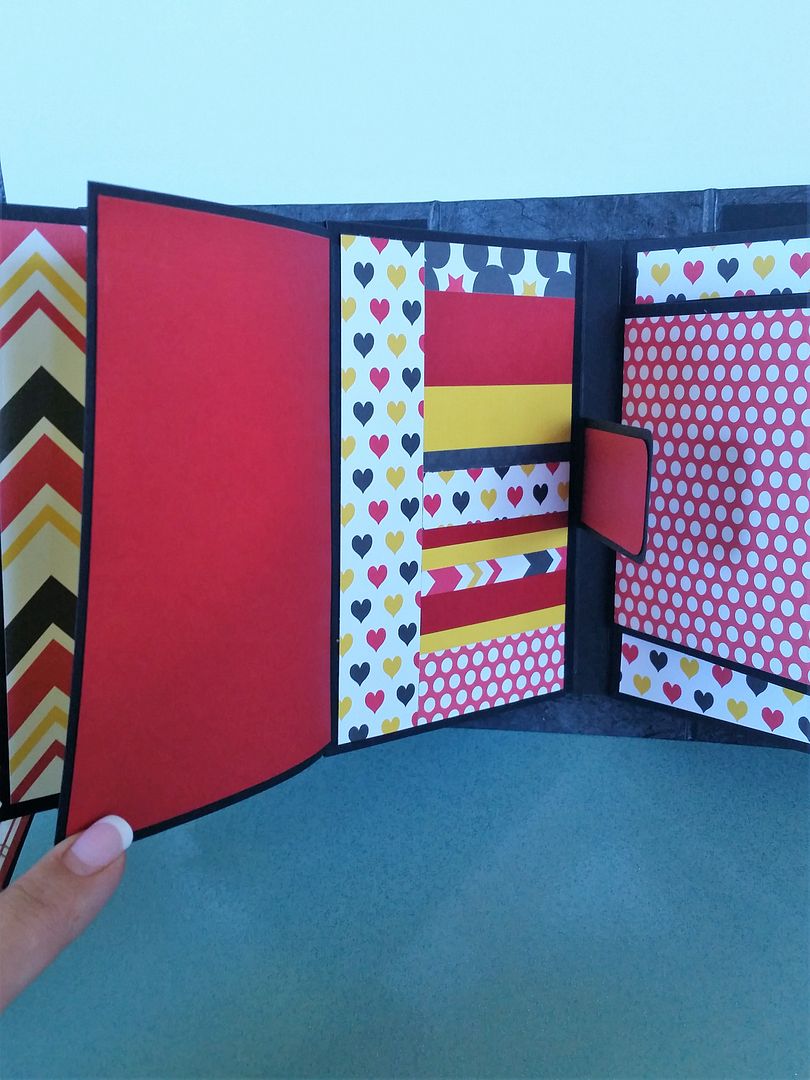 The right page has a pocket flap with journaling tags.
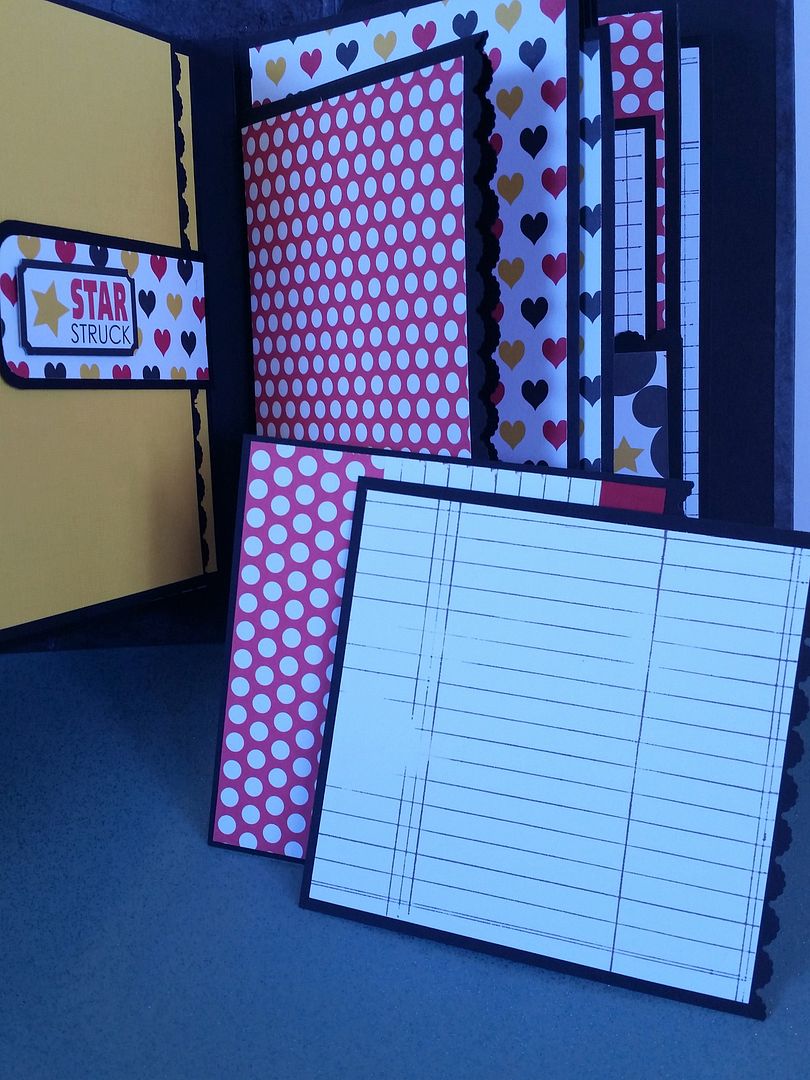
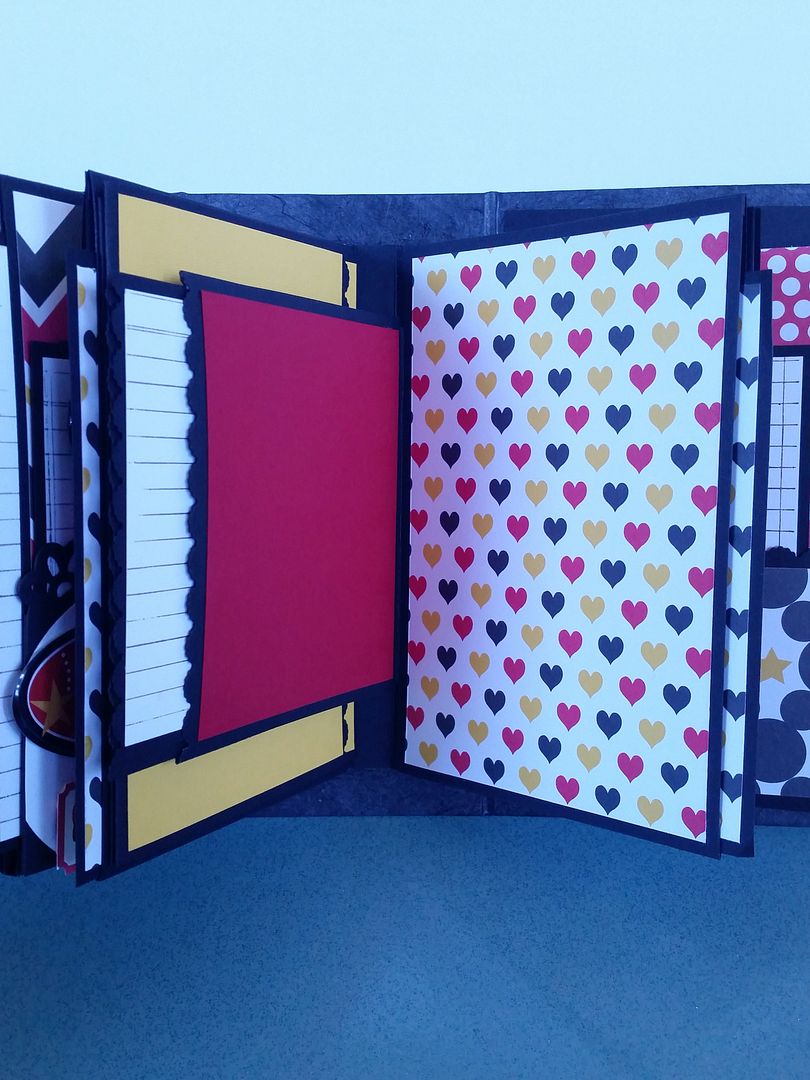 The left page here is a pocket with two cardstock tags.
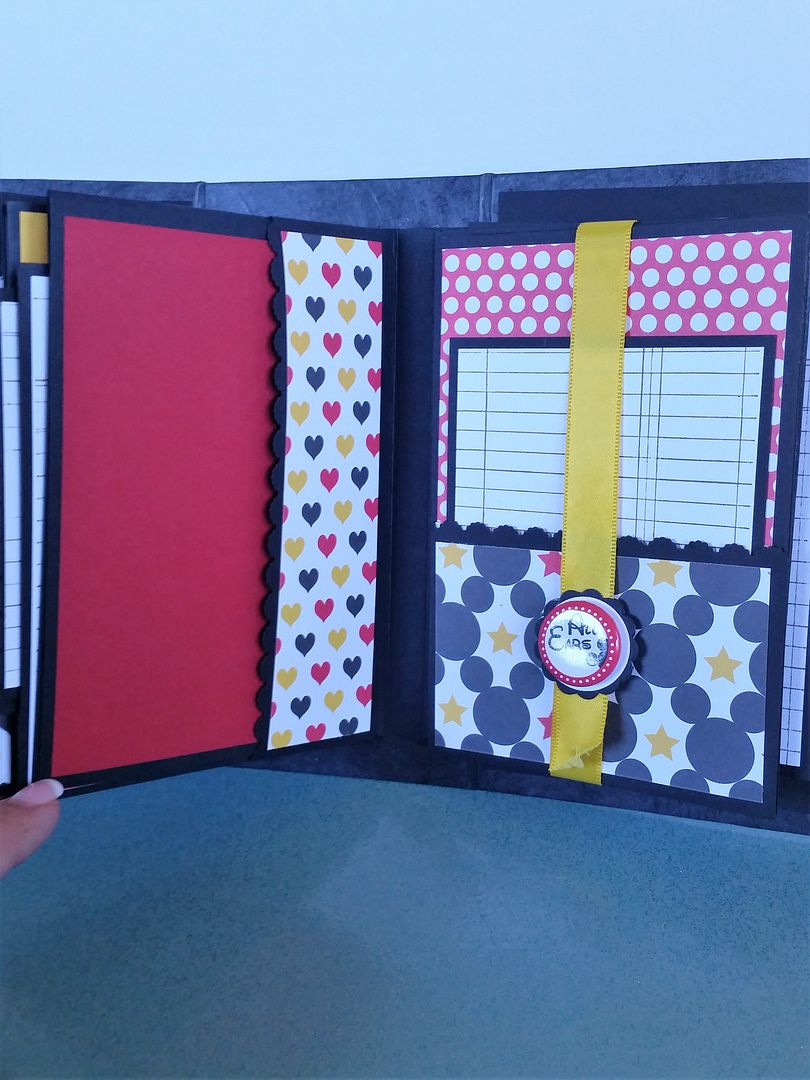
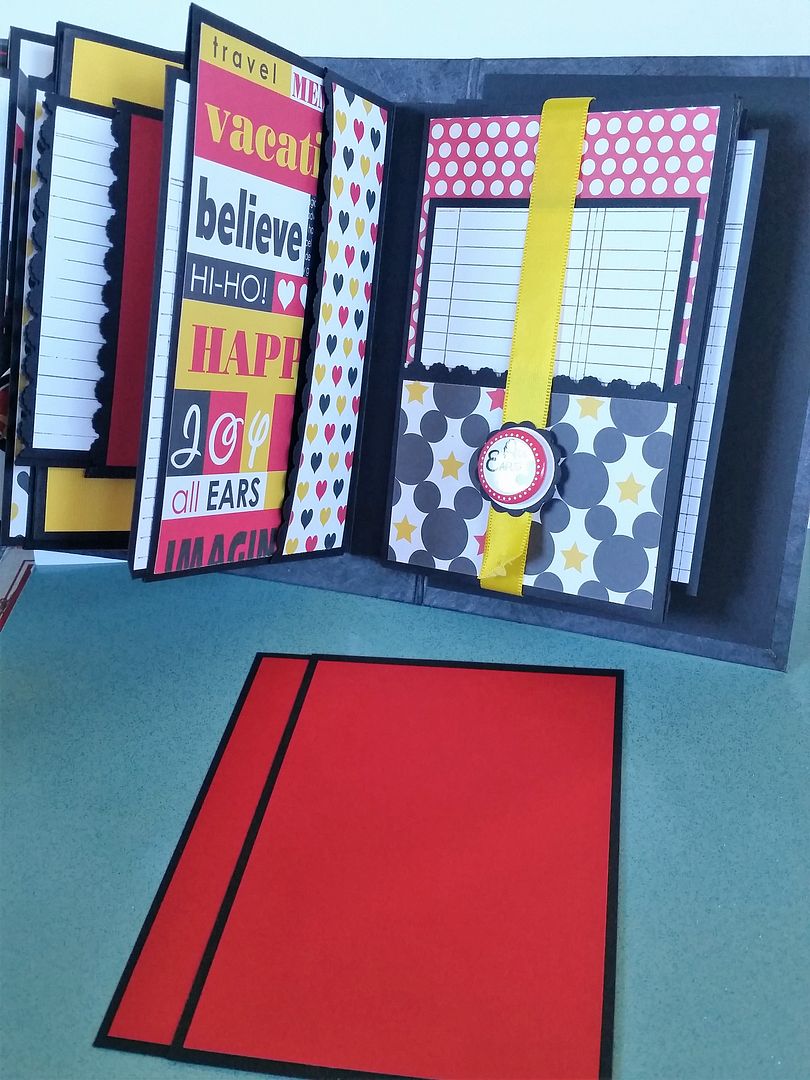 The right page is an accordion page, with a pocket and tag on the front. It is held closed with a magnet ribbon enclosure.
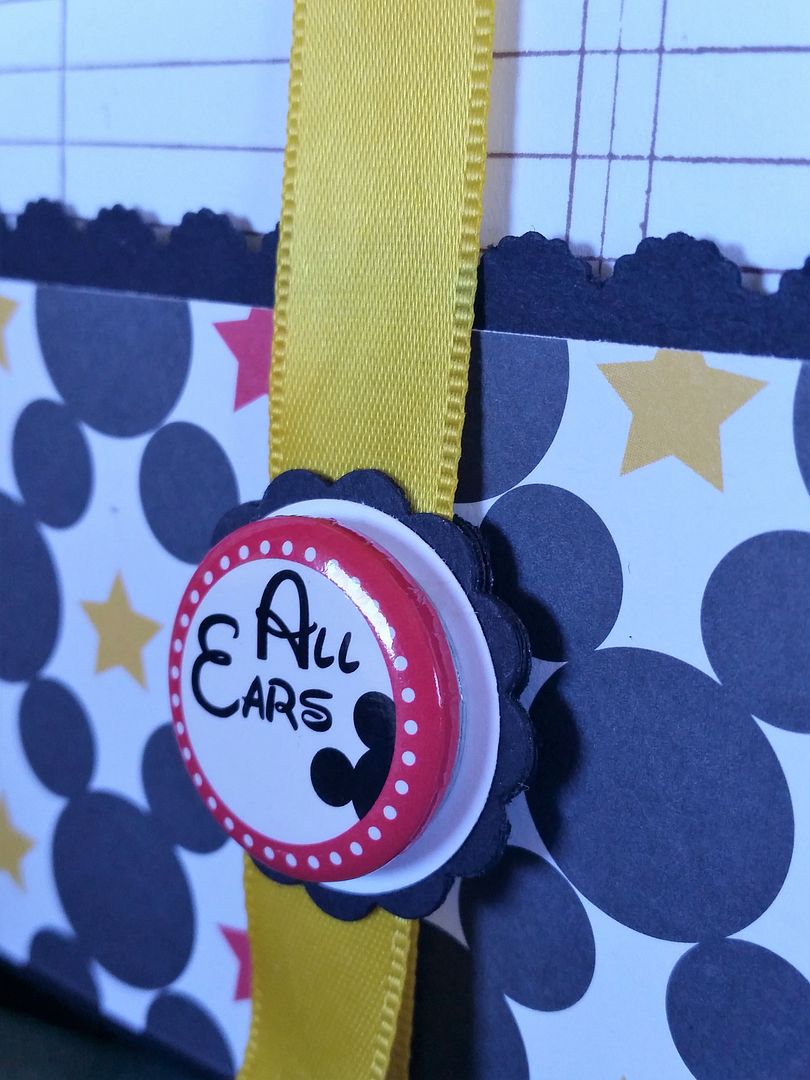
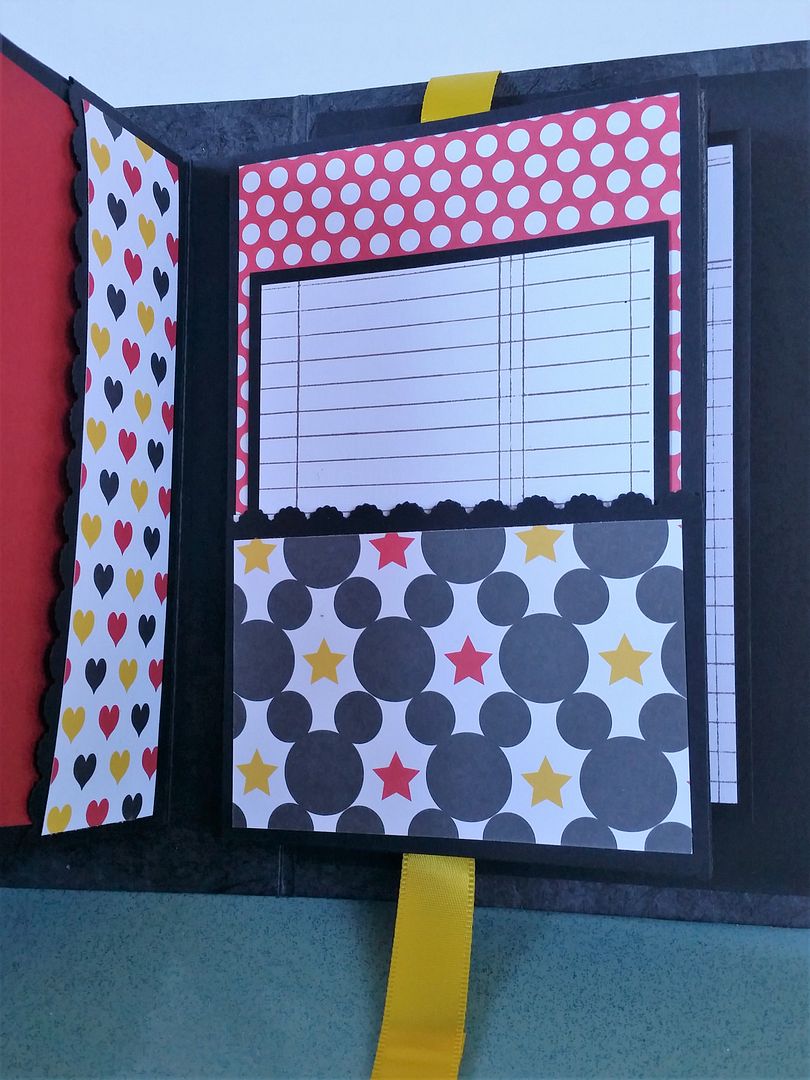
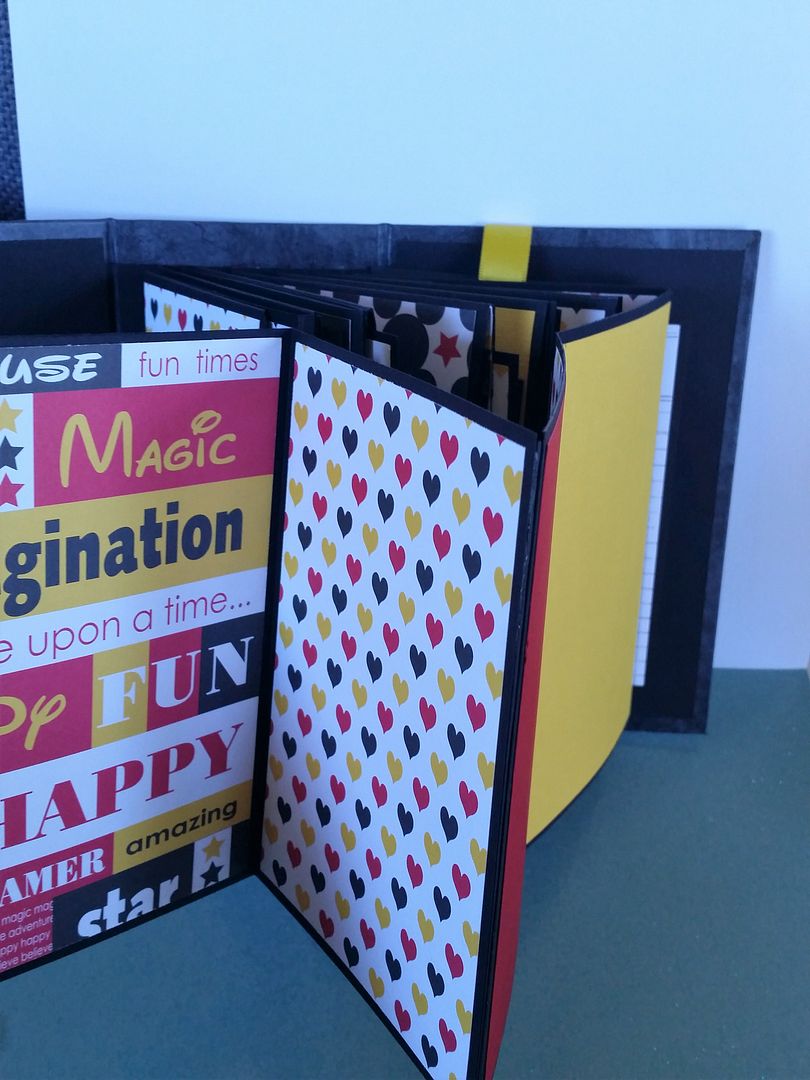
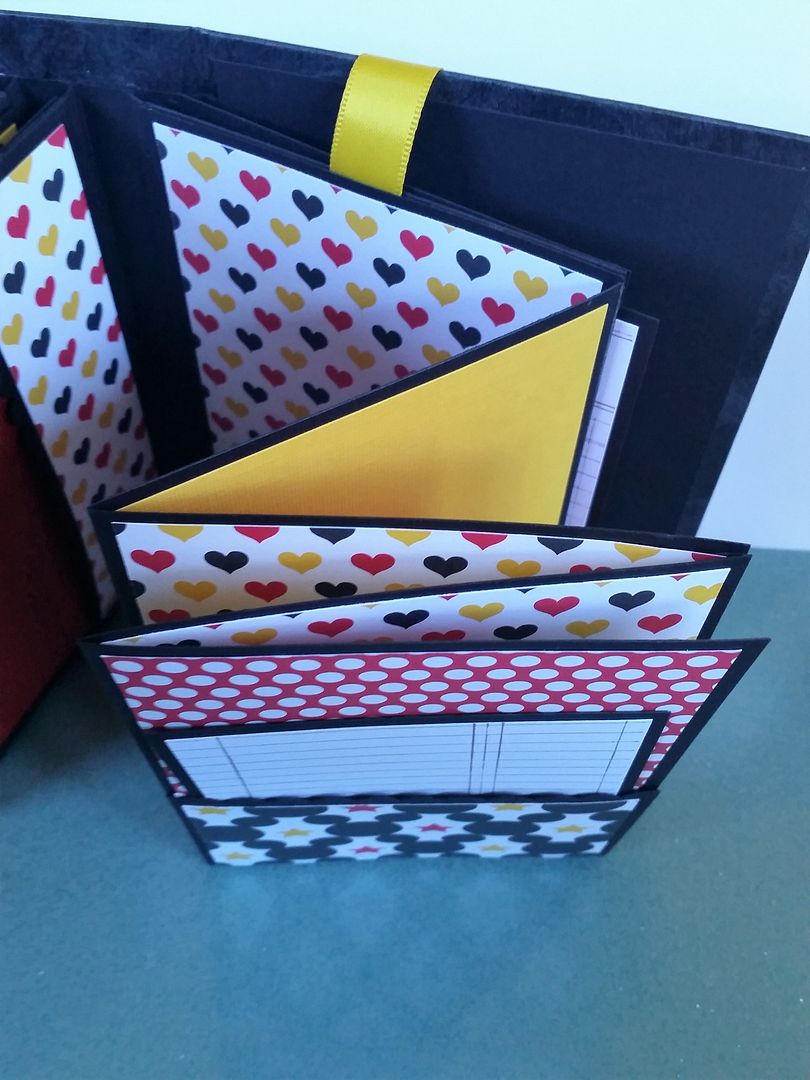 The last page has a double pocket. There are two tags in each pocket. I may just make it one of each because they fit pretty tightly and would be even tighter with photos.
This album was so fun to make! This one is inspired by SuperHappyScrapper and all of her videos on YouTube are awesome. I think her techniques are super easy and the tutorials are a cinch to follow.
This album is for sale in my Etsy Shop!
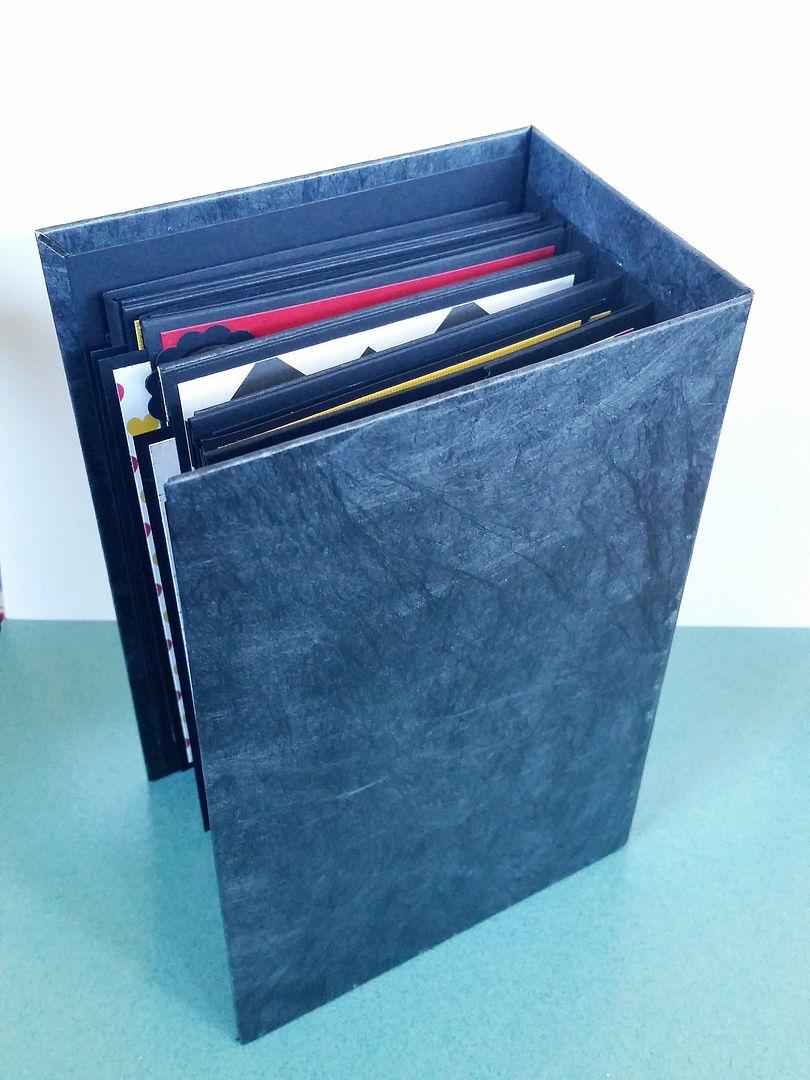
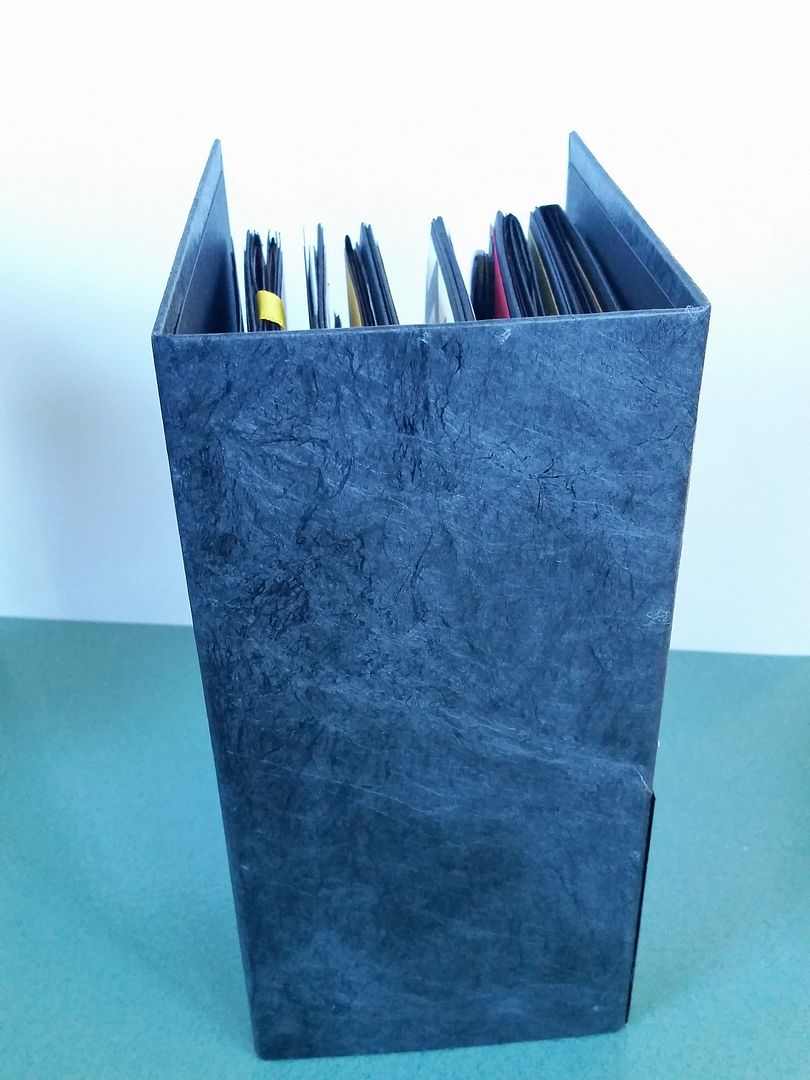
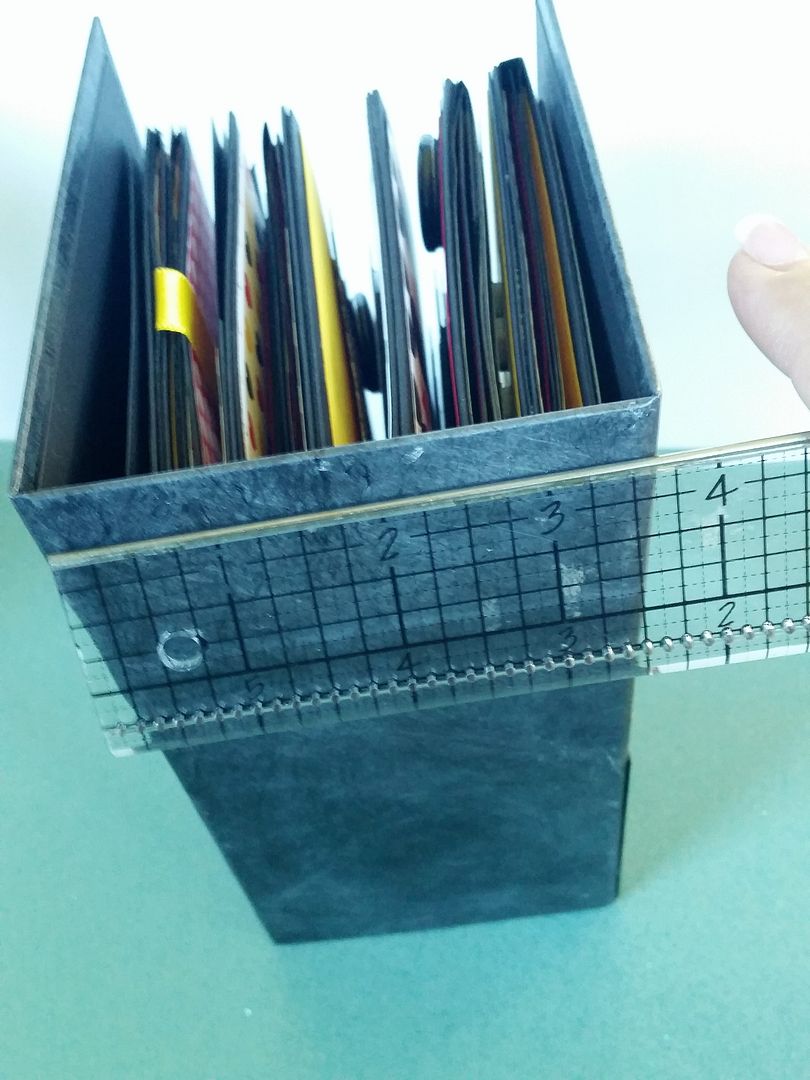
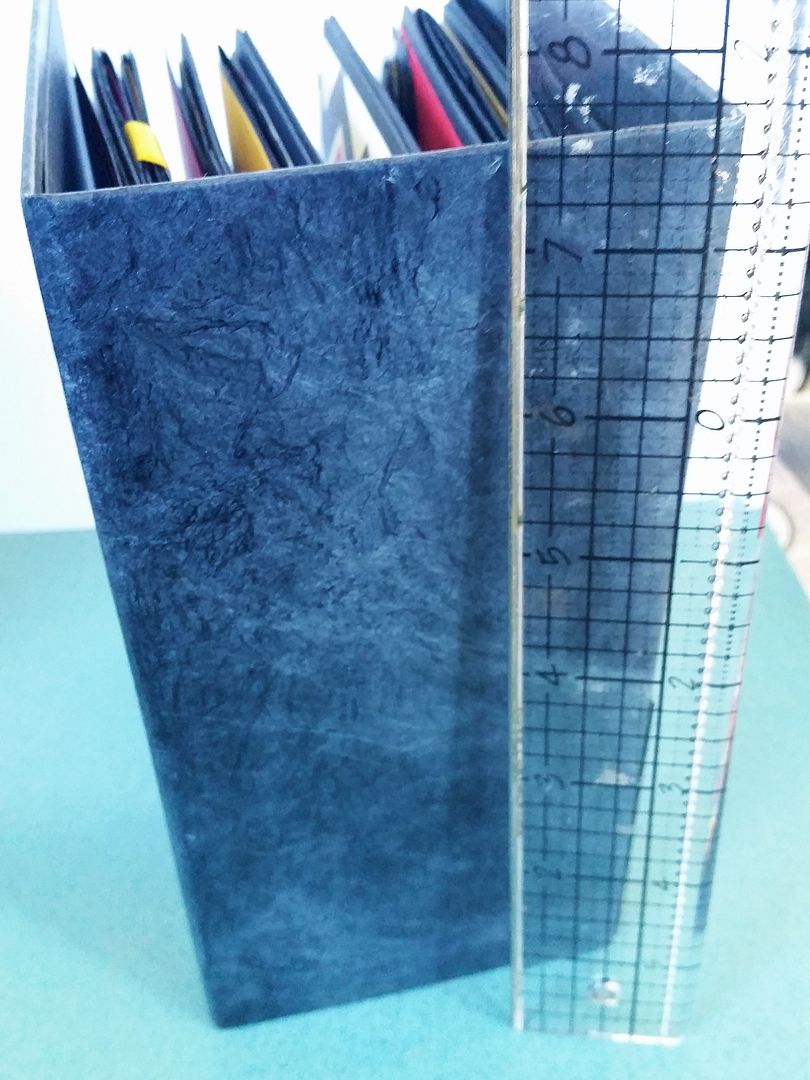
I came up with the dimensions on my own to both minimize the trimming of 8 1/2" x 11" paper and the 12 x 2 card stock. The cover measures 9 1/2" x 7 1/4" with a 3 1/2" spine. The pages are 8 1/2" tall and 6 1/4" wide, so that I could cut in half a 12 x 12 piece for matting and only trim one side of the 8 1/2" x 11" base paper.
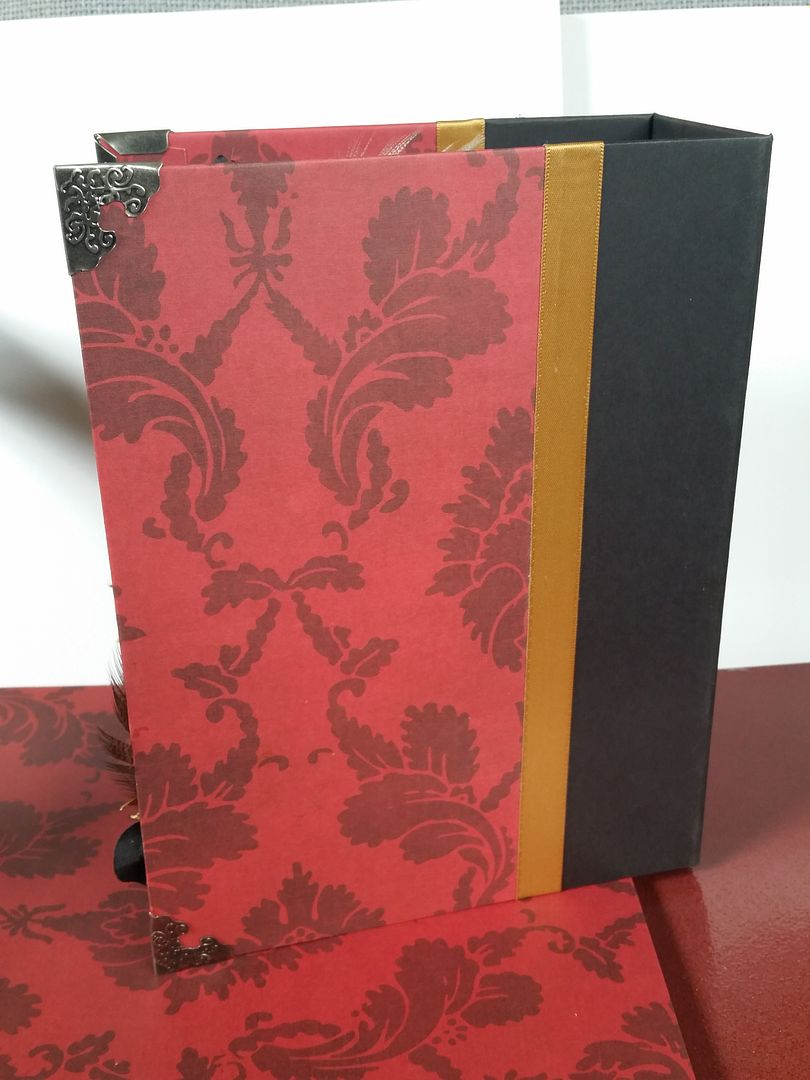
Most of the flaps, tabs, and interior layering pages, etc, are made of the scraps of trimming the pages as well. I assembled the pages with Score Tape to make sure they are extra strong and durable, and the trims, flowers and metal corners are held down with Glossy Accents to help them stay put. There are 6 base pages with lots of pockets, tags, and flaps for tons of room. I usually don't do vintage style things, but this paper just begged for inked edges and that type of vibe. I made this album a while ago, and already had mach of the papers left over to use for this.
The products I used:
My Mind's Eye stack called Lost and Found Union Square Collection
DCWV Immortal Love stack.
Eclipse Black card stock in 80 lb
Tim Holtz Thrift Shop ephemera pack, Vintage Photo and Old Paper Distress Inks, metal corners
Jolee's vintage embossed butterflies
Joann's feathers and lace trims
Recollections Kraft envelopes and cards from Michael's
Flowers, buttons, brads, rhinestones, magnets, grommets, ribbon from my stash
Misc background stamps, rose edge punch, decorative corner punch
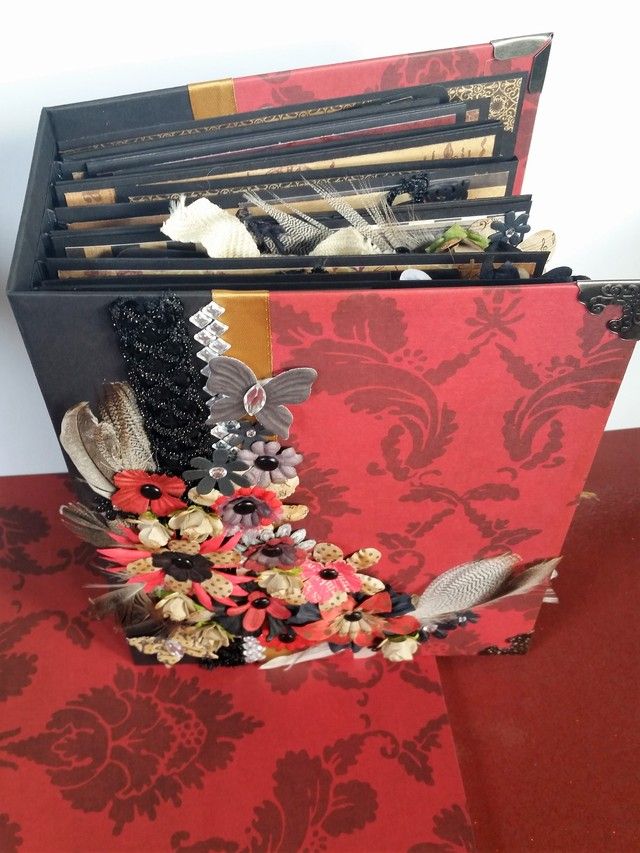
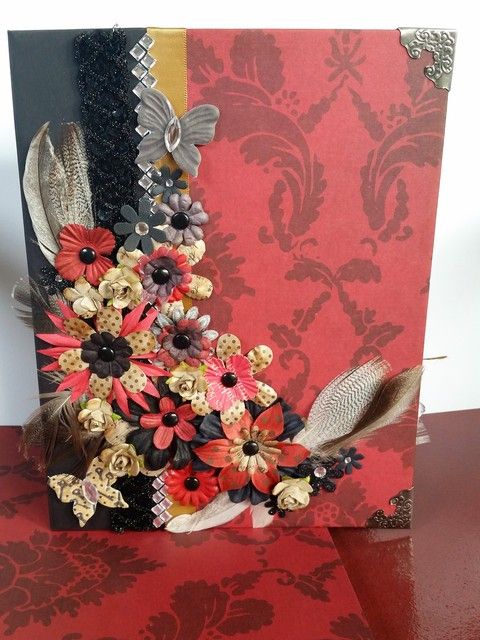 I left the front cover partially open for room for a title, photo or monogram.
 The inside of the front cover is a large pocket with 3 tags, and the small tag is removable and tucked under the flowers. The 2 large tags are covered in card stock, and the smaller ones are plain white that I stamped and inked. The page to the right has a flap the contains 2 more tags and opens with a magnet closure.
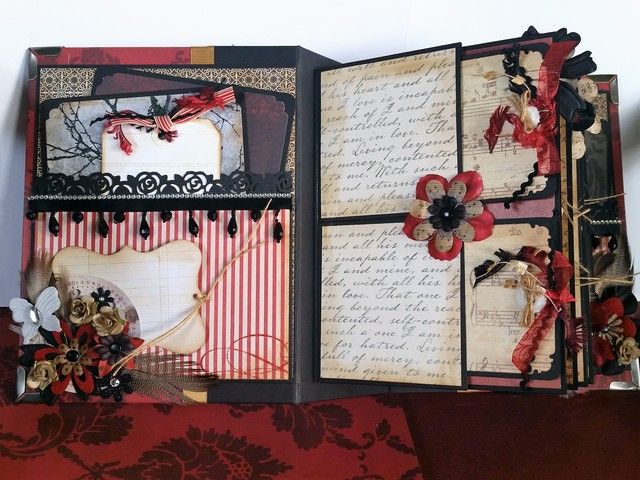
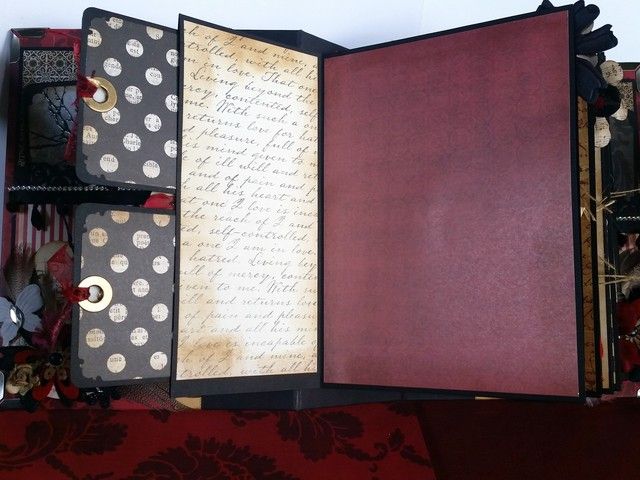 The left page has 2 flaps that open with a magnet closure. The page on the right has a ribbon closure with tons of space for photos with waterfall style flip pages. I left them blank because it was already pretty bulky and wanted to pictures to be the focus.
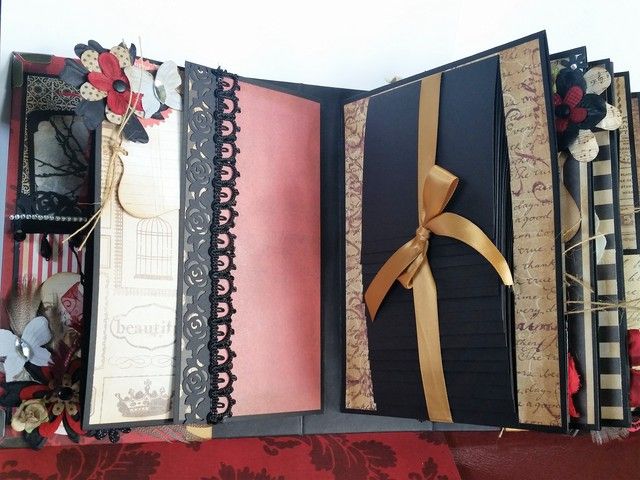
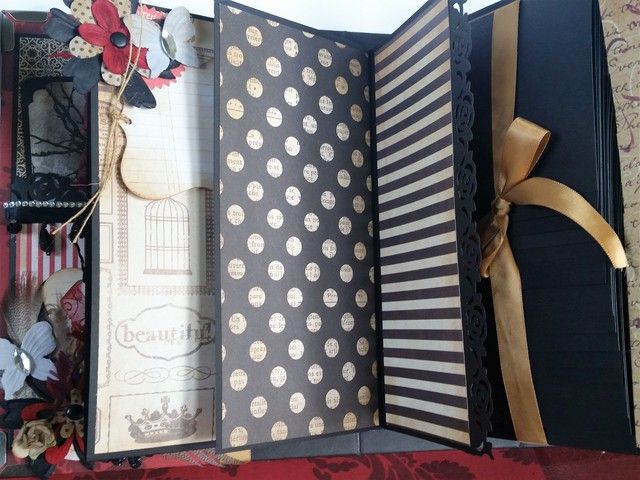 The journaling tag is not adhered down and slips out.
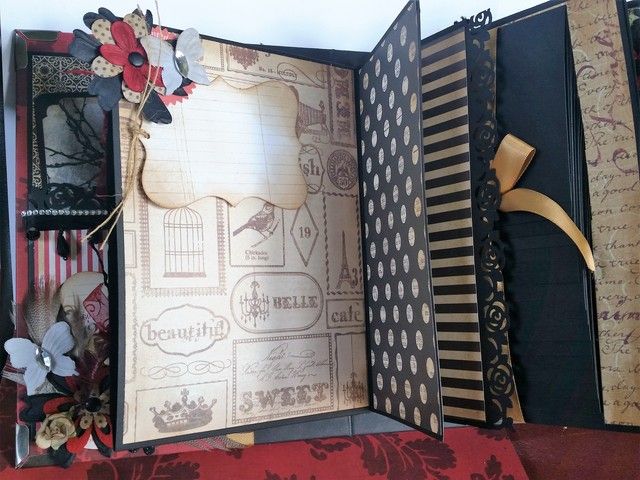 The left page is a double pocket with 4 large photo mats covered in card stock, a smaller stamped tag and two stamped journaling tags. The right page has another stamped journaling tag that slips out, and the entire page unfolds to the right and has a magnet closure.
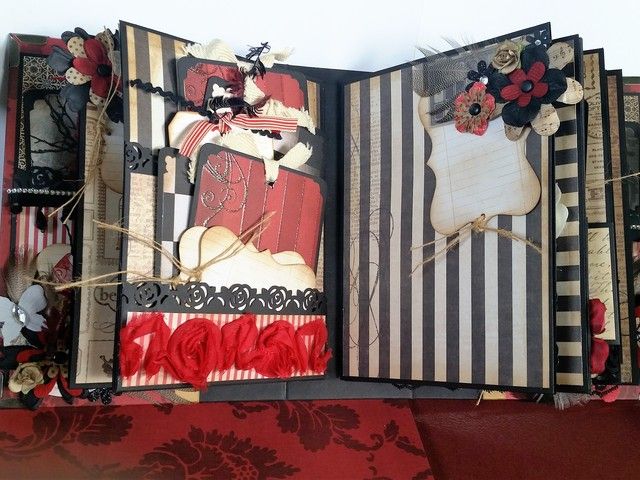
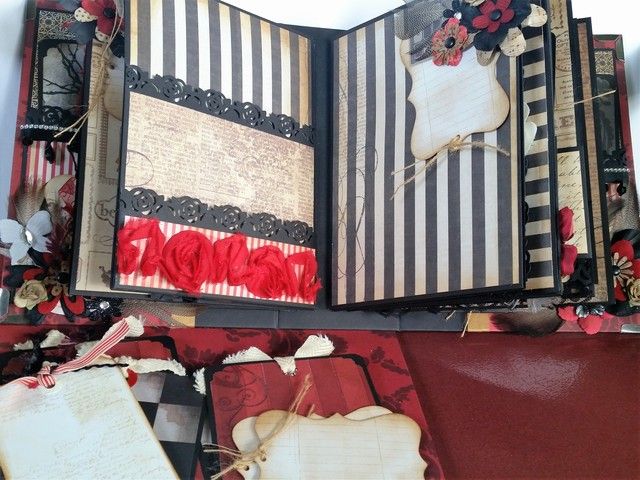
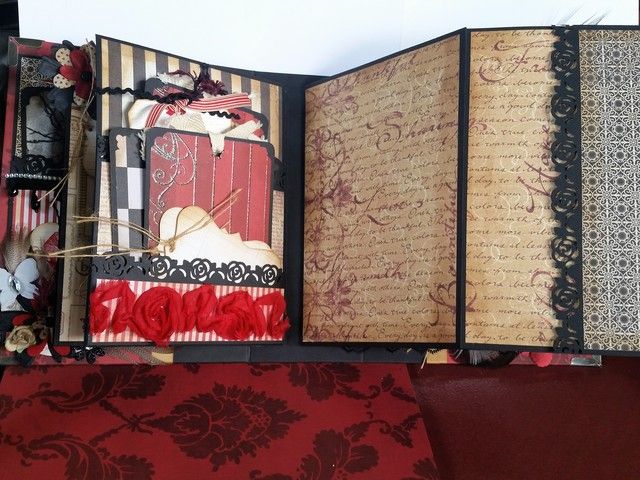 The left page has a magnetic flap (with the flower) to hold it closed. The base page has a pocket with tags. The page on the right has a pocket opening to the right with a tag.
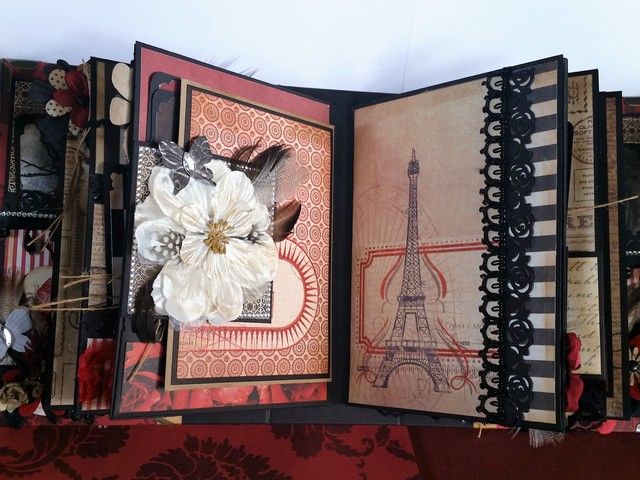
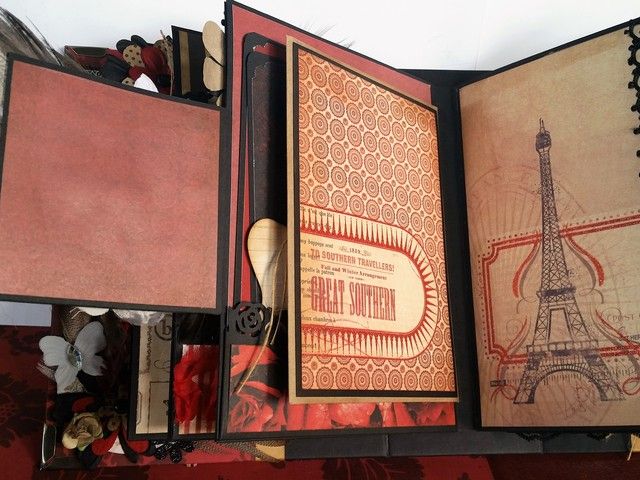 The Kraft envelope opens with a booklet inside
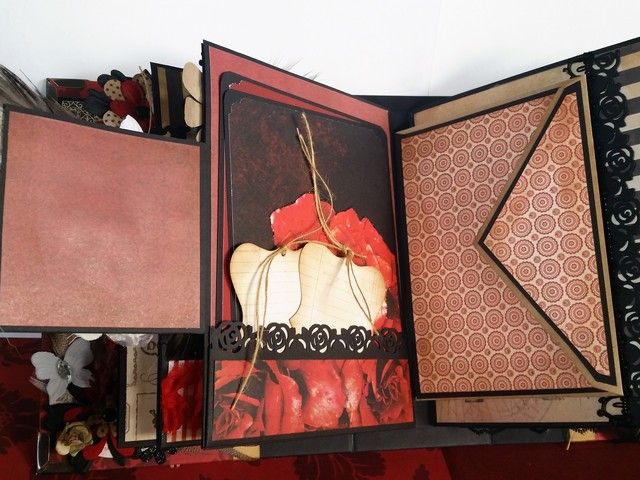
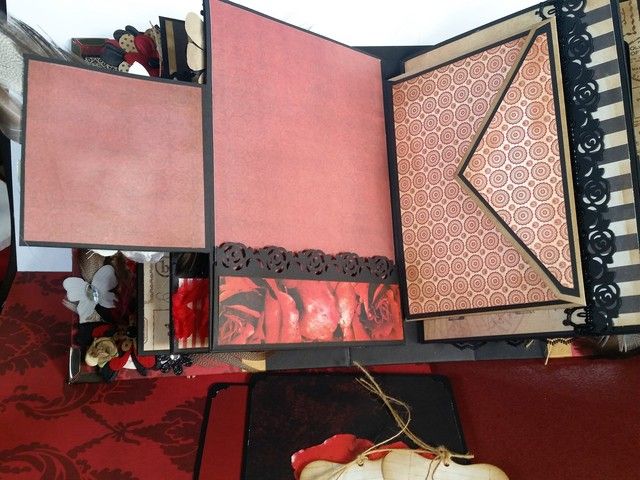
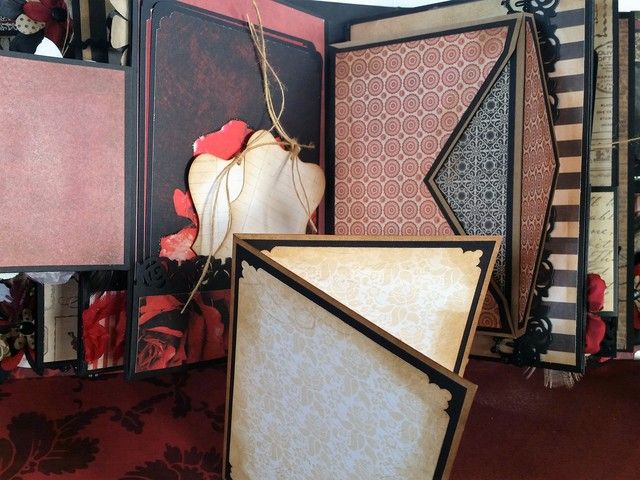 The left page has a pocket page on the front with two tags, and then it opens to the left with another identical pocket and tags.
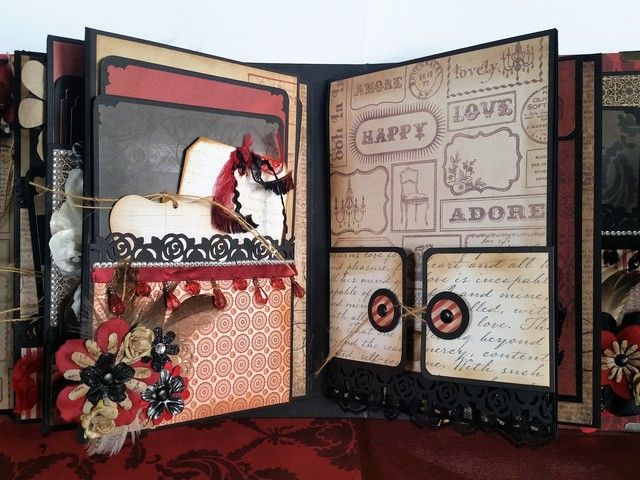
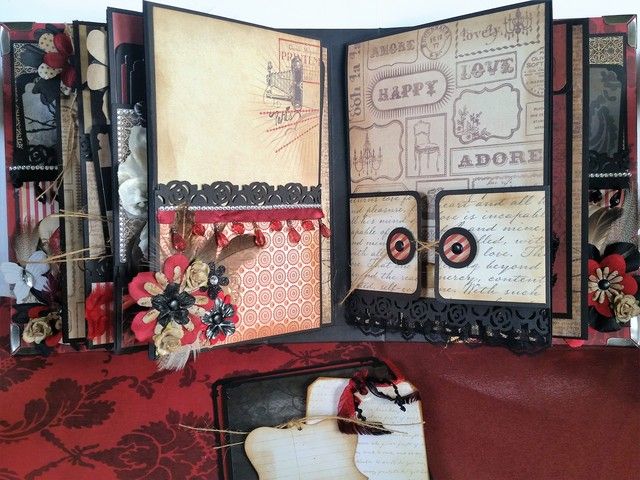
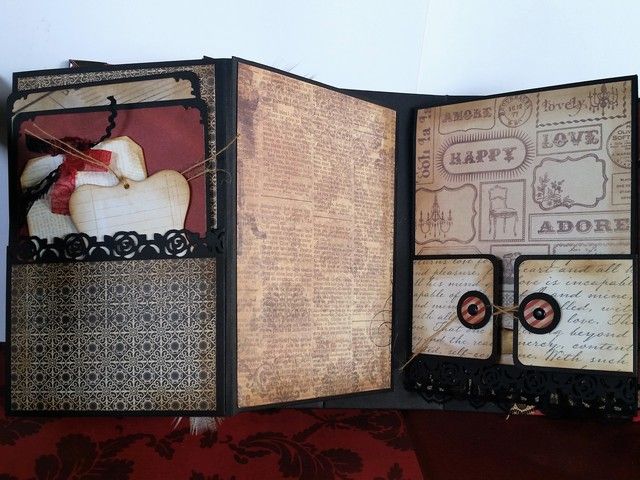 The right page has an envelope style closure, and when opened the page flips open to the top.
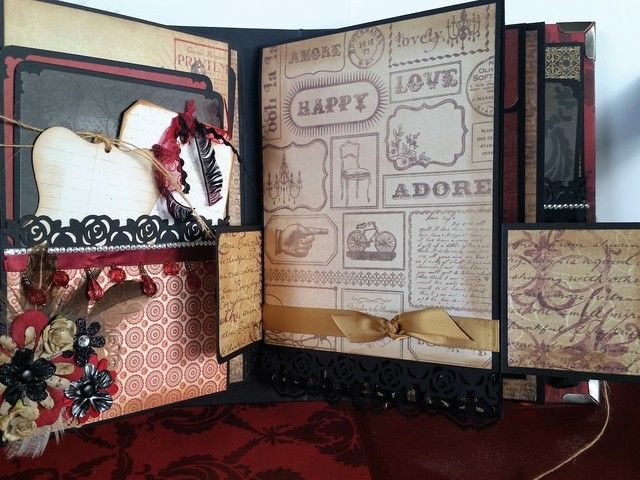
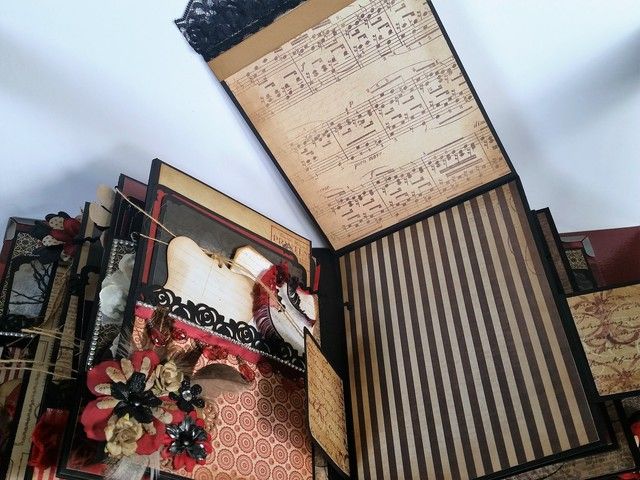 The left page opens to the left, with a small magnetic booklet inside.
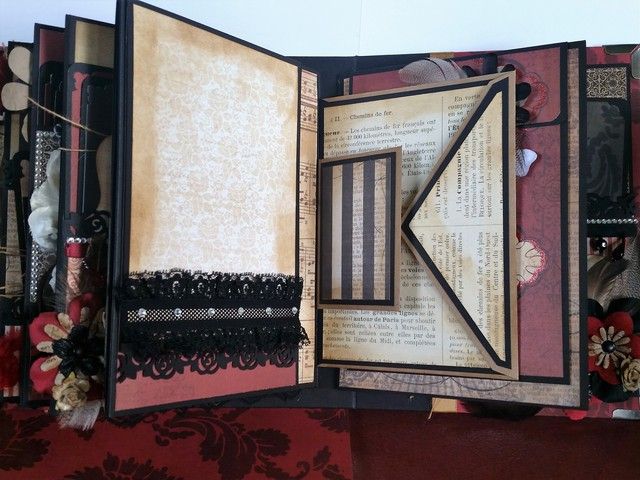
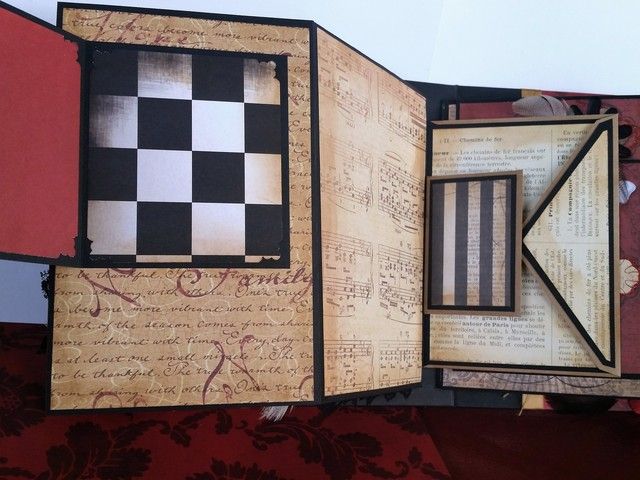
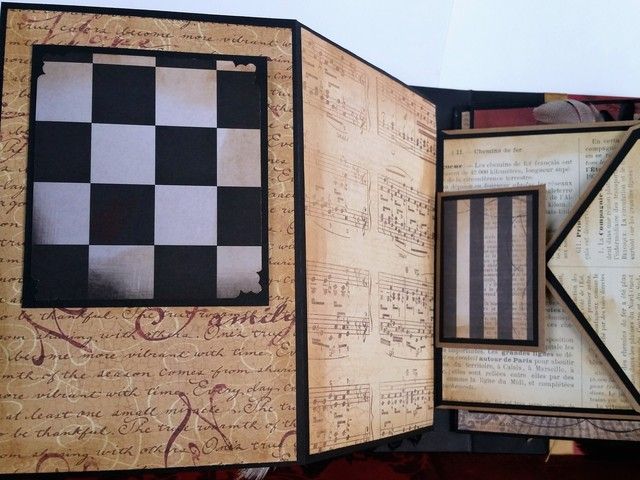 The left side also has 2 Kraft envelopes with booklets inside.
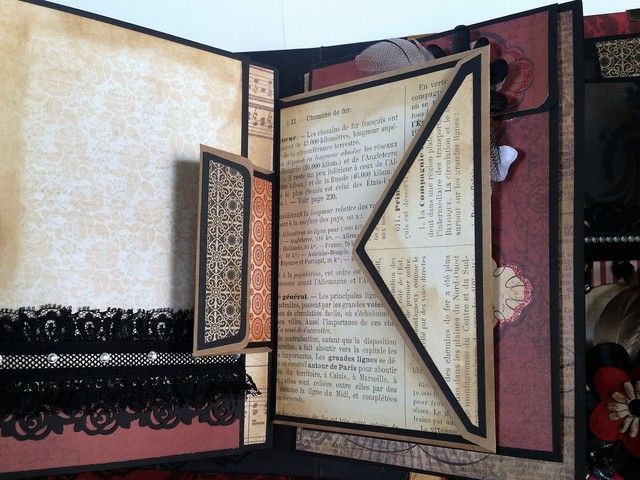
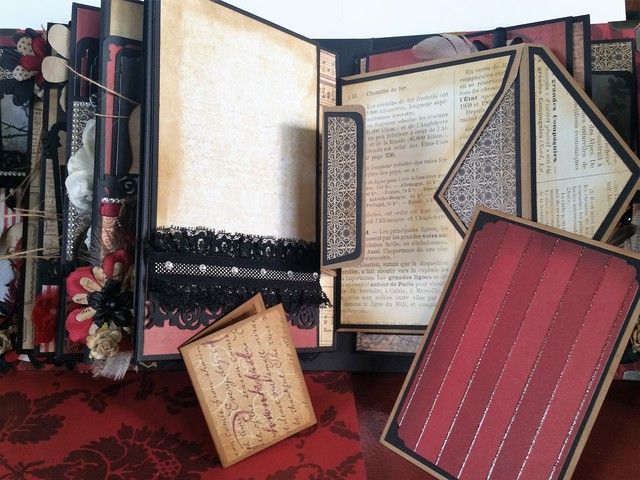 The right side has a magnetic closure that opens to the top and bottom, and then the whole thing flips up to the top.
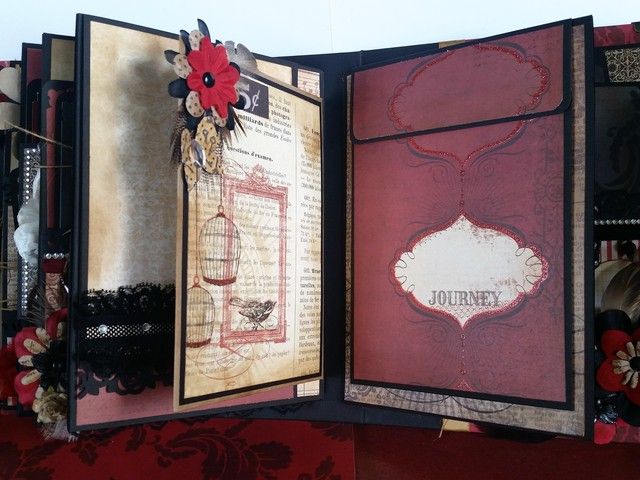
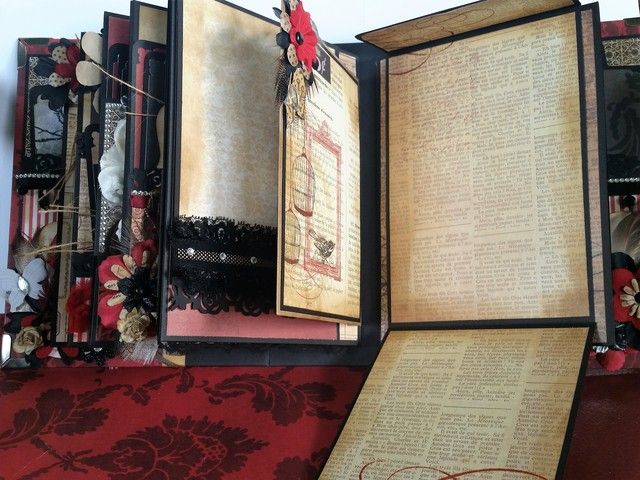
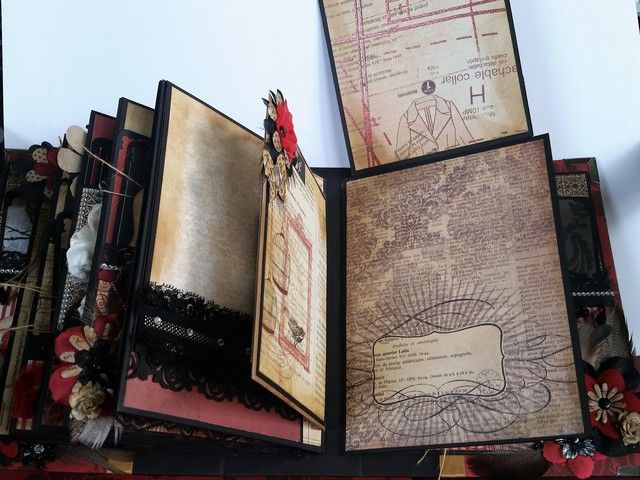 The last page on the left is a double flap that is held closed with magnets.
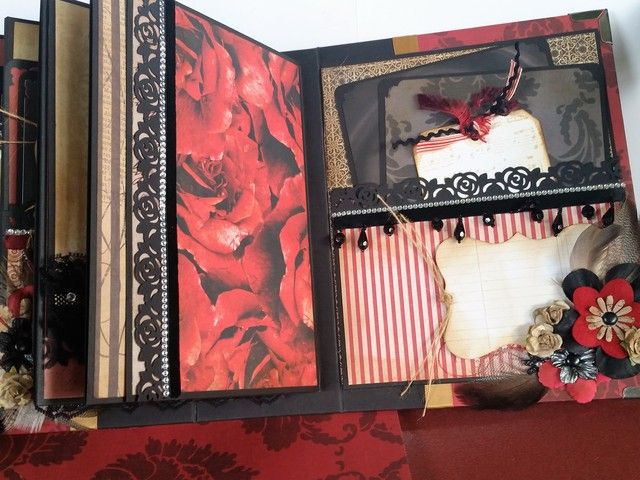
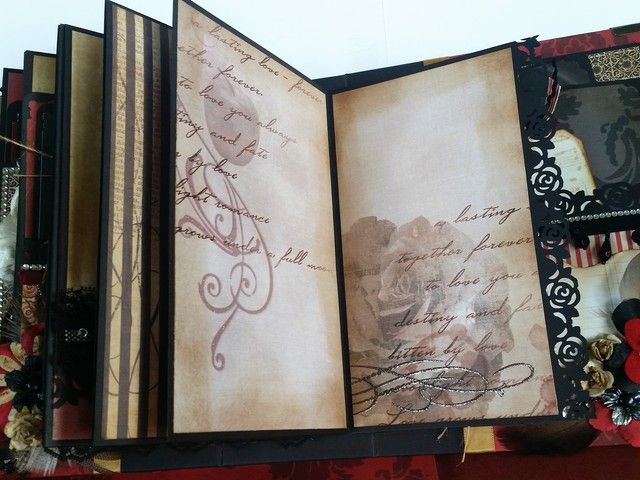
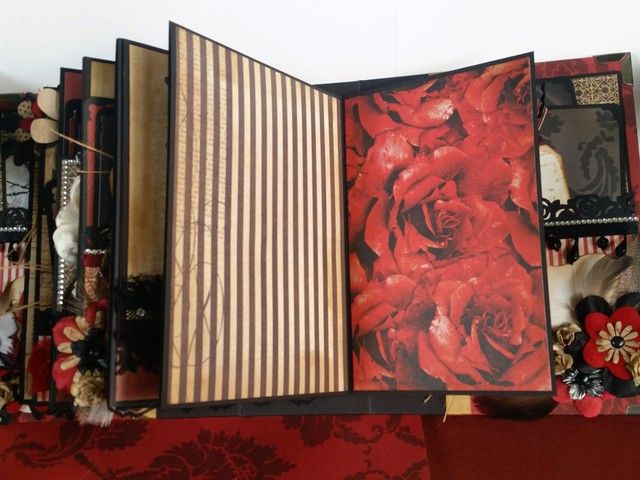 The inside of the back cover is similar tot he front inside cover. A large pocket with tags, and a journaling tag tucked into the flowers that can come out.
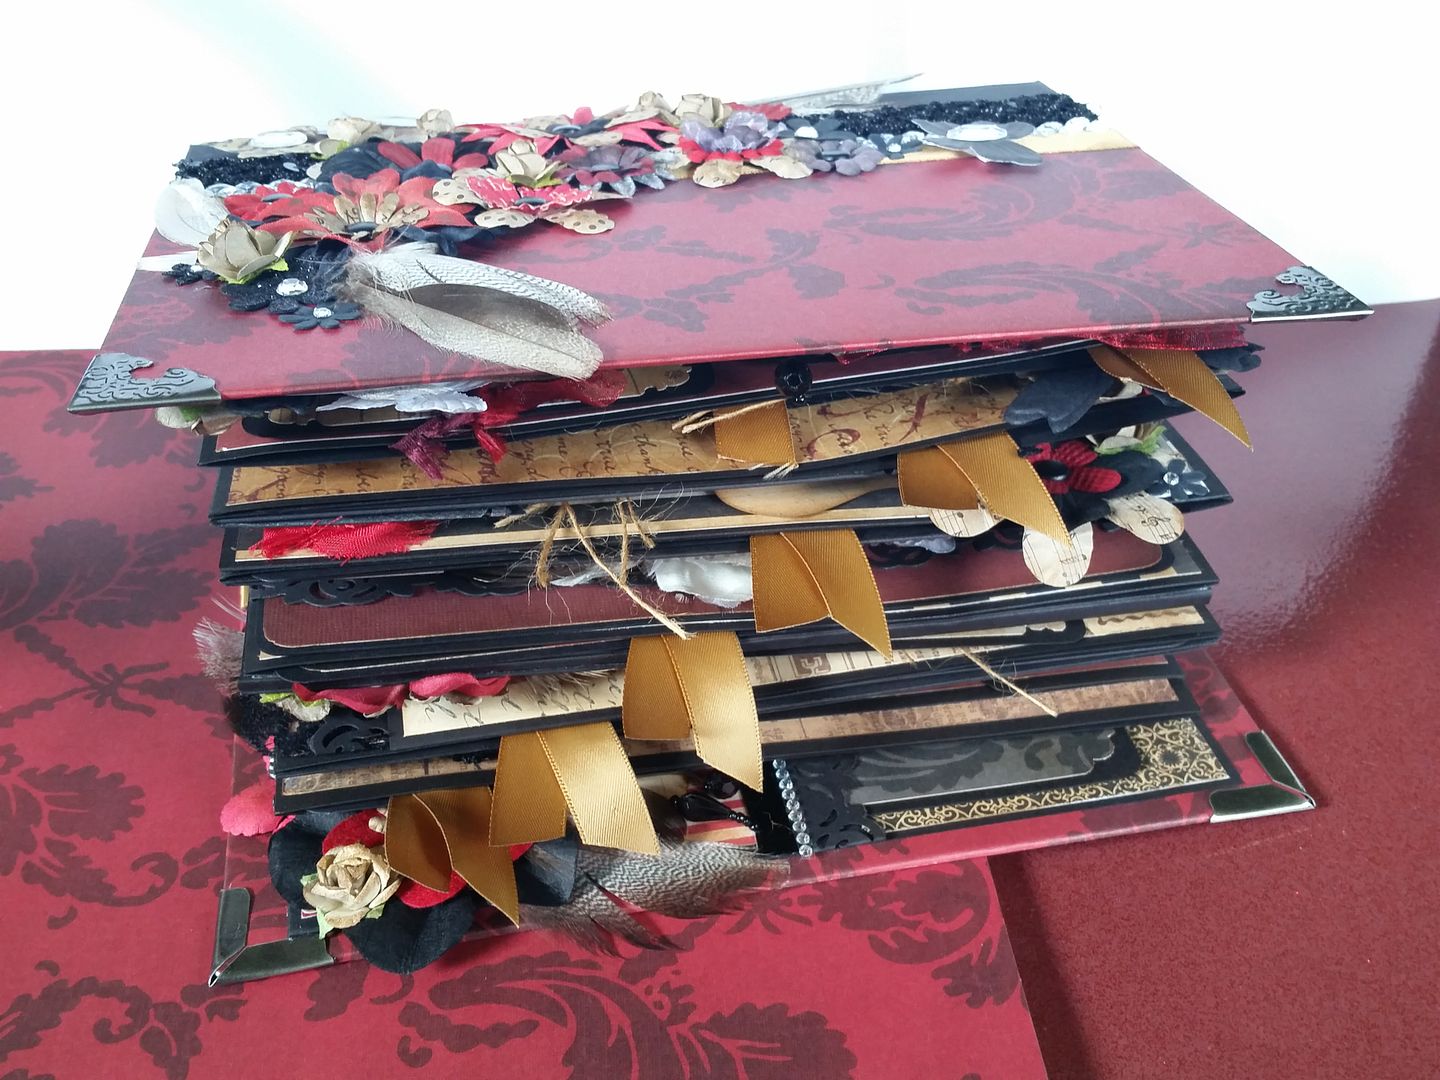
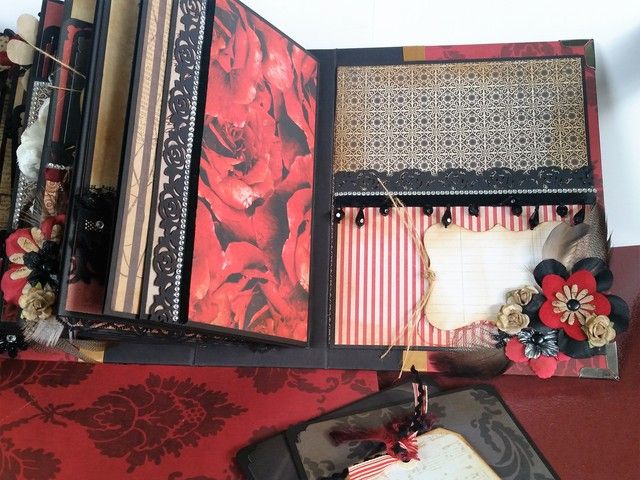 Here is a view of all the pages with the tags inserted (gold ribbon)
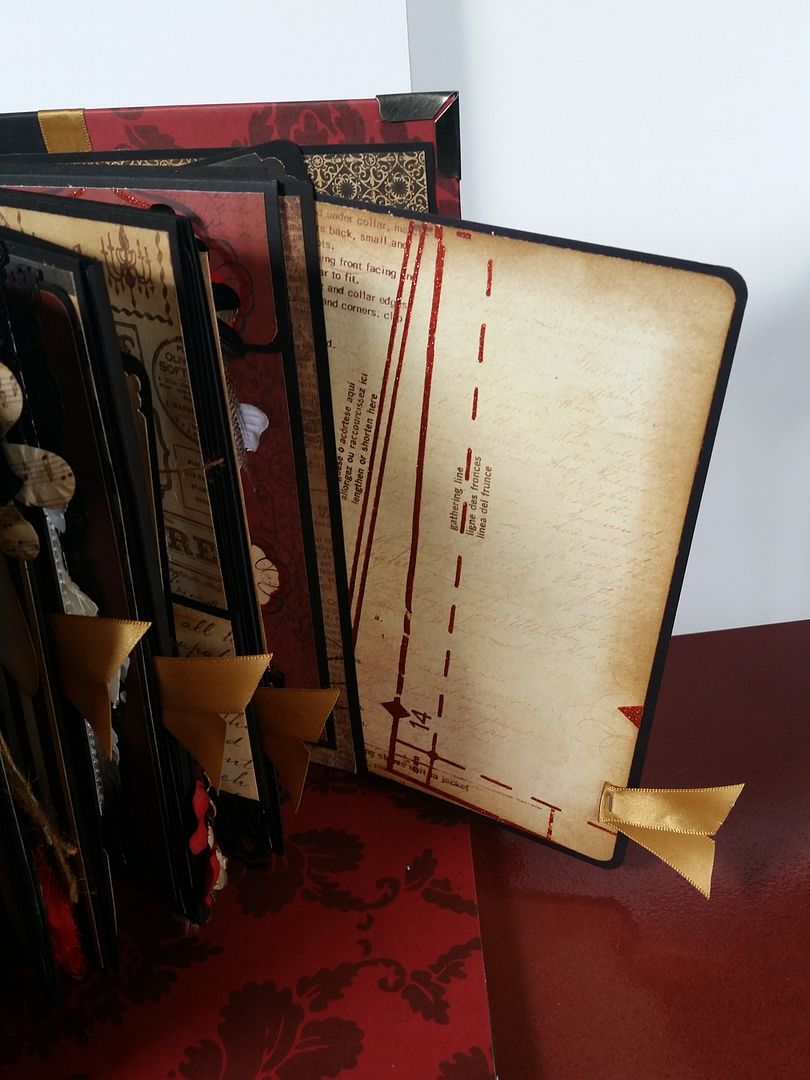
 One of the pull out tags, there are six. One side has patterned paper, the other side has cardstock with some stamping.
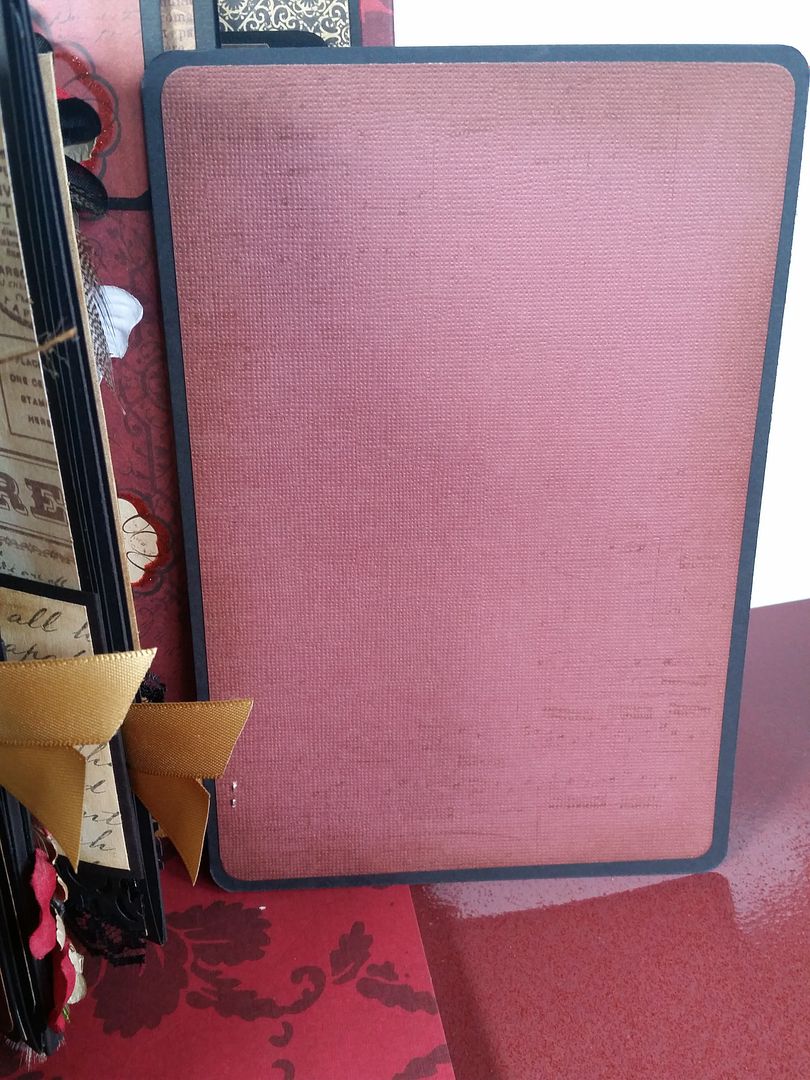 Back cover
