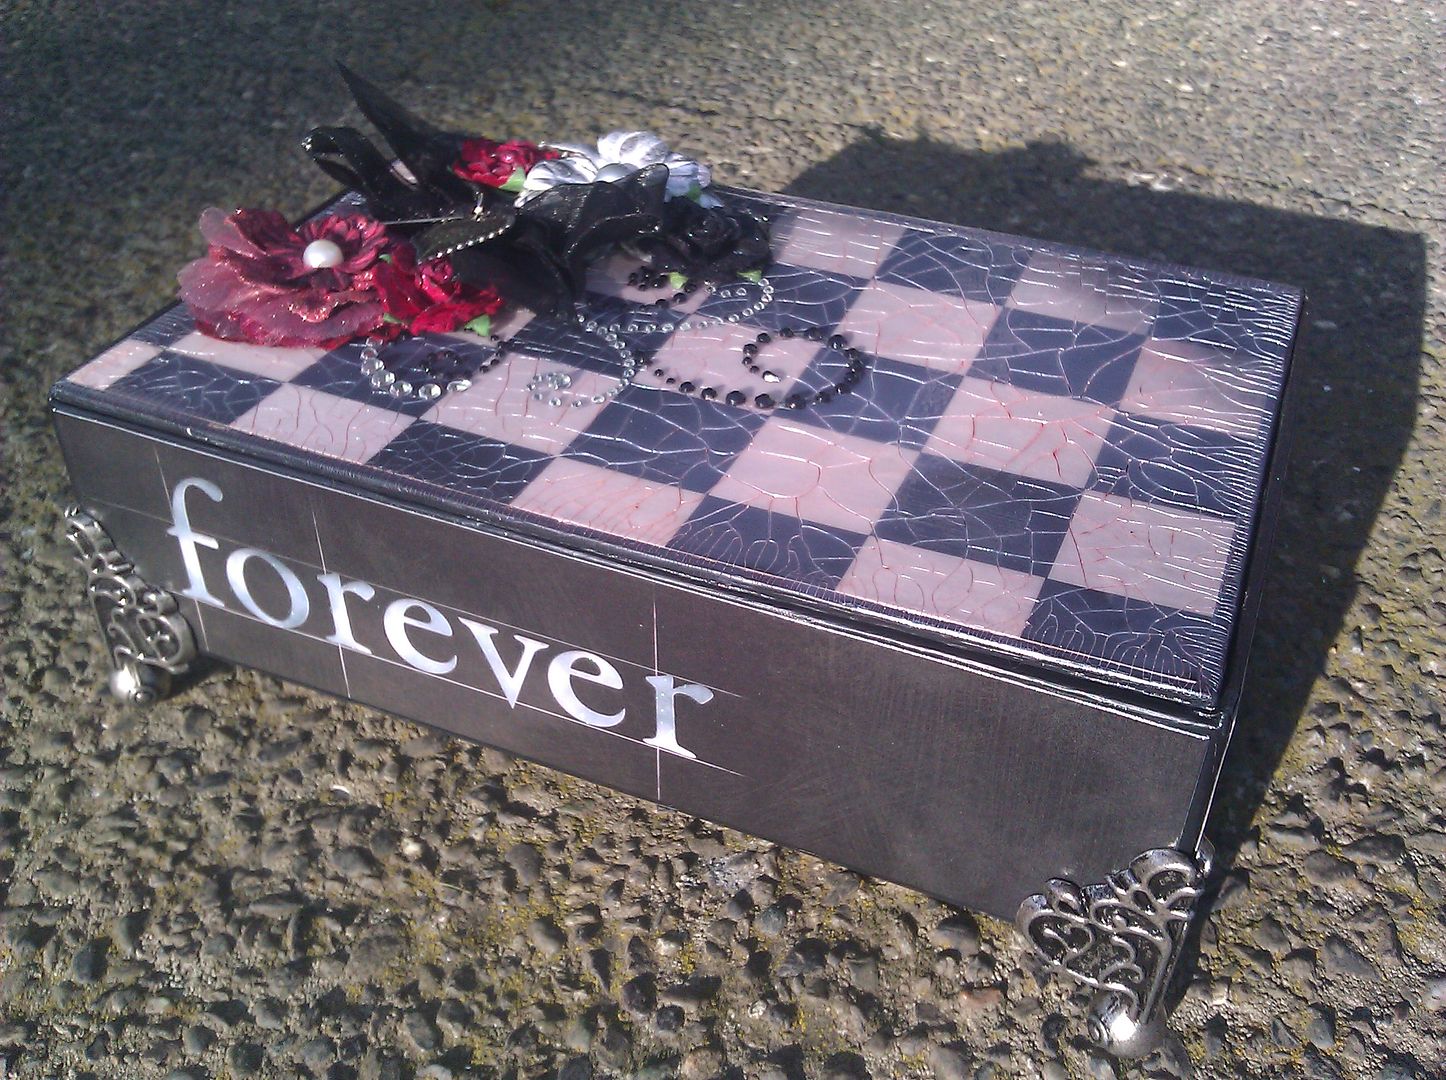
I went to Joann's the other day and bought the Immortal Love DCWV stacks, and decided to do something with them and these cigar boxes I had lying around...
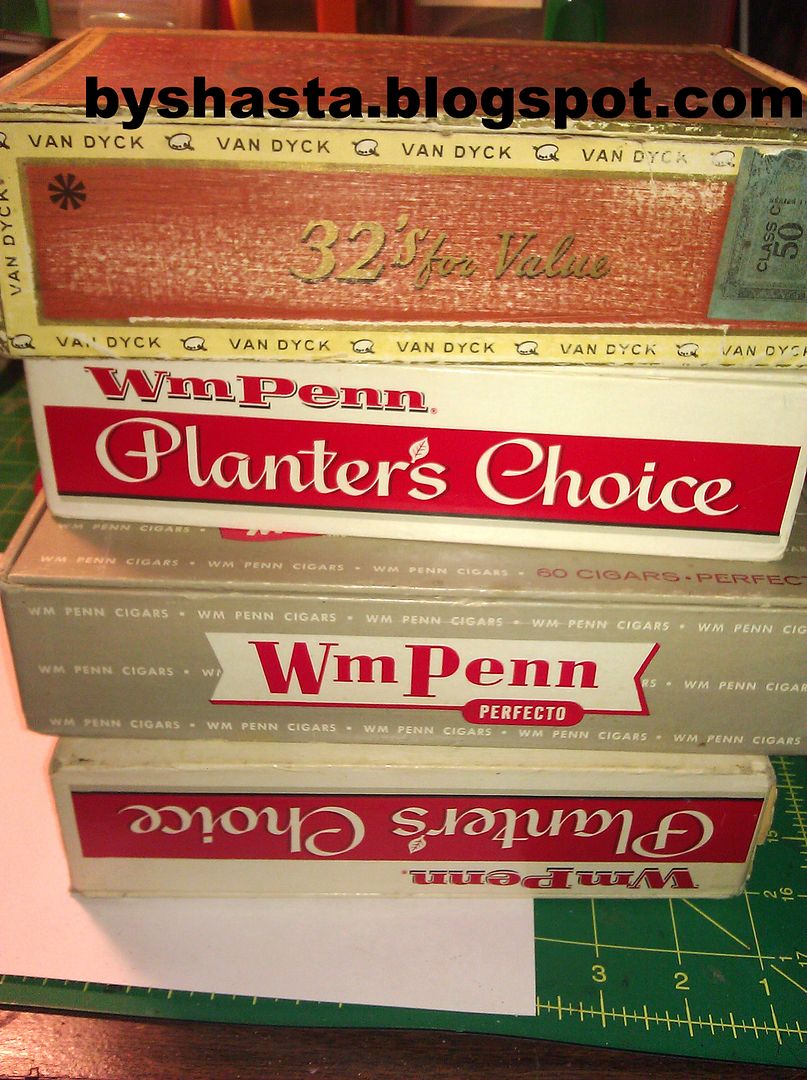
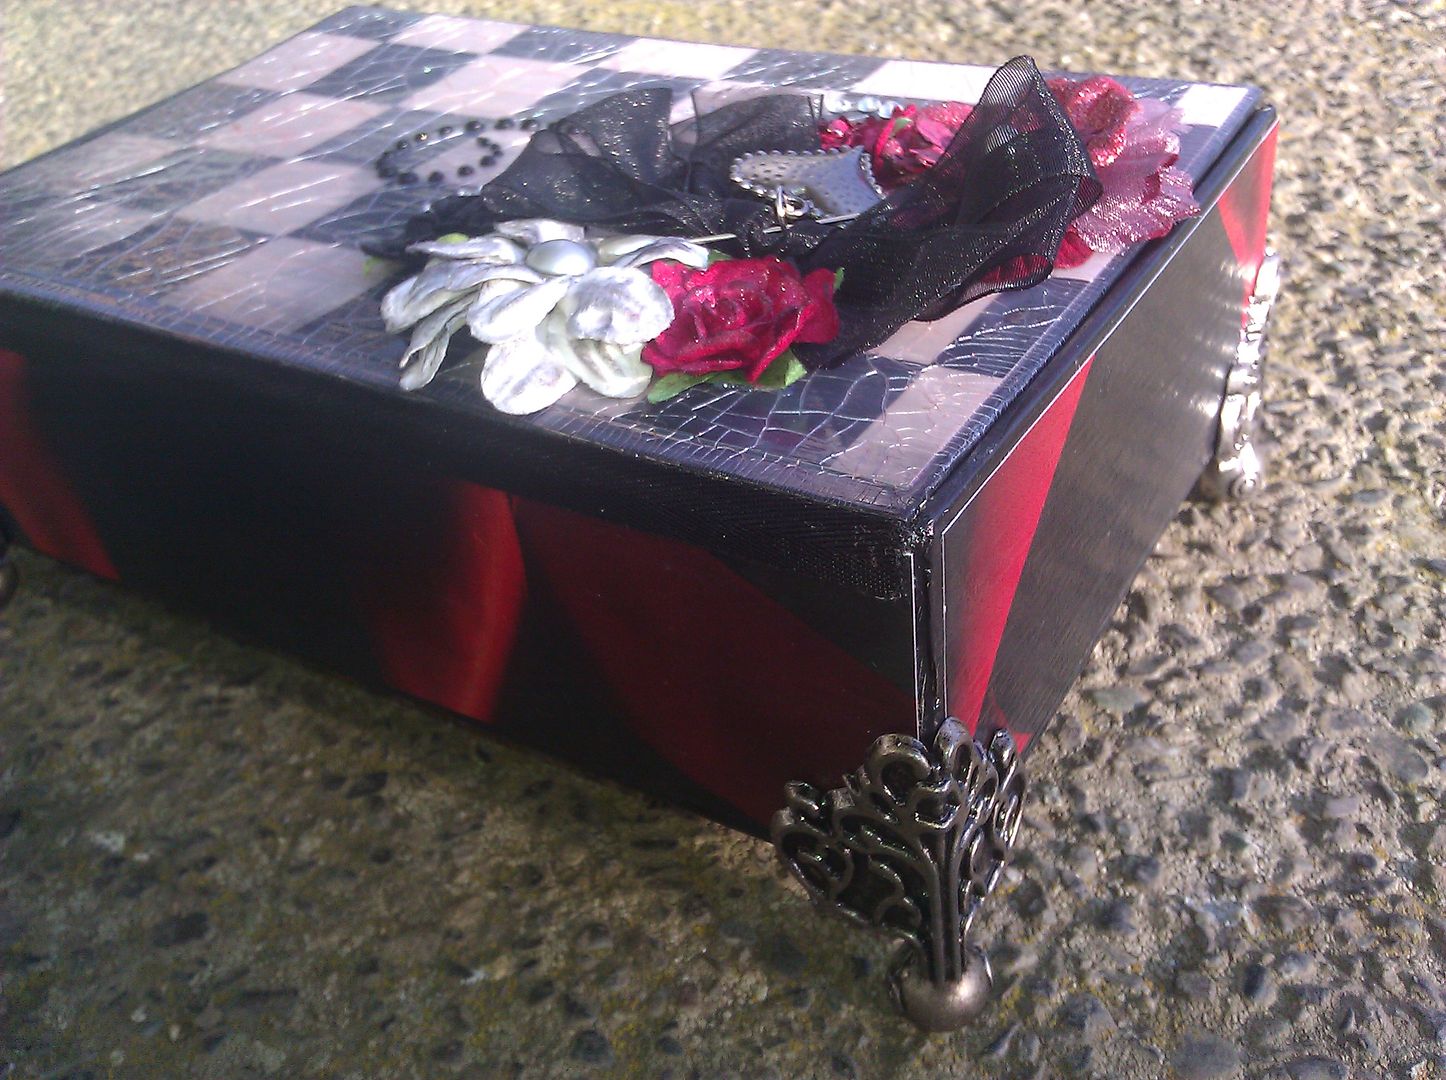
The first thing I did was paint the box black with acrylic craft paint, then Mod Podged the papers onto all sides, using the matte finish and a sponge brush. I didn't take pics of these steps, sorry.. The next thing I did was applied some Martha Stewart Fine Crackle Medium to the top of the box over the Mod Podge, and rubbed a bit of Barn Door Distress Ink and pearl glaze in the cracks and wiped it off. Then I attached some PTI black twill ribbon to the outside of the spine for stability with Glossy Accents.
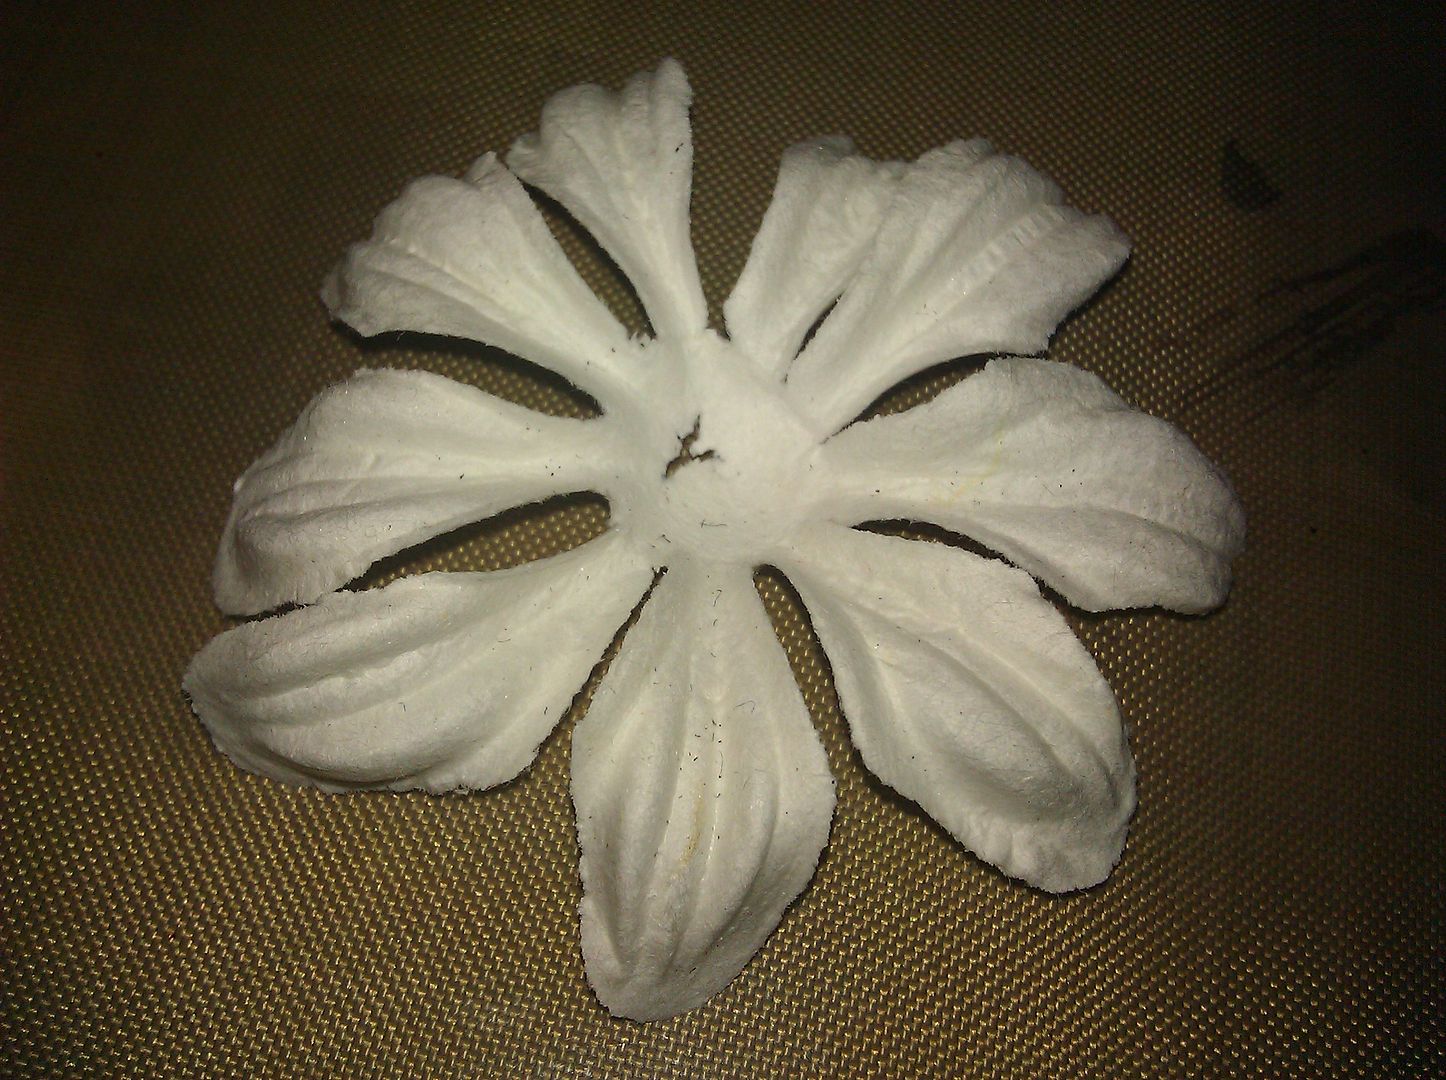
I purchased a few flowers for this project, but they weren't fitting the idea I had in my head, so I decided to create my own! I used individual flowers in white and red from the Michael's Recollections brand. Here is the first flower, plain white.
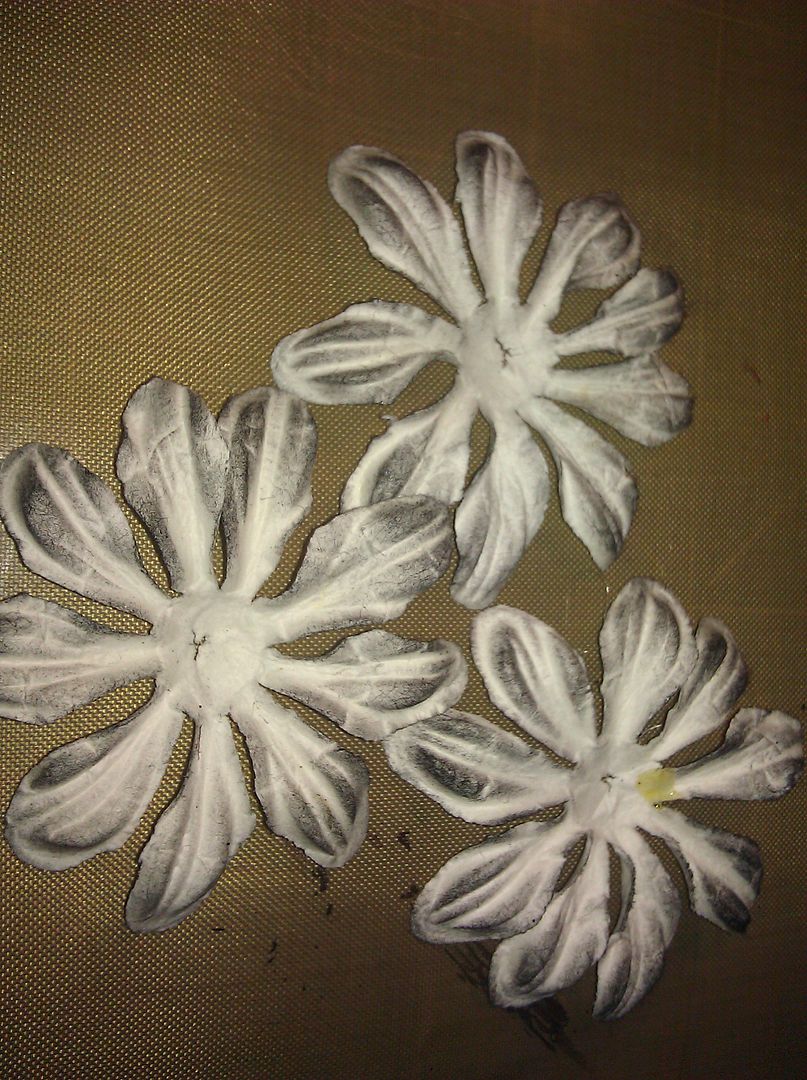
Then I inked it up with Tim Holtz Black Soot Distress Ink, using the inking tool and a blending sponge.
The next step was to use a hot glue gun and folded the first flower in half, and then in half again, to make the samllest center 'bud'. Once it was folded, I rolled the base between my fingers while it was still a little warm to mold it.
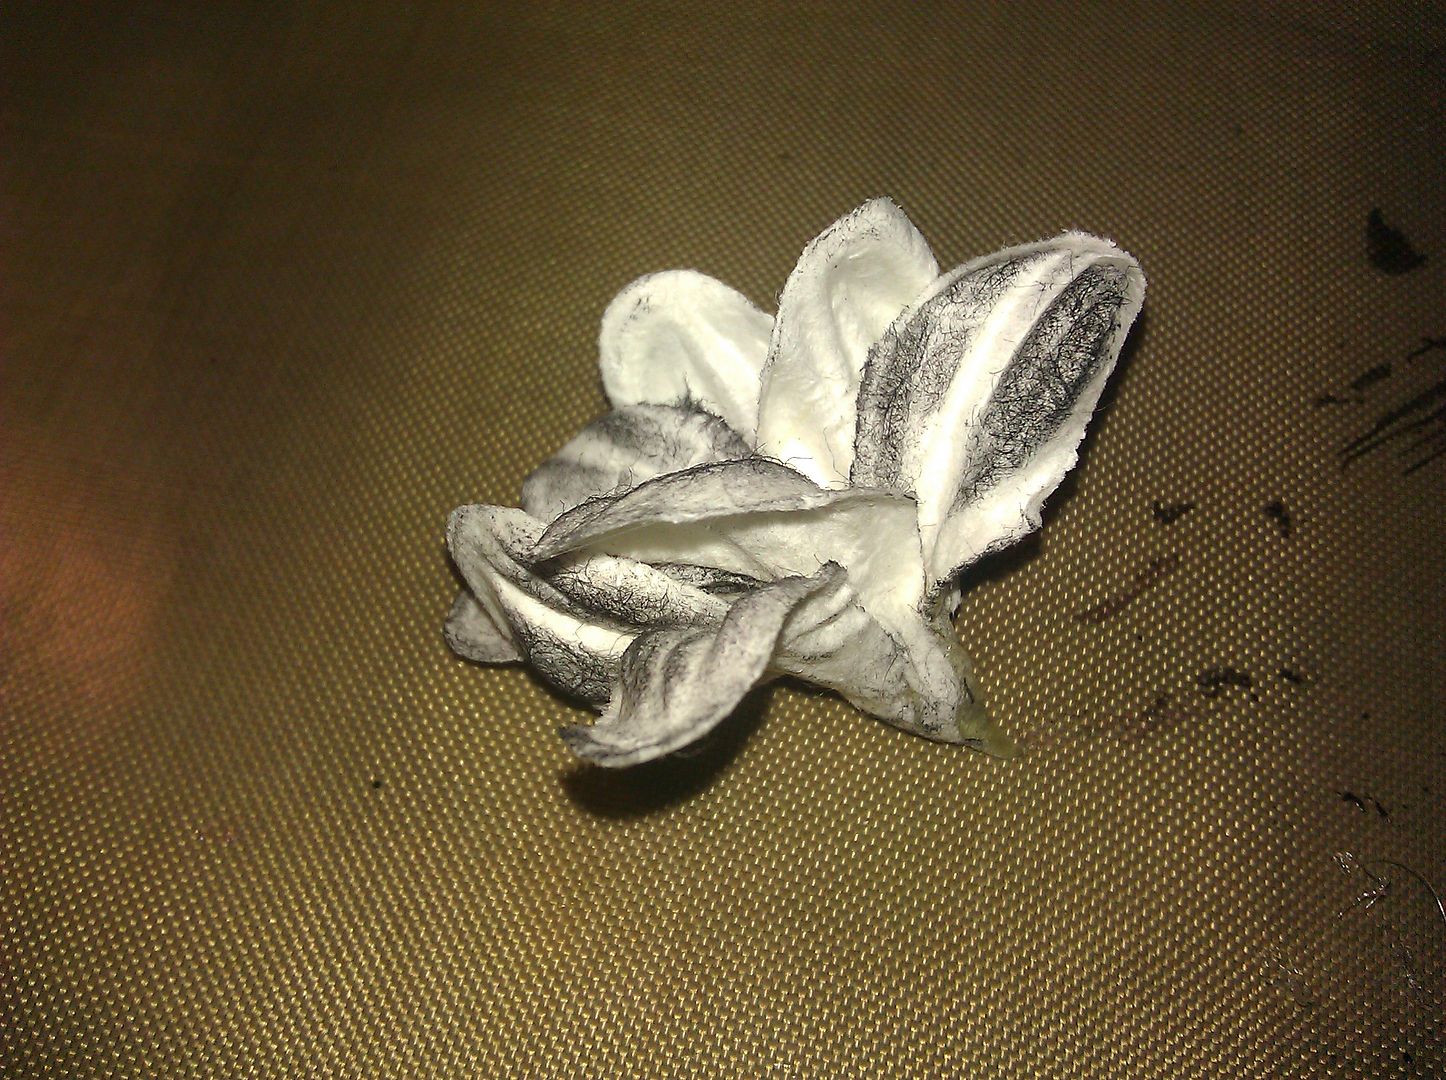
Then I used the glue gun and added the next layer, also rolling the base to mold it to the smaller center.
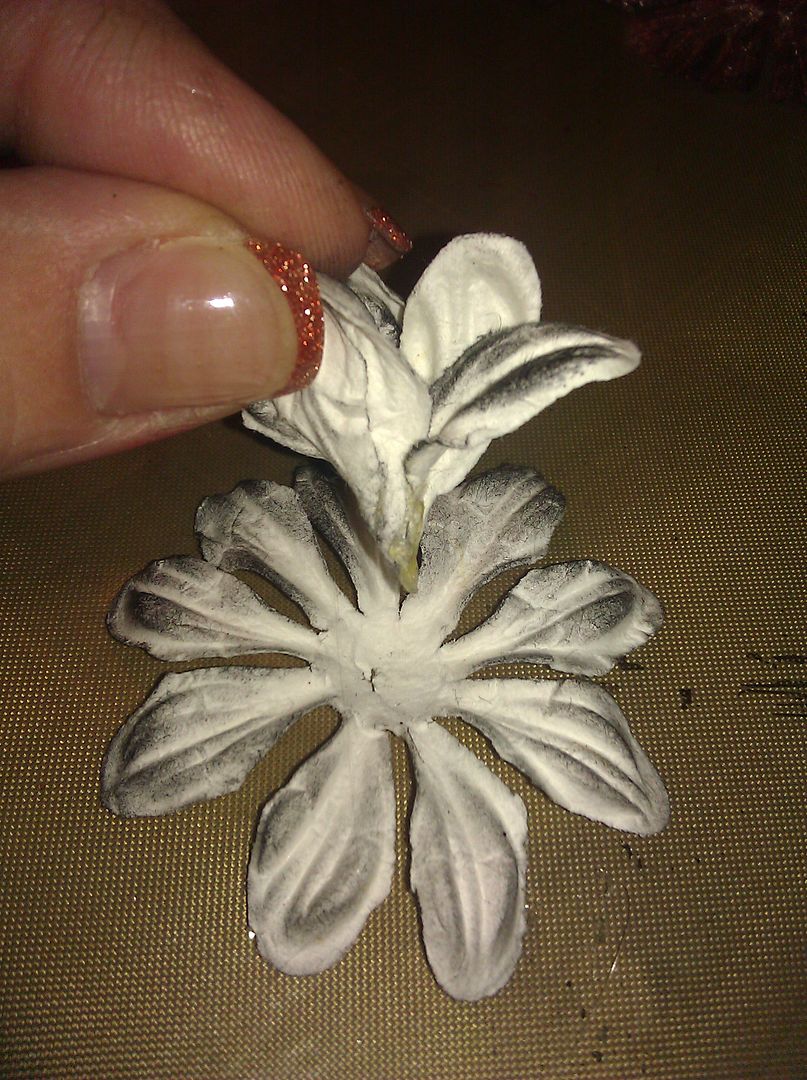
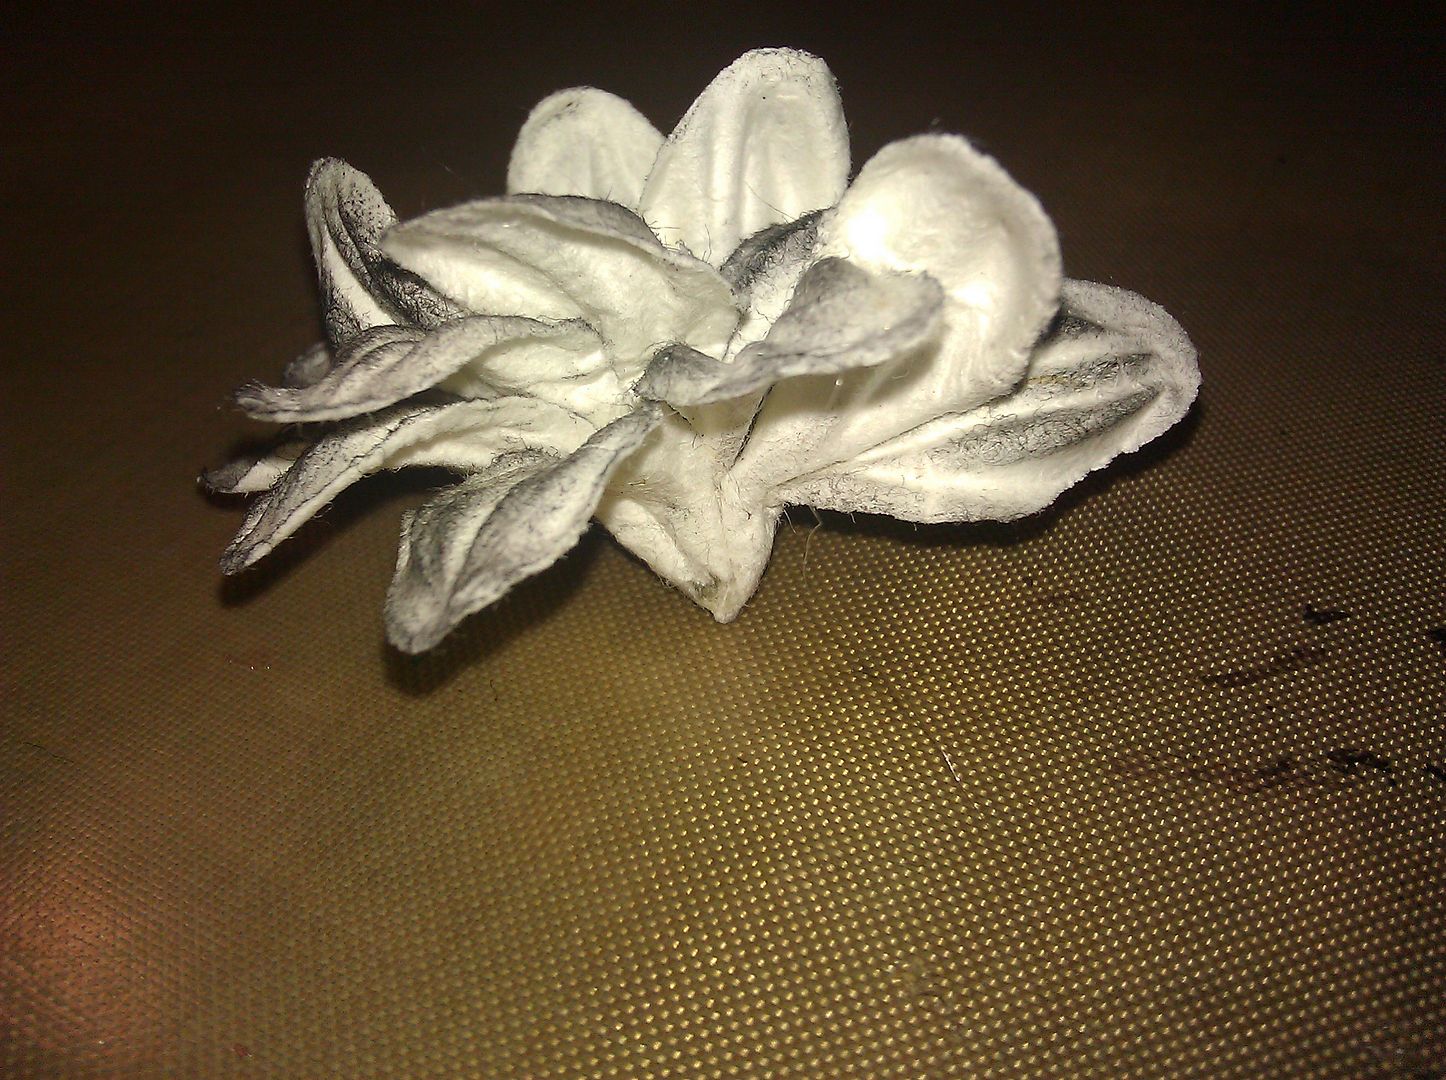
Then I added the third flowwer, and repeated the same steps.
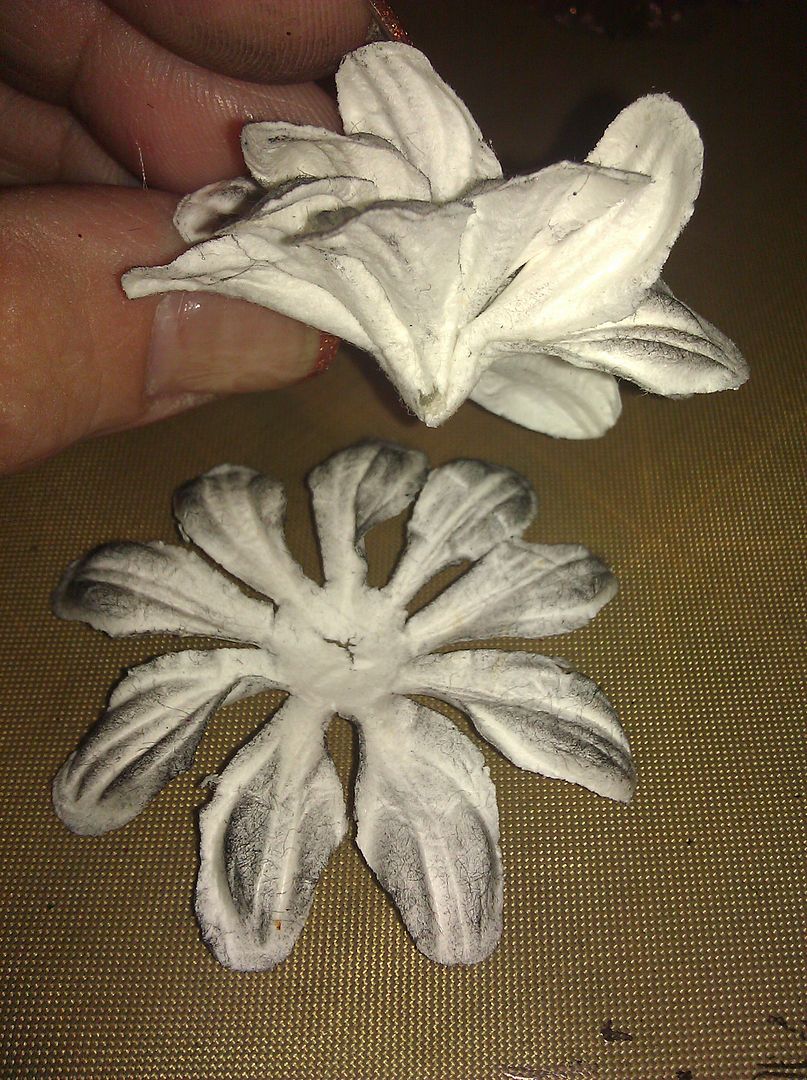
One it was all glued together, I fluffed and shaped it to how I wanted, and snipped the pointy base off of the bottom so it would be able to sit a bit more flat. I also inked it a bit more, so none of the white was showing where the flower had been folded over and the back of the petals showed.
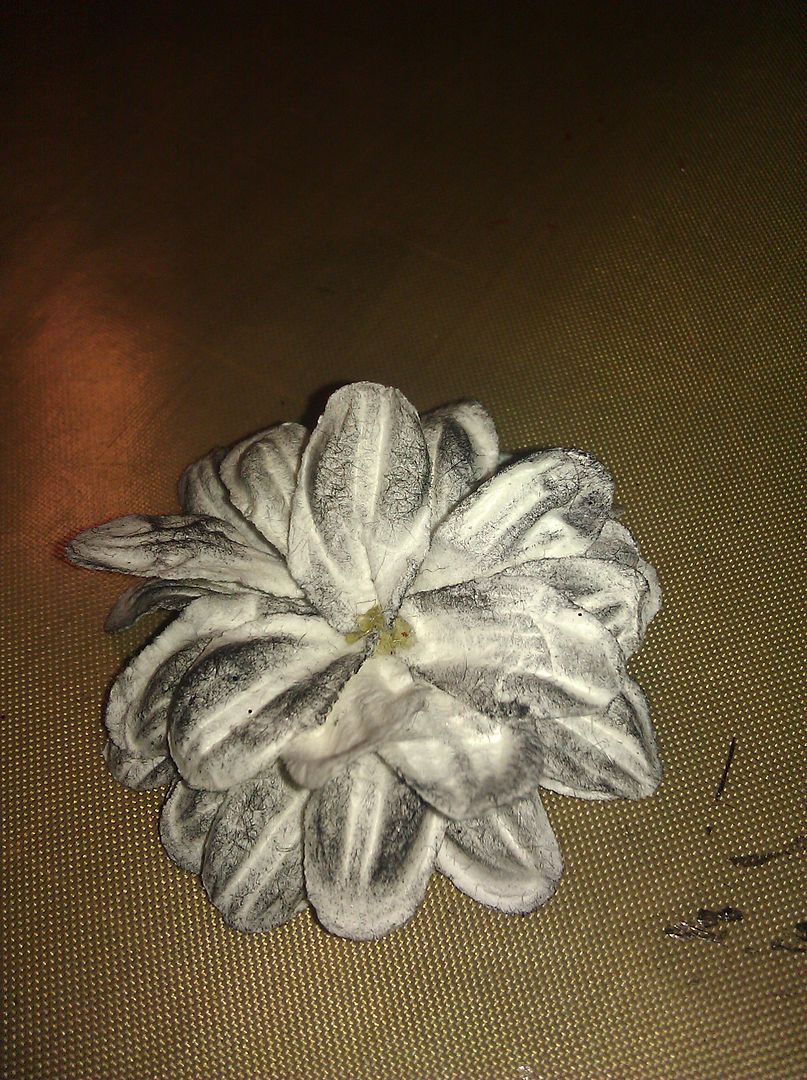
Next I sprayed the whole thing with a mixture of Perfect Pearls powder and water.
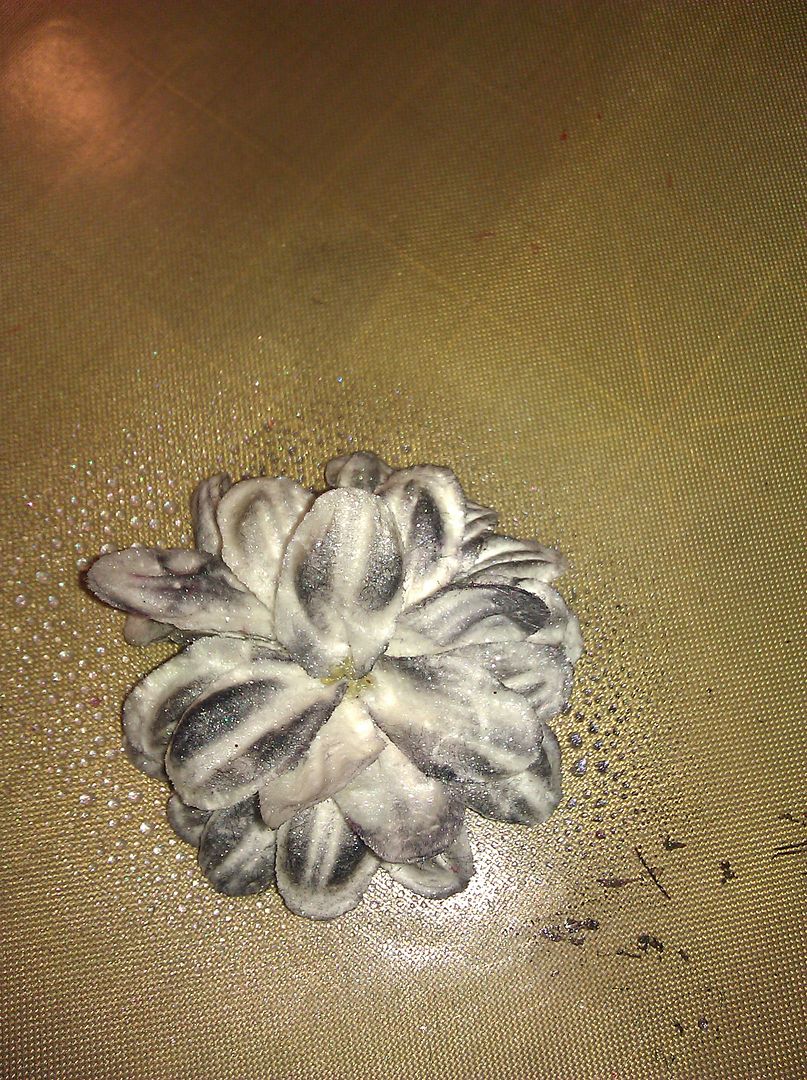
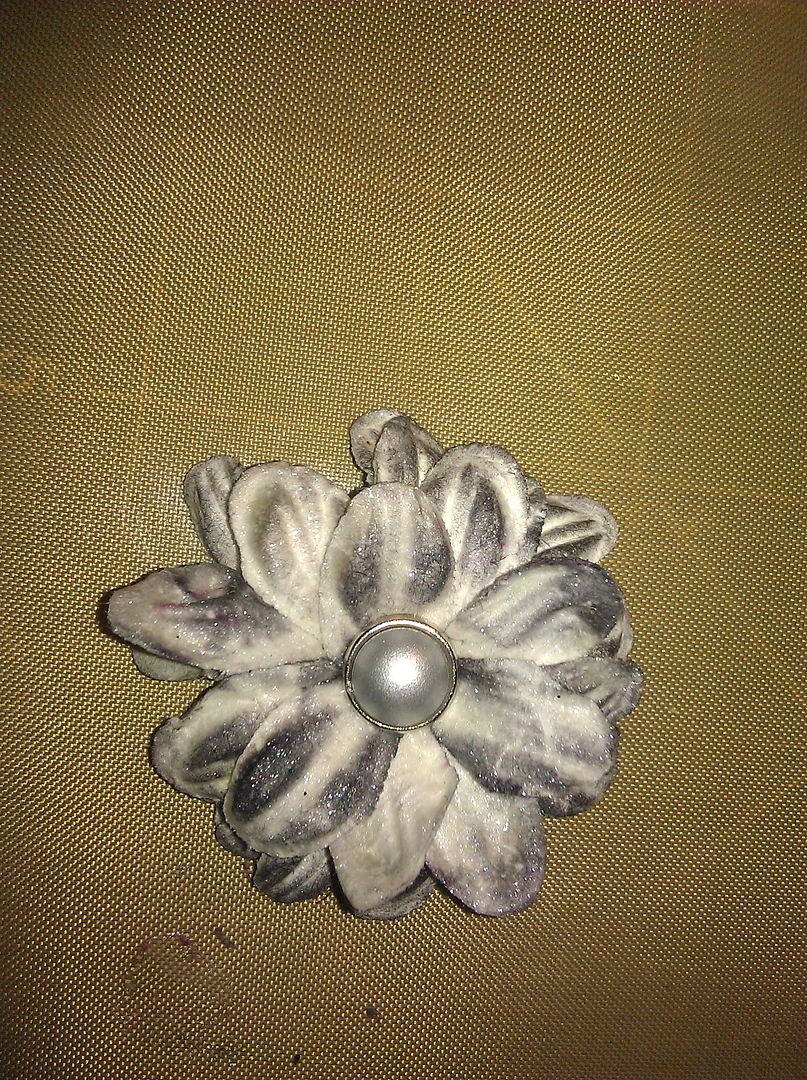
Once it was dry, I adhered a American Crafts pearl brad to the center. I snipped the prongs off of the back side and used hot glue.
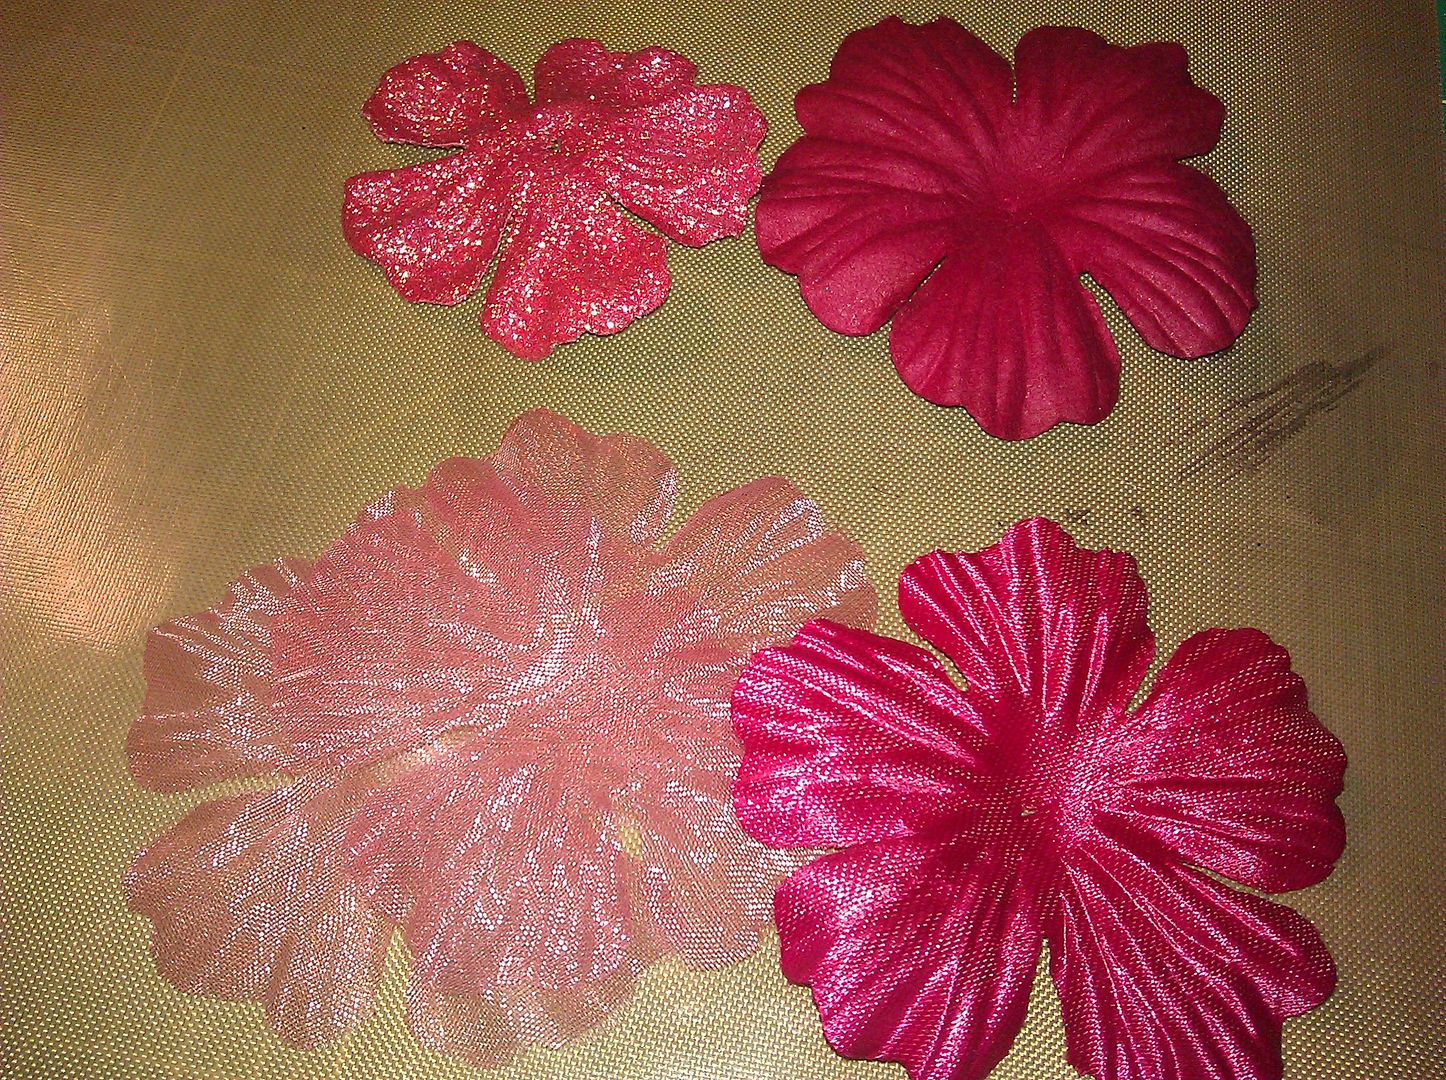
I repeated the same steps for a red flower. Here they are, pre-inked.
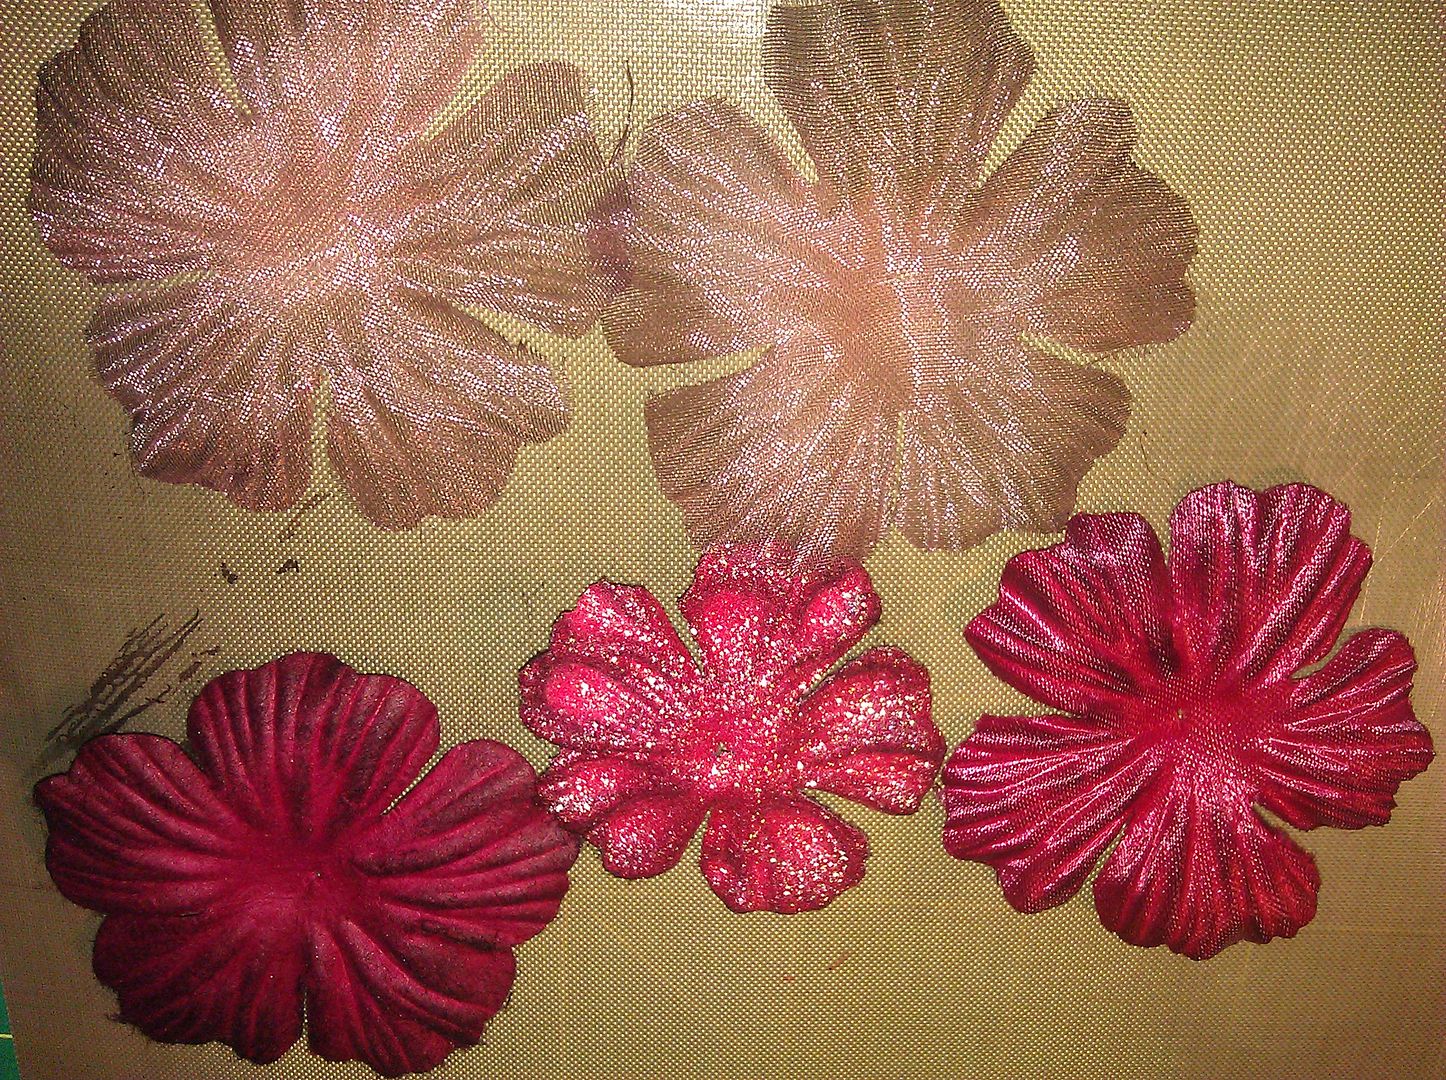
I used the same ink, the Black Soot...
Folded and rolled the center...
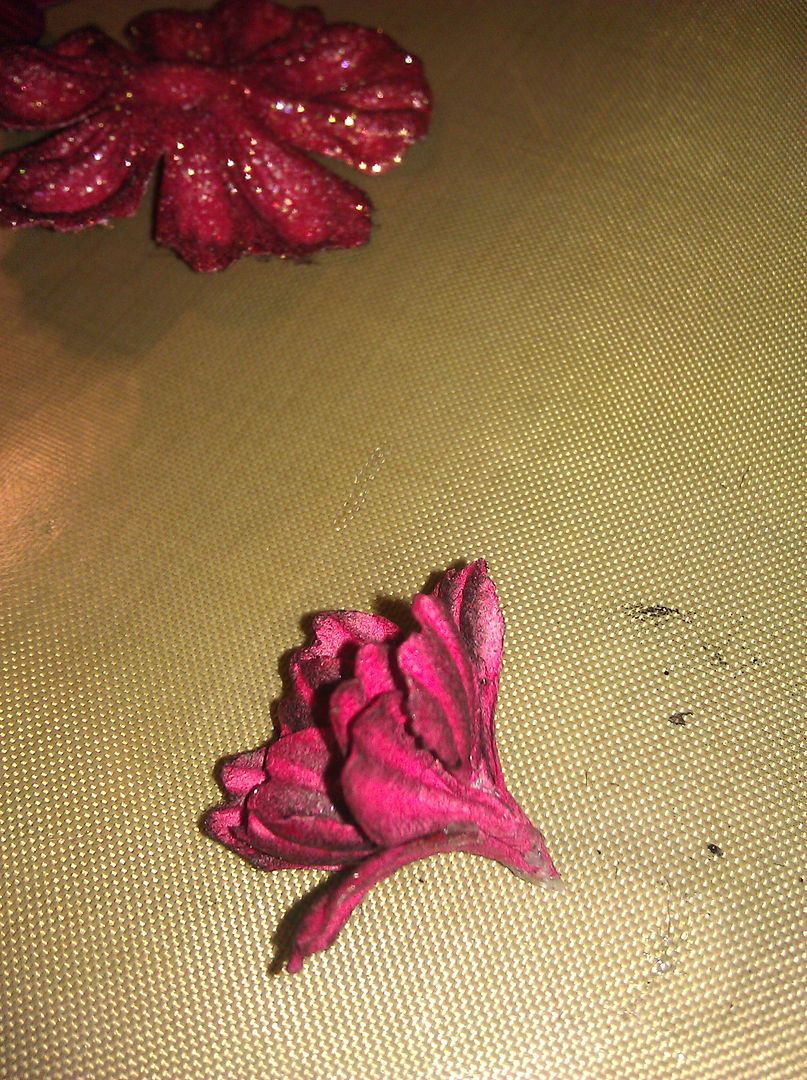
The second layer...
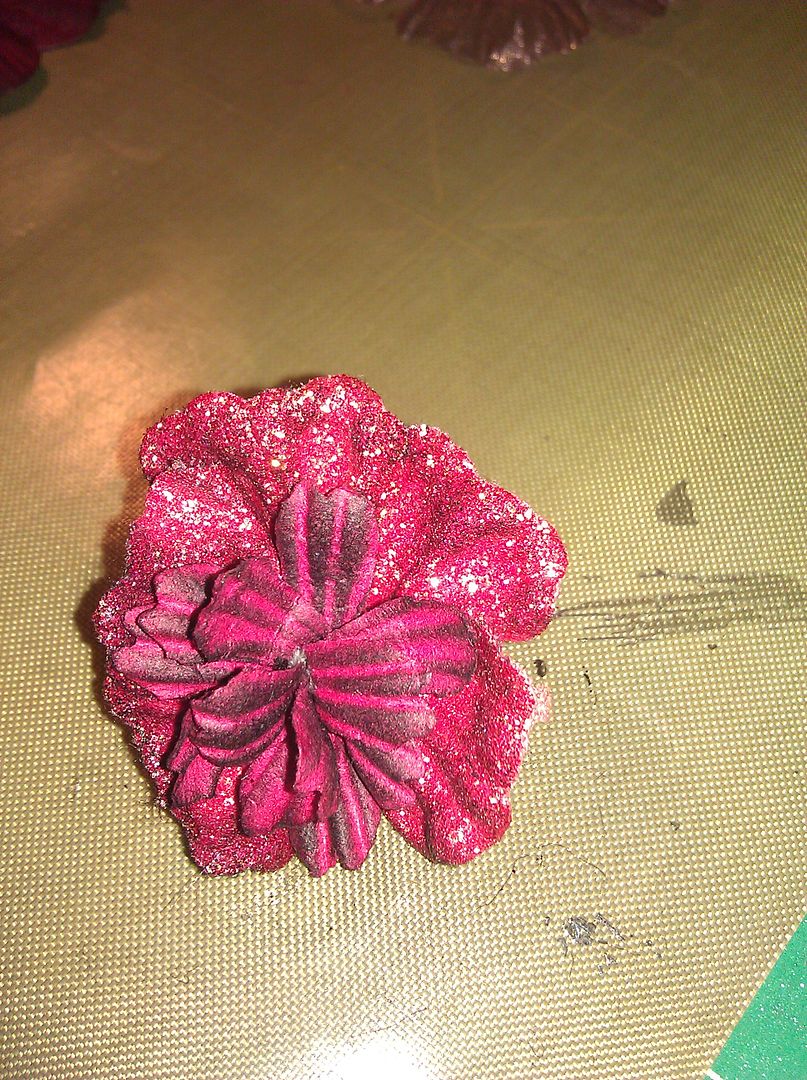
And the completed flower. This one had a few more layers since I used the sheer flowers too, but was made the same way.
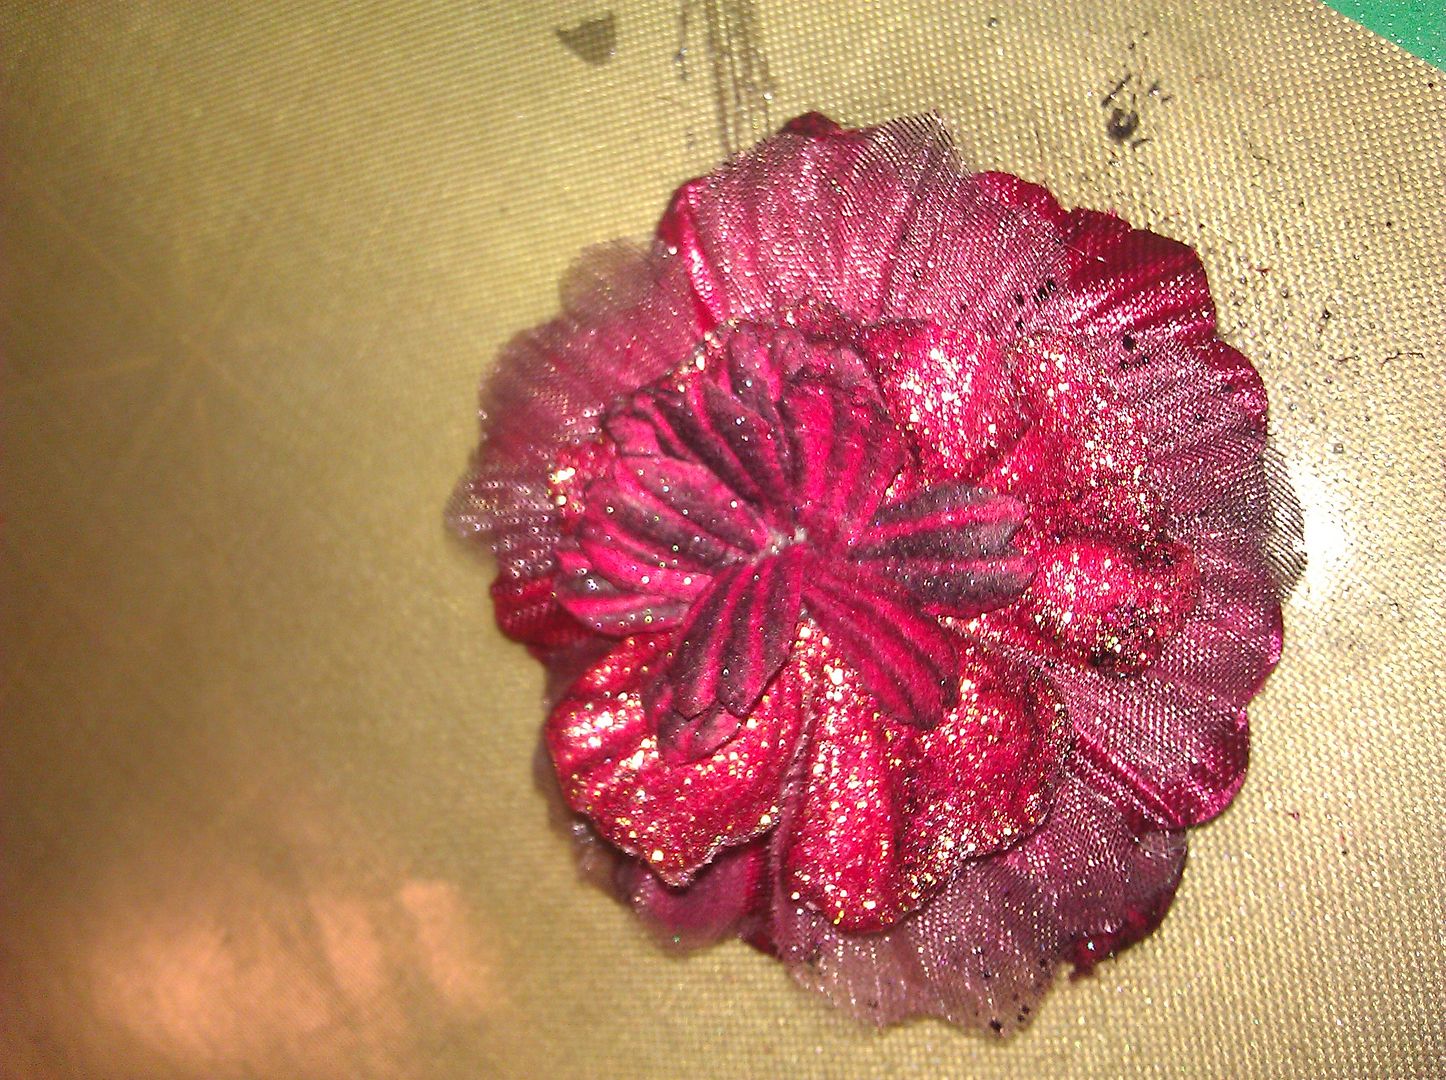
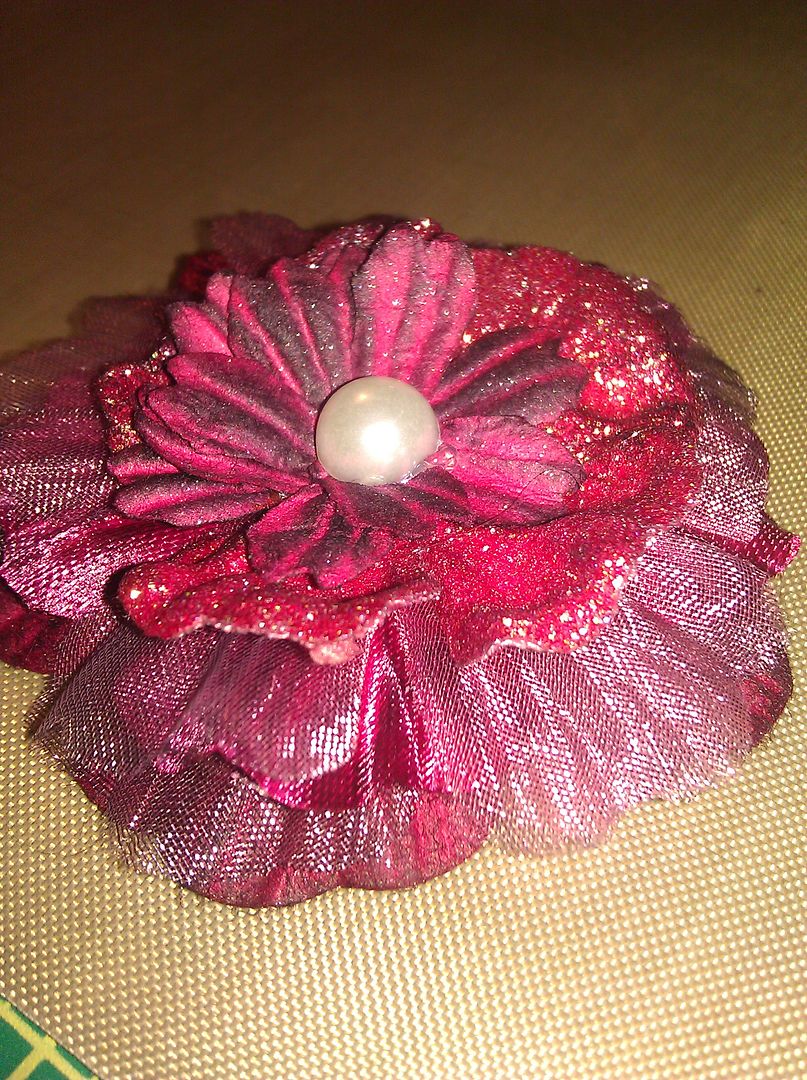
I also sprayed it with the pearlized water, and adhered a half pearl for the center.
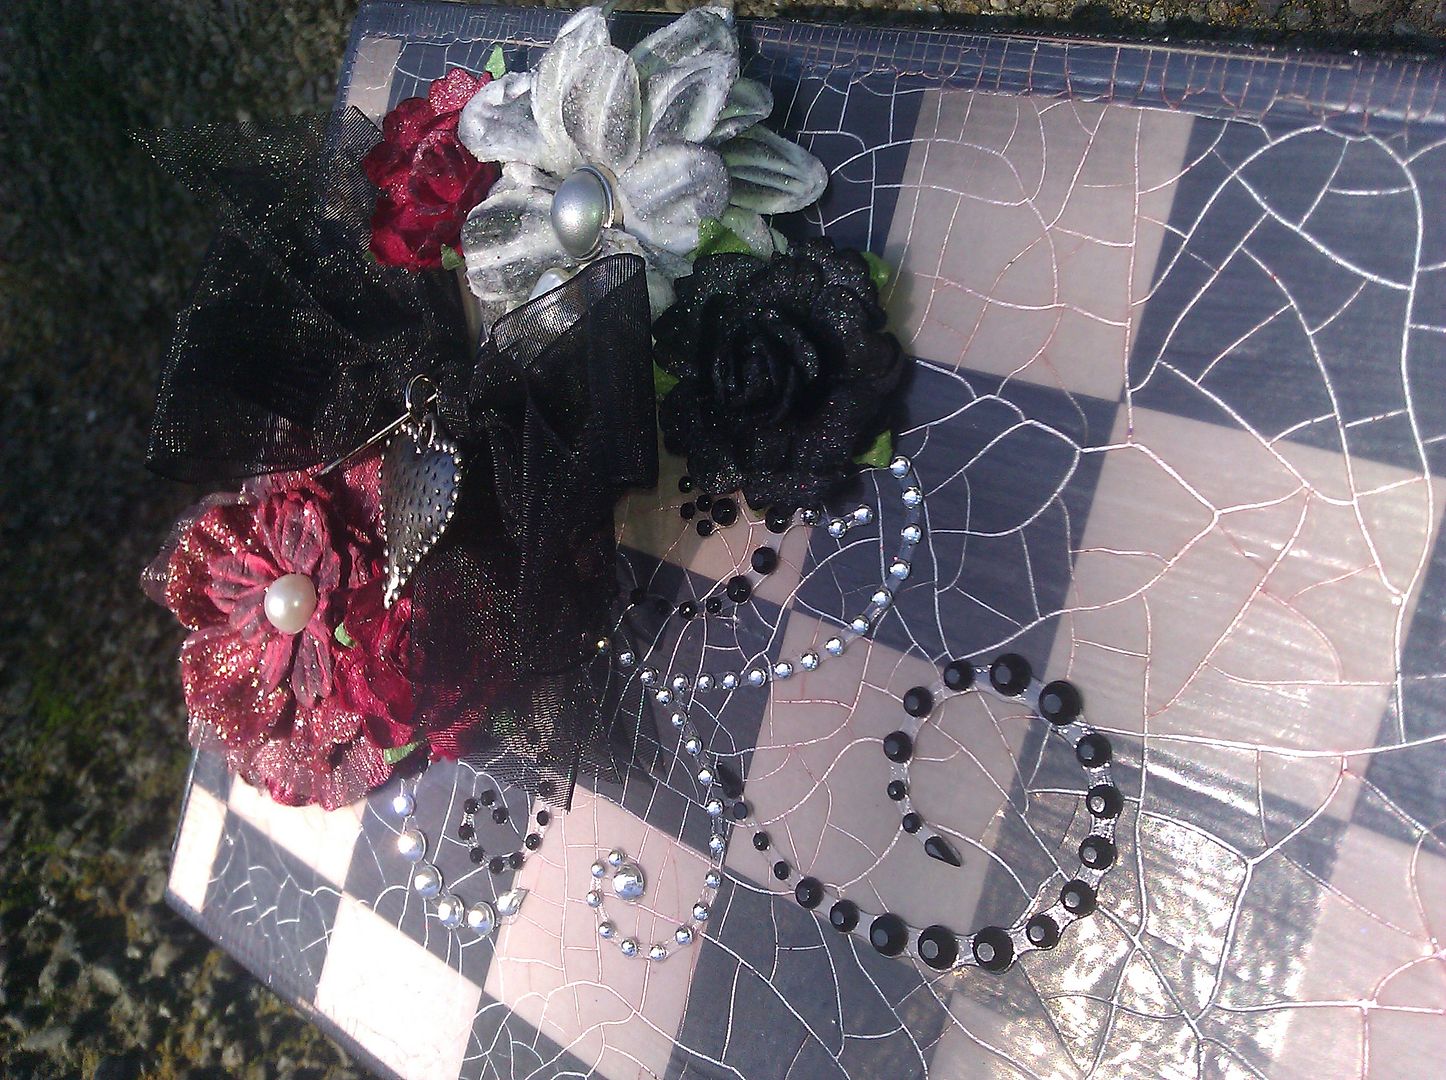
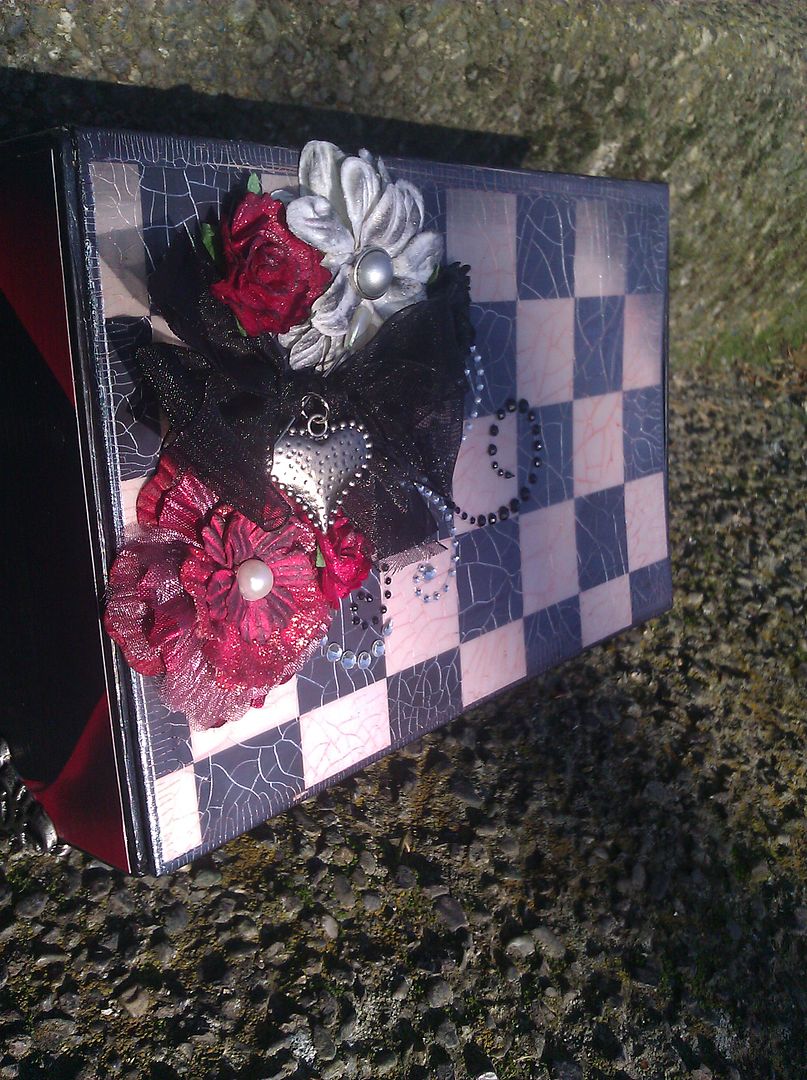
Here is everything attached to the box! I used my two assembled flowers, some black sheer ribbon tyed into a bow, and a heart stick pin from the sewing department of Joann's. I used a jump ring to hold a heart charm by Tim Holtz on the pin, and some tiny roses (sprayed with the pearlized water) and a rhinestone flourish, both from the Recollections brand as well. I attached it all with hot glue. The feet of the box are by Tim Holtz too and I used Glossy Accents to attach these.
I used Mod Podge and the same papers for the inside of the box as well.
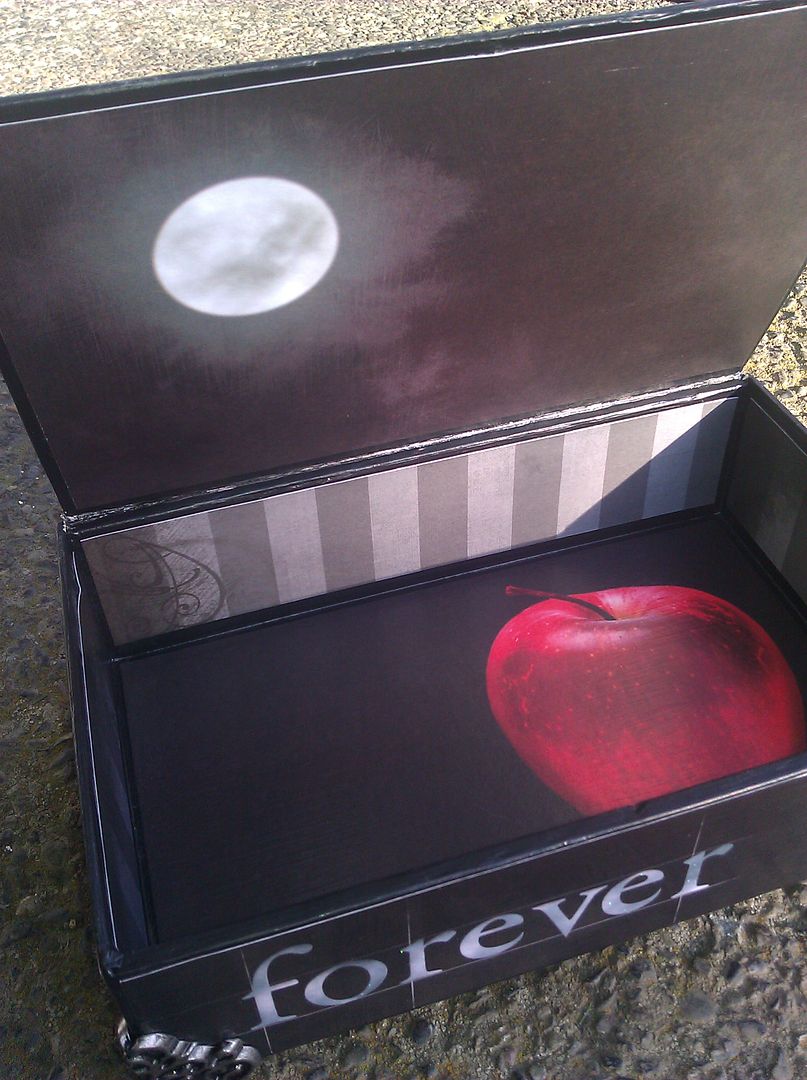
This turned out so wonderfully, and one of my closest friends is purchasing it for her 14 year old daughter for Christmas! She is a Twilight fanatic, and is going to be so excited :) I have a few more of these in the works, and hopefully will list them in my Etsy Shop soon! It's empty right now since I haven't been crafting in a while, but hope to change that real quick.
Thanks for stopping by, and happy crafting!!


